
Oh man, is there anything that screams ‘classic holiday party’ louder than walking into a room and seeing a big, glorious cheese ball sitting there waiting for you? I’m serious, it takes me right back to my childhood kitchen in Ohio, where comfort food was king and nothing felt more special than the spread of appetizers we’d bring out.
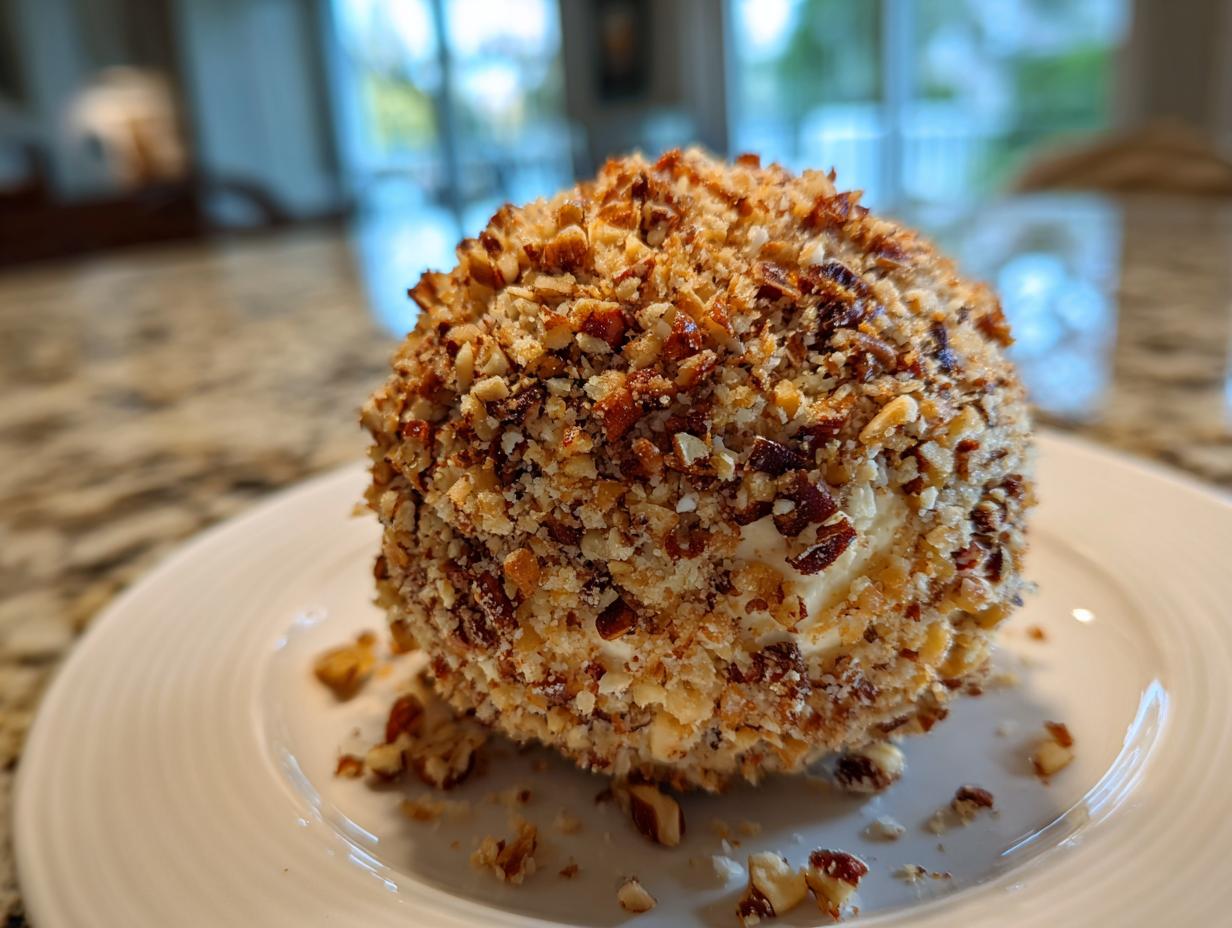
That’s why I’m thrilled to finally share my go-to recipe for the ultimate **holiday cheese ball**. It’s that perfect, savory, and creamy spread that people just cluster around. We’re keeping things wonderfully simple here—no fussy cooking required! This is about getting that dependable, nostalgic flavor on your table so you can focus on enjoying the company, which is exactly what Mia’s Meals is all about.
- Why This Classic Cheese Ball Recipe is a Retro Party Appetizer Must-Have
- Ingredients for the Perfect Nut-Coated Cheese Ball
- Simple Steps to Make Your Holiday Cheese Ball
- Tips for Success When Preparing a Make-Ahead Holiday Cheese Ball
- Serving Suggestions for Your Classic Cheese Spread
- Storage and Reheating Instructions for the Holiday Cheese Ball
- Frequently Asked Questions About This Retro Party Appetizer
- Estimated Nutrition for Your Classic Cheese Ball
- Share Your Experience Making This Holiday Cheese Ball
Why This Classic Cheese Ball Recipe is a Retro Party Appetizer Must-Have
When I think about making food for a crowd without stressing out, this recipe immediately jumps to the top of my list. It’s dependable heritage cooking! You are going to love how easy this is, and trust me, your guests will absolutely gobble it up faster than you can refill the crackers.
- No baking required—just mixing and chilling!
- Perfect to make a day ahead, so you’re not scrambling on party day.
- The chopped nuts on the outside make it look so wonderfully festive and irresistible.
Quick Prep for Your Holiday Cheese Ball
Seriously, this is what I call low-effort, high-reward. You’re looking at about 15 minutes of active prep time. That’s it! We aren’t turning on the oven at all, which is a lifesaver during busy holidays when the oven is already packed with the main course. Grab a bowl, mix everything up, roll it, and chill. You can’t beat that speed for a beautiful, classic cheese spread.
Ingredients for the Perfect Nut-Coated Cheese Ball
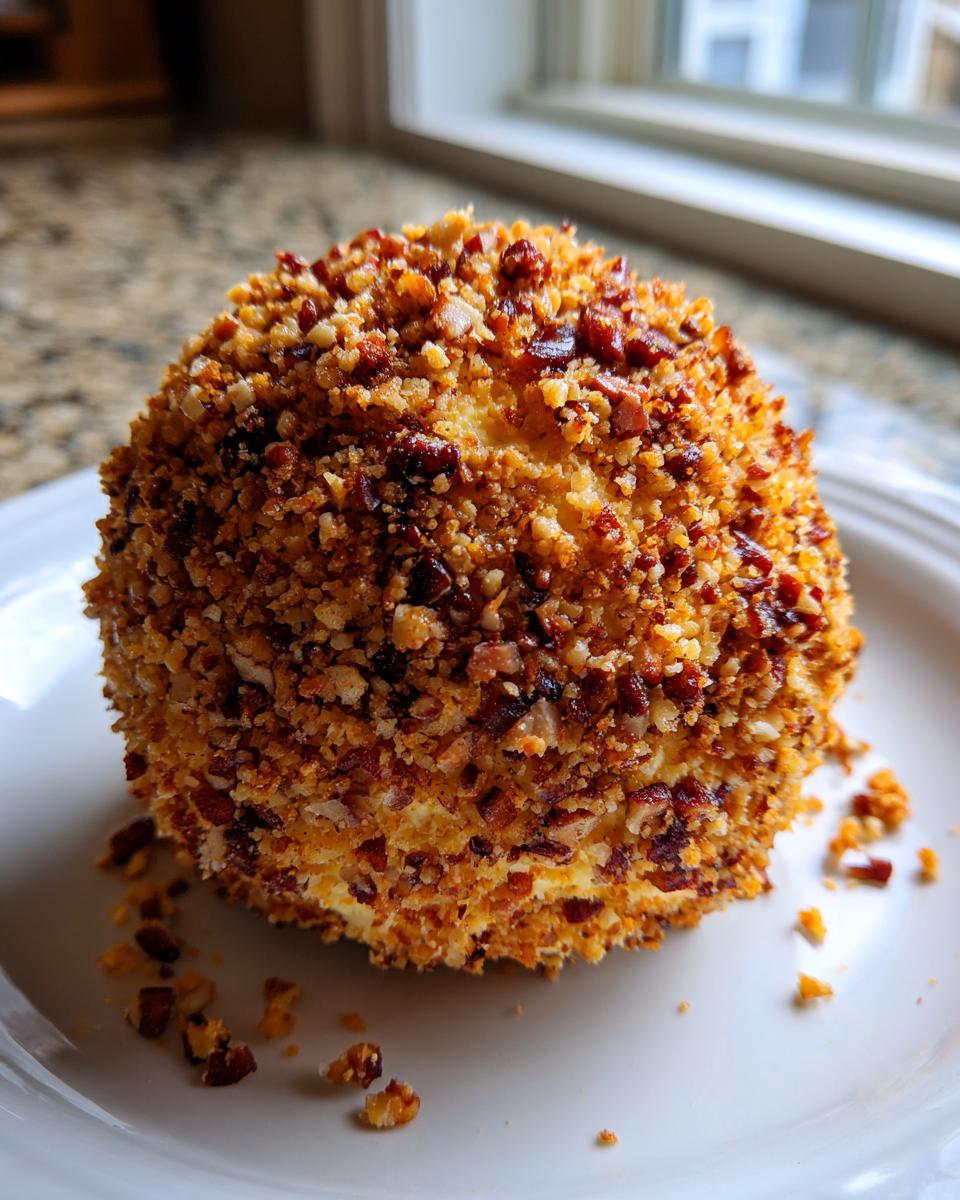
Okay, let’s talk about what goes into this truly amazing **nut-coated cheese ball**. The beauty here is that we’re relying on texture and sharp flavor from simple pantry staples. Don’t cheat on the quality of your cheese, though! That’s where the magic happens.
Here’s what you need to gather up. Make sure your cream cheese is actually soft; I can’t stress that enough—cold cheese will always result in a lumpy mess!
- 8 ounces cream cheese, softened, please!
- 8 ounces sharp cheddar cheese, you absolutely must shred this yourself.
- 1/4 cup dried beef, finely chopped—this is optional, but gives it that classic savory kick.
- 2 tablespoons scallions, finely chopped (greens only for that nice color!).
- 1 teaspoon Worcestershire sauce (don’t skip this depth!).
- 1/2 teaspoon garlic powder
- 1/4 teaspoon onion powder
- 1/4 teaspoon salt
- 1/4 teaspoon black pepper
- 1 cup pecans, finely chopped—this is your coating!
Ingredient Notes and Substitutions for Your Classic Cheese Spread
Now for the house secrets! When people ask me why their cheese ball isn’t as flavorful, it almost always comes down to the cheddar. You need sharp cheddar here. The mild stuff just disappears when mixed with the tang of the cream cheese. It gives our coating that flavorful backbone that makes it such a great retro party appetizer.
If you can’t find the dried beef, or just aren’t into it, don’t worry one bit. My mother usually skipped it anyway! Instead of the beef, I highly recommend adding 1/2 teaspoon of smoked paprika into the mix when you add the spices. It gives this **classic cheese spread** a smoky depth that is just as satisfying, mimicking that cured flavor without needing the meat. See? Simple swaps that keep the flavor punch!
Simple Steps to Make Your Holiday Cheese Ball
Alright, you’ve got all your ingredients ready! Now comes the easy part. This is where your holiday cheese ball comes together in minutes. Remember what I always say from my mom’s kitchen? Good connection starts with simply prepared, soulful food. We’re aiming for smooth, not lumpy, so pay attention in that first mixing stage.
First, get that softened cream cheese and your freshly shredded cheddar into a decent-sized bowl. Mix those two until they are completely one luscious unit. Don’t rush this! Then, stir in all those flavor boosters—the beef (if you are using it), the scallions, the Worcestershire sauce, and all your little powders. You must mix well here; you want those flavors distributed evenly so every single cracker gets a taste profile, not just a mouthful of cheese!
Once it’s perfectly combined, gently shape it into a nice, uniform sphere. It might feel a little floppy, and that’s okay! Before you wrap it up, we have to give it its beautiful coat. Head over to the next step for the secret to a perfect nut coating!
Achieving the Perfect Coating on Your Holiday Cheese Ball
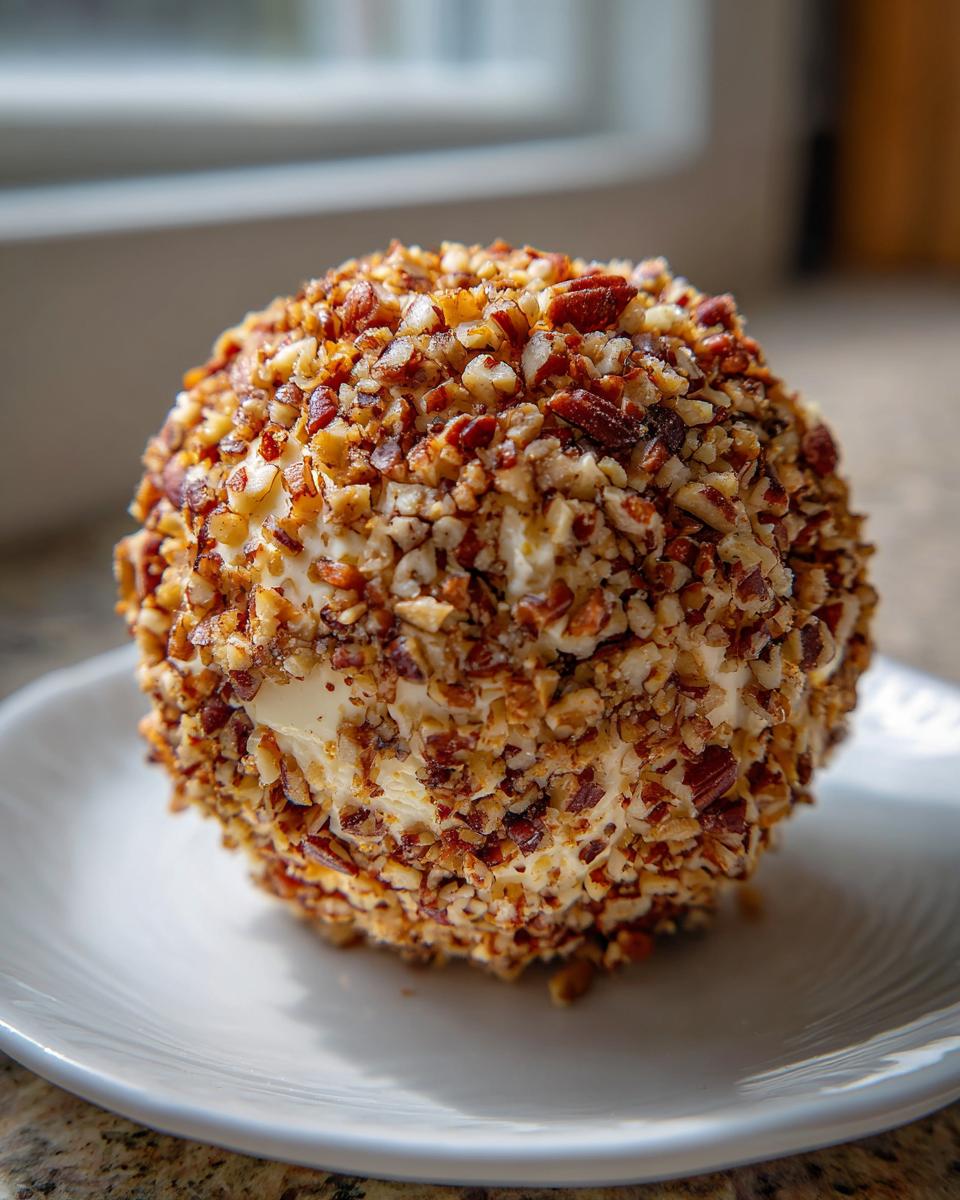
This step is pure decoration and texture, and it’s so satisfying! Spread your finely chopped pecans out flat on a nice, wide plate—wider is better because it’s easier to roll. Pick up your chilled cheese mixture. Instead of trying to mash the pecans onto the surface, try rolling the cheese ball gently between your palms a couple of times to smooth it out, and then carefully drop it onto the nuts.
Gently roll it back and forth in the pecans. Don’t press too hard, or you’ll flatten the top of your beautiful sphere! You just want to coax the nuts to stick. I find that if I gently pat any bare spots, the nuts adhere just fine. Then, wrap it up tightly. That chilling time—at least two hours—is non-negotiable! That’s when the flavors really marry, and it firms up so nicely for serving. If you want to see more about how we bring simple classics back to life for busy families, you can check out our story here.
Tips for Success When Preparing a Make-Ahead Holiday Cheese Ball
I’ve messed this one up more times than I care to admit when I was learning, which is why I can give you these pro tips! A successful **holiday cheese ball** relies almost entirely on what happens *before* you start mixing. If you skip the prep work here, you’ll end up fighting with stiff cheese for 20 minutes trying to get it smooth.
First thing: the cream cheese. It has to be truly soft. I mean, tap it with your finger, and it should sink in easily. If you pull it straight from the fridge, it’s going to shred when you try to mix it with the cheddar, and then you have weird chunks everywhere, which defeats the purpose of a creamy spread!
I once tried to rush this before a New Year’s Eve party. I thought if I just microwaved the cream cheese for ten seconds, I’d be fine. Big mistake! It ended up with these weird, warm, gooey spots and still-cold, hard corners. It was a sticky disaster I had to throw out and start over. Lesson learned: just set the cheese out on the counter for at least an hour before you start. Patience pays off here, I promise!
What if you’ve already mixed it and it feels too loose? Maybe your kitchen is running hot, or maybe you added a splash too much Worcestershire. No need to panic or add more cheese! Just wrap that floppy mixture up tightly in plastic wrap—really hug it into a nice ball shape—and pop it in the fridge for an extra 30 minutes. Chilling it down firms up the fat content in the cheese, which makes it stable enough for rolling in those pecans later. It’s a fast fix for a sloppy mixture, but you still have to chill it before you coat it, or the coating will just slide right off.
Remember, the longer this **classic cheese spread** sits in the fridge (up to three days!), the better those savory ingredients—the garlic powder, the onion powder—meld together. It just gets better with time, making it that perfect, dependable dish you can rely on.
Serving Suggestions for Your Classic Cheese Spread
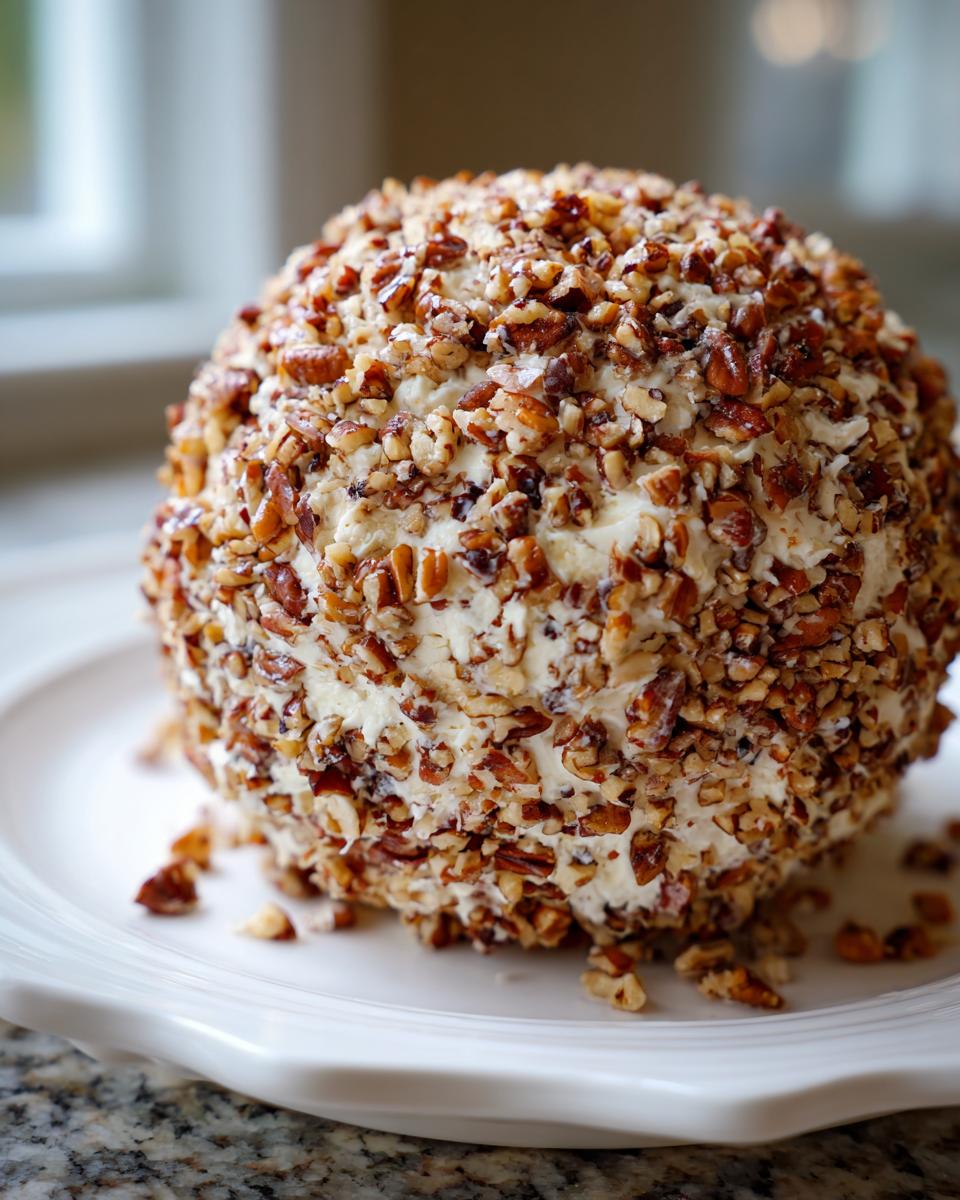
So, you’ve made this magnificent, savory, and creamy centerpiece, and now it’s time for the best part: dipping! You can’t just put a beautiful **holiday cheese ball** on the table and expect people to know what to serve with it, right? This needs the right supporting cast to really shine.
Of course, you can always lean on your standard box of buttery crackers, and honestly, they work great. But if you want to elevate this from a nice snack to a true retro party appetizer moment, you need variety!
When I set mine out, I always offer a few different textures. Crispy rye crackers are fantastic because their slightly sourdough flavor cuts through the richness of the cheddar and cream cheese blend. Water biscuits are also brilliant; they are so plain that they let the flavor of the **nut-coated cheese ball** really take center stage, which is great if you used that smoky paprika substitution.
Don’t forget the veggies! This is where you bring in some fresh crunch. Sturdy vegetable sticks are key here—think crisp celery stalks or maybe thick slices of cucumber if you want something lighter. I always include carrots, because even though they are sweet, their crunch holds up perfectly against the dense cheese. It makes the appetizer feel a little more balanced, right? Just set everything around the cheese ball on your prettiest platter, and watch it disappear!
Storage and Reheating Instructions for the Holiday Cheese Ball
The best part about this **holiday cheese ball** is that it’s designed to be a helper, not a hassler! Since it’s a mix of soft cheeses and no actual cooking is involved, storage is super straightforward, but you do have to follow a couple of simple rules to keep that creamy texture perfect.
Once you’ve rolled it nicely in those pecans, wrap it TIGHTLY in plastic wrap. I mean, really secure it. You don’t want any air getting to that beautiful coating or, worse, absorbing any weird fridge smells! This keeps it fresh and ready to go. I usually aim to get it into the fridge as soon as it’s coated.
You can safely store this **classic cheese spread** in the refrigerator for up to three days. Honestly, Day Two is often my favorite because the garlic and onion powders have totally permeated the cream cheese. It’s fantastic being able to pull this out the day before a big event and have one huge appetizer task checked right off the list!
Now, about reheating—this is important: You don’t reheat a cheese ball! It’s not a casserole. If you put it in the microwave, you’re basically making warm, cheesy dip with a nutty exterior, and that’s not the experience we are going for. The goal is that firm shape and cold, savory bite.
What you *do* need to do is bring it back to the perfect serving temperature after it’s been tucked away in the fridge. Pull that wrapped beauty out about 30 to 45 minutes before you plan to serve it. If it’s been in the fridge for three days, maybe give it a full hour on the counter. You want it to soften just enough so that your crackers glide through it easily, but it still needs to hold its shape when you place it on your platter. That small window of time allows the full flavor to bloom without turning your **nut-coated cheese ball** into a puddle!

Frequently Asked Questions About This Retro Party Appetizer
I know when I make a family favorite, I always have a million little questions pop up, especially when trying to use an old-school recipe for a modern party. People ask me time and again how to tweak this marvelous **classic cheese spread** without ruining its perfection. Let’s tackle those quick concerns so you can feel totally confident serving this centerpiece!
Can I make this holiday cheese ball without dried beef?
Yes, absolutely! I covered this briefly, but let’s really dive in. Skipping the dried beef is totally fine, and many people do! If you omit it, you’ll want to layer on some alternative savory notes so your **holiday cheese ball** doesn’t taste too plain. I highly recommend adding 1/2 teaspoon of smoked paprika right in with your garlic and onion powder. It gives you that deep, slightly cured flavor that the dried beef otherwise provides. It is such a simple trick, and it works every time!
What is the best way to soften cream cheese quickly?
Oh, the eternal struggle of the cold cream cheese! If you forget to leave it out, don’t resort to microwaving it until half of it melts, because that leads to that sticky mess I talked about earlier! The best shortcut I’ve found is cutting the block of cream cheese into four or five smaller cubes.
You can then lay those cubes out on a plate and pop them in the microwave, but here is the key: pulse it in 5-second bursts on 20% power. Seriously, 5 seconds on low. You are just trying to gently warm the fat content, not cook the dairy. Check it after that first burst. Usually, after two or three 5-second pulses, the cheese will be super pliable and ready to mix without losing its structure. It takes less than a minute if you’re careful!
Got more questions about getting your **retro party appetizer** just right? Feel free to drop a line via my contact page! I love hearing from you all.
Estimated Nutrition for Your Classic Cheese Ball
Now, look, I want to be totally honest with you about this part. This is a rich, wonderful, decadent **holiday cheese ball**, and it’s meant to be an indulgence, not a daily snack! The numbers below are just a guide based exactly on the ingredients listed above—the amount of cream cheese, the sharp cheddar, and those lovely pecans.
When you’re serving things like this, remember that every brand of cheese or any extra drizzle of Worcestershire sauce can shift these things slightly. This is just to give you a ballpark idea as you plan your party snacks, so don’t sweat the tiny decimals too much. If you want to know more about how we handle your information here, feel free to check out our privacy policy.
Here are the estimated breakdowns per serving (this recipe yields about 12 servings):
- Serving Size: 1/12 of ball
- Calories: 145
- Fat: 14g (with 7g being Saturated Fat—butter and cheese are the stars!)
- Carbohydrates: 2g
- Protein: 7g
- Sodium: 180mg
- Sugar: Just 1g! Sweetened mostly by the sharp cheddar, which is neat.
See? It’s high in fat because, well, it’s cheese and nuts, which is what makes this **classic cheese spread** taste so utterly fantastic! Enjoy every creamy, crunchy bite!
Share Your Experience Making This Holiday Cheese Ball
I truly hope this recipe for our **holiday cheese ball** becomes a staple on your appetizer table just like it is on mine every single year. Getting that perfect, savory, and creamy spread ready ahead of time takes so much pressure off the day of the party!
Now listen, this is where we connect! I want to know what you think. Did you stick to the classic recipe, or did you sneak in extra smoked paprika? Tell me everything! Have you made this **nut-coated cheese ball** before, and what amazing thing did you serve it with? Did someone at your party ask for the recipe?
Please take a moment to leave your rating below—five stars if it brought back the perfect dose of nostalgia! We build this community together, sharing reliable recipes that simplify flavor and bring people around the table, just like my mom taught me. If you’ve got a favorite memory connected to a **retro party appetizer** like this, please share it in the comments. You can also review our terms of use if you have any questions about sharing your culinary adventures with us!
Happy snacking, friends, and enjoy bringing back this wonderful, simple classic!
PrintClassic Holiday Cheese Ball

Make this simple, savory, and creamy cheese ball appetizer. It is a retro party favorite, perfect for holiday gatherings, and you can prepare it ahead of time.
- Prep Time: 15 min
- Cook Time: 0 min
- Total Time: 15 min
- Yield: 12 servings 1x
- Category: Appetizer
- Method: No Bake
- Cuisine: American
- Diet: Vegetarian
Ingredients
- 8 ounces cream cheese, softened
- 8 ounces sharp cheddar cheese, shredded
- 1/4 cup dried beef, finely chopped (optional)
- 2 tablespoons scallions, finely chopped
- 1 teaspoon Worcestershire sauce
- 1/2 teaspoon garlic powder
- 1/4 teaspoon onion powder
- 1/4 teaspoon salt
- 1/4 teaspoon black pepper
- 1 cup pecans, finely chopped
Instructions
- In a medium bowl, combine the softened cream cheese and shredded cheddar cheese. Mix until smooth.
- Stir in the chopped dried beef, scallions, Worcestershire sauce, garlic powder, onion powder, salt, and pepper. Mix until all ingredients are evenly distributed.
- Shape the cheese mixture into a uniform ball.
- Spread the finely chopped pecans on a plate or shallow dish.
- Roll the cheese ball in the chopped pecans until it is completely coated.
- Wrap the cheese ball tightly in plastic wrap.
- Refrigerate for at least 2 hours, or up to 3 days, to allow the flavors to meld and the ball to firm up.
- Before serving, place the cheese ball on a serving platter and surround it with crackers and vegetable sticks.
Notes
- For a festive look, substitute half of the pecans with finely chopped fresh parsley.
- If you skip the dried beef, add 1/2 teaspoon of smoked paprika for depth of flavor.
- You can make this a day ahead of your party for easy serving.
Nutrition
- Serving Size: 1/12 of ball
- Calories: 145
- Sugar: 1
- Sodium: 180
- Fat: 14
- Saturated Fat: 7
- Unsaturated Fat: 7
- Trans Fat: 0
- Carbohydrates: 2
- Fiber: 0
- Protein: 7
- Cholesterol: 35