
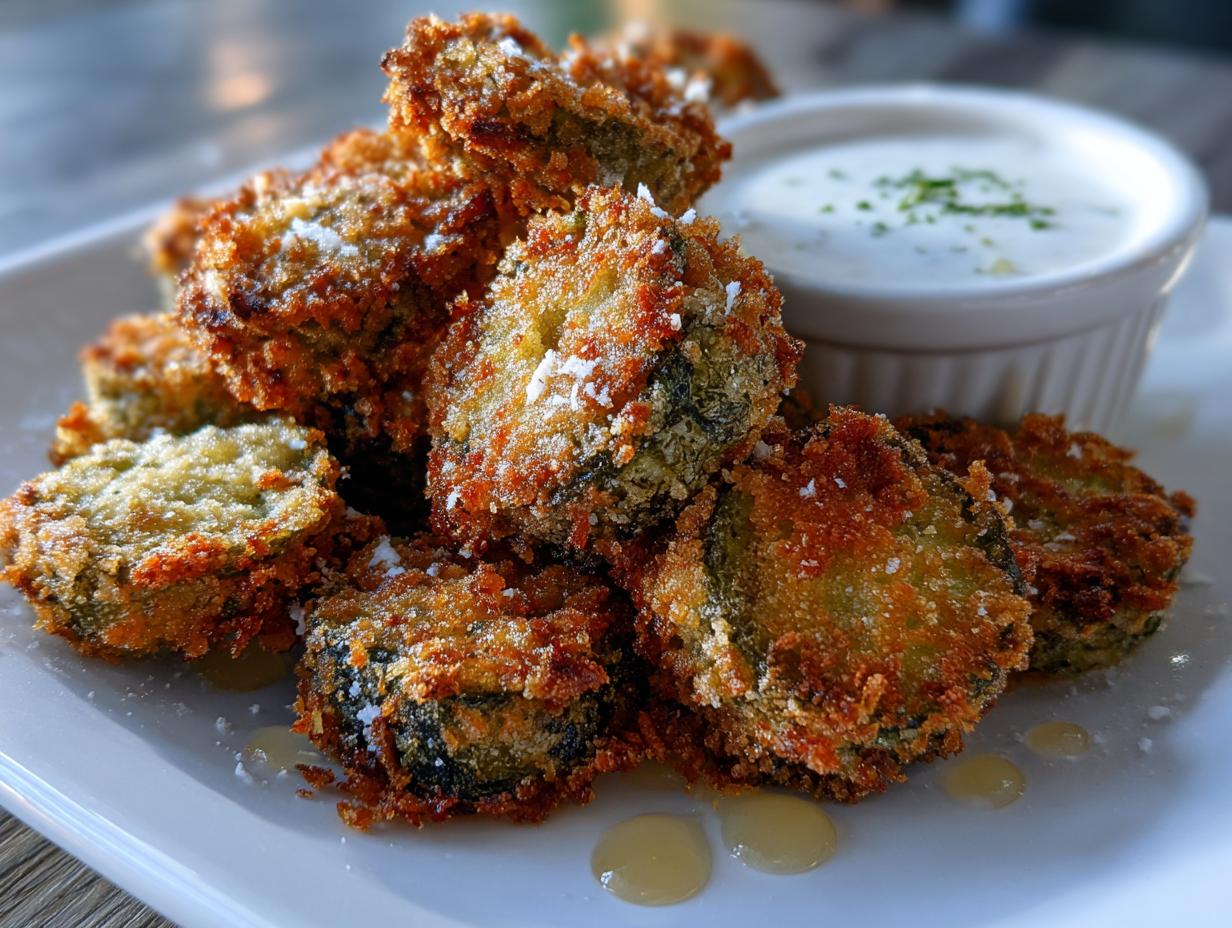
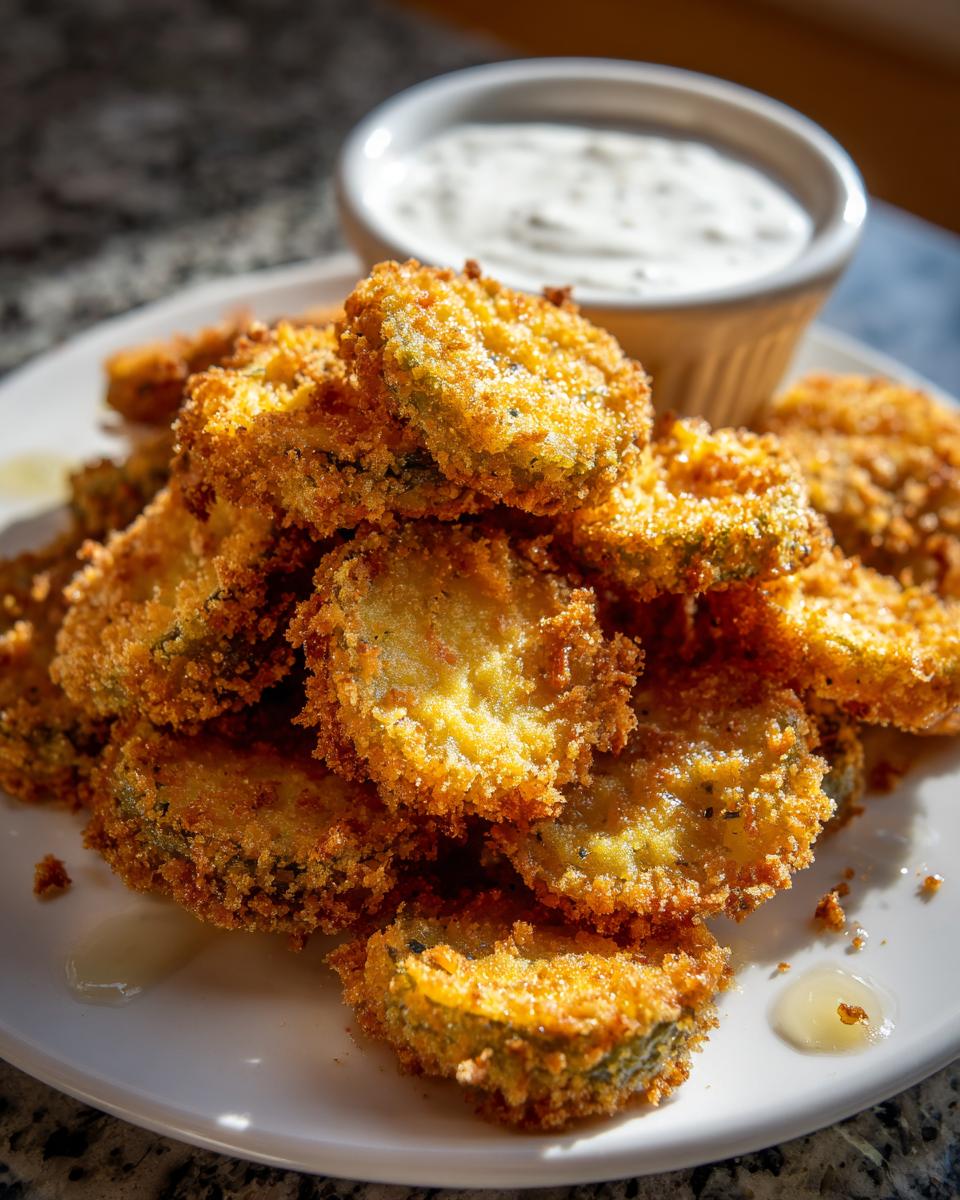
Oh my gosh, is there anything better than that perfectly crunchy, tangy bite you get from a fantastic appetizer? Seriously, when game day rolls around or we just need a little something fun for a weeknight, I always turn to the classics, but only if I can make them fast! That’s why I’m sharing my absolute favorite recipe for Crispy Deep Fried Pickles with Zesty Ranch Dipping Sauce. Forget ordering this out; making Fried Pickles at home is surprisingly simple, and that’s exactly what Mia’s Meals is all about—taking those beloved comfort food classics and stripping out the fuss so you can get them on the table fast. Trust me, this version is going to be your new go-to. You can find more simple appetizers right here when you need quick snack ideas.
- Why This Crispy Fried Pickles Recipe Delivers Golden Perfection
- Ingredients for the Best Fried Pickles and Zesty Ranch Dip
- How to Make Homemade Fried Pickles: Step-by-Step Instructions
- Tips for Making the Best Fried Pickles Every Time
- Variations: Air Fryer Fried Pickles Option
- Serving Suggestions for Your Crunchy Snacks
- Storage and Reheating Instructions for Leftover Fried Pickles
- Frequently Asked Questions About Fried Pickles
- Nutritional Estimate for Homemade Fried Pickles
- Share Your Experience Making These Fried Pickles
- Nutritional Estimate for Homemade Fried Pickles
- Share Your Experience Making These Fried Pickles
Why This Crispy Fried Pickles Recipe Delivers Golden Perfection
When I started perfecting this recipe, I knew the biggest hurdle for homemade fried treats is keeping them from getting soggy. Nobody wants a floppy pickle! This version eliminates that problem entirely. We’re achieving that restaurant-quality crunch you crave, really fast. It’s all about a few simple tricks that turn basic ingredients into a guaranteed crowd-pleaser.
Here’s what makes these the best fried pickles you’ll ever make:
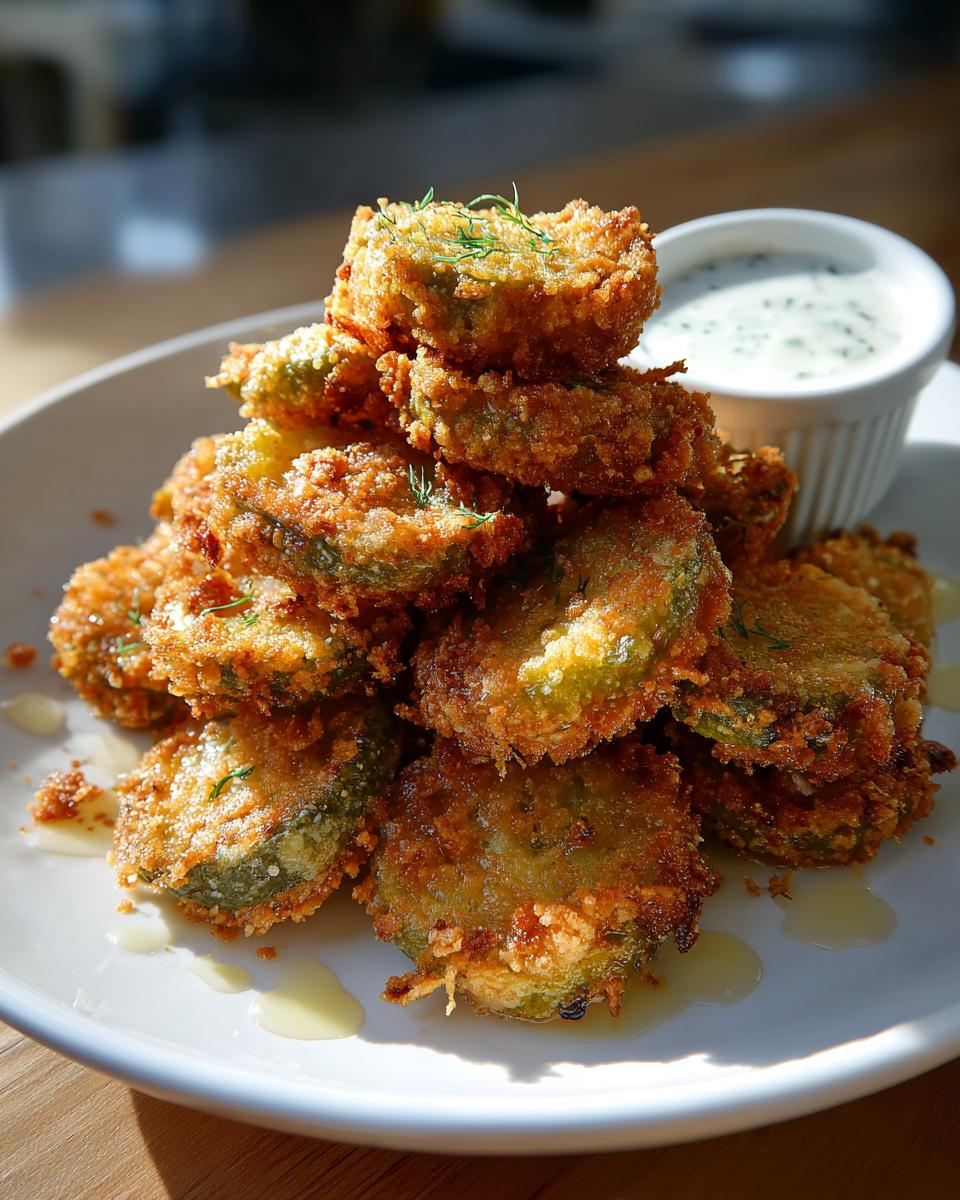
- Maximum Crispiness: We use Panko breadcrumbs! They just create a lighter, crispier shell than regular breadcrumbs, which is essential for perfect golden fried pickles.
- Speedy Snack: You can go from pantry to plate in under 30 minutes total. That means less waiting when the game is on! I love these for easy breakfast ideas too, kidding! (Mostly.)
- The Dip Matters: The zesty ranch dipping sauce isn’t optional—it balances the tang of the pickle beautifully. It pulls the whole appetizer together.
Ingredients for the Best Fried Pickles and Zesty Ranch Dip
Okay, let’s get down to what you need to pull this off. Gathering your items first makes the dredging station flow so much smoother. Remember, for the crispy fried pickles, the main thing is making sure those pickles are dry—that comes in the next section, but prep starts here!
If you’re looking for another quick companion for these, you should check out my recipe for easy nacho cheese sauce, though honestly, nothing beats this ranch dip for our pickles!
For the Crispy Fried Pickles
- 1 jar (16 ounces) dill pickle slices or chips, drained well
- 1 cup all-purpose flour
- 1 teaspoon salt
- 1 teaspoon black pepper
- 1 teaspoon garlic powder
- 1 teaspoon onion powder
- 1 teaspoon paprika
- 1/2 teaspoon cayenne pepper (optional, for that tiny bit of heat!)
- 2 large eggs
- 1/2 cup milk
- 1 cup panko breadcrumbs (Remember, panko is your secret weapon for crunch!)
- Vegetable oil, for deep frying (don’t skimp on the depth!)
For the Zesty Ranch Dip
This is so easy, you’ll wonder why you ever bought the plain stuff. It just wakes up the standard ranch dressing!
- 1 cup prepared ranch dressing
- 1 tablespoon fresh lemon juice
- 1/2 teaspoon dried dill
- 1/4 teaspoon garlic powder
How to Make Homemade Fried Pickles: Step-by-Step Instructions
Making these homemade fried pickles is simple once you set up your stations correctly. I like to think of this as an assembly line for maximum crunch! If you follow these steps, you’re guaranteed to avoid that dreaded watery, soggy pickle situation. You can find some great ideas for pairing these with quick weeknight dinners if you want something more substantial!
Preparing the Dill Pickle Chips for Frying
Listen, this step is where you earn your crispy stripes. If you skip drying these dill pickle chips, I promise—I mean it—they will steam themselves soggy when they hit the oil. Lay those drained slices out on what seems like way too many layers of paper towels. Then, add another couple of layers on top and genuinely press down hard. We need to wick away every bit of that vinegar water. No moisture, no steam, just pure, glorious crunch!
Coating and Breading Your Fried Pickles
When you’re ready, set up your three bowls in order: seasoned flour, milk/egg wash, and Panko. First, toss the dry pickles in the flour mix; shake the excess off. Next, dunk them quickly in the egg wash, letting the extra drip back in. The crucial final step is the Panko! Press those little breadcrumbs firmly onto both sides. I really push down to make sure the coating is thick and holds tight. This double coating is what creates that incredible shell.
Deep Frying to Golden Perfection
Get your oil heated up to exactly 375 degrees Fahrenheit—a thermometer is non-negotiable here! You need about two inches of vegetable oil in your pot. Carefully drop your coated pickles in, but don’t crowd them! They need room to swim easily. They cook lightning fast, seriously, just 1 to 2 minutes per side until they turn that beautiful golden brown. Scoop them out immediately onto a rack or paper towels and sprinkle with a little salt right away while they are piping hot.
Tips for Making the Best Fried Pickles Every Time
Now that you know the basic steps for our fried pickles recipe, let’s talk about the details that separate good from legendary. Remember how I mentioned oil temperature? That is the key player to keeping things crispy. If your oil drops much below 375°F while you’re frying, those beautiful coatings start acting like sponges, and you end up with greasy snacks instead of crunchy snacks.
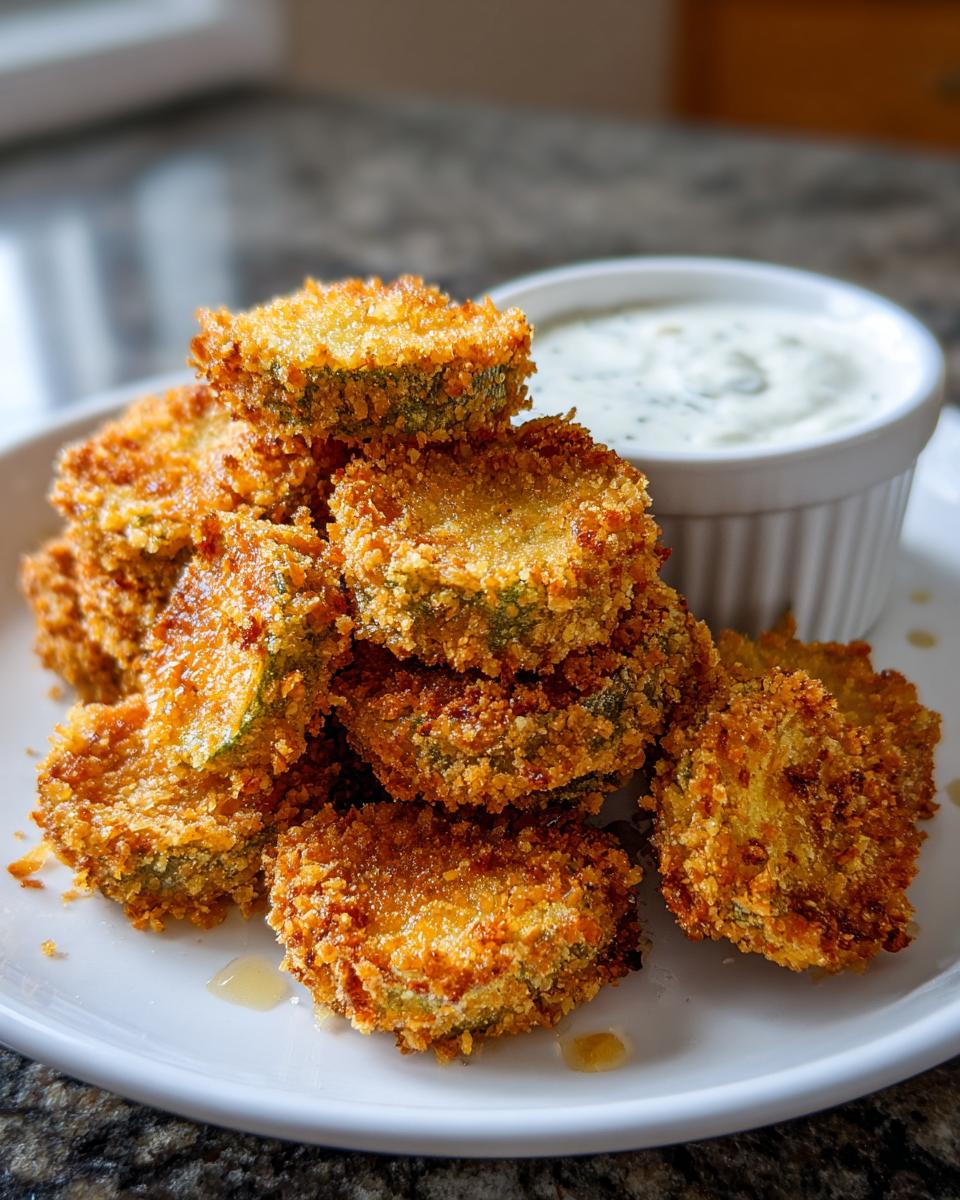
Also, I almost always use dill pickle chips for this. They are thinner and get crispy faster than whole spears, which means they don’t have time to heat up so much inside that they start steaming themselves apart. If you’re trying to nail that restaurant feel, aim for the texture you get from the Texas Roadhouse Fried Pickles Copycat—that firm, snappy bite paired with a perfectly seasoned crust. It takes practice, but these tips will get you there!
If you need a hearty main dish to serve these alongside later, you have to try my classic juicy meatloaf recipe. These snacks deserve a great main course partner!
Variations: Air Fryer Fried Pickles Option
I know, I know. Sometimes deep frying just isn’t the move, especially if you’re trying to keep things a little lighter for the family or for game day. But don’t you worry for a second! We can absolutely get that satisfying crunch on our Fried Pickles using an air fryer. I tested this quite a bit so you don’t have to guess the timing.
When moving to the air fryer, the absolute biggest difference you need to make is giving everything a light coating of oil right before it cooks. This is what helps the Panko golden up instead of just drying out, which frankly gives you a dry, sad snack. I whip up a quick spray bottle mix for this. You can check out my favorite way to use the air fryer for sides, like my air fryer baked potato—it’s the same principle of needing that light spritz!
Here’s how to modify the steps for the air fryer method. Remember, you’ll cook these in batches, too, because overcrowding the basket leads to pale, un-crispy pickles:
- After you bread your pickles following the main instructions, place them on a sheet pan.
- Lightly spray both sides of the coated pickles with cooking spray or use an oil mister. Don’t soak them, just mist them well!
- Place them in your air fryer basket in a single layer. Do not overlap them!
- Set your air fryer to 400 degrees Fahrenheit (about 200 Celsius).
- Cook for about 8 to 10 minutes total. You must flip them halfway through—around the five-minute mark.
If you want more information on getting crisp textures in the air fryer without tons of oil, check out this resource I found: air fryer fried pickles. It gives you great specifics! This method is fantastic for a healthier take, but if you want that true, deep-restaurant sear, stick to the oil bath!
Serving Suggestions for Your Crunchy Snacks
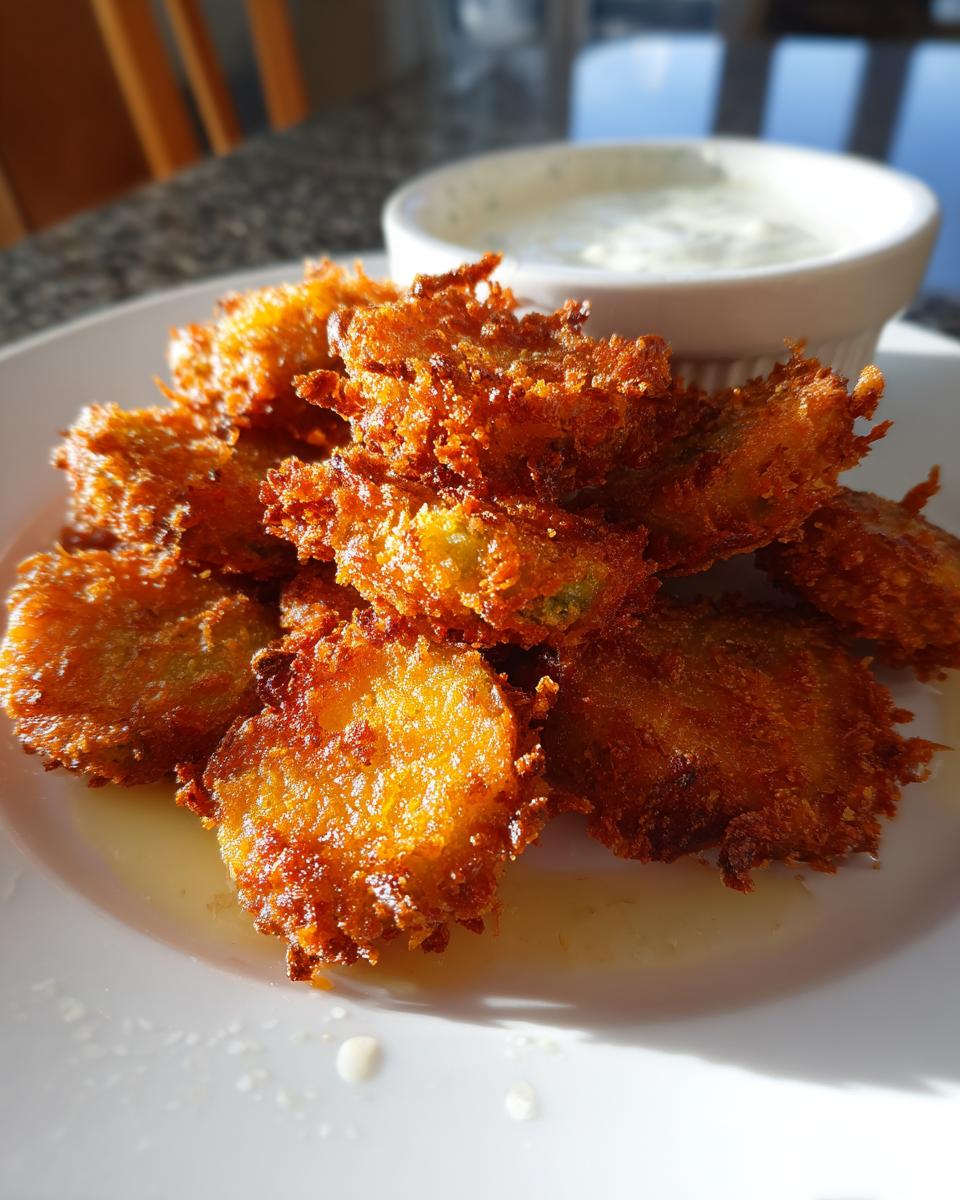
So, you’ve got a mountain of perfectly golden, tangy fried pickles—now what? These aren’t just good; they are the ultimate crowd-starter! I always make a double batch because they vanish faster than anything else, especially when I have people over for the big game. They absolutely shine as prime game day snacks.
The Zesty Ranch Dip we made? That’s not just a suggestion; it’s mandatory. The cool, herby ranch cuts right through the richness of the fried coating and balances that sharp pickle flavor. If you haven’t tried them together yet, you are missing out!
But these amazing party appetizers don’t have to sit alone on the platter. They are fantastic alongside heartier food, too:
- Burgers and Dogs: Seriously, skip the basic fries sometimes. A few crunchy pickle chips on top of a juicy burger or next to a grilled hot dog adds a textural element that is surprising and delicious.
- Sandwich Sidekick: They make a wonderful, tangy side for a classic grilled cheese or any deli sandwich. They feel more fun than potato chips, don’t you think?
- Build Your Own Dip Spread: If you’re doing a snack spread for a party, put the bowl of ranch in the middle and surround it with these fried beauties. It makes for a beautiful centerpiece!
If you’re looking for other easy-to-manage, shareable main dishes that go great with little bites like these before dinner, you should take a look at my buffalo chicken sliders recipe. Those are always a huge hit!
Storage and Reheating Instructions for Leftover Fried Pickles
Okay, let’s talk leftovers! If you’re anything like my family, you probably won’t have many leftover fried pickles, but just in case you manage to save some, you need to know how to treat them right. I’m going to be completely honest: nothing beats these fresh out of the oil. That initial, perfect crunch starts fading pretty fast as they cool down, mainly because pickles hold residual moisture.
The microwave? Absolutely not. If you put a cold fried pickle in the microwave, it’s going to steam. We are trying to achieve maximum crispiness, right? So we need dry heat to get that coating flaky again.
If you are storing them, make sure they are completely cooled off first, and store them in a container that isn’t airtight. If you seal them up tight while they are still warm, condensation will trap moisture, and that ruins the breading. I usually just pop them in a paper bag or container that has the lid slightly ajar.
When it comes time to revive them for snacking later, here are the two methods that work best to bring back that satisfying crunch:
- The Oven Method: Preheat your oven to about 350 degrees Fahrenheit. Spread the pickles in a single layer—don’t overlap them!—on a baking sheet. Bake them for about 5 to 7 minutes. Keep an eye on them; you just want them heated through and crispy, not burned.
- The Air Fryer Comeback: If you have the air fryer handy, this is even faster! Pop them in at 350 degrees Fahrenheit for just 3 to 4 minutes. This gives them a wonderful second life!
Doing this quick reheat ensures that when you enjoy the rest of your spicy, tangy snack, they still have that amazing texture we worked so hard to achieve earlier. Enjoy the rest of those fantastic fried pickles, and maybe try making fewer next time so you don’t need to worry about leftovers for your next easy weeknight meal!
Frequently Asked Questions About Fried Pickles
I always get a ton of questions about achieving perfect crispy fried pickles because everyone wants that amazing crunch! Don’t worry if you’re new to this; I’ve compiled some of the most common things people ask when they want to make these fantastic tangy snack ideas at home.
If you have other cooking questions or just want to say hello, please reach out; my contact page is always open!
Can I use pickle spears instead of dill pickle chips?
You certainly can use pickle spears, but I highly recommend sticking to the chips for this recipe. Spears are much thicker, and that means they take longer to cook through in the hot oil. Longer cooking means the outer breading has more time to absorb oil and often ends up less crispy, or worse, the inside gets warm and steamy. If you absolutely want to use spears, you need to make sure you dry them off incredibly well and maybe even reduce your frying time slightly or cook them at a slightly lower temperature than the chips.
What oil is best for frying? Does the type of oil matter for the best pickle fry recipe?
You want a neutral oil with a high smoke point. That’s key for keeping your fried pickles from tasting funky or burning before they brown up. I primarily use vegetable oil because it’s affordable and does the job beautifully. Canola oil is another fantastic choice for the same reasons. The main goal is steady heat at 375°F—the oil type matters less than maintaining that perfect temperature to get those beautiful crunchy snacks.
Can I make the batter ahead of time?
This is a tricky one, and my answer is usually no, not the wet part, anyway. If you mix the flour, egg, and milk together ahead of time (the wash), it tends to thicken up and sometimes gets a bit gummy or pasty as it sits. We want a light coating! You can definitely mix your dry flour coating mixture and your Panko breadcrumbs ahead of time and keep them in separate containers. But for the best results possible—and this is crucial for any easy appetizer recipe—set up your dredging station right before you fry so everything is fresh.
How do I get that signature ‘Texas Roadhouse Fried Pickles Copycat’ texture?
Ah, the famous texture! Honestly, getting that restaurant-style result boils down to three things: super-dry pickles (we covered that!), using Panko breadcrumbs (not regular crumbs!), and maintaining that high oil temperature. A lot of those popular copycat recipes rely on a slight double-dip or really pressing that final Panko layer on tightly. If you follow our instruction to really press the Panko coating into the wet pickle, you’ll get that heavy, sturdy crust that fries up perfectly—that’s the secret sauce to that satisfying crunch you look for in the Texas Roadhouse Fried Pickles Copycat. You can see the original inspiration over at this Texas Roadhouse copycat recipe!
Nutritional Estimate for Homemade Fried Pickles
Since these are deep-fried, they lean toward the indulgence side—which is totally fine for a great party appetizer now and then! The sodium content is naturally a bit high because of the pickles themselves, plus the salt in the breading mixture. Just remember that these values are estimates based on the amounts listed in the recipe, and every brand of ranch and every pickle jar will vary slightly in the final count.
Here is the general breakdown per serving (1/4 of the recipe):
- Serving Size: 1/4 of recipe
- Calories: 350
- Fat: 24g
- Saturated Fat: 4g
- Carbohydrates: 28g
- Protein: 7g
- Sodium: 850mg
These nutrient details can change wildly based on how much oil the coating absorbs or the sodium level in your specific ranch dressing, so use this chart as a guide!
Share Your Experience Making These Fried Pickles
I absolutely live to see what you all create in your kitchens! Honestly, nothing makes me happier than knowing one of my recipes brought a little joy or a lot of crunch to your table. Did you try sprinkling some extra paprika on top? Did your family devour these as game day snacks?
When you make these fried pickles, please come back here and leave a quick rating at the top of the page—it really helps me know which recipes you want to see more of! And if you snapped a photo of that perfect golden crust or your dipping creation, tag me over on social media. I’d love to see your version of these simple, happy home meals!
PrintCrispy Deep Fried Pickles with Zesty Ranch Dipping Sauce
Make restaurant-style crispy fried pickles at home. This recipe delivers a perfectly seasoned, crunchy coating on tangy dill pickle chips, served with a zesty ranch dip.
- Prep Time: 20 min
- Cook Time: 10 min
- Total Time: 30 min
- Yield: 4 servings 1x
- Category: Appetizer
- Method: Deep Frying
- Cuisine: American
- Diet: Vegetarian
Ingredients
- 1 jar (16 ounces) dill pickle slices or chips, drained well
- 1 cup all-purpose flour
- 1 teaspoon salt
- 1 teaspoon black pepper
- 1 teaspoon garlic powder
- 1 teaspoon onion powder
- 1 teaspoon paprika
- 1/2 teaspoon cayenne pepper (optional, for heat)
- 2 large eggs
- 1/2 cup milk
- 1 cup panko breadcrumbs (for extra crispiness)
- Vegetable oil, for deep frying
- For the Zesty Ranch Dip: 1 cup prepared ranch dressing
- 1 tablespoon fresh lemon juice
- 1/2 teaspoon dried dill
- 1/4 teaspoon garlic powder
Instructions
- Prepare the pickles: Lay the drained pickle slices on several layers of paper towels. Place more paper towels on top and press firmly to remove as much moisture as possible. This step is key for crispy fried pickles.
- Set up the dredging station: In one shallow bowl, whisk together the flour, salt, black pepper, garlic powder, onion powder, paprika, and cayenne pepper. In a second bowl, whisk the eggs and milk together. In a third bowl, place the panko breadcrumbs.
- Coat the pickles: Working in small batches, dredge the pickle slices first in the flour mixture, shaking off any excess. Dip them into the egg mixture, letting excess drip off. Finally, press them firmly into the panko breadcrumbs, ensuring they are fully coated. Place the coated pickles on a clean baking sheet.
- Heat the oil: Pour vegetable oil into a deep, heavy-bottomed pot or deep fryer to a depth of about 2 inches. Heat the oil to 375 degrees Fahrenheit (190 degrees Celsius). Use a thermometer to monitor the temperature.
- Fry the pickles: Carefully lower the coated pickles into the hot oil in a single layer, being careful not to overcrowd the pot. Fry for 1 to 2 minutes per side, until they are golden brown and crisp.
- Drain: Remove the fried pickles with a slotted spoon and place them on a wire rack set over a baking sheet or onto fresh paper towels to drain excess oil. Sprinkle lightly with salt immediately after frying.
- Make the dipping sauce: In a small bowl, combine the ranch dressing, lemon juice, dried dill, and garlic powder. Stir until fully mixed.
- Serve immediately: Serve your hot, crunchy fried pickles with the zesty ranch dipping sauce.
Notes
- For a Texas Roadhouse Fried Pickles copycat texture, ensure your oil temperature stays steady. If the oil is too cool, the coating will absorb too much oil and become soggy.
- If you prefer an air fryer fried pickles method, lightly spray the coated pickles with cooking spray and air fry at 400 degrees Fahrenheit for 8 to 10 minutes, flipping halfway through, until golden.
- Use dill pickle chips for the best results as they are thinner and crisp up faster than spears.
Nutrition
- Serving Size: 1/4 of recipe
- Calories: 350
- Sugar: 3
- Sodium: 850
- Fat: 24
- Saturated Fat: 4
- Unsaturated Fat: 20
- Trans Fat: 0
- Carbohydrates: 28
- Fiber: 1
- Protein: 7
- Cholesterol: 75