
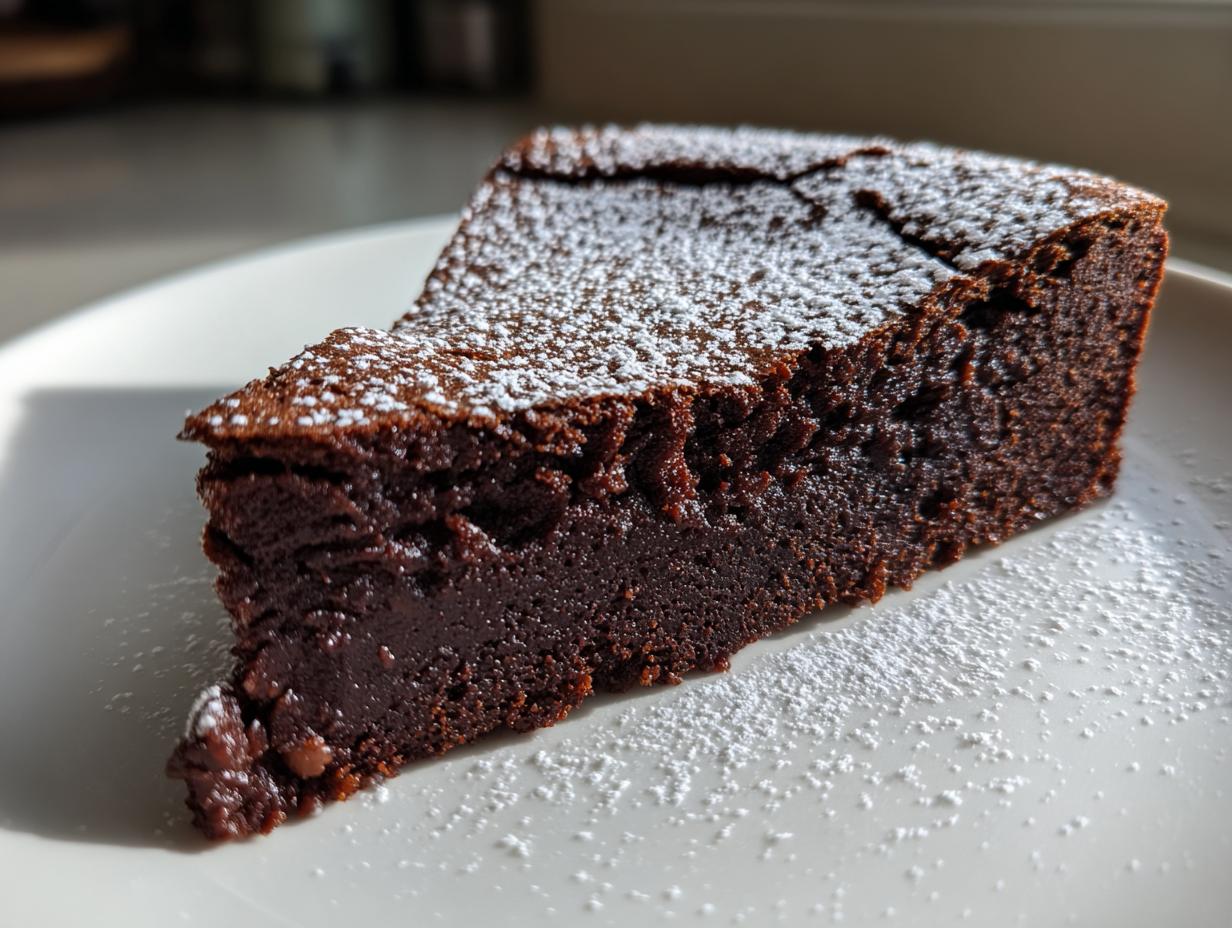
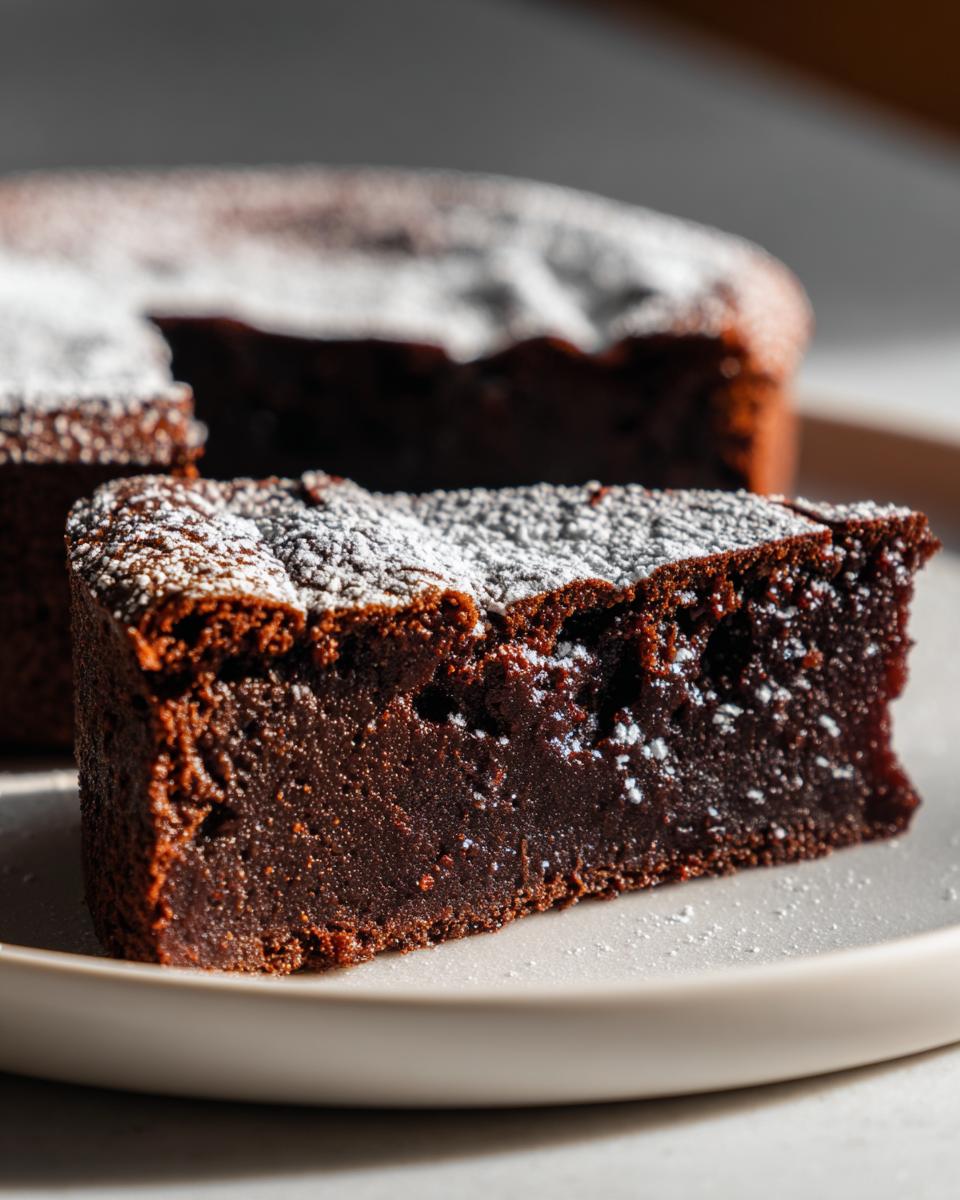
Oh, friends, if you are looking for that moment when a dessert stops conversation because it is just so intensely, richly good, you’ve found it. I’m talking about my absolute favorite indulgence: this incredibly rich, fudgy flourless chocolate cake. When I was little, my mom and grandma always saved the really special treats for big family nights, and this cake feels exactly like that—elegance made easy. The best part? It’s naturally gluten-free, so it’s a guaranteed hit for everyone at the table, no matter the occasion. Trust me, this simple recipe is pure magic!
- Why This Decadent Flourless Chocolate Cake Recipe Works (E-E-A-T Focus)
- Ingredients for Your Easy Flourless Chocolate Cake
- Step-by-Step Instructions for the Best Flourless Chocolate Cake Ever
- Tips for a Perfect Crackled Top Flourless Chocolate Cake
- Ingredient Notes and Substitutions for Your Fudgy Chocolate Dessert
- Serving Suggestions for Your Elegant Chocolate Cake
- Storage and Reheating Instructions for Leftover Flourless Chocolate Cake
- Frequently Asked Questions About This Flourless Chocolate Cake Recipe
- Nutrition Facts for This Rich Chocolate Cake (Estimate)
- Nutrition Facts for This Rich Chocolate Cake (Estimate)
Why This Decadent Flourless Chocolate Cake Recipe Works (E-E-A-T Focus)
I get asked all the time how something so simple can taste so luxurious. Well, believe me, this recipe is my go-to because I know it won’t let me down when company is over. It’s dependable, and that’s everything when you’re aiming for an elegant chocolate dessert. We aren’t messing around with complicated steps here; we’re relying on quality chocolate and excellent technique to do the heavy lifting.
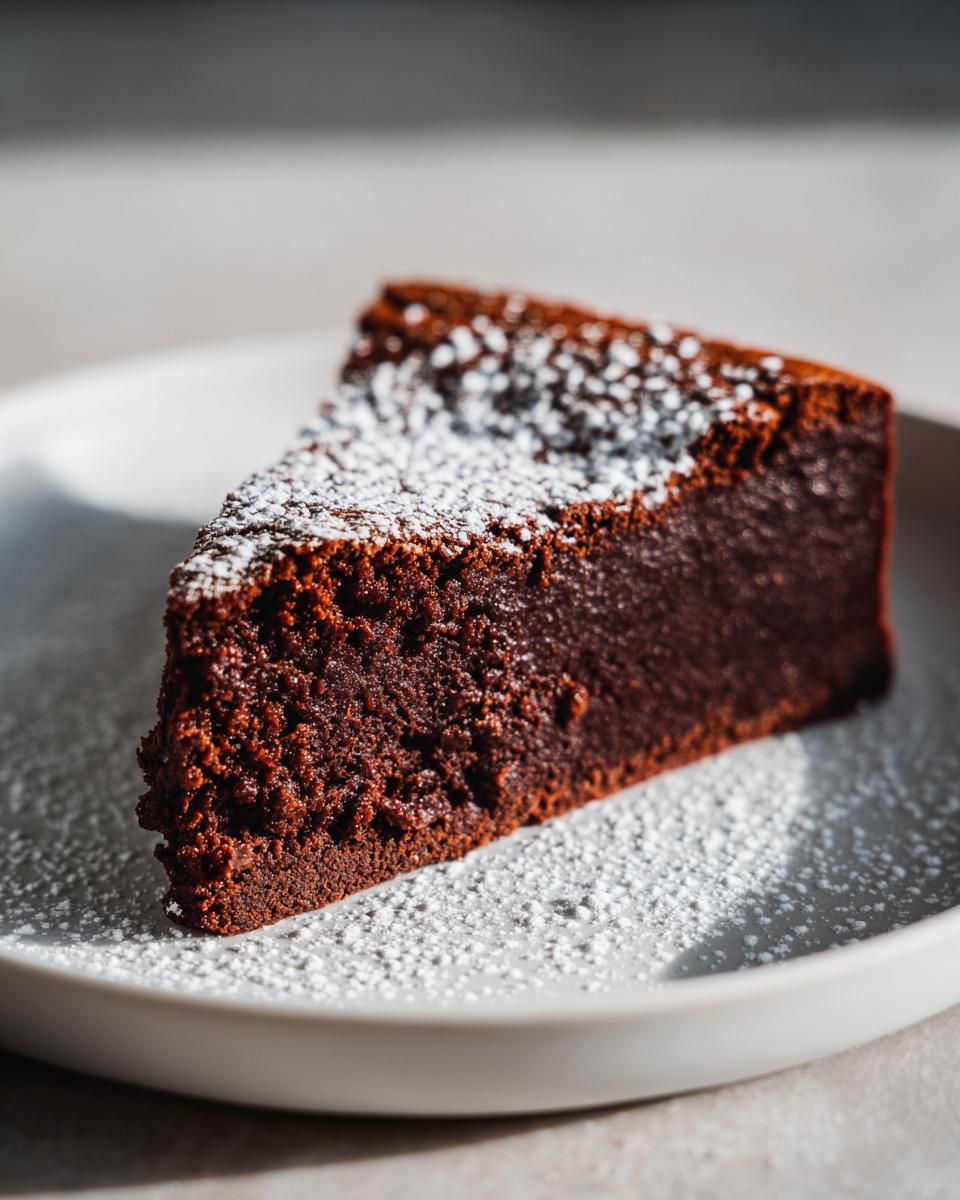
- That Unreal Texture: Forget dry cake! This becomes a melt-in-your-mouth dessert. It’s truly a fudgy chocolate dessert through and through, thanks to all that butter and high-quality chocolate carrying the flavor.
- Simple Ingredients, Big Impact: We’re keeping the ingredient list short, meaning you don’t need a grocery cart full of specialty things. This is my test-kitchen favorite because it’s so fast to pull together.
- Naturally Gluten Free: Because there’s no flour involved, this is a wonderful, rich chocolate cake that caters seamlessly to dietary needs. It proves that baking doesn’t have to be hard when you skip the gluten!
Ingredients for Your Easy Flourless Chocolate Cake
This is the beauty of this recipe, friends—it relies on just a handful of fantastic basics to achieve that decadent flavor. Remember, because there’s no flour to hide behind, the quality of what you use really shines through. Make sure you have these ready to go before you start melting anything!
- 8 ounces bittersweet chocolate, finely chopped (Don’t skimp here, this is the star!)
- 1/2 cup (that’s one full stick) unsalted butter
- 3 large eggs, and you must separate them—whites stay in one spot, yolks in another!
- 1/2 cup granulated sugar
- 1 teaspoon vanilla extract
- A tiny pinch of salt (just a pinch, trust me)
- Powdered sugar, reserved only for the dusting on top at the very end.
That’s it! See? No specialty flours, no weird gums—just pure, wonderful chocolate goodness ready to go. Because this truly is an easy chocolate cake underneath all that fancy flavor.
Step-by-Step Instructions for the Best Flourless Chocolate Cake Ever
Now for the fun part! Making this flourless chocolate cake moves quickly once you get started, so having your ingredients ready—what we call *mise en place*—is key. Preheat your oven to 350°F (175°C) right away. We’re working in an 8-inch round cake pan, and you absolutely must grease it well and line that bottom with parchment paper. Ask me how many times I’ve had a dense cake scare because I skipped the paper! Don’t forget to check out my tips over on my weeknight dinner page for how I prep ahead of time; it helps here too.
Preparing the Pan and Melting Chocolate for Flourless Chocolate Cake
First things first: we melt the chocolate and butter. Use a heatproof bowl set right over a pan of simmering water—don’t let the water touch the bottom of your bowl, or you risk scorching that beautiful chocolate! Stir it slowly until everything is glossy and combined. Once smooth, take it off the heat immediately and let it cool down while you work on the eggs. We don’t want hot chocolate scrambling our yolks!
Creating the Rich Chocolate Base and Folding in Egg Whites
In a separate bowl, whisk those egg yolks—just the yolks for now—with the sugar until they get pale and thick, almost ribbon-y. Stir in your vanilla extract. Now, gently fold that slightly cooled chocolate mixture right into your yolk base until it’s just blended. This is where the magic of the fudgy base happens!
Next, beat your egg whites with that little pinch of salt until they hold stiff peaks. This brings all the lift into our cake since we aren’t using any flour to help it rise. Very important tip: fold in about a third of those gorgeous whites first, just to loosen up the heavy chocolate batter. Then, gently fold in the rest of the whites in two batches. Seriously, be gentle! You want to keep those air bubbles intact. Fold until you see no white streaks left—that’s it. Overmixing here is what makes a dense, gummy cake instead of a wonderfully fudgy one. Pour it into your prepared pan, pop it in, and bake for 30 to 35 minutes. The edges should look firm, but the center might wobble just a tiny bit. Let it cool *completely* in that pan—it sinks as it cools, giving us that treasured crackled top!
Tips for a Perfect Crackled Top Flourless Chocolate Cake
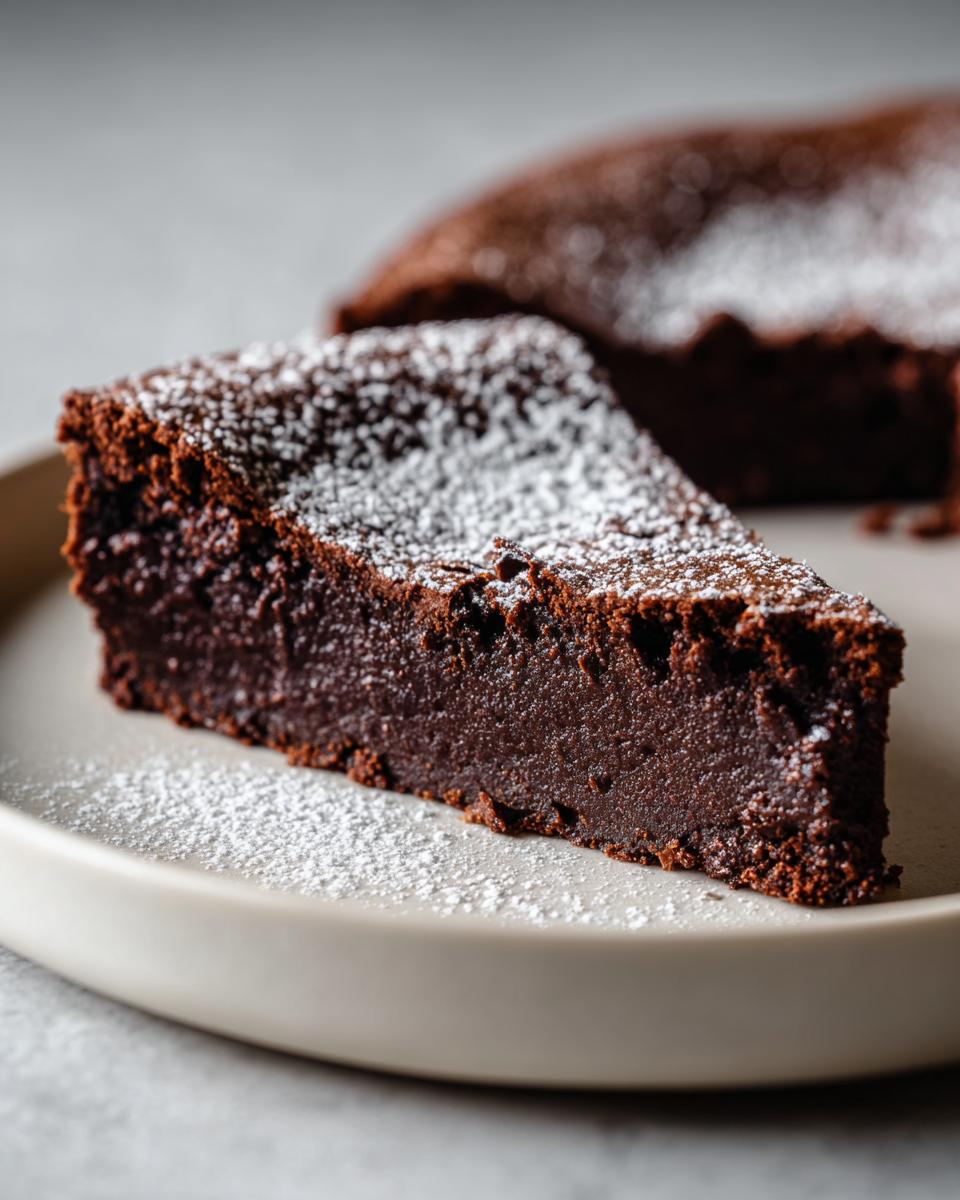
Okay, let’s talk about the finish, because the top of this cake is almost as famous as the texture inside! That delicate, slightly crisp, cracked surface on a truly flourless chocolate cake isn’t just pretty; it’s a sign that you nailed the process. It happens naturally, but a few tricks from my kitchen ensure you get that perfect rustic look every single time.
First, don’t fight the sink! When I first made this, I panicked when the center dropped after coming out of the oven. That sinking is exactly *how* you know it’s going to be fudgy underneath. If you pull it out when it looks perfectly puffed, it often dries out as it cools—we don’t want that here.
Here are my must-do checks:
- Chocolate Matters: Use the best bittersweet chocolate you can find—at least 60% cacao. Since there’s no flour competing for flavor, sharp, deep chocolate notes make a huge difference. It’s worth the splurge for a dessert this elegant!
- The Slight Wiggle Test: When the recipe says 30-35 minutes, start checking at 30. The edges should look set and slightly dry, but if you gently shake the pan, the absolute center should still have a little shimmy. If you insert a toothpick near the edge, it should come out with moist crumbs sticking to it, not wet batter. This slight underbake is what guarantees that melt-in-your-mouth texture later.
- Cool Slowly and Completely: Once it’s out of the oven, leave it alone! It needs to cool fully in the pan on the wire rack. This slow cooling period allows that pretty crackle to form as the structure settles. Don’t rush it with the fridge!
If you’re perfecting your baking game, you might also want to check out my notes on using maple and brown sugar in my cookie recipe—it’s all about managing moisture and how ingredients interact, which is exactly what we’re doing here!
Ingredient Notes and Substitutions for Your Fudgy Chocolate Dessert
Because this is such a rich chocolate cake recipe with so few moving parts, every ingredient really has to pull its weight. When you don’t have flour to bind and fluff things up, the quality of your chocolate and butter becomes non-negotiable, friends. I’ve played around with substitutions, but only when absolutely necessary!
Chocolate Choice is Crucial
You absolutely need to use bittersweet chocolate here—I recommend using something around 60% to 70% cacao. Bittersweet gives us that deep, intense chocolate flavor that keeps the cake from tasting overly sweet. Cutting back to semi-sweet is possible, but you’ll need to trim back the granulated sugar slightly, or it can start tasting a little one-note.
If you’re serving this to guests who love chocolate as much as I do, just make the splurge for the good stuff. It makes this fudgy chocolate dessert sing!
Butter vs. Other Fats
My recipe calls for good old unsalted butter, and I stick to it! Butter not only adds richness but contributes to that dense, wonderful structure, especially when paired with the fat from the egg yolks. If you’re staring at your pantry and only have salted butter, that’s okay—just omit the tiny pinch of salt we call for in the egg white bowl. You can technically use a neutral oil instead of butter in a pinch, but honestly, you’ll lose so much of that classic, velvety mouthfeel that makes this cake special. It’s just not the same amazing gluten free chocolate cake quality.
Handling the Eggs
Make sure your eggs are at true room temperature when you separate them! Cold egg whites do not whip up to the maximum volume we need. When they are room temperature, they become much easier to beat into stiff, airy peaks, which is the entire leavening system for this cake. This step is simple science!
Serving Suggestions for Your Elegant Chocolate Cake
This cake is naturally elegant, but a few simple additions can really take it over the top when you have guests over. We want to balance that intense, rich chocolate flavor, right? It’s decadent enough on its own, but it begs for something bright or airy alongside it.
When I serve this chocolate cake for a dinner party, I keep the toppings simple because the cake’s texture is the real star of the show. You don’t want to mask that fudgy wonder!
- Fresh Berries are Essential: Grab some fresh raspberries or sliced strawberries. The tartness cuts right through the richness of the chocolate beautifully. Even a little dusting of powdered sugar feels complete with a bright red berry next to it.
- Keep It Creamy: A light dollop of freshly whipped heavy cream is a fantastic pairing. If you have a high-speed mixer, take five minutes to whip up some cream with just a tiny sprinkle of sugar. It adds lightness without weighing the whole dessert down.
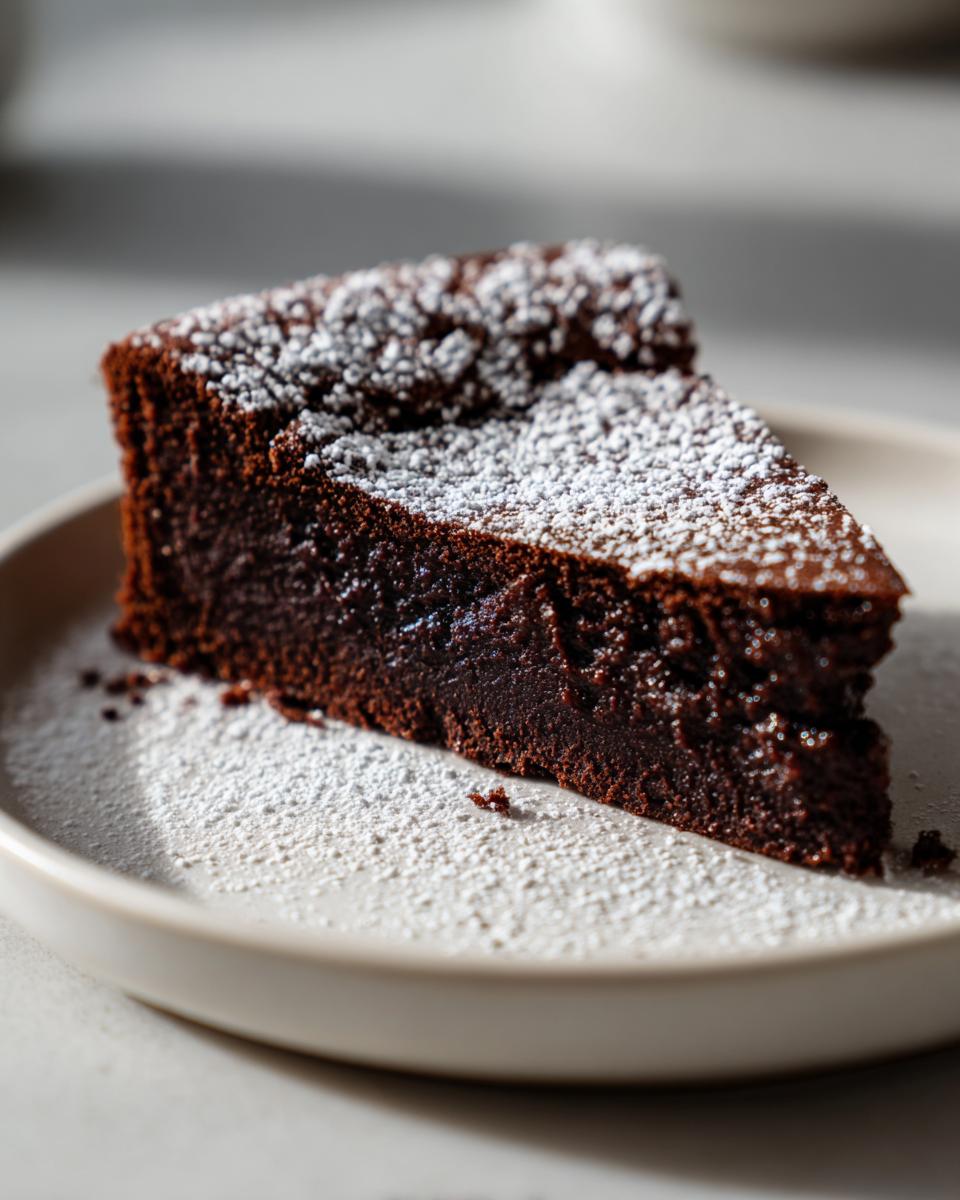
- Don’t Forget the Dusting: Remember that powdered sugar dusting we did after the cake cooled? That’s really your decorative element. It looks classy and keeps the plate from feeling too heavy.
- For the Grown-Ups: If you’re feeling adventurous, a drizzle of raspberry coulis or maybe even a nice dark coffee sauce on the plate makes it feel restaurant-quality. Sometimes I even make a quick cranberry topping, swapping the cranberries for raspberries—it provides that tartness perfectly.
Honestly, you could serve this bare, and people would still rave. But a nice contrast of cold cream and tart fruit just elevates it for an occasion!
Storage and Reheating Instructions for Leftover Flourless Chocolate Cake
Oh, the joy of having leftovers from a truly decadent dessert! If you’re lucky enough to have any of this flourless chocolate cake remaining, knowing how to store it correctly is key to keeping that fudgy texture intact. Since this cake is naturally moist and dense, it holds up better than cakes made with traditional flour, but we have to treat it right.
Here is my best advice for keeping this chocolate torte delicious for days. You’ll want to store it at room temperature for the first day or two, sealed tightly under a cake dome or placed in an airtight container. Why room temperature? Because refrigeration can sometimes mute the intense chocolate flavor and make the texture seem a little too firm initially.
Best Way to Store Your Rich Chocolate Cake
If you baked this on Monday, it’s usually perfect to serve straight away or the next day without chilling at all. I find the texture is actually best when it’s not cold! If you need to store it longer than two days, or if your kitchen is super hot and humid, then move it into the fridge.
When chilling it, cover it really well—plastic wrap pressed gently against the surface will prevent it from drying out or absorbing any weird fridge smells. Just remember, when you take it out of the fridge, give it about 30 to 45 minutes on the counter to come back to room temperature. That small window of warming up is what brings back that spectacular melt-in-your-mouth quality we worked so hard to achieve!
Can I Freeze This Gluten Free Chocolate Cake?
Yes, you absolutely can freeze it, especially if you baked it for a big event and have way too much! This cake freezes like a dream because it’s so dense.
Wrap individual slices tightly in plastic wrap first, then maybe pop those wrapped slices inside a freezer-safe zip-top bag. It should last beautifully for up to a month. When you’re ready to enjoy your gluten free chocolate cake again, just pull a slice out and let it thaw on the counter completely. No need to fuss with the oven!
Serving Leftovers: Chilled vs. Room Temperature
This depends entirely on your mood, honestly! If you are going for the purest, fudgiest experience, room temperature is the way to go. The butter in the cake softens slightly, and it just melts on your tongue.
However, some folks prefer it cold, especially if they are topping it with a soft whipped cream or a scoop of vanilla ice cream. Serving it chilled makes it feel a little firmer, almost like a dense fudge candy. Either way, don’t forget that final dusting of powdered sugar before serving! It wakes up the presentation.
Frequently Asked Questions About This Flourless Chocolate Cake Recipe
I get so many wonderful messages about this recipe, and a lot of you have the same few questions pop up, especially when you’re planning a big dinner party or figuring out your baking calendar. That’s smart planning! It’s always best to know these little details before you start melting that expensive chocolate.
Can I make this flourless chocolate cake ahead of time?
Oh, yes, you absolutely can! In fact, I think it tastes even better the next day. My rule is to let it cool completely, then leave it covered at room temperature overnight. It gives the flavors time to mingle and deepen. If you need to keep it longer than 24 hours, definitely chill it, but remember to take it out at least 45 minutes before you plan to serve it so it can soften back up and achieve that perfect melt-in-your-mouth feel. It’s one of the best tricks for making any Gluten Free Chocolate Cake feel less like a chore and more like a treat!
What do I do if my cake doesn’t sink or crackle on top?
Don’t panic! If it doesn’t sink, it means you did a bang-up job beating those egg whites, and congratulations! It means you have a slightly lighter, more mousse-like center, which is fantastic in its own right for this easy chocolate cake. The cake will still be incredibly rich and fudgy. The sinking and cracking are just characteristic of the high-egg-content bake; they aren’t the only signs of success. As long as the toothpick comes out with moist crumbs (not wet batter!), you are good to go.
Can I use milk chocolate instead of bittersweet chocolate?
You *can*, but I really advise against it if you want that deep, decadent chocolate dessert flavor. Milk chocolate has way more sugar and less cacao, and since this recipe has no flour to temper that sweetness, a milk chocolate version tends to taste a little too sweet and less intense. If you must go that route, I’d suggest cutting the granulated sugar in the yolk mixture down to 1/4 cup. For the best flavor, stick to the bittersweet, usually 60% cacao or higher—it makes this naturally gluten free dessert sing!
What’s the best way to cut this fudgy chocolate dessert neatly?
Cutting a warm, fudgy cake is a disaster, trust me on this one! The key to clean slices for your dinner party is heat. Use a long, thin knife—a chef’s knife works great. Dip the knife into a tall glass of very hot water, wipe it completely dry with a clean cloth, and then make your cut. Repeat this process for every single slice. Wiping the knife clean between cuts keeps the chocolate from dragging across the sides of the next slice!
For more general tips on baking without gluten, you can always check out my main Gluten Free Baking Recipes page for support.
Nutrition Facts for This Rich Chocolate Cake (Estimate)
It’s easy to feel guilty about how incredibly good this cake tastes, but since it skips all the empty calories from flour, it’s actually a beautifully balanced indulgence! Please remember that these values are just estimates since the final counts depend heavily on the exact percentage of cacao in the chocolate you choose. We base these calculations on the standard recipe proportions listed above.
- Serving Size: 1 slice
- Calories: 350
- Sugar: 25g
- Sodium: 150mg
- Fat: 25g
- Saturated Fat: 15g
- Carbohydrates: 28g
- Fiber: 3g
- Protein: 8g
- Cholesterol: 150mg
For another genuinely simple dessert that everyone enjoys, take a peek at this fantastic recipe I found online; it also focuses on minimal ingredients, which is just my style: Flourless Chocolate Cake Recipe Easy 5-Ingredient Dessert to Impress.
Nutrition Facts for This Rich Chocolate Cake (Estimate)
It’s easy to feel guilty about how incredibly good this cake tastes, but since it skips all the empty calories from flour, it’s actually a beautifully balanced indulgence! Please remember that these values are just estimates since the final counts depend heavily on the exact percentage of cacao in the chocolate you choose. We base these calculations on the standard recipe proportions listed above.
- Serving Size: 1 slice
- Calories: 350
- Sugar: 25g
- Sodium: 150mg
- Fat: 25g
- Saturated Fat: 15g
- Carbohydrates: 28g
- Fiber: 3g
- Protein: 8g
- Cholesterol: 150mg
Decadent, Easy Flourless Chocolate Cake
Make this rich, fudgy flourless chocolate cake. This simple, naturally gluten-free dessert delivers a melt-in-your-mouth texture perfect for any dinner party or special occasion.
- Prep Time: 15 min
- Cook Time: 35 min
- Total Time: 50 min
- Yield: 8 servings 1x
- Category: Dessert
- Method: Baking
- Cuisine: American
- Diet: Gluten Free
Ingredients
- 8 ounces bittersweet chocolate, chopped
- 1/2 cup (1 stick) unsalted butter
- 3 large eggs, separated
- 1/2 cup granulated sugar
- 1 teaspoon vanilla extract
- Pinch of salt
- Powdered sugar, for dusting
Instructions
- Preheat your oven to 350°F (175°C). Grease and line the bottom of an 8-inch round cake pan with parchment paper.
- Melt the chopped bittersweet chocolate and butter together in a heatproof bowl set over a saucepan of simmering water, stirring until smooth. Remove from heat and let cool slightly.
- In a separate bowl, beat the egg yolks with the granulated sugar until the mixture is pale and thick. Stir in the vanilla extract.
- Gently fold the slightly cooled chocolate mixture into the egg yolk mixture until just combined.
- In a clean, dry bowl, beat the egg whites with a pinch of salt until stiff peaks form.
- Gently fold one-third of the beaten egg whites into the chocolate mixture to lighten it. Then, fold in the remaining egg whites until no white streaks remain. Do not overmix.
- Pour the batter into the prepared cake pan.
- Bake for 30 to 35 minutes. The edges will look set, and the center may still look slightly soft. A toothpick inserted near the edge should come out with moist crumbs.
- Let the cake cool completely in the pan on a wire rack. The cake will sink slightly as it cools, creating a crackled top.
- Once cool, carefully remove the cake from the pan. Dust the top generously with powdered sugar before slicing and serving.
Notes
- For a richer flavor, use high-quality dark chocolate.
- This cake is naturally gluten free, making it a great option for guests with dietary needs.
- Serve this melt in your mouth dessert with fresh raspberries or a dollop of whipped cream.
Nutrition
- Serving Size: 1 slice
- Calories: 350
- Sugar: 25
- Sodium: 150
- Fat: 25
- Saturated Fat: 15
- Unsaturated Fat: 10
- Trans Fat: 0
- Carbohydrates: 28
- Fiber: 3
- Protein: 8
- Cholesterol: 150