
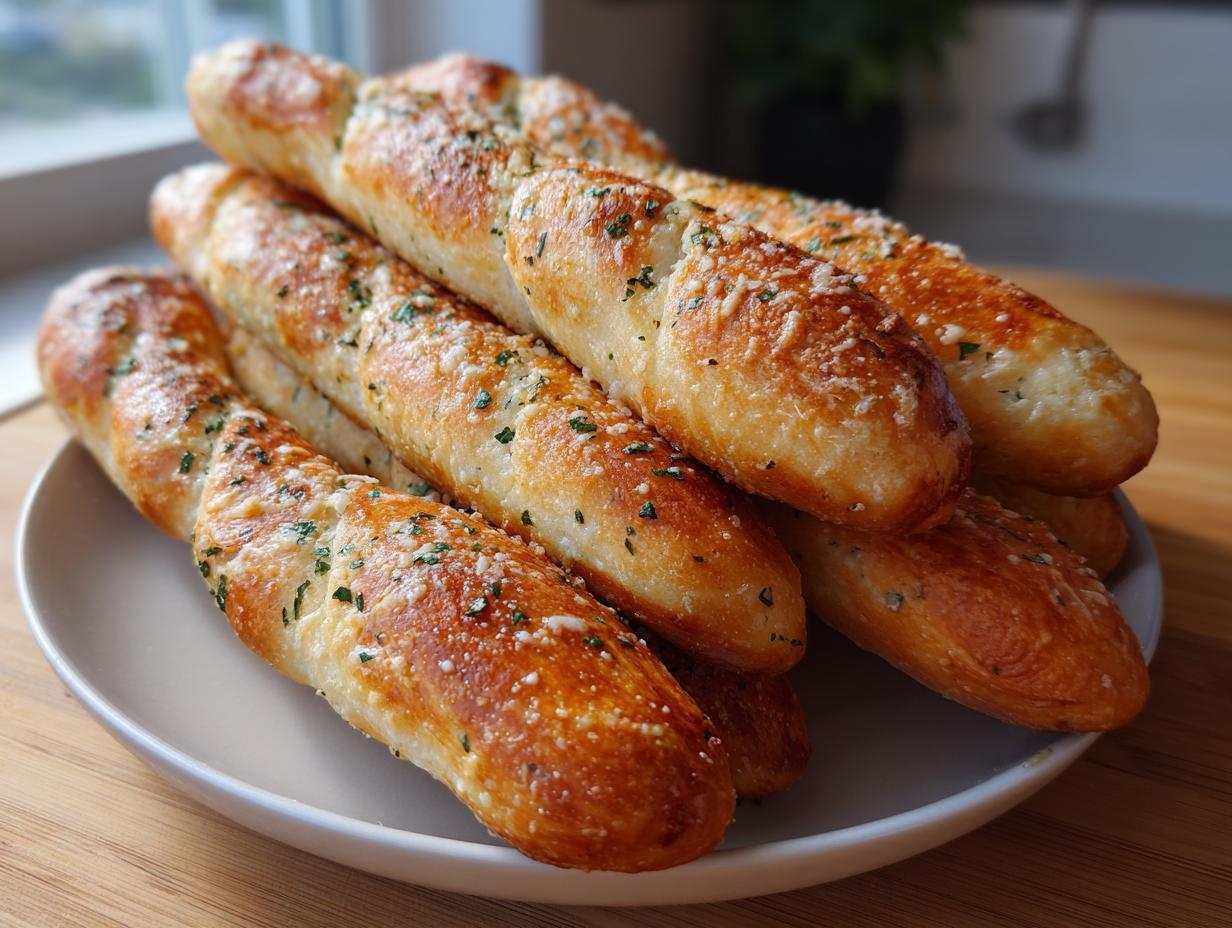
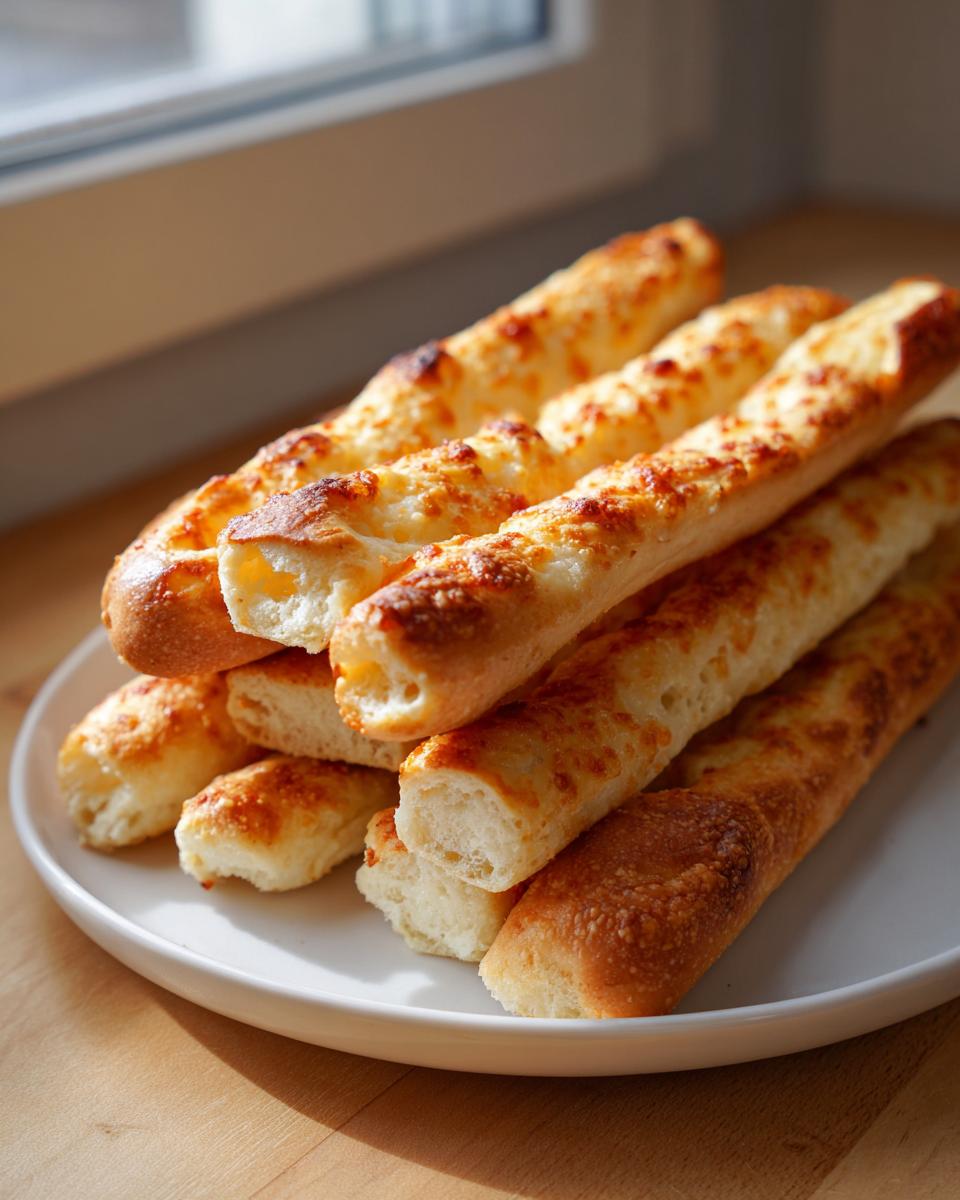
It happens to me every time we go out for Italian: I start ignoring the main course menu because all I can really think about are those warm, salty, buttery breadsticks they bring out first. Doesn’t that smell just make you melt? For years, I tried to match that magic at home, and I finally nailed it! I’m so thrilled to share these Soft & Chewy Copycat Garlic Parmesan Breadsticks with you. This recipe is my simple, tested way to bring that restaurant favorite right to your kitchen table, proving you don’t need a ton of time to get that perfect, fluffy texture every single time. If you’re also looking for amazing sides year-round, don’t forget to check out my recipe for easy homemade cranberry sauce, though that’s usually for the holidays!
- Why You Will Love These Soft Fluffy Breadsticks
- Essential Ingredients for Perfect Garlic Parmesan Breadsticks
- Step-by-Step Instructions for Homemade Breadsticks
- Tips for Making the Best Breadsticks Recipe
- Variations for Your Cheesy Breadsticks
- Serving Suggestions for Dipping Breadsticks
- Storage and Reheating Your Homemade Breadsticks
- Frequently Asked Questions About Making Breadsticks
- Nutritional Estimates for These Breadsticks
Why You Will Love These Soft Fluffy Breadsticks
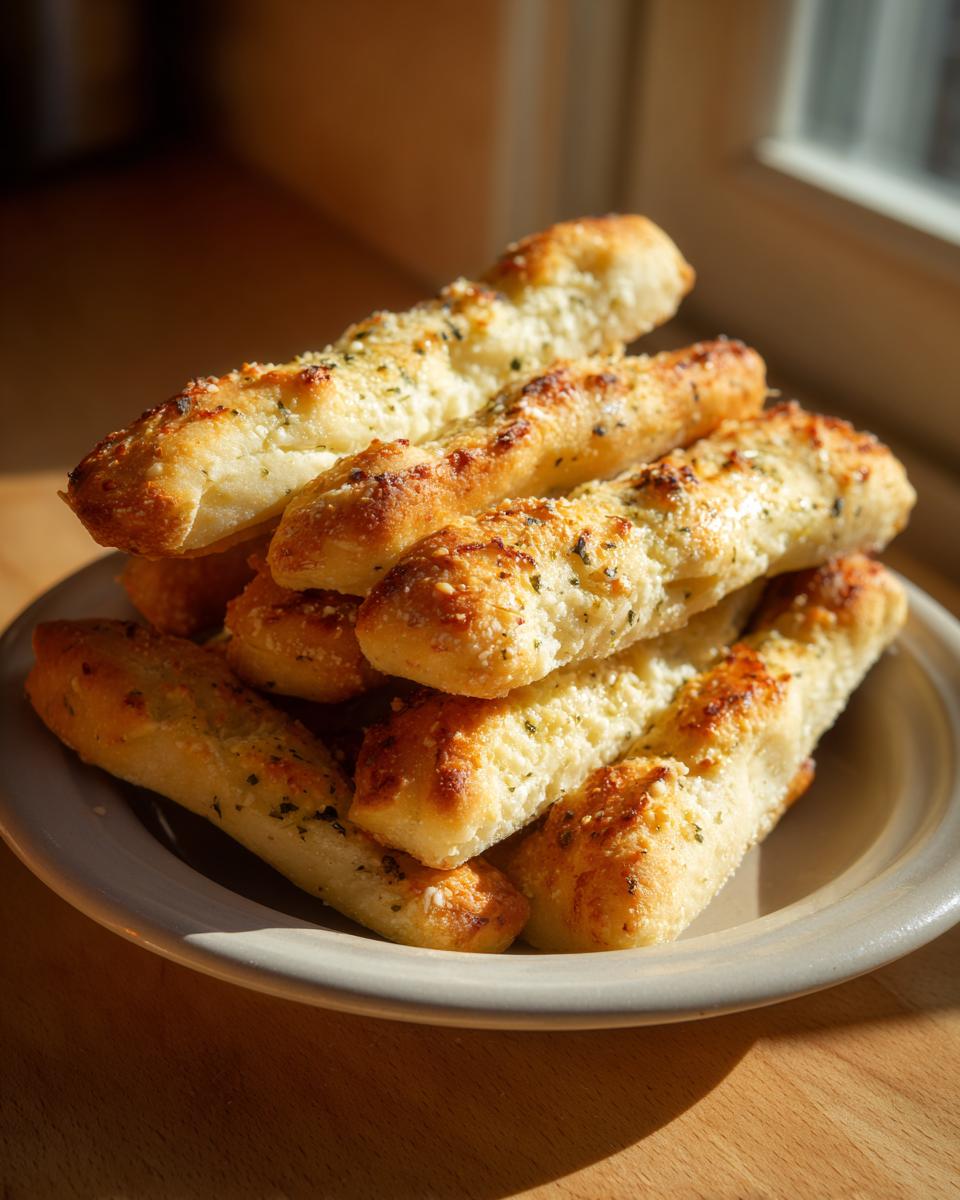
Honestly, why wouldn’t you love them? I developed this version because I needed that perfect, pillowy texture without a ton of fuss. These aren’t the dry, cracker-like ones—these are the real deal!
- They taste almost exactly like that famous Olive Garden copycat style we all crave!
- Super easy to make; the dough does most of the hard work while it rises.
- Drenched in a rich garlic Parmesan butter after baking for that irresistible cheesy finish.
- They are just screaming to be dunked in soup or sauce. Seriously, try them with my chicken scampi sometime!
Essential Ingredients for Perfect Garlic Parmesan Breadsticks
I’m Mia, and I bake by feel, but even I stick to the list for these breadsticks. The quality of your simple ingredients really dictates how soft and delicious these turn out. If your yeast dies, your breadsticks die, trust me on this one! We need active yeast for that glorious rise.
For the dough itself, you’ll need:
- 1 cup warm water (Make sure that temperature is between 105-115°F—too hot and you kill the yeast!).
- 2 1/4 teaspoons active dry yeast
- 1 teaspoon granulated sugar (This feeds the yeast and gets the bubbles going!)
- 2 3/4 cups all-purpose flour, plus more for dusting
- 1 teaspoon salt
- 2 tablespoons unsalted butter, melted
Now, we get to the real flavor party—the topping! This is what separates the good ones from the ones you dream about. You’ll want:
- 4 tablespoons unsalted butter, melted (See, we use butter everywhere!)
- 2 cloves garlic, minced (Freshly minced makes all the difference to the flavor!)
- 1/2 cup grated Parmesan cheese, plus more for topping (Don’t skip the grating—the pre-shredded stuff doesn’t melt as nicely.)
- 1 teaspoon dried parsley
Using good quality butter for that melt-in-your-mouth finish is key here for maximum flavor. If you want to start practicing your garlic butter technique early, I have a dedicated easy garlic butter recipe you might want to bookmark before you even start on the dough!
Step-by-Step Instructions for Homemade Breadsticks
Okay, this is where the magic happens! We take humble pantry staples and turn them into restaurant royalty. Don’t be intimidated by the yeast; it’s actually the easiest part, provided you check that water temperature. We’re aiming for those perfectly soft, fluffy breadsticks that soak up all the sauce, so pay attention to the kneading and rising times—they are non-negotiable for getting that airy texture!
Activating the Yeast and Mixing the Dough for Your Breadsticks
First things first: let’s wake up that yeast. In your bowl, mix the warm water, the yeast, and the little bit of sugar. You need the water to be just warm, think bathwater temperature, around 105 to 115°F. If it’s too cold, the yeast just sleeps in. If it’s too hot, you scald it, and then it’s game over, no rise for you! Wait about 5 to 10 minutes until you see foam bubbles forming on top—that’s nature’s signal that your yeast is happy and ready to work its airy wonders.
Once it’s foamy, you toss in your flour, salt, and the first bit of melted butter. Mix it up with a wooden spoon until it looks sort of messy, like a shaggy mass. That’s exactly right for now.
Kneading and Rising: Building the Fluffy Breadsticks Texture
Time to get your hands in there! Turn that shaggy dough out onto a floured surface and knead it until it feels smooth and elastic. If you’re using a stand mixer, just 5 minutes on low/medium speed will do the trick. This kneading develops the gluten structure, which means your finished breadsticks will have that wonderful chewiness instead of crumbling apart. Once it’s nicely smooth, put that dough into an oiled bowl, cover it up tight, and let it have its nap in a warm spot for one full hour. Don’t rush this! That hour is essential for creating the soft, fluffy insides.
Shaping, Baking, and Applying the Garlic Butter Breadsticks Topping
Once the dough has doubled? Gently punch it down—I know, it feels mean, but we have to release that air! Roll it out into a rectangle, about half an inch thick, and then use a pizza cutter to slice it into strips about one inch wide. Pop those strips onto a parchment-lined baking sheet, leaving a tiny bit of room around each one.
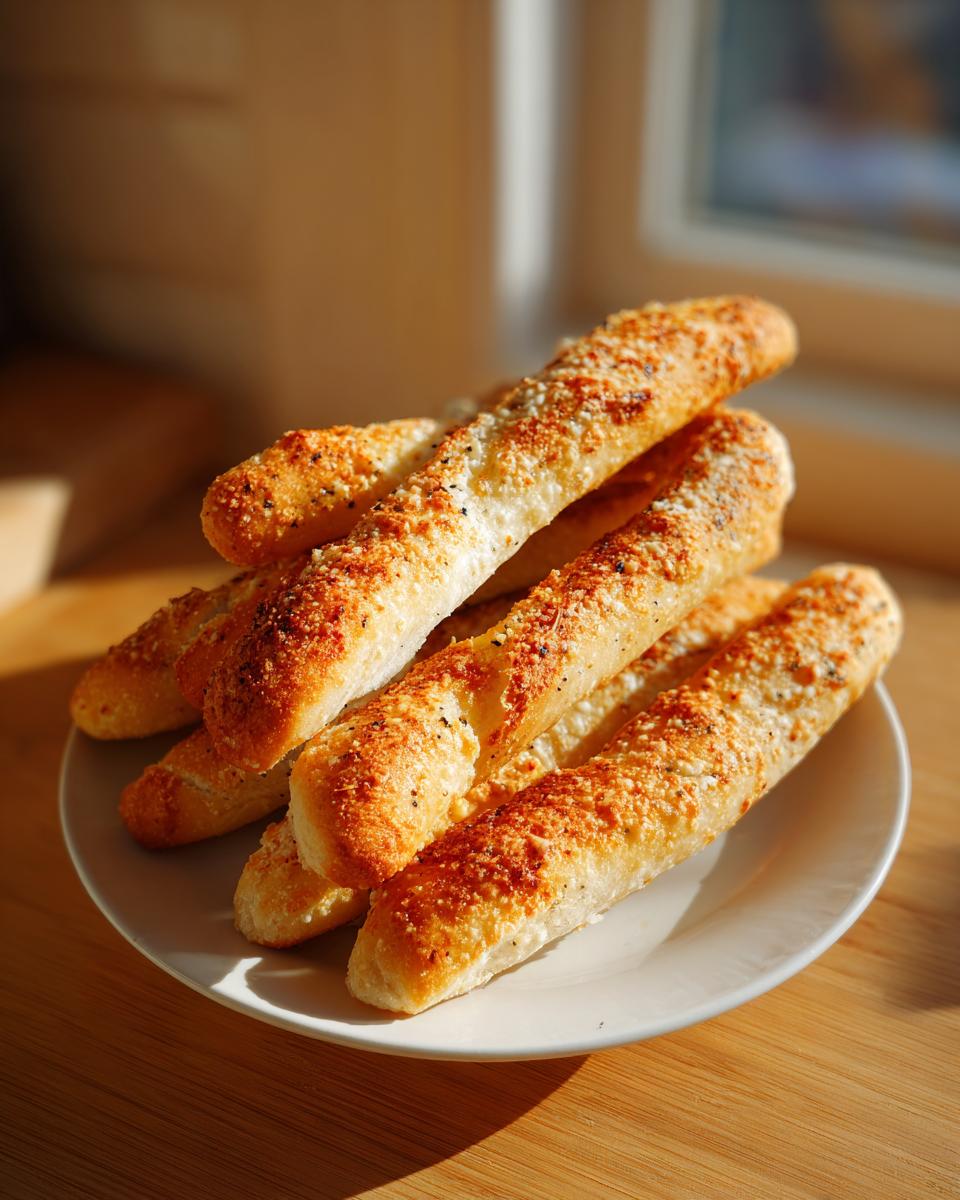
Bake them in a 400°F oven for just 10 to 12 minutes; you want them golden, not dark brown. While they’re baking, whisk together that final melted butter, the minced garlic, Parmesan, and parsley. The second they come out of the oven, brush that fragrant garlic butter mixture all over those hot breadsticks. Finish with an extra sprinkle of Parmesan while they are still steaming. They won’t last long, I promise!
If you’re making soup tonight to go with these, remember my recipe for homemade cream of chicken soup is fantastic!
Tips for Making the Best Breadsticks Recipe
You know I’m all about keeping things simple, but when it comes to breadsticks, technique is everything! Following the notes from my kitchen experiments is how you go from “pretty good” to “I’m never buying these again.”
First major tip: do not over-knead the dough after the first rise. When you gently deflate it, you want to handle it as little as possible. Overworking it once it’s developed all that lovely gas just deflates the air right out, and you end up with tough breadsticks instead of those soft, fluffy pillows we love.
For the flavor enhancement—the garlic butter—try this: you want to let that minced garlic actually sit in the melted butter for about five minutes before you brush it on. This gives the warm butter time to pull all that sharp, gorgeous flavor out of the raw garlic. It deepens the taste wonderfully!
Also, if you are looking for something similar but different, you have to look at my recipe for gooey pull-apart garlic cheese bread—it uses a similar flavored topping!
Variations for Your Cheesy Breadsticks
As much as I love mastering this classic garlic Parmesan breadsticks recipe, sometimes you just need to mix things up, right? Baking is flexible once you nail the basic dough, and I’ve tested a few easy swaps that really elevate the flavor profile without taking extra rise time.
If you’re feeling adventurous, try jazzing up that garlic butter topping! Throw in a half teaspoon of red pepper flakes when you mix the butter and garlic for a little spicy kick—they become amazing spicy breadsticks that cut through the richness.
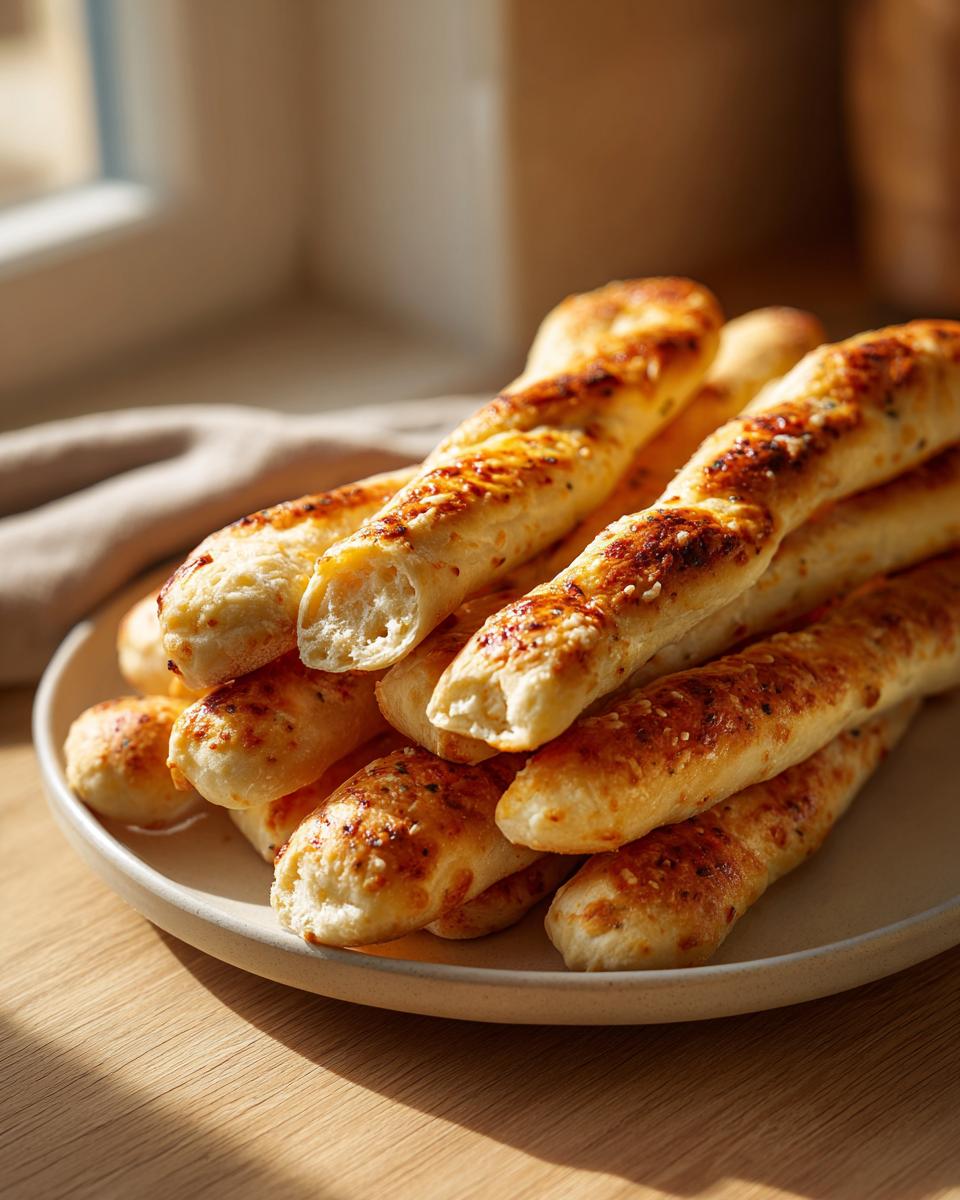
You can also easily change up the cheese. Instead of just Parmesan, try mixing in some shredded mozzarella or even cheddar for gooey, stretchy cheesy breadsticks. You’ll want to add that cheese right before they finish baking so it melts perfectly, not just when you brush the butter on.
And for herbs? Swap the parsley for dried rosemary or oregano for a more rustic, Italian bread feel. This recipe is seriously versatile! Speaking of great family meals, if you need a hearty entree to go with these, my bacon cheeseburger casserole is always a huge hit.
Serving Suggestions for Dipping Breadsticks
These garlic Parmesan breadsticks are definitely their own star, but let’s be real—they were born to be dipped! When you have a batch of warm, soft breadsticks fresh from the oven, you need something amazing to dunk them into. They are truly versatile appetizer breadsticks, perfect for saving a boring weeknight dinner or kicking off a big Friday night feast.
For me, the ultimate pairing has to be a hearty, savory soup. My favorite lately is pairing them with crockpot lasagna soup. The rich tomato and cheesy flavors soak right into the buttery breadsticks—it’s pure comfort food heaven.
You absolutely cannot go wrong serving them alongside any pasta dish, especially if there’s a good red sauce involved. Think spaghetti and meatballs or baked ziti. They act like perfect sponges for all that extra marinara sauce left on your plate!
If you aren’t eating soup or pasta, here are a few quick dipping ideas:
- A simple, quality marinara sauce (warm it up first!).
- A creamy ranch dressing for a different flavor profile.
- Garlic Aioli if you really love that savory punch.
- Pizza sauce—it’s kind of like dipping breadsticks in cheese pizza topping, right? It works!
Whatever you choose, make sure you have plenty! These homemade breadsticks disappear faster than you can believe.
Storage and Reheating Your Homemade Breadsticks
I get asked all the time: “Mia, how do I make sure these stay soft tomorrow?” Because honestly, those freshly baked breadsticks are unbeatable straight from the oven, but day-two breadsticks can sometimes feel a little… sad. Don’t worry! Keeping these homemade breadsticks soft and delicious is really straightforward once you know the trick.
When you have any leftovers—which I doubt you will, but humour me—you need to contain that moisture. Pop the cooled breadsticks into an airtight container. I mean it, airtight! If you leave them exposed on the counter, they start drying out immediately. They should last pretty well on the counter for a day, maybe two, if you seal them up tight. If you need them to last longer, the freezer is your friend, but let’s talk about restoring that gorgeous fluff first.
Reheating is crucial for bringing back that fresh-out-of-the-oven experience. Never, ever microwave them if you want them soft; that just makes them tough and chewy in a bad way. The best method is the oven. Wrap your breadsticks loosely in foil—this traps the steam—and warm them up in a 350°F oven for about 5 to 8 minutes. They heat through gently, the butter softens again, and that garlic aroma comes right back!
If you happen to find old ones hiding in the back of the freezer, let them thaw for an hour first, then wrap them in foil and bake them a little longer, maybe 10 to 12 minutes. It’s a game-changer, trust me. If you’re looking for another recipe that holds up beautifully after freezing and reheating, try my easy puff pastry apple strudel; the turnover style of crust handles freezing much better than yeast doughs!
Frequently Asked Questions About Making Breadsticks
I always get asked questions when people first try making these breadsticks from scratch, and honestly, they are all great points! It helps take your baking from good to fantastic. Here are the ones I hear the most often in my kitchen.
Can I make these breadsticks without waiting for the dough to rise?
Oh, I know the feeling when you want quick breadstick recipe *right now*! You technically can skip the rise, yes, but I have to warn you—it will completely change the texture. If you skip that hour, you will end up with much denser, almost cracker-like breadsticks, not the soft, fluffy breadsticks we’re aiming for! The rise is what introduces the air pockets needed for that wonderful chew.
What is the best way to store leftover Parmesan breadsticks?
You want to treat leftovers right so they’re delicious the next day! Make sure they are completely cool, and then store your homemade breadsticks in an airtight container. If they are still warm when you seal them up, you’ll create steam, and that’s when they get gummy. If they do get a little stiff the next morning, just pop them in the oven for 5 minutes at 350°F to wake up that butter!
Another common question is about cheese. If you want them cheesier? Add a second layer of mozzarella cheese during the last 3 minutes of baking, right before you pull them out to brush with the garlic butter. That extra cheese makes them amazing dipping breadsticks!
For more tips on saving leftovers from my site, check out my guide on easy homemade cranberry sauce recipe—though those keep longer than bread, the storage principles are similar!
Nutritional Estimates for These Breadsticks
Now, I really want everyone to know that I base these numbers on standard ingredient calculations. If you use extra butter on your topping—and honestly, who can blame you?—or switch up the cheese, your numbers will look a little different. These estimates are just a helpful guide for those watching their intake, made with the basic recipe ratios we discussed.
When we look at the nutrition breakdown for roughly two of these amazing garlic breadsticks, here’s what we are looking at:
- Serving Size: 2 breadsticks
- Calories: 180
- Fat: 8g
- Saturated Fat: 4g
- Carbohydrates: 23g
- Protein: 5g
- Sugar: 1g
- Sodium: 250mg
- Fiber: 1g
Remember, these are based strictly on the ingredients listed in the recipe card. Since we are using real butter and full-fat Parmesan cheese, you do get some wonderful richness, but that’s what makes them so satisfying! If you are looking for recipes that are lighter overall, you might enjoy my maple brown sugar cookies, which I try to keep lighter on the fat content.
For more quick meal side dishes, some other home cooks have some great ideas over at Indiana Recipes for sheet pan versions!
PrintSoft & Chewy Copycat Garlic Parmesan Breadsticks
Make soft, fluffy, and buttery breadsticks at home that taste like your favorite restaurant version. This easy recipe uses simple ingredients to create the best homemade garlic breadsticks perfect for dipping.
- Prep Time: 20 min
- Cook Time: 12 min
- Total Time: 1 hour 32 min
- Yield: 16 servings 1x
- Category: Side Dish
- Method: Baking
- Cuisine: American
- Diet: Vegetarian
Ingredients
- 1 cup warm water (105-115°F)
- 2 1/4 teaspoons active dry yeast
- 1 teaspoon granulated sugar
- 2 3/4 cups all-purpose flour, plus more for dusting
- 1 teaspoon salt
- 2 tablespoons unsalted butter, melted, plus 4 tablespoons for topping
- 1/2 cup grated Parmesan cheese, plus more for topping
- 2 cloves garlic, minced
- 1 teaspoon dried parsley
Instructions
- In a large bowl, combine the warm water, yeast, and sugar. Let this mixture sit for 5 to 10 minutes until it becomes foamy. This shows the yeast is active.
- Add the flour, salt, and 2 tablespoons of melted butter to the yeast mixture. Mix with a wooden spoon or in a stand mixer with a dough hook until a shaggy dough forms.
- Knead the dough on a lightly floured surface for 5 to 7 minutes until it becomes smooth and elastic. If using a stand mixer, knead for 5 minutes.
- Place the dough in a lightly oiled bowl, turning to coat. Cover the bowl with plastic wrap or a clean kitchen towel. Let the dough rise in a warm place for 1 hour, or until it has doubled in size.
- Preheat your oven to 400°F (200°C). Line a large baking sheet with parchment paper.
- Gently punch down the risen dough. On a lightly floured surface, roll or stretch the dough into a large rectangle, about 1/2 inch thick.
- Use a knife or pizza cutter to cut the dough into strips about 1 inch wide.
- Transfer the breadstick strips to the prepared baking sheet, leaving a small space between them.
- Bake for 10 to 12 minutes, or until the breadsticks are lightly golden brown.
- While the breadsticks bake, prepare the topping: In a small bowl, melt the remaining 4 tablespoons of butter. Stir in the minced garlic, 1/2 cup of Parmesan cheese, and dried parsley.
- Immediately after removing the breadsticks from the oven, brush the garlic butter mixture evenly over the tops of the hot breadsticks.
- Sprinkle extra grated Parmesan cheese over the buttered breadsticks while they are still warm.
- Serve the homemade breadsticks warm as a dinner side or appetizer.
Notes
- For the softest texture, do not over-knead the dough after the first rise. You want them fluffy, not tough.
- If you want a stronger garlic flavor, let the minced garlic sit in the melted butter for 5 minutes before brushing it on the breadsticks.
- These breadsticks are excellent for dipping into marinara sauce or soup.
Nutrition
- Serving Size: 2 breadsticks
- Calories: 180
- Sugar: 1
- Sodium: 250
- Fat: 8
- Saturated Fat: 4
- Unsaturated Fat: 4
- Trans Fat: 0
- Carbohydrates: 23
- Fiber: 1
- Protein: 5
- Cholesterol: 15