
There is nothing quite like coming in from the cold and wrapping your hands around a mug steaming with rich, dark chocolate goodness. That comforting feeling—that’s what cooking is all about, connecting us back to those simple, warm moments I remember from my Ohio childhood. Forget those grainy packets you grab in a pinch! Today, we are making the absolute best hot cocoa mix from scratch. This recipe is so straightforward—it uses just simple pantry staples you already have, and here’s the secret: we skip the powdered milk entirely! This gives us a pure, deep chocolate taste that reminds me exactly of the simple, wholesome connections my family always valued, just like the ones I shared on my journey here.
- Why This Homemade Hot Cocoa Mix is Your New Pantry Staple
- Gathering Ingredients for Your Big Batch Hot Cocoa Mix
- Easy Cocoa Mix Recipe: Step-by-Step Instructions
- Making Your Hot Cocoa Mix Gift Idea: Hot Chocolate Mix in a Jar
- Storing Your Shelf Stable Cocoa Mix for Months
- Variations for Your DIY Hot Chocolate Mix
- Tips for the Best Homemade Hot Cocoa Mix Experience
- Frequently Asked Questions About This Cocoa Mix
- Nutritional Estimates for Your Homemade Chocolate Drink Mix
Why This Homemade Hot Cocoa Mix is Your New Pantry Staple
I promise you, once you make a batch of this hot cocoa mix, you won’t look back at the stuff in the cardboard boxes! This recipe is designed for real life—meaning it’s lightning fast to put together and it lasts forever in the pantry. I love seeing how many people take this recipe and package it up for quick, thoughtful gifts during the holidays. It feels so much more personal!
- It takes literally five minutes to mix up a big batch. Seriously, set a timer!
- The flavor profile leans into a truly rich creamy hot cocoa experience, even without the dried milk powder.
- It’s completely shelf stable; you can keep this hiding in your cupboard for months waiting for that first snow day.
If you’re looking for more ultra-simple recipes to save time during busy weeks, you should check out my thoughts on quick weeknight dinners. Consistency in the pantry is key!
Achieving Rich Creamy Hot Cocoa Texture
So, how do we get that wonderful velvety feel without adding powdered milk? It’s all in the balance!
The combination of using both granulated and powdered sugar works magic here. The finest sugar dissolves instantly, creating a smooth base. But the real secret for that *rich* texture comes when you serve it. If you whisk this mix into hot milk—any kind you like, dairy or oat milk—instead of just water, you instantly get a luxuriously creamy mug. Water works in a pinch, but hot milk is what makes this divine. Trust me on this one!
Gathering Ingredients for Your Big Batch Hot Cocoa Mix
This is the simplest part, I promise! When I set out to create a recipe that truly belongs in any busy home, I started by looking only in the pantry. We don’t need fancy imported chocolate or specialty items here. This is old-fashioned goodness built on basics. You’ll only need four things to make a huge batch of our go-to homemade chocolate powder—enough to keep you cozy all the way through the chilly months!
Here are the few items you’ll need to grab before we start mixing:
- 2 cups powdered sugar
- 3/4 cup unsweetened cocoa powder
- 1/2 cup white granulated sugar
- 1/4 teaspoon salt
Ingredient Specifications and Notes
You’ll notice our list is short and sweet, which is exactly what we love! We are skipping the dried milk powder here to keep that pure, intense chocolate flavor we talked about. That’s what makes this recipe so special—it really lets that good quality cocoa shine through without any chalkiness.
However, if you’re absolutely craving that extra layer of richness, don’t worry! You are welcome to add 1 cup of non-fat dry milk powder right into this base recipe when you mix everything up. It works perfectly fine, though you’ll be relying on the milk you add during serving for that velvety finish.
Speaking of serving, just remember my little tip from earlier: if you want the creamiest final drink that tastes like it came from a fancy cafe, always opt for using hot milk instead of hot water when you prepare your mug. It makes a huge, cozy difference!
Easy Cocoa Mix Recipe: Step-by-Step Instructions
We got the ingredients gathered, and now for the best part—putting it all together! This entire process for the hot cocoa mix takes about five minutes total. Yes, five minutes! That’s because we aren’t baking or messing with complicated temperatures; we are just mixing powders. The total time commitment is so tiny that this is the perfect thing to whip up anytime you need a little comfort or a quick whipped hot chocolate boost.
Mixing the Hot Cocoa Mix Thoroughly
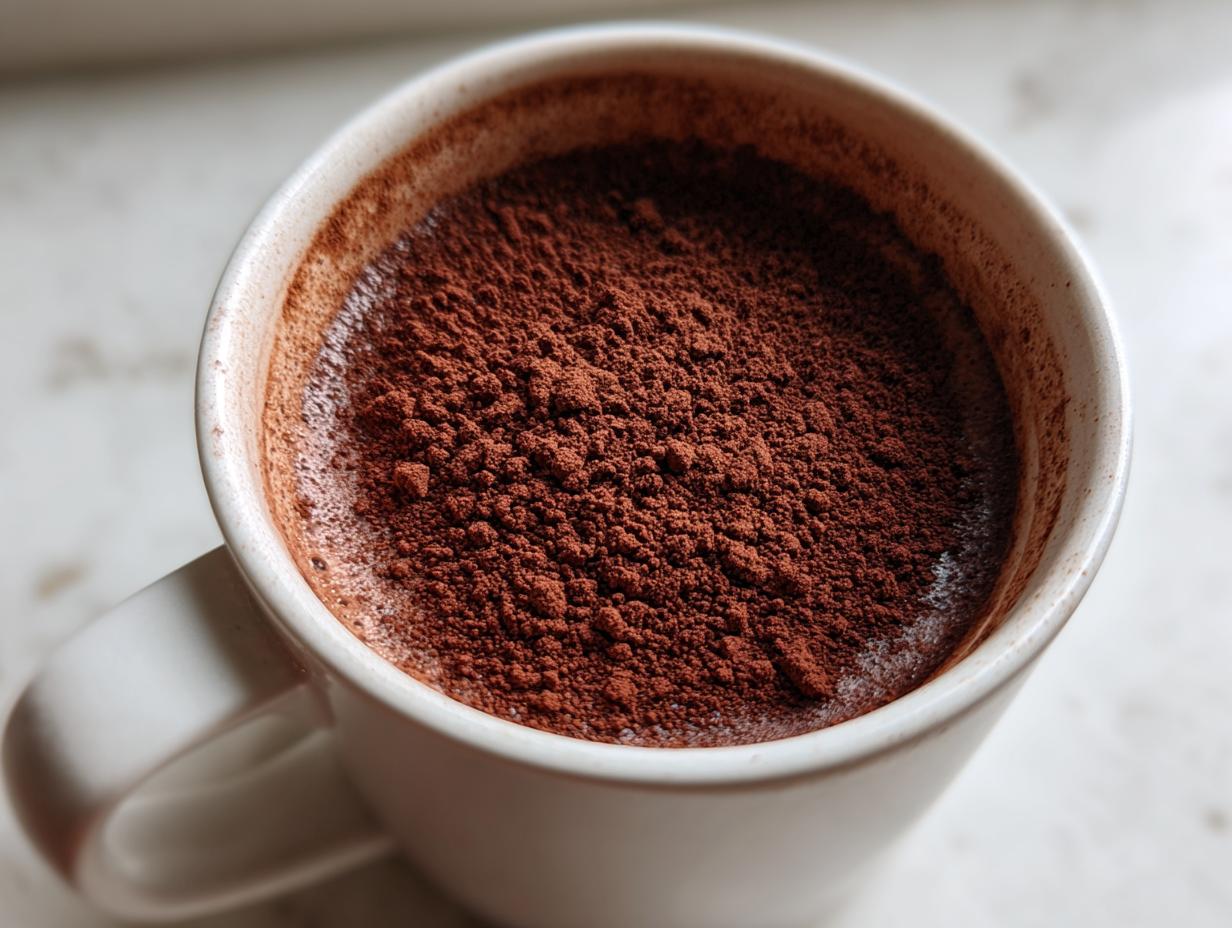
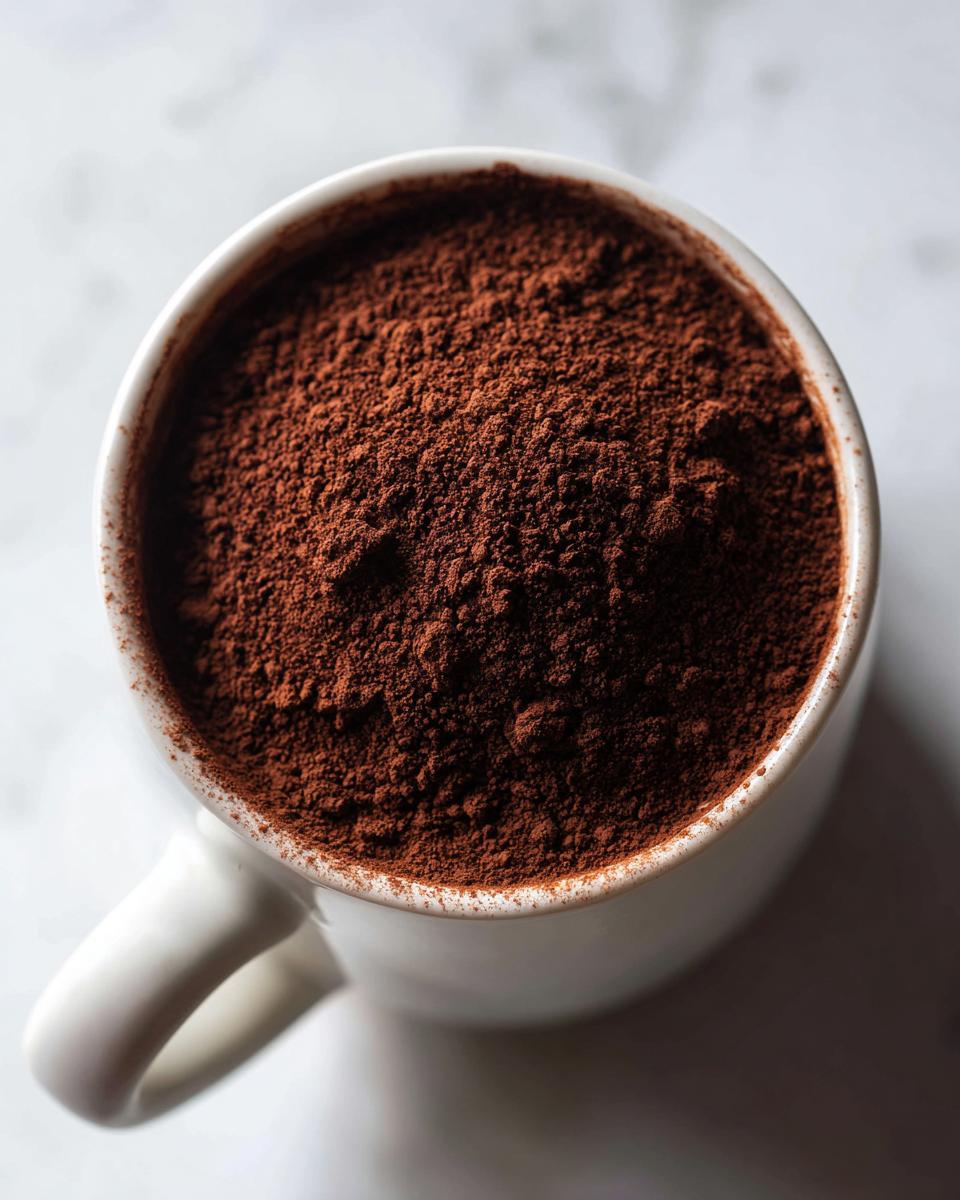
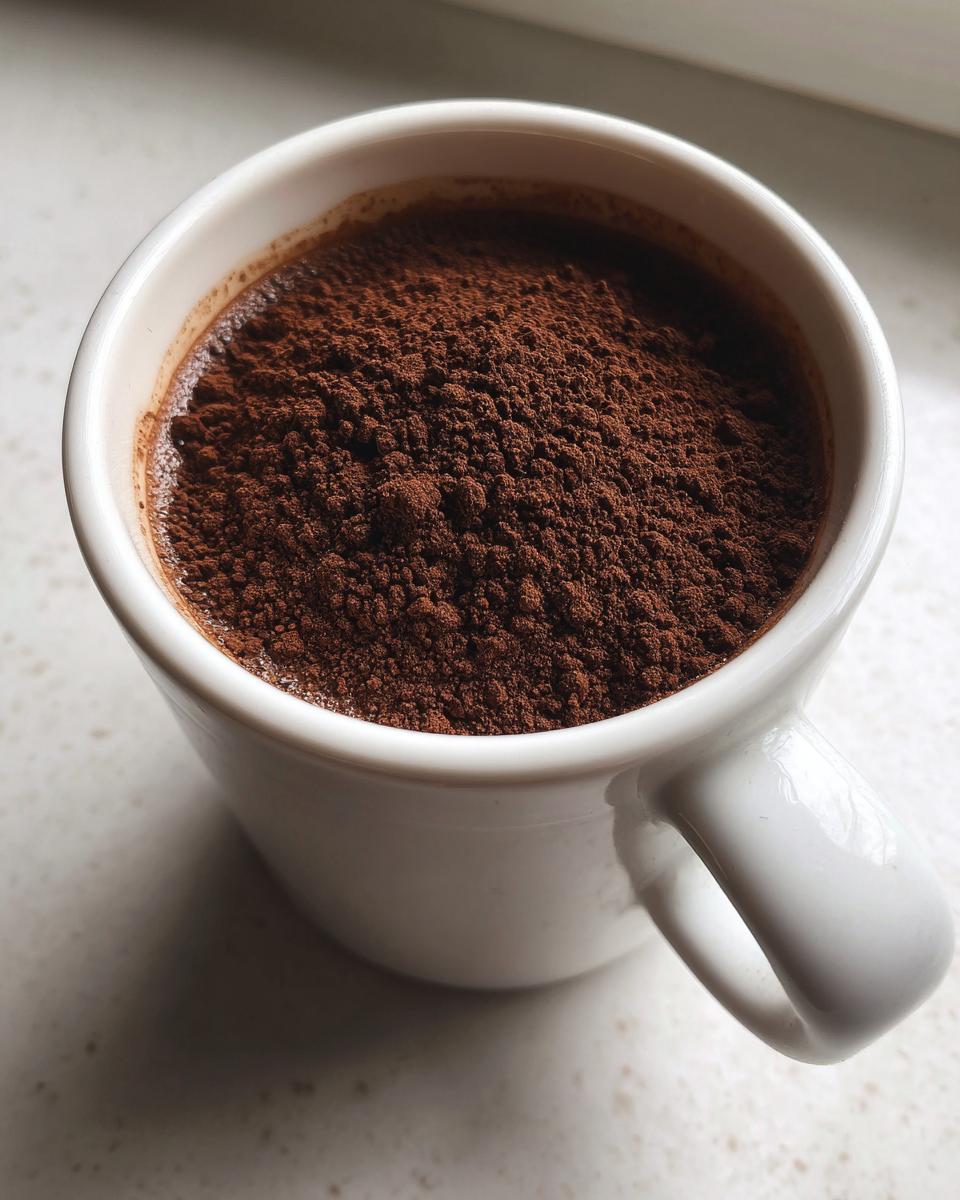
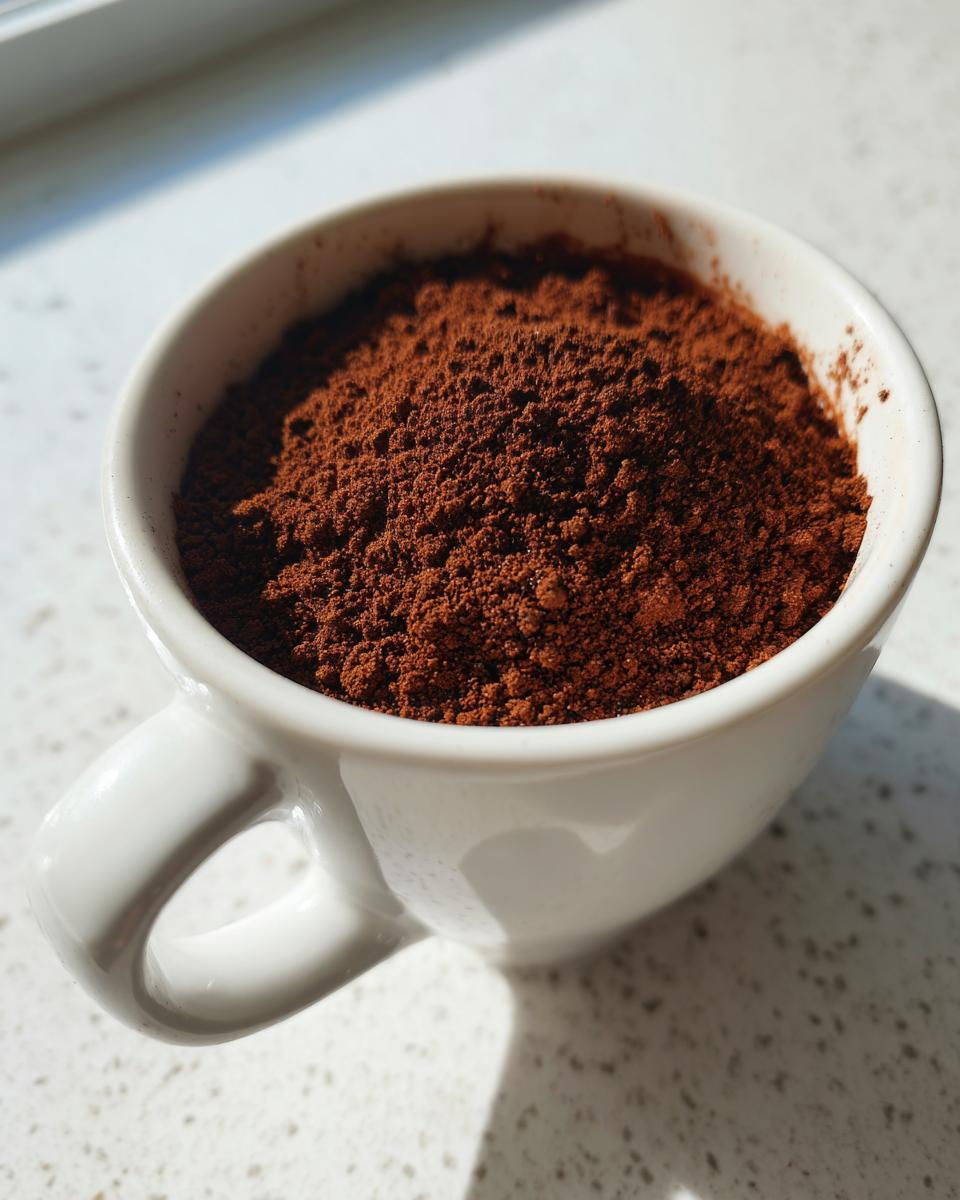
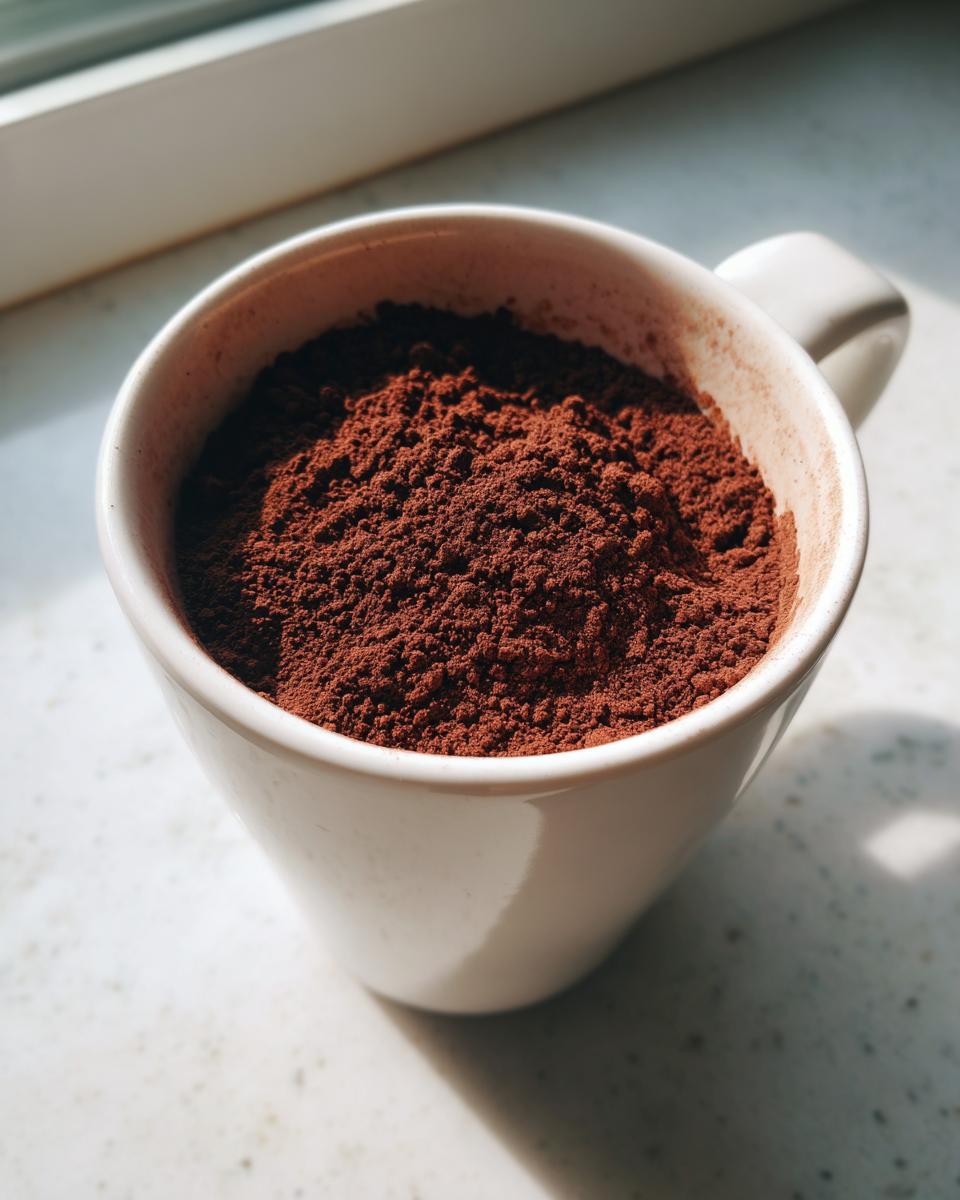
The biggest pitfall when making any dry mix, especially one with cocoa powder, is ending up with little gritty pockets in your final drink. We absolutely do not want that! So, pay attention here: get yourself a big bowl and a serious whisk.
Dump everything in—the sugars, the cocoa, and that tiny pinch of salt. Then, whisk it like you mean it! You need to keep going until everything is totally homogenized. I can still see streaks of white sugar being absorbed into the brown cocoa; you need to whisk until it’s that uniform, lovely milk chocolate color. My little trick, especially if your cocoa powder is a little clumpy, is to sift the cocoa powder into the bowl first before adding the sugars. It takes an extra minute, but it guarantees a smooth mix for your final product. You can see a great example of how important thorough mixing is in this easy cocoa mix recipe.
How to Prepare the Perfect Serving of Hot Cocoa Mix
Once your mix is stored away in its airtight container, pulling out a cozy mug is effortless. For a perfect single serving, scoop out about 3 tablespoons of your finished product. Now, for the liquid: stir that spoonful into about 1 cup of liquid that’s been heated until steaming. Like I mentioned before, using hot milk—regular, almond, or oat—gives you that wonderful rich creamy hot cocoa texture that makes it taste homemade every time. Whisk it well right in the mug until every dry granule has dissolved, and savor the warmth!
Making Your Hot Cocoa Mix Gift Idea: Hot Chocolate Mix in a Jar
This easy hot cocoa mix truly shines when you package it up for someone special! Around the holidays, these jars become my favorite, simple homemade food gifts. It’s so much nicer than store-bought, and it shows you put real heart into it.
To make a beautiful Hot Chocolate Mix in a Jar, just start layering those dry ingredients straight into a clean mason jar. You can gently tap down each layer if you want defined stripes of white and brown, but honestly, just pouring them in works just as well. Don’t worry about packing it too tightly; remember, it needs to be easy to scoop out later!
The most important part? Attach a cute little tag with the serving instructions (3 tablespoons per mug of hot milk!) so they know exactly how to get that perfect cup. You can find inspiration for other easy Christmas cookie bars and gifts on my site, but this dry mix is always a huge hit. You can see another great example of using jars for gifts over here.
Storing Your Shelf Stable Cocoa Mix for Months
Because this hot cocoa mix is made entirely of dry ingredients, it’s a total rock star when it comes to shelf life! This is such a relief when you make a big batch—you don’t have to worry about using it up in a day or two, which is why I love it for making ahead.
The entire success of this storage relies on one thing: keeping the moisture out. You absolutely must store your finished mix in a truly airtight container. A glass jar with a tight-fitting lid or a sturdy plastic container with a solid seal works beautifully.
Now, where do you keep it? Find the coolest, driest spot in your kitchen cabinet. Avoid storing it near the stove or above the dishwasher, because even a little heat or humidity is the enemy of powdered sugar and cocoa powder. If you keep it sealed up tight and tucked away from sunlight, this homemade hot cocoa mix will stay perfectly fresh and ready to go for up to a full year!
Isn’t that wonderful? You can make a massive batch in the early fall, and you’ll still be enjoying rich, easy cups of chocolate right into next year without any change in quality. That’s pantry stocking done right!
Variations for Your DIY Hot Chocolate Mix
While I firmly believe this basic formula for our mix is pure perfection—nothing beats that straightforward, deep chocolate taste—sometimes you just want to jazz things up a little, right? I love treating these basic recipes like a foundation, and adding a small flourish makes it feel even more special for a particular afternoon.
Since we aren’t relying on powdered milk, we have tons of room to play with flavor additions without changing the mix’s shelf stability. These little additions are easy to stir right into your big batch before storage, or you can just keep them right by the stove to grab when you mix your single mug!
Here are a few ways I like to switch things up when I get the urge:
- Spice It Up: Honestly, a tiny pinch of ground cinnamon in every serving brightens the chocolate flavor immensely. If you’re feeling bold—and I mean *really* bold—add just the tip of a sharp knife of cayenne pepper. It gives you that gorgeous Mexican hot chocolate warmth on the finish.
- Mocha Magic: If you’re looking for an afternoon pick-me-up, dissolve about a teaspoon of instant coffee granules or espresso powder directly into the hot milk *before* you whisk in the dry mix. It turns the whole thing into a decadent mocha!
- Minty Fresh: A classic pairing! Add about 1/4 teaspoon of peppermint extract to your serving mug along with the hot liquid. It instantly transports you to a chilly December evening sitting by the fire.
- Extra Richness: If you want a slightly nutty note without using actual nuts, try stirring in a teaspoon of finely ground almonds or a tiny bit of cocoa nib powder with your mix.
When you’re experimenting with additions, remember one of my core ideas: never overcomplicate things. A single, well-chosen addition makes the experience unique without masking the wonderful simple flavor of good chocolate. For more baking ideas that deliver big flavor with minimal fuss, I always recommend diving into my spiced persimmon cookie recipe when the holidays roll around!
Tips for the Best Homemade Hot Cocoa Mix Experience
Now that you have your super satisfying, homemade hot cocoa mix sealed up tight, I want to make sure every single mug you pull out of the cupboard tastes like a special event. It’s not just about dumping powder into hot liquid; tiny differences matter so much when you’re aiming for that premium chocolate experience!
First, let’s talk about the cocoa powder itself. I know it can be tempting to grab whatever is cheapest, but trust me, this is one area where quality really shows up in the cup. If you can swing it, use a good Dutch-processed cocoa powder. It gives you that deep, dark, almost black color and a smoother, less acidic chocolate flavor. It really elevates your entire hot cocoa mix. The difference between a basic cocoa and a rich Dutch-processed one is huge when you only have a few ingredients!
Second, remember the temperature of your liquid. I keep talking about using hot milk, but make sure that milk is *hot*—we’re talking steaming, close-to-boiling temperature. If the liquid is just warm, your sugars won’t dissolve properly, and you’ll end up with that gritty texture we worked so hard to avoid during the mixing phase. A quick blast in the microwave for the milk, or letting it come just to a simmer on the stove, does the trick every time.
Also, don’t forget about the finishing touches. A dollop of homemade whipped cream makes everything better, but even just making sure you give your prepared drink a final, vigorous whisk right before you take that first sip really helps integrate the powder fully. If you’re looking for more simple ideas for improving your winter staples, check out my recipe for easy homemade cranberry sauce; it uses that same philosophy of simple ingredients shining through!
For even more inspiration on maximizing your dry mix, I loved reading through the ideas on making your own cocoa mix—they have some great tips on presentation too!
Frequently Asked Questions About This Cocoa Mix
I know when you’re trying out a new recipe, especially a simple one like this, you might have a few lingering questions. That’s totally normal! I always want you to feel totally confident pouring that first mug of perfectly rich chocolate. Here are a few things I hear most often about whipping up your own hot cocoa mix at home!
Can I use this hot cocoa mix recipe to make a large batch for gifting?
Absolutely! In fact, that’s one of my favorite ways to use this blend. Because it’s a truly shelf stable cocoa mix made without perishable ingredients like milk powder, it’s perfect for making ahead. Just mix up your big batch, store it in an airtight jar—that’s the classic hot chocolate mix in a jar look—and attach my simple serving instructions to the ribbon. It makes such a thoughtful, cozy beverage gift for teachers, neighbors, or friends during the holiday season!
What is the best way to ensure a smooth, rich creamy hot cocoa?
This comes down to two things we talked about! First, the preparation of the mix itself: you must whisk those dry ingredients together until there are zero dry pockets visible. Don’t rush the initial mixing!
Second, it’s how you bring it to life. For that superior, luxurious texture, skip the water entirely. Using hot milk, whether it’s regular dairy or even a creamy oat milk, is what transforms your basic dry mix into the most rich creamy hot cocoa you’ve ever had. The fat content in the milk emulsifies beautifully with the cocoa and sugar.
If you ever need to reach out about the recipe itself or if you have other questions about whipping up pantry staple drink mixes, please don’t hesitate to visit my contact page!
Nutritional Estimates for Your Homemade Chocolate Drink Mix
Now, I know not every day is about indulgence, and sometimes, we like to keep an eye on what we’re pulling out of the pantry. Making your own hot cocoa mix means you know exactly what is going into your mug, which is a huge advantage over those store-bought options!
Below are the estimated nutritional facts for a single serving of the dry mix. Remember, this is based on using 3 tablespoons of the powder before you add any liquid, so keep in mind that adding milk versus water will drastically change the final count for the actual beverage you drink! These numbers are just a little guideline for the base product, nothing more complicated than that.
- Serving Size: 3 tablespoons dry mix
- Calories: 120
- Sugar: 20g (That’s why it tastes so good!)
- Fat: 1.5g
- Saturated Fat: 1g
- Carbohydrates: 26g
- Protein: 2g
- Sodium: 15mg
- Cholesterol: 0mg
This information is just an estimate, of course, designed to give you a general idea of what’s in that scoop of deliciousness. It really shows you that when you stick to simple chocolate and sugar, you get a lovely, comforting treat that fits right into your cozy winter drink recipes!
PrintEasy Big-Batch Homemade Hot Cocoa Mix (Shelf Stable Gift Idea)

Make your own rich and creamy homemade hot cocoa mix using simple pantry staples. This recipe is easy to prepare in a big batch, stores well for months, and makes a wonderful, thoughtful holiday gift when packaged in jars.
- Prep Time: 5 min
- Cook Time: 0 min
- Total Time: 5 min
- Yield: About 16 servings 1x
- Category: Beverage
- Method: Mixing
- Cuisine: American
- Diet: Vegetarian
Ingredients
- 2 cups powdered sugar
- 3/4 cup unsweetened cocoa powder
- 1/2 cup white granulated sugar
- 1/4 teaspoon salt
Instructions
- Measure the powdered sugar, cocoa powder, granulated sugar, and salt into a large bowl.
- Whisk all dry ingredients together thoroughly until completely combined and no lumps remain. This step is important for a smooth final drink.
- Transfer the finished hot cocoa mix to an airtight container for storage.
- To serve, combine 3 tablespoons of the mix with 1 cup of hot water or hot milk (dairy or non-dairy). Whisk until smooth and enjoy immediately.
Notes
- For a richer, creamier drink, use hot milk instead of water when preparing.
- This mix is excellent for gifting. Layer the dry ingredients in a decorative mason jar and attach a tag with the serving instructions.
- Store the sealed container in a cool, dry pantry for up to one year.
- If you prefer a recipe including powdered milk for extra creaminess, you can add 1 cup of non-fat dry milk powder to this base recipe.
Nutrition
- Serving Size: 3 tablespoons dry mix
- Calories: 120
- Sugar: 20g
- Sodium: 15mg
- Fat: 1.5g
- Saturated Fat: 1g
- Unsaturated Fat: 0.5g
- Trans Fat: 0g
- Carbohydrates: 26g
- Fiber: 2g
- Protein: 2g
- Cholesterol: 0mg