
Oh, sometimes you just crave that taste of nostalgia, don’t you? That’s what takes me right back to my childhood kitchen—the smell of warm vanilla and nutmeg when my mom pulled out this perfectly set dessert. Forget everything you think you know about tricky baked puddings that crack or get grainy. Today, I’m sharing my absolute favorite, tried-and-true method for a fail-proof, silky smooth old fashioned egg custard. As someone who believes that simple food builds connection, a core idea I always talk about over at Mia’s Meals, this recipe uses simple ingredients and basic techniques to deliver that comforting feeling every single time. You’re going to love how easy it is to achieve perfection!
- Why This Old Fashioned Egg Custard Recipe Works Every Time
- Simple Ingredients for Your Classic Vanilla Egg Custard Recipe
- Step-by-Step Instructions for Fail-Proof Egg Custard
- Tips for Achieving a Silky Smooth Dessert Texture
- Variations: Using Egg Custard as a Pie Filling
- Storage and Serving Suggestions for Your Egg Custard
- Frequently Asked Questions About Making Egg Custard
- Nutritional Estimates for a Serving of This Easy Egg Dessert Recipe
- Share Your Nostalgic Baked Treats Experience
Why This Old Fashioned Egg Custard Recipe Works Every Time
You know that fear—when you pull your dessert out and the top is cracked or the texture looks more like cottage cheese than velvet? Trust me, I’ve been there! But this recipe is different. We focus on preventing those common pitfalls right from the start. That’s how we achieve the ultimate silky smooth dessert recipe that always gets rave reviews. These simple checks are the very secrets to perfect baked custard. If you’re looking for reliable results, check out some of my quick breakfast ideas sometime, but today, we focus on this gorgeous dessert!
The Importance of Gentle Mixing for Creamy Custard Dessert
When you whisk, you’re incorporating air, and in baking, too much air in a delicate custard spells immediate trouble. Those little air bubbles puff up in the oven, collapse when cooling, and leave you with holes or cracks on the surface. So, when you combine your eggs and sugar, be gentle! We aren’t making meringue here; we just want everything combined until it looks smooth. Keep that whisk moving slowly and deliberately!
Secrets to Perfect Baked Custard: Straining and the Water Bath Technique for Egg Custard
If you skip these next two things, you might as well give up now, but trust me, they are so easy! First, we strain the mixture. This is non-negotiable because it catches any tiny bits of egg white or chalazae that didn’t fully incorporate, which is the main cause of a grainy texture. Second, we use the water bath technique for custard. Placing your dishes in slow, hot water means the egg custard cooks gently and evenly. This is the single best way to learn how to make egg custard without cracking; the steam acts as a buffer against harsh heat.
Simple Ingredients for Your Classic Vanilla Egg Custard Recipe
The beauty of this old-fashioned baked treat is that you probably have everything you need in your fridge right now! Seriously, this is one of those wonderful simple ingredients desserts that tastes like a million bucks without any fancy stuff. We are keeping this recipe pure so that the magic of the finished egg custard really shines through. Before you get started, just make sure your ingredients are fresh!
Ingredient List for Silky Smooth Dessert
- 3 large eggs
- 1/2 cup granulated sugar
- 2 2/3 cups whole milk
- 1 teaspoon pure vanilla extract
- 1/4 teaspoon ground nutmeg (for topping)
Step-by-Step Instructions for Fail-Proof Egg Custard
Okay, let’s get this egg custard into the oven so we can enjoy that nostalgic comfort later. Remember, the key here is slow and steady wins the race, especially since we want that creamy texture and not a disaster! I always like to have all my tools ready because once we start mixing, we need to keep moving gently. If you’re looking for quick ideas to fill your mornings while this bakes, definitely check out my thoughts on easy breakfast ideas sometime, but right now, focus on this gorgeous dessert!
Preparing the Oven and Dishes for Baking Egg Custard
First things first: get your oven warming up to 325 degrees Fahrenheit—it cooks low and slow, which is exactly what custards love! While that heats, grab your baking dish—a 9-inch pie plate or those sweet individual ramekins work great. Before anything else, place whichever dish you chose right inside a larger baking pan. This setup is essential before adding any of your precious egg custard mixture.
Creating the Smooth Baked Pudding Base
Now for the gentle work. In a bowl, take your eggs and just barely whisk them until the yolks and whites are mixed. Seriously, stop before they get foamy! Then we whisk in the sugar until it seems to disappear, followed by the vanilla. Next, slowly, slowly trickle in the milk while still whisking gently. You’re working toward that beautiful, uniform liquid that sets up into a smooth baked pudding.
The Crucial Straining and Water Bath Technique for Egg Custard
This next part guarantees silkiness! Pour that entire mixture through a fine-mesh sieve into another bowl. This catches all the teeny tiny bits that make a custard grainy, so don’t skip it! Once strained, pour the mixture into your prepared dishes inside the larger pan. Now, the magic happens: carefully pour hot water into the outer pan until it comes halfway up the sides of your custard dishes. This water bath technique is what protects your beautiful egg custard from overcooking and ensures that lovely creamy custard dessert setting we are aiming for.
Tips for Achieving a Silky Smooth Dessert Texture
Now that we have baked this gorgeous, simple dessert, you need to know exactly when to pull it out. This is where so many people go wrong and end up with a watery mess or hard rubber—not the creamy texture we want! Knowing how to check for doneness is key to unlocking that absolutely perfect, cloud-like consistency. If you’re looking for other easy recipes to try while you wait for this to chill, I share some of my go-to meals over on my easy breakfast ideas page.
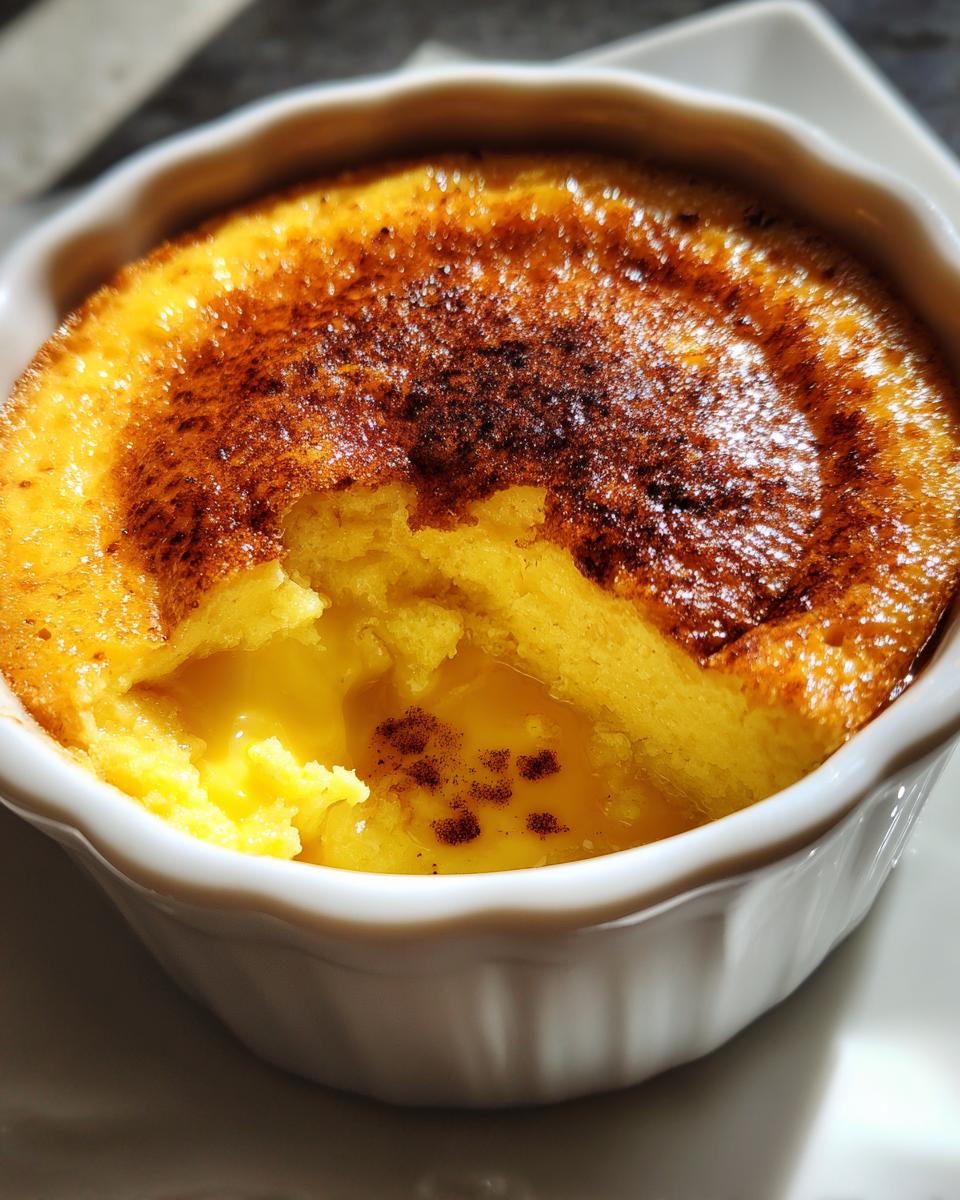
Doneness Test for Your Homemade Custard Filling
The edges should look set, but the center is the important part! Gently nudge the pan. If the center wobbles like jelly and just barely moves, it’s perfect. For a more precise check on your homemade custard filling, slide a very thin knife right near the edge. If it comes out clean, you’re done. Remember, ramekins usually finish faster—anywhere from 30 to 35 minutes—while a full pie needs that full 40 to 50 minutes to set up properly.
Variations: Using Egg Custard as a Pie Filling
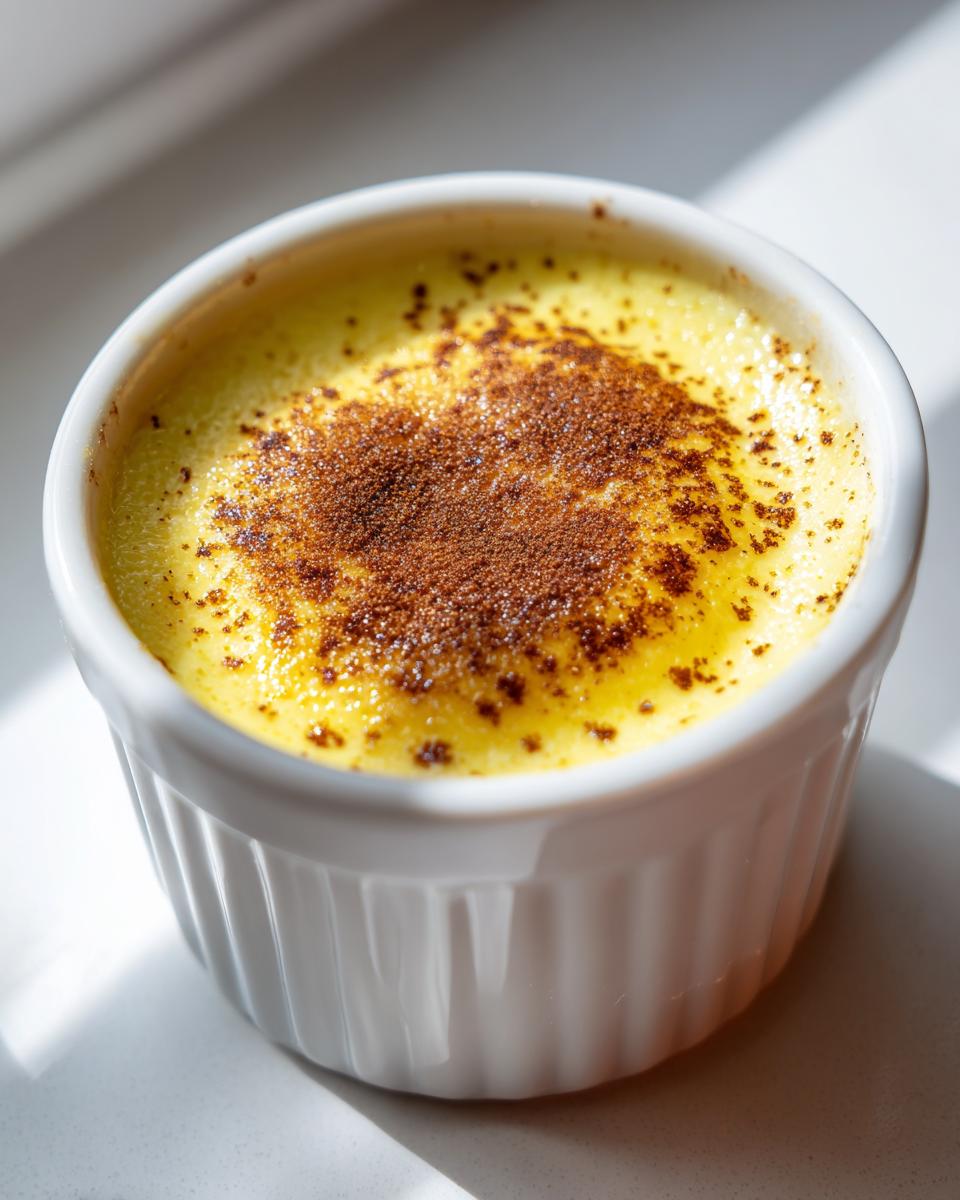
While I adore serving this luscious egg custard in individual ramekins, sometimes you just need a showstopper pie! Good news: this exact sweet base works perfectly as a custard pie filling, turning it into an ultimate old fashioned comfort dessert. The beauty of this recipe is how adaptable it is!
If you are making a full pie, the only real change you need to make is swapping out the pie plate for a standard, unbaked 9-inch pie crust—that’s it! You don’t need to pre-bake the crust at all, which saves you another step around the kitchen. Just carefully pour your strained mixture right into that raw crust, place it gently in the water bath, and you are ready to bake. For more tips on turning this custard into a full centerpiece, check out my full post on classic custard pie recipe!
Storage and Serving Suggestions for Your Egg Custard
Once this beautiful egg custard comes out of the oven, the hardest part begins: waiting! You must let it cool down on a wire rack first before it goes into the fridge. To really nail that perfect texture for this old fashioned comfort dessert, you need a solid cool down. I insist on at least four hours in the cold—honestly, overnight is even better!

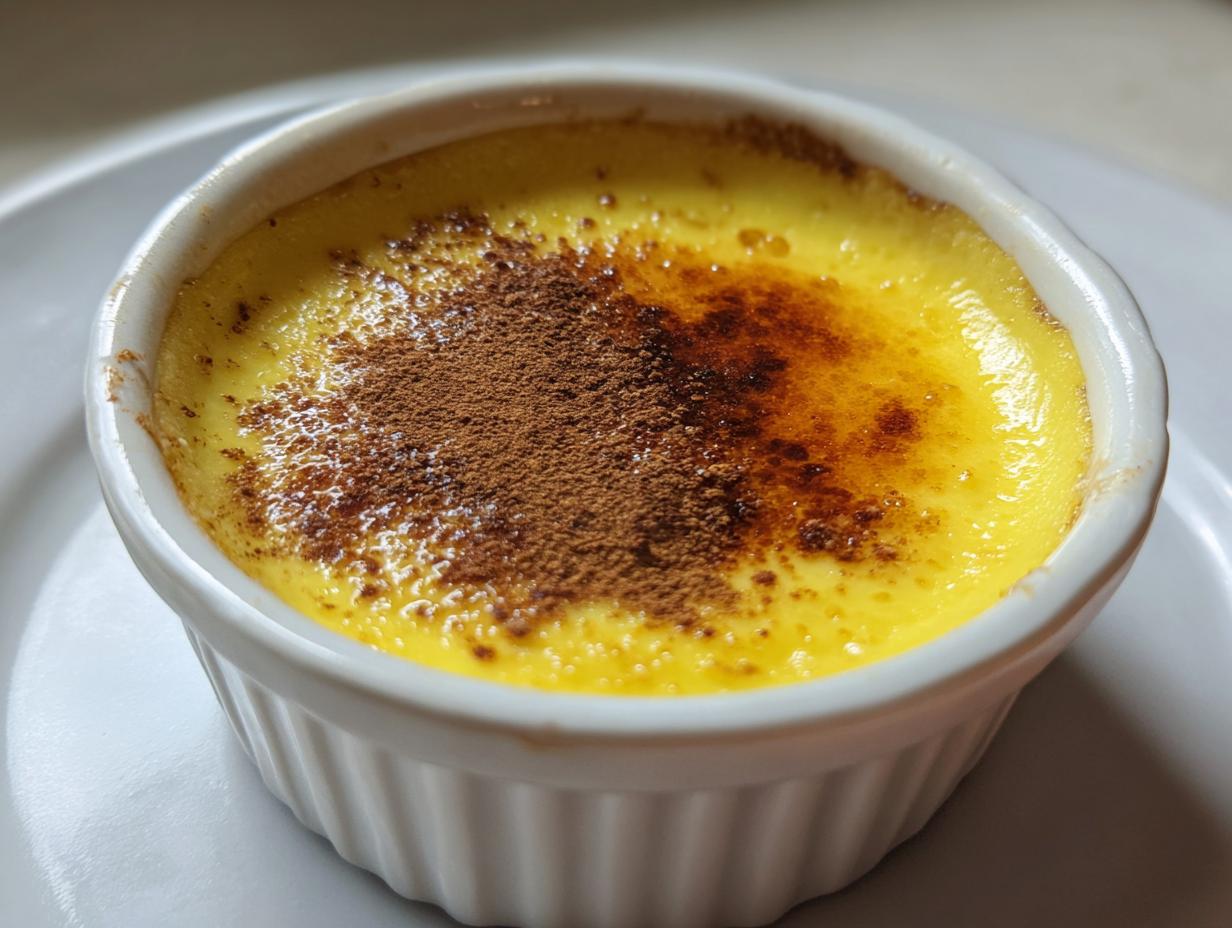
When you’re finally ready to serve, just dust the top gently with that ground nutmeg we added. If you’re looking for other wonderful sweet endings to your meals, I have a whole page of delicious dessert recipes you might love!
Frequently Asked Questions About Making Egg Custard
It’s natural to have questions when tackling a classic like this! Even with a fail-proof recipe, things can sometimes feel a little nerve-wracking, especially when the goal is that perfect, creamy custard dessert. Don’t sweat it! Cooking is about learning, and I’m here to help you master this egg custard. These are the big questions folks always ask when they are trying to make a beginner friendly custard.
Can I use a lower fat milk for this egg custard?
This is a great question about sticking to simple ingredients dessert planning! Whole milk really is my top recommendation here. Because egg custard relies on fat for that luxurious, dense set, using whole milk guarantees the richest, smoothest result possible. If you absolutely must, you can try 2% milk, but be prepared that the texture won’t be quite as decadent. I wouldn’t recommend skim milk unless you want something closer to a slightly thickened, watery pudding instead of a true, velvety classic!
What causes my egg custard to curdle or crack?
In almost all cases, cracking or a curdled look comes down to one thing: heat being too aggressive! If you skip the water bath, the edges cook way too fast while the center struggles, leading to that unhappy cracked top. Similarly, if you whisked too hard earlier and trapped a lot of air for the oven to puff up, it collapses poorly. Remember my absolute insistence on the water bath and gentle straining? That water bath is your insurance policy against overheating and is the number one tool for achieving that silky smooth dessert set.
Nutritional Estimates for a Serving of This Easy Egg Dessert Recipe
I always try to keep track of what’s going into our food, even when it’s something purely comforting like this classic egg custard. Now, please remember these numbers are just estimates because, let’s be real, even the size of the eggs can change things slightly! But for this easy egg dessert recipe made with simple ingredients, here is the general breakdown per serving according to the recipe yield.
- Serving Size: 1/6 of recipe
- Calories: 180
- Sugar: 18g
- Fat: 7g (Saturated Fat: 4g)
- Protein: 9g
- Cholesterol: 110mg
It’s a lovely balance for an old-fashioned treat, isn’t it? Mostly dairy and eggs, offering a nice protein boost alongside that sweet vanilla flavor.
Share Your Nostalgic Baked Treats Experience
I truly hope this recipe brings that same warm, connected feeling to your table that it brings to mine! Did you achieve that unbelievably silky smooth dessert? I’m dying to hear about it! Please leave a rating for this recipe, share a comment below about how close you got to that perfect grandma’s custard recipe result, and definitely send me photos of your beautiful, crack-free custards! If you have any questions that weren’t covered, you can always reach out via my contact page!
PrintFail-Proof Silky Smooth Old Fashioned Baked Egg Custard

Make the classic comfort dessert you remember. This recipe guarantees a perfectly creamy, silky smooth egg custard every time, using simple ingredients and a water bath technique to prevent cracking.
- Prep Time: 10 min
- Cook Time: 50 min
- Total Time: 70 min
- Yield: 6 servings 1x
- Category: Dessert
- Method: Baking
- Cuisine: American
- Diet: Vegetarian
Ingredients
- 3 large eggs
- 1/2 cup granulated sugar
- 2 2/3 cups whole milk
- 1 teaspoon pure vanilla extract
- 1/4 teaspoon ground nutmeg (for topping)
Instructions
- Preheat your oven to 325 degrees Fahrenheit. Place a 9-inch pie plate or four 6-ounce ramekins in a large baking pan.
- In a medium bowl, gently whisk the eggs until they are just combined. Do not incorporate too much air.
- Whisk in the sugar until it dissolves. Stir in the vanilla extract.
- Slowly pour the milk into the egg mixture while continuously whisking gently. You want a smooth, uniform liquid.
- Strain the custard mixture through a fine-mesh sieve into a large measuring cup or bowl. This step removes any chalazae or unmixed egg bits, which helps achieve a silky smooth dessert texture.
- Pour the strained custard into the prepared pie plate or ramekins.
- Carefully place the baking pan onto the oven rack. Pour hot water into the baking pan until the water reaches halfway up the sides of the custard dishes. This water bath technique is essential for a fail-proof, creamy custard dessert.
- Bake for 40 to 50 minutes for a pie, or 30 to 35 minutes for ramekins. The custard is done when the edges are set but the center still jiggles slightly when gently nudged.
- Carefully remove the custard from the water bath. Let it cool on a wire rack completely.
- Sprinkle the top lightly with ground nutmeg before serving. Chill for at least 4 hours before serving for the best texture.
Notes
- For a custard pie filling, use a standard, unbaked 9-inch pie crust in place of the pie plate in step 1.
- To check for doneness without a water bath, insert a thin knife near the edge; if it comes out clean, it is ready.
- If you skip straining, you risk a slightly grainy texture in your homemade custard filling.
Nutrition
- Serving Size: 1/6 of recipe
- Calories: 180
- Sugar: 18
- Sodium: 85
- Fat: 7
- Saturated Fat: 4
- Unsaturated Fat: 3
- Trans Fat: 0
- Carbohydrates: 17
- Fiber: 0
- Protein: 9
- Cholesterol: 110