
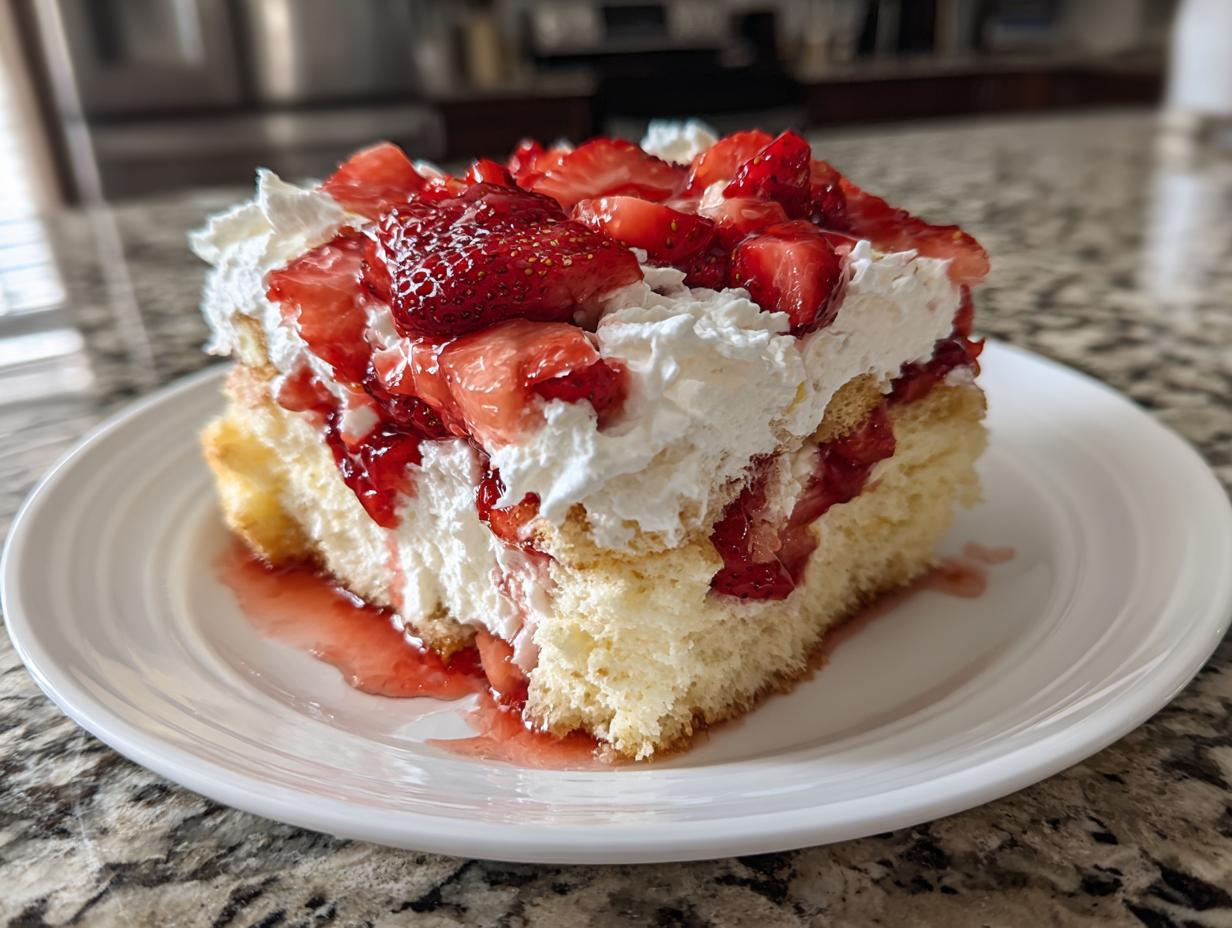
When the summer sun is shining bright, there’s nothing quite like a spectacular, light, and fruit-filled dessert, right? But sometimes those classic desserts feel a little too fussy for a weeknight. Well, I’ve found the perfect solution that looks like it took hours but really doesn’t: my incredibly easy Strawberry Shortcake Trifle. This recipe takes the comforting pieces of a classic shortcake, soaks them in sweet strawberries, and layers them up high. This is exactly the kind of simple, beautiful food I learned about growing up that brings everyone to the table, just like I share in my Our Story section. It’s pure connection in a glass bowl!
- Why This Strawberry Shortcake Trifle is Your New Favorite Summer Berry Desserts Recipe
- Gathering Ingredients for Your Strawberry Shortcake Trifle
- Step-by-Step Instructions: How to Make a Trifle Layered Dessert
- Tips for the Best Strawberry Shortcake Trifle Texture and Flavor
- Make Ahead Desserts for Parties: Storing Your Strawberry Shortcake Trifle
- Variations on the Strawberry Shortcake Trifle
- Serving Suggestions for This Layered Dessert
- Frequently Asked Questions About Making a Strawberry Shortcake Trifle
- Nutritional Estimates for the Strawberry Shortcake Trifle
Why This Strawberry Shortcake Trifle is Your New Favorite Summer Berry Desserts Recipe
I truly believe this layered dessert idea is the answer to all your summer entertaining woes. It ticks every box! We are leaning hard into ease here while delivering maximum visual impact. It’s one of those amazing summer berry desserts that looks fancy enough for a big crowd but is actually quick work. Forget fussy stacking; we are piling components high!
- The texture balance is spot on—the biscuit soaks up just enough strawberry juice without melting away entirely.
- It’s flexible! You can serve it in one giant bowl or make charming individual portions.
- It tastes exactly like a perfect summer picnic, just dressed up a bit!
Quick Preparation and Assembly Time Estimates
Honestly, the *Total Time* listed is almost unbelievable for how good this tastes. You’re looking at just 25 minutes of prep and about 15 minutes of baking the shortcakes, bringing the active time down to about 40 minutes. That’s why I call this an easy strawberry trifle recipe—it moves fast!
Gathering Ingredients for Your Strawberry Shortcake Trifle
Okay, let’s look at what you need to pull this beautiful dessert together. We are sticking to simple, accessible ingredients because good food doesn’t need to be complicated, remember? We need three main elements: the cake base, the sweet fruit, and the cloud-like cream. For the cake, I used refrigerated biscuits—yes, I absolutely do! It’s the easiest shortcut for a weeknight, provided they are completely cool before you tear them up. And trust me on this: don’t slice the strawberries too thin; we want some nice texture in there!
Notes on the Classic Shortcake Recipe Component
Using that refrigerated dough is my little secret for keeping this an easy strawberry trifle recipe. If you want to go fully from scratch, though, I hear you! If you decide to use your own classic shortcake recipe, just make sure they are fully baked and cooled down to room temperature. If you’re in a serious rush, the recipe notes mention that day-old pound cake or angel food cake works perfectly fine too. It’s all about getting that cake base ready so it can soak up the berry juices.
Whipped Cream Topping Secrets for Stability
This is where we talk about the whipped cream topping secrets that keep your layers looking perfect and not soupy. You must use very cold heavy whipping cream and a chilled bowl—this is non-negotiable for getting those stiff peaks! Beat it with powdered sugar and vanilla until it holds its shape against gravity. If it looks a little too tight coming out of the mixer, just add a splash of milk; that small amount of liquid stops it from feeling grainy.
Step-by-Step Instructions: How to Make a Trifle Layered Dessert
Now for the fun part—bringing it all together! The beauty of this recipe is that the steps are totally sequential, so you just follow the plan and magic happens. Remember, we aren’t striving for bakery perfection; we want rustic charm. If you’re looking for more great layered dessert ideas, check out my other sweet treats!
Preparing the Strawberry Shortcake Trifle Filling
First things first: those biscuits need to be cool, remember? Once cool, feel free to rip them into uneven, rustic chunks—it just adds character! While that’s happening, get your strawberries macerating. Mix those sliced berries with the sugar and lemon juice and just let them sit on the counter for at least 30 minutes. That rest time is crucial; that’s how you create that lovely, naturally sweet syrup that keeps the whole dessert moist.
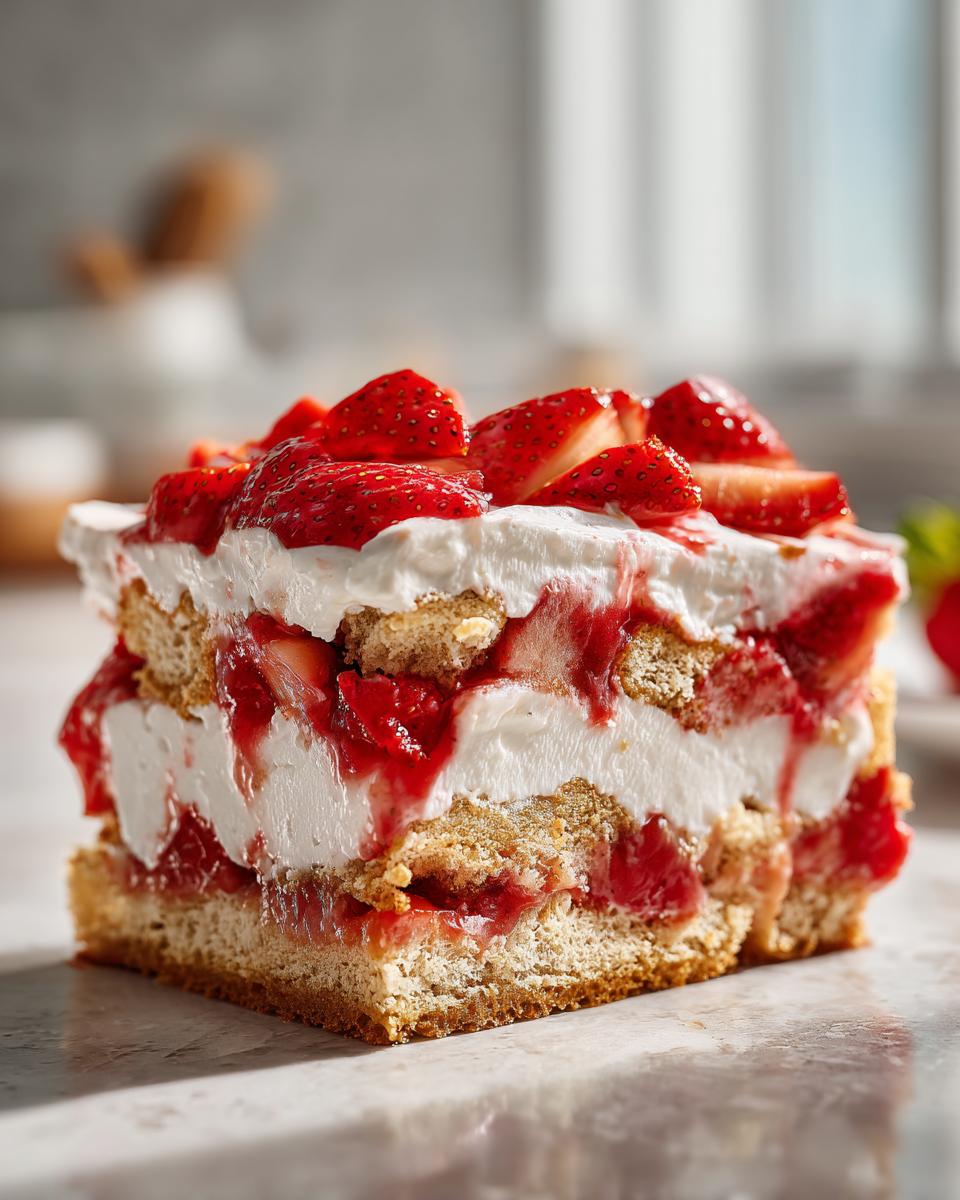
Assembling Your Strawberry Shortcake Trifle for Maximum Visual Appeal
Time to build! Grab your clear glass bowl—we want to see those pretty layers! Start with one-third of your torn shortcake pieces spread across the bottom. Next, spoon *half* of those syrupy strawberries right over the top, making sure the juice drips down. Then, gently spread half of your whipped cream over that. Repeat those three layers one more time: biscuit, berries, cream. For the very top, stick a few pretty strawberry slices around the edge for that beautiful presentation. Remember, we need to chill this for a couple of hours so the shortcake softens perfectly!
Tips for the Best Strawberry Shortcake Trifle Texture and Flavor
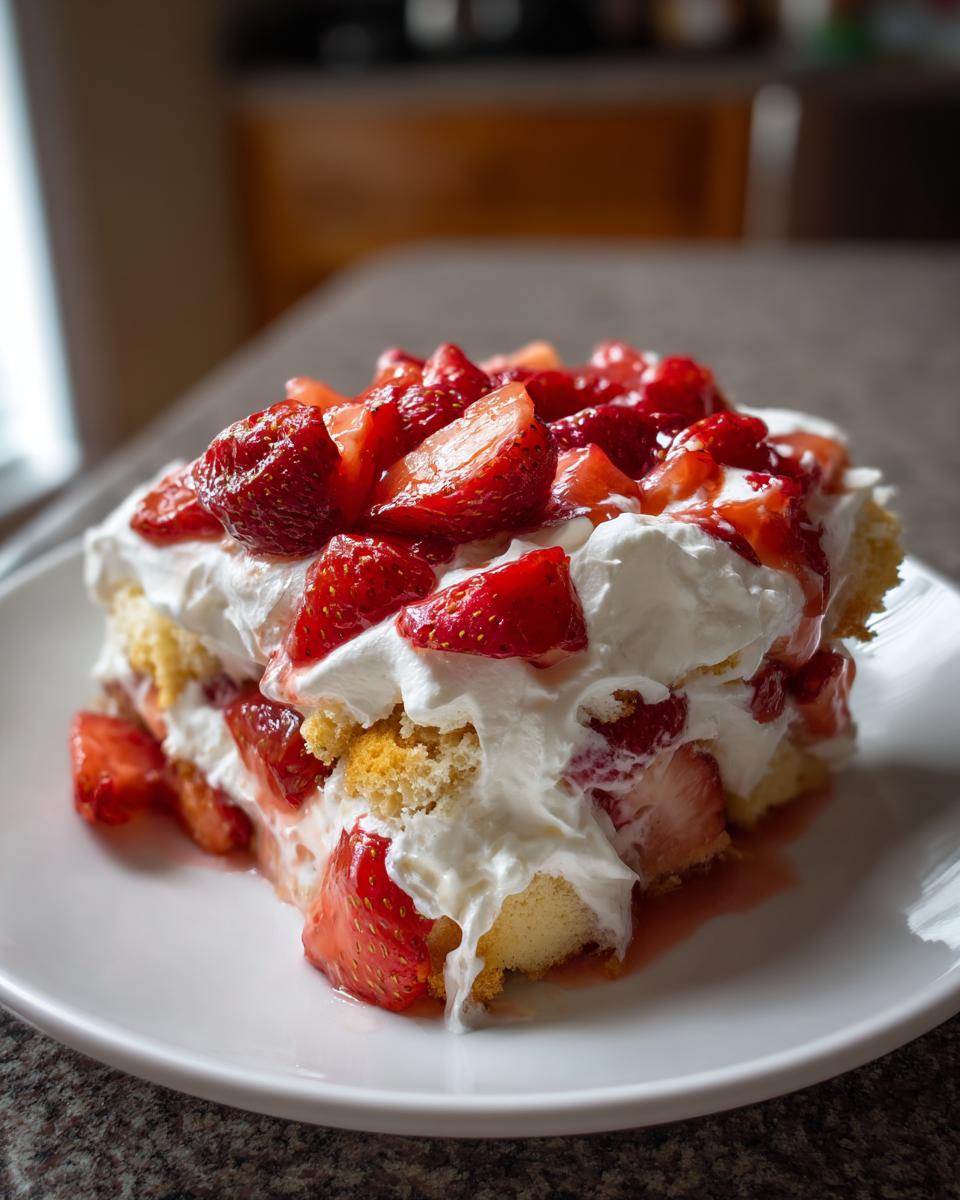
The success of this dessert really hangs on getting that texture just right—we want fluffy cream, sweet berries, and shortcake that melts in your mouth, not turns to mush! My main piece of advice is to under-soak, not over-soak. Even though the biscuits are sturdy, they absorb liquid quickly from that fresh strawberry syrup.
When you layer them, resist the urge to dump all the syrup on one spot. Let it spread naturally! Also, if you’re using cake instead of biscuits, make sure it’s truly day-old. Stale cake holds up better to the moisture. We chilled ours for at least two hours mainly so the biscuits could relax and soften beautifully off the plate, giving you that perfect mouthful every single time.
Make Ahead Desserts for Parties: Storing Your Strawberry Shortcake Trifle
Planning ahead is my favorite way to stay sane when I have company coming over! If you’re using this for your next gathering, you’re in luck because this recipe works so well as one of those fantastic make ahead desserts for parties. I can usually assemble the entire trifle, right up to the final decorative strawberries, about 12 hours out. That gives the shortcakes plenty of time to absorb the lovely strawberry syrup.
But here’s the real tip, and you’ll want to listen close: don’t put the final dollop of whipped cream on until just before you serve it if you wait that long. If the cream sits too long, it can start to weep a little, and nobody wants a watery-looking trifle! If you need to store it overnight, keep the whipped topping separate and apply it right before the guests arrive.
Variations on the Strawberry Shortcake Trifle
While the classic combination of biscuit, strawberry, and cream is hard to beat, sometimes it’s fun to shake things up, especially when you’re looking for new layered dessert ideas. If you’ve already made this a dozen times—which, honestly, I wouldn’t judge you for—try swapping out the fruit! Blueberries or raspberries work beautifully mixed in with the strawberries, creating a three-berry explosion that is amazing when fresh summer produce is abundant. You can even look into how I handle rhubarb if you want a tart surprise! My rhubarb pie guide has some great flavor pairing notes.
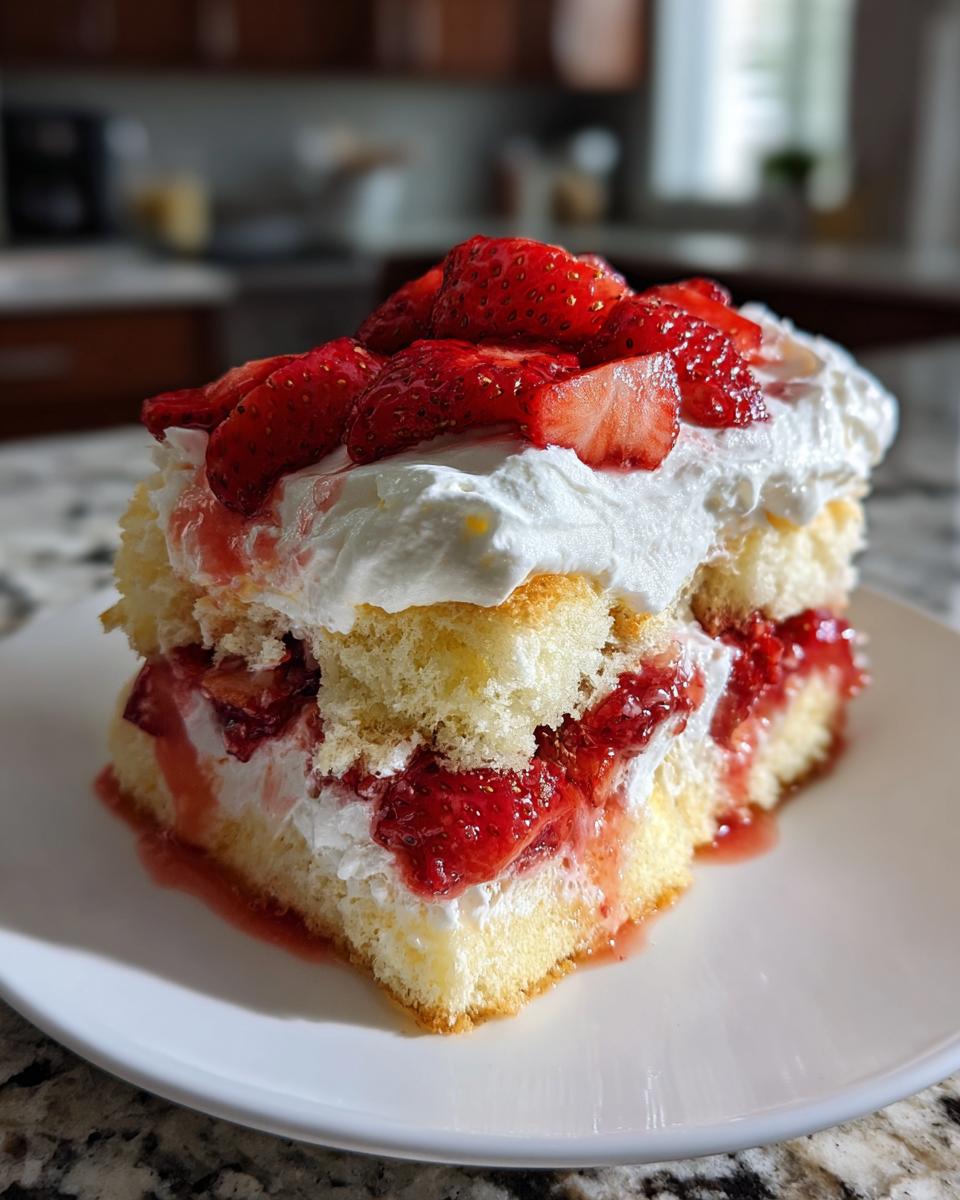
The biggest change you can make, which I mentioned briefly, is ditching the refrigerated biscuits for a heartier base. Using slices of day-old pound cake or even angel food cake provides a totally different texture. The pound cake makes it richer, almost like a true bread pudding, whereas angel food cake keeps it incredibly light. Either way, the assembly stays the same simple, satisfying layering process!
Serving Suggestions for This Layered Dessert
This Strawberry Shortcake Trifle truly shines no matter where you serve it! Because it’s so sturdy once chilled, it travels like a dream, making it one of the best picnic desserts you could possibly prepare. Just make sure you bring a large spoon for serving!
If you’re serving it after a big meal, I find a simple, lightly roasted coffee or a crisp herbal tea cuts through the creaminess perfectly. It’s versatile enough for a casual backyard barbecue but beautiful enough that you can serve it in individual dessert cups for a slightly more formal crowd. If you need quick meal ideas to go along with it, I always share my favorite easy-to-make dinner recipes to keep your whole menu simple!
Frequently Asked Questions About Making a Strawberry Shortcake Trifle
I always get questions when people first try to make this trifle because everyone wants to know how to get that perfect balance of soft cake and luscious cream. Don’t worry, I’ve gathered the most common things folks ask me, and you can always reach out via my Contact page if you have something else on your mind!
Can I make this a no bake strawberry trifle?
That’s a great question! The assembly itself is completely no-bake once you have the components ready. However, because we are using refrigerated biscuits, you do have to bake those first, so it’s not 100% no-bake. If you want a true no-bake version, just substitute the biscuits with store-bought pound cake or angel food cake slices!
What is the best container for assembling a Strawberry Shortcake Trifle?
For the absolute best presentation of this wonderful Strawberry Shortcake Trifle, you really need clear glass! I find that a large glass trifle bowl shows off all those pretty layers wonderfully. If you’re making individual portions or serving it outdoors, using small glass jars is perfect for that charming dessert cups assembly look.
How long should the trifle chill before serving?
This is essential for texture! You absolutely need to chill the assembled trifle for at least two hours, but three is even better. This time lets the shortcake absorb the syrup from those sweet strawberries, making it tender, instead of crunchy. Don’t go past 12 hours, though, or the cream starts settling too much.
Can I make the cream topping ahead of time?
Yes, you can whip the cream topping the morning of, and keep it covered tightly in the fridge. But, I advise against whipping it more than 24 hours ahead. Whipped cream has air in it, and it can deflate or weep a bit overnight, ruining that beautiful fluffy cloud layer we worked so hard to achieve!
Nutritional Estimates for the Strawberry Shortcake Trifle
Now, I know many of you are curious about the numbers, and while I focus way more on happiness and connection than counting every little bite, I always like to provide a general idea for those who need it. Remember, these figures are just estimates based on the standard ingredients list I provided, because every brand of biscuit dough or amount of syrup absorption can slightly change things!
Think of this as a perfect treat for a gathering, not an everyday snack, but certainly not something to feel guilty about enjoying! Eating is supposed to be joyful, after all.
- Serving Size: 1 cup
- Calories: Approximately 350
- Total Fat: Around 19g (with about 11g being saturated fat)
- Carbohydrates: Roughly 42g
- Sugar Content: About 28g (mostly from the strawberries and powdered sugar)
- Protein: About 5g
As you can see, this Strawberry Shortcake Trifle has a nice mix to keep you satisfied, but the sugar is definitely present because, well, it’s dessert! We achieved this estimate by combining the components—the sweetened berries, the rich cream, and the biscuit base.
PrintEasy Strawberry Shortcake Trifle Recipe

Assemble this impressive layered dessert using homemade shortcake biscuits, sweet macerated strawberries, and light whipped cream for a perfect summer treat.
- Prep Time: 25 min
- Cook Time: 15 min
- Total Time: 40 min
- Yield: 8 servings 1x
- Category: Dessert
- Method: Layering
- Cuisine: American
- Diet: Vegetarian
Ingredients
- 1 box (10.6 ounces) refrigerated biscuit dough
- 1 quart fresh strawberries, sliced
- 1/2 cup granulated sugar (for strawberries)
- 1 teaspoon lemon juice
- 2 cups heavy whipping cream
- 1/2 cup powdered sugar (for cream)
- 1 teaspoon vanilla extract
- 1/4 cup milk (optional, for thinning cream)
Instructions
- Prepare the shortcake: Bake the refrigerated biscuits according to package directions until golden brown. Let them cool completely on a wire rack. Once cool, tear or cut the biscuits into bite-sized pieces.
- Macerate the strawberries: In a medium bowl, combine the sliced strawberries, 1/2 cup granulated sugar, and lemon juice. Gently stir. Let the mixture sit at room temperature for at least 30 minutes to allow the juices to form a syrup.
- Make the whipped cream: In a large, chilled bowl, combine the heavy whipping cream, powdered sugar, and vanilla extract. Beat with an electric mixer on medium-high speed until stiff peaks form. If the cream is too stiff, add the optional milk one tablespoon at a time until you reach a spreadable consistency.
- Assemble the trifle: Select a large glass trifle bowl or individual dessert cups. Create the first layer with one-third of the torn shortcake pieces.
- Spoon half of the macerated strawberries (including the syrup) evenly over the shortcake layer.
- Top the strawberries with half of the whipped cream mixture, spreading it gently.
- Repeat the layers: Add the second third of the shortcake pieces, the remaining strawberries and syrup, and finally, the remaining whipped cream.
- For the top layer, arrange a few reserved strawberry slices decoratively.
- Chill the trifle for at least 2 hours before serving to allow the shortcake to absorb some moisture, which improves the texture.
Notes
- For a more structured trifle, you can use pound cake instead of biscuits. Bake the cake a day ahead.
- To achieve the best texture balance, do not over-soak the cake pieces; the syrup from the strawberries will provide most of the moisture.
- If making ahead, assemble the trifle up to 12 hours in advance, but keep the whipped cream topping light to prevent it from weeping.
- This recipe scales well; use a larger bowl or more individual dessert cups as needed.
Nutrition
- Serving Size: 1 cup
- Calories: 350
- Sugar: 28
- Sodium: 320
- Fat: 19
- Saturated Fat: 11
- Unsaturated Fat: 8
- Trans Fat: 0
- Carbohydrates: 42
- Fiber: 2
- Protein: 5
- Cholesterol: 55