
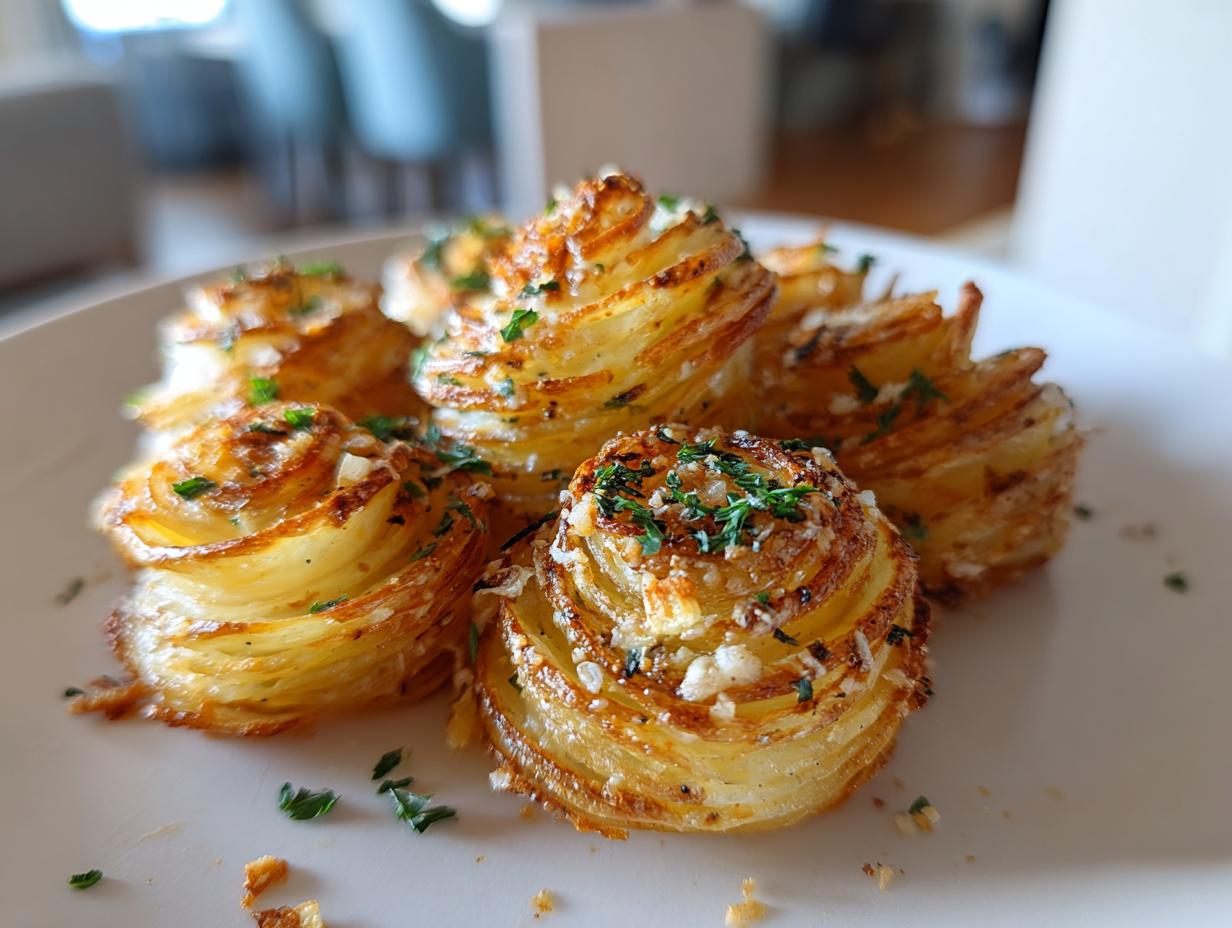
When you’re planning a special dinner or holiday meal, sometimes you want a side dish that just sings! I get it. We all want that impressive potato presentation without spending half the day in the kitchen, right? That’s why I absolutely adore these Garlic Parmesan Potato Roses. They look like they took hours of careful artistry, but honestly, they are deceptively simple to make from scratch. This recipe proves my core belief, which you can read more about over at Mia’s Meals: good food, the kind that brings folks together for a happy home, doesn’t have to be complicated. Just a few easy steps create stunning, savory, cheesy spirals everyone will talk about! I promise these turn any ordinary weeknight into an occasion.
- Why This Garlic Parmesan Potato Roses Recipe is an Elegant Potato Side Dish
- Ingredients for Perfect Garlic Parmesan Potato Roses
- Essential Equipment for Your Garlic Parmesan Potato Roses
- How to Prepare Garlic Parmesan Potato Roses Step-by-Step
- Baking Instructions for Tender Garlic Parmesan Potato Roses
- Tips for Success with Your Potato Roses Recipe
- Storage and Reheating Instructions for Garlic Parmesan Potato Roses
- Serving Suggestions for This Cheesy Potato Appetizer
- Frequently Asked Questions About Garlic Parmesan Potato Roses Recipe
Why This Garlic Parmesan Potato Roses Recipe is an Elegant Potato Side Dish
If you’re looking for an elegant potato side dish that instantly elevates your table setting, this is it! These Garlic Parmesan Potato Roses are all about that show-stopping visual appeal. People always expect a time-consuming process when they see something this pretty, making the quick prep time truly satisfying.
Here’s why I think this is the best potato creation for special nights:
- It offers an impressive potato presentation with minimal fuss.
- The flavor combination of rich garlic butter and sharp Parmesan is irresistible.
- They bake up perfectly golden, making them a comforting yet sophisticated companion to any main course.
- You can find more simple meal ideas that bring joy over at our simple snacks page!
Ingredients for Perfect Garlic Parmesan Potato Roses
You don’t need a pantry full of fancy things to make these beautiful Garlic Parmesan Potato Roses. The magic is really in how you treat these simple ingredients! Trust me, using the exact measurements I list here ensures your roses stay structurally sound while soaking up all that savory goodness.
Here is what you’ll need for about 12 stunning servings:
- 3 large Russet potatoes, scrubbed (skin on or off, your call!)
- 4 tablespoons unsalted butter, melted (don’t skimp on the good stuff!)
- 2 cloves garlic, minced
- 1/2 teaspoon salt
- 1/4 teaspoon black pepper
- 1/2 cup grated Parmesan cheese, divided
- 2 tablespoons fresh parsley, chopped (just for that beautiful finish)
Getting the Parmesan ‘divided’ is important—we use some inside the layers and the rest as a crust on top for that perfect crunch!
Essential Equipment for Your Garlic Parmesan Potato Roses
Okay, let’s talk tools. You can attempt this impressive potato presentation with a very sharp knife, but honestly, you’ll end up with sore thumbs and uneven layers. For these Garlic Parmesan Potato Roses to look like they came from a fancy restaurant, you need consistency. That means investing a few minutes to find or buy the right gadget.
Having the correct tools really sets you up for success, especially when dealing with something delicate like baked thinly sliced potatoes. Don’t worry, these aren’t specialized tools you’ll only use once!
Mandoline Slicer: The Key to Thin Slice Potato Scallops
Seriously, if you buy one thing for this recipe, make it a mandoline slicer! This is non-negotiable for achieving what I call the perfect Thin slice potato scallops. We need slices that are paper-thin—around 1/16 of an inch.
Why so thin? If they are too thick, you absolutely cannot get that satisfying, tight roll needed to form a beautiful rose shape. Also, thick slices won’t cook evenly or become tender all the way through by the time the edges are golden brown on top.
Now, a quick word on safety—the mandoline is fast! Always use the safety guard provided. I learned the hard way years ago when trying to rush a squash recipe! Keep your fingers far away from that blade. Use the guard, and you’ll be slicing perfect potato spirals in seconds, making this Garlic Parmesan Potato Roses recipe so much easier!
How to Prepare Garlic Parmesan Potato Roses Step-by-Step
Alright, buckle up! This is where the fun really starts, but we need to be organized. Remember, the goal here is that perfect Potato thinly sliced and layered look. First things first: preheat your oven to a nice hot 400 degrees Fahrenheit (that’s 200 Celsius if you’re using a metric setting). Next, grease up that 12-cup muffin tin really well. This helps them release beautifully later, which is essential for an impressive potato presentation.
Slicing and Preparing the Garlic Butter Potato Bake Base
Take your scrubbed Russet potatoes and make those slices we talked about—super thin! I usually leave the skin on because I love that rustic color contrast, but feel free to peel them if you prefer a uniform look. While the mandoline is working its magic, whip up your garlic butter. Just stir the melted butter, minced garlic, salt, and pepper together.
If you want to flavor-boost this base, you can check out my go-to recipe for amazing homemade garlic butter! It’s simple, but seriously adds depth to this Garlic Parmesan Potato Roses recipe.
Assembling the Savory Spiral Potato Recipe Roses
Now for the rolling! Pick up one of those thin slices and brush both sides just lightly with the garlic butter—we don’t want sogginess, just shine! Sprinkle a tiny bit—maybe 1/4 teaspoon—of Parmesan on top of that slice.
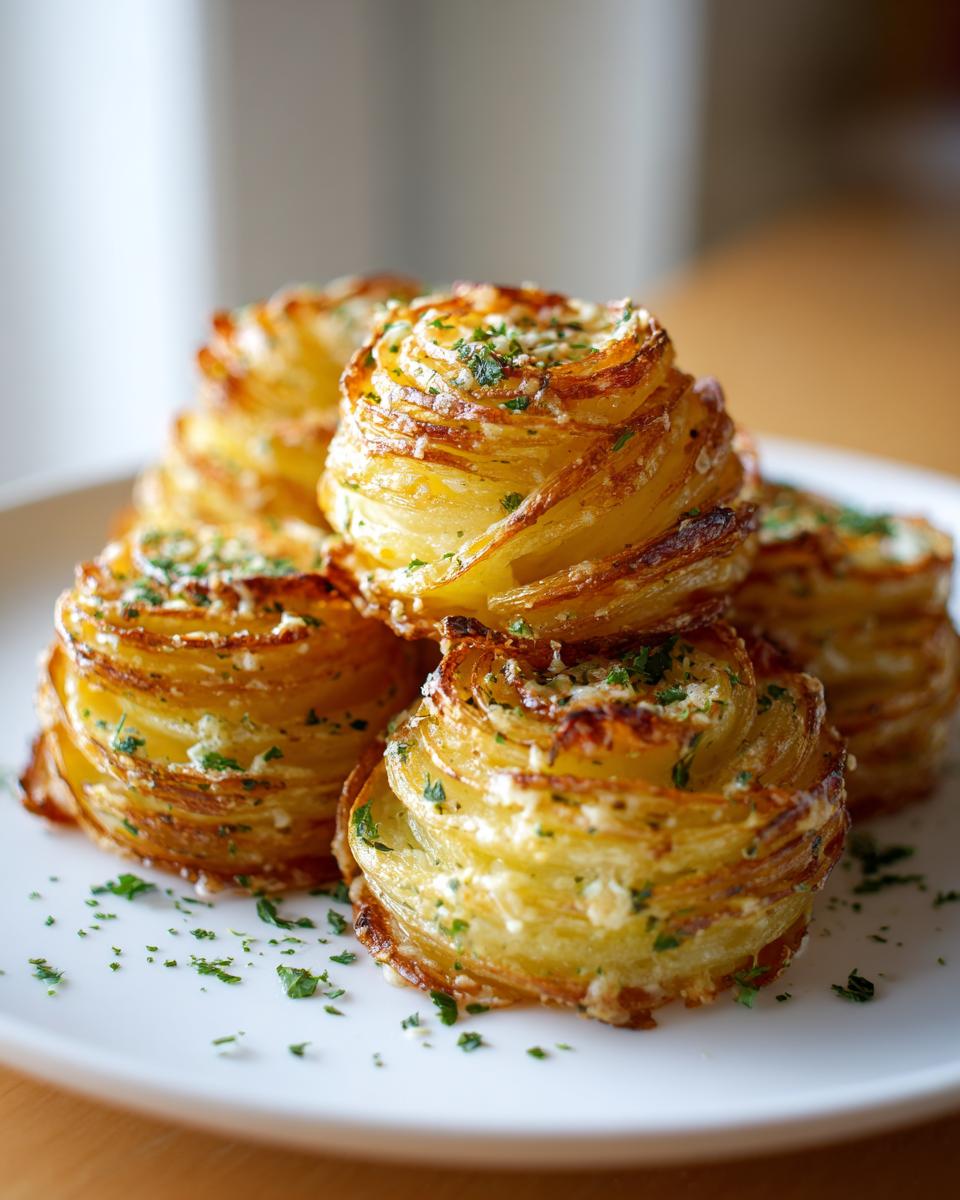
Start rolling it up super tight from one end. That first roll is the core of your rose, so really press it together! Then, take your next buttered and cheesy slice and wrap it around the first one, making sure the edge overlaps slightly. Keep adding slices, buttering, and sprinkling Parmesan onto each new layer until your rose is about two inches wide. Gently nestle that beautiful savory spiral potato recipe creation into its spot in the muffin tin so it stands tall!
Baking Instructions for Tender Garlic Parmesan Potato Roses
Once all your beautiful Garlic Parmesan Potato Roses are nestled snugly in their muffin cups, it’s time to get them into the oven where the real transformation happens! This is where the heat crisps up those gorgeous edges while softening the insides into pure comfort food. Remember my philosophy: simple steps lead to the best results!
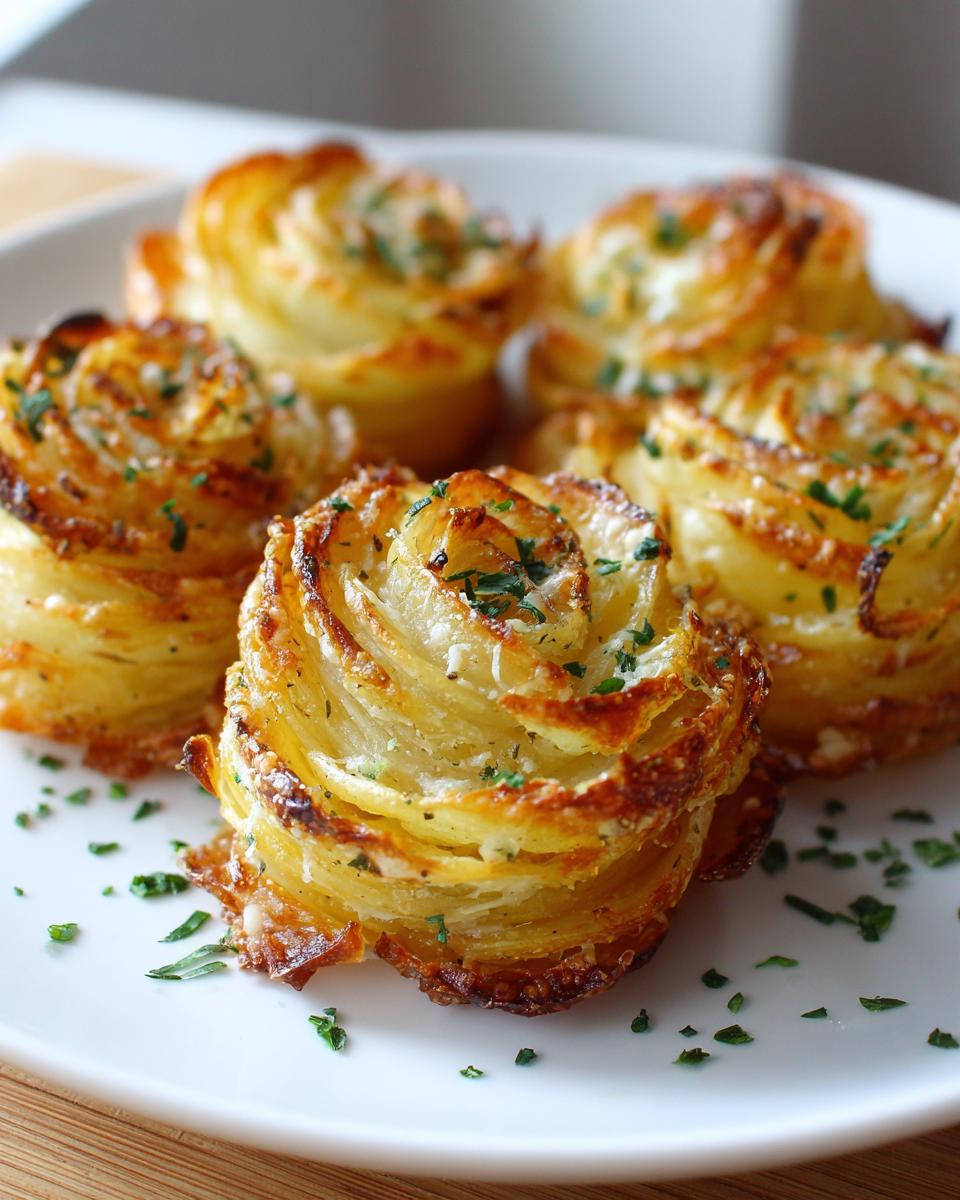
We’re setting the oven nice and hot to 400 degrees Fahrenheit (that’s 200 degrees Celsius). This high heat is important for getting that wonderful crispy texture we all want on Parmesan crusted potatoes.
Brush any remaining garlic butter over the tops and sides of the roses. Then, sprinkle that last bit of Parmesan cheese evenly over the top. Don’t be shy here; that’s going to form the best cheesy crust!
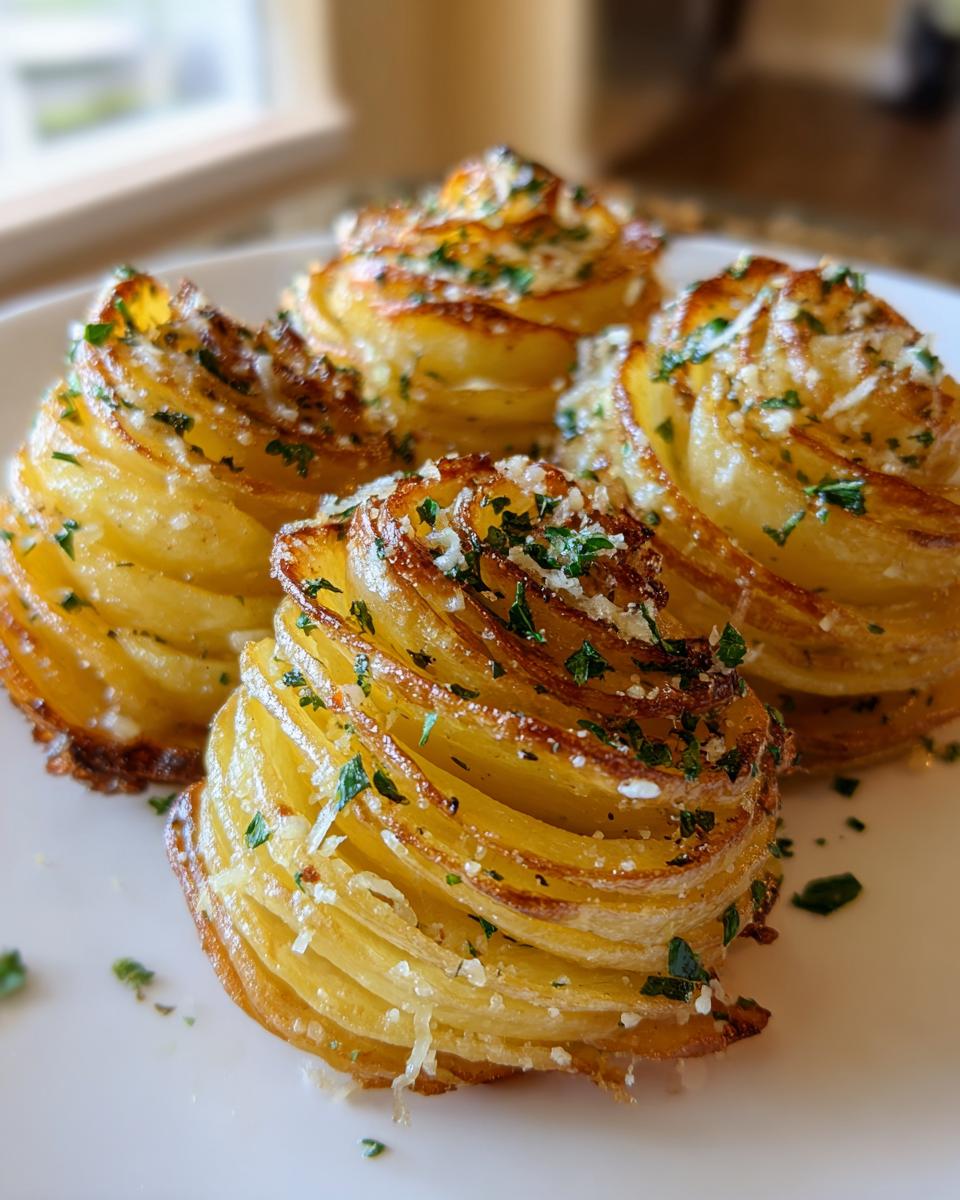
Bake time is usually around 30 to 35 minutes. You need to watch for visual cues rather than strictly sticking to the clock. When they are ready, the edges of the potato layers should be gloriously golden brown and just starting to pull away slightly from the tin. More importantly, pierce one of the larger roses gently with a fork. If the fork slides in without any resistance, they are perfectly tender inside.
If you find yourself needing some other great veggie pairings with lots of garlic and cheese, check out my favorite roasted broccoli recipe—it cooks up fast alongside these when you need a full veggie spread!
Tips for Success with Your Potato Roses Recipe
I know that even the most straightforward recipe can sometimes throw you a curveball, especially when delicate assembly is involved. These Garlic Parmesan Potato Roses are usually foolproof, but just in case you run into a tiny snag, I’ve gathered the best advice right from my own kitchen files. Remember, a recipe is a guide, but your intuition is the real secret weapon!
First, I always make sure my butter isn’t cold when I melt it down. Room-temperature butter softens the edges of the thin potato slices just enough so that when you brush on the garlic mixture, the potato doesn’t immediately crack. A slightly pliable slice rolls so much more smoothly for those gorgeous roses!
Here are a few other things I’ve learned over the years:
- The Mandoline is Your Best Friend: This can’t be stressed enough—set that mandoline slicer to its absolute thinnest setting, about 1/16th of an inch. If the slices are too chunky, they just won’t cooperate when you try to roll them tightly.
- Dealing with Drifting Slices: If you’re prepping these ahead of time (which is fine!) and the slices start to dry out or fall apart while you’re rolling, just drop them back into a bowl of cold water for five minutes. Pat them very gently but thoroughly dry before buttering and rolling. Dryness makes them brittle!
- Supporting the Structure: If you don’t have a muffin tin, or if your roses are looking a little wobbly, don’t panic! You can place them close together in a small baking dish or cast iron pan. They will lean on each other as they bake, and that’s perfectly fine for this stunning presentation. You can find some other great simple baking advice over at our page on fillings, which sometimes relates to how sturdily things hold up!
- Flavor Boost: If you want an aromatic kick beyond the garlic and Parmesan, a tiny pinch of dried rosemary or thyme mixed into the butter is fantastic. It gives these something extra special for holiday gatherings.
Storage and Reheating Instructions for Garlic Parmesan Potato Roses
Now, this is a genuine question I get all the time—what do you do if you have leftover Garlic Parmesan Potato Roses? Because these are so delicious, sometimes we end up with a few stragglers, even after a big dinner party! The good news is they store pretty well, but you have to treat them gently to keep that crispy edge we worked so hard to achieve.
For storage, the biggest enemy is steam, which reintroduces moisture and makes them soft. Once they are completely cool—and I mean totally cool, don’t rush this—place them in an airtight container. You must refrigerate them, and make sure the container is lined with a paper towel first. That paper towel will wick away any condensation that forms overnight. They should keep well like this for about three days.
When it comes to reheating your potato roses, please, please, please skip the microwave if you want them to truly shine!
Microwaves zap all the crispness right out of them, and we want to maintain that lovely impressive potato presentation even when eating leftovers. I always recommend reheating them in the oven. Set your oven to about 350 degrees Fahrenheit (175 Celsius). Spread the roses out on a baking sheet—don’t overlap them!
Pop them in for about 8 to 10 minutes. This gentle heat warms them all the way through while letting any residual moisture evaporate, bringing back that wonderful golden crispness on the edges. They come out tasting almost as good as fresh! These are definitely one of my favorite holiday potato side dishes to make an extra batch of just for leftovers!
Serving Suggestions for This Cheesy Potato Appetizer
Honestly, once you pull these stunning Garlic Parmesan Potato Roses out of the oven, you realize they steal the show! They look so elegant, but they are hearty enough to handle some seriously rich main courses. I developed this recipe thinking about holidays, but they work perfectly anytime you want a little extra splendor on the plate.
If you are serving these as part of a larger spread—perhaps as a phenomenal cheesy potato appetizer before the main event—they pair wonderfully with milder dips or cured meats. Think about setting out a beautiful holiday cheese ball alongside a platter of these potatoes!
When it comes to a sit-down dinner, these baked thinly sliced potatoes are the perfect companion because they don’t become soggy like mashed potatoes can. I always default to pairing them with something simple and savory that lets the garlic and cheese flavor shine through.
- Roast Chicken or Turkey: The buttery richness of the potatoes balances beautifully with lean poultry, especially if you use the pan drippings for gravy!
- Steak Night: These are much fancier than a standard baked potato, making them ideal next to a perfectly grilled ribeye or fillet mignon.
- Holiday Spreads: Serve them alongside ham or prime rib. They look fantastic grouped together on a large platter, feeling right at home next to rolls and cranberry sauce. They easily count as one of the best holiday potato side dishes you can make!
No matter what you serve them with, just make sure you get them onto the table while they are hot and the Parmesan crust is still wonderfully crisp!
Frequently Asked Questions About Garlic Parmesan Potato Roses Recipe
It happens! When you try something that looks this incredible, you always have a few little questions popping up before you even start slicing. I want to make sure your attempt at making these Garlic Parmesan Potato Roses recipe turns out stunningly beautiful on the first try. Don’t worry if you need a little reassurance on the prep details—that’s what I’m here for!
Can I make the Garlic Parmesan Potato Roses ahead of time?
That is such a smart question, especially when you are trying to host and keep everything hot! You can definitely prep parts of them ahead of time, but you have to be super careful with the slicing. You can take your potatoes and slice them thinly, but immediately drop them into a bowl of cold water until you are ready to assemble them. This keeps them from browning too fast!
However, I highly, highly recommend you don’t assemble the roses until you are ready to bake them. If you assemble them and let them sit in the muffin tin for too long, the moisture from the garlic butter starts to make the bottom slices soggy, and they won’t hold that tight spiral shape we want for an impressive potato presentation. Assemble right before sprinkling on that final Parmesan crust, then pop them straight into the hot oven!
What is the best potato type for this recipe?
For this specific dish—the savory spiral potato recipe—you absolutely need a high-starch potato. My go-to, and the one I used in the recipe above, is the Russet potato. Russets get beautifully soft and practically melt together on a structural level when baked, which is exactly what you need for those layers to hold their shape.
You should avoid waxy potatoes, like red potatoes or Yukon Golds, for this particular presentation. Waxy potatoes have less starch, which means they tend to hold their shape too firmly when sliced thin. Instead of that lovely, slightly yielding spiral structure, you’ll end up with stiff, separate slices that just don’t want to coil up nicely for your beautiful Garlic Parmesan Potato Roses. Stick to Russet for the best results!
If you are looking for other ways to use up potatoes without the fuss, I have a fantastic, creamy potato leek soup recipe that is pure comfort!
PrintGarlic Parmesan Potato Roses

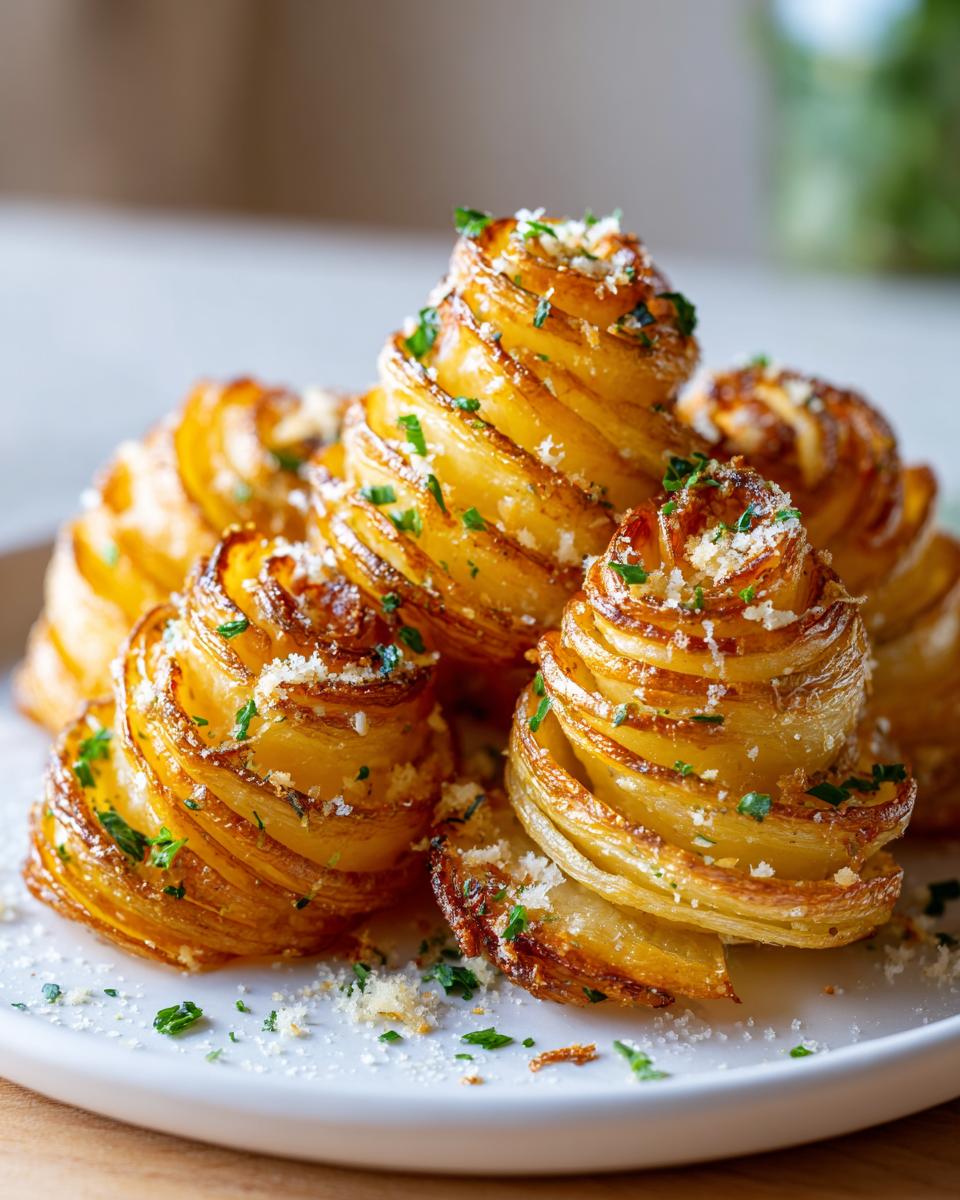
Make impressive Garlic Parmesan Potato Roses for an elegant side dish. This recipe shows you how to thinly slice potatoes and arrange them into beautiful, savory spirals baked with garlic butter and Parmesan cheese.
- Prep Time: 20 min
- Cook Time: 35 min
- Total Time: 55 min
- Yield: 12 roses 1x
- Category: Side Dish
- Method: Baking
- Cuisine: American
- Diet: Vegetarian
Ingredients
- 3 large Russet potatoes, scrubbed
- 4 tablespoons unsalted butter, melted
- 2 cloves garlic, minced
- 1/2 teaspoon salt
- 1/4 teaspoon black pepper
- 1/2 cup grated Parmesan cheese, divided
- 2 tablespoons fresh parsley, chopped (for garnish)
Instructions
- Preheat your oven to 400 degrees Fahrenheit (200 degrees Celsius). Lightly grease a 12-cup standard muffin tin.
- Prepare the potatoes: Peel the potatoes if desired, or leave the skin on for color. Slice the potatoes very thinly, about 1/16 inch thick. A mandoline slicer works best for uniform thinness.
- Prepare the garlic butter: In a small bowl, mix the melted butter, minced garlic, salt, and pepper.
- Assemble the roses: Take one thin potato slice and brush both sides lightly with the garlic butter mixture. Sprinkle lightly with about 1/4 teaspoon of Parmesan cheese.
- Roll the slice: Starting from one end, tightly roll the potato slice into a spiral shape. This forms the center of the rose.
- Continue layering: Take a second potato slice, brush with butter, sprinkle with Parmesan, and wrap it around the first roll, slightly overlapping the edge. Continue this process with subsequent slices until the rose is about 1.5 to 2 inches wide.
- Place the roses: Gently place each assembled potato rose into a cup of the prepared muffin tin, standing them upright.
- Coat the roses: Brush the tops and sides of the assembled roses with any remaining garlic butter. Sprinkle the remaining Parmesan cheese evenly over the tops of all the potato roses.
- Bake: Bake for 30 to 35 minutes, or until the edges are golden brown and the potatoes are tender when pierced with a fork.
- Serve: Carefully remove the potato roses from the muffin tin. Garnish with fresh chopped parsley before serving this impressive potato presentation.
Notes
- Use a mandoline slicer set to the thinnest setting to get uniform slices; this is key for easy rolling and even cooking.
- If the potatoes start to fall apart while rolling, your slices might be too thick or you are not pressing the roll tightly enough at the start.
- For extra flavor, add a pinch of dried thyme or rosemary to the garlic butter mixture.
- If you do not have a muffin tin, you can use a small baking dish and place the roses close together; they will support each other as they bake.
Nutrition
- Serving Size: 1 rose
- Calories: 110
- Sugar: 1
- Sodium: 180
- Fat: 7
- Saturated Fat: 4
- Unsaturated Fat: 3
- Trans Fat: 0
- Carbohydrates: 10
- Fiber: 1
- Protein: 3
- Cholesterol: 15