
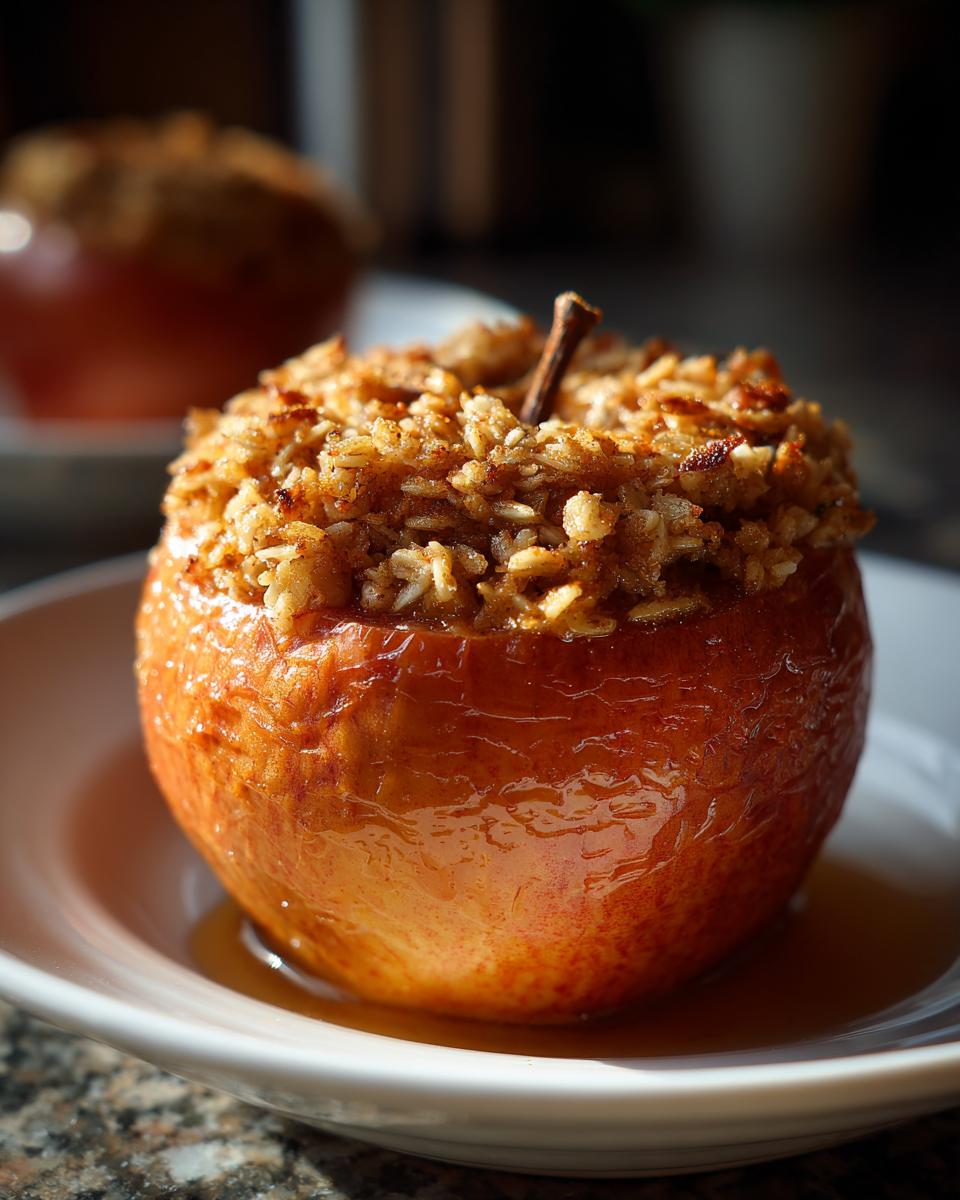
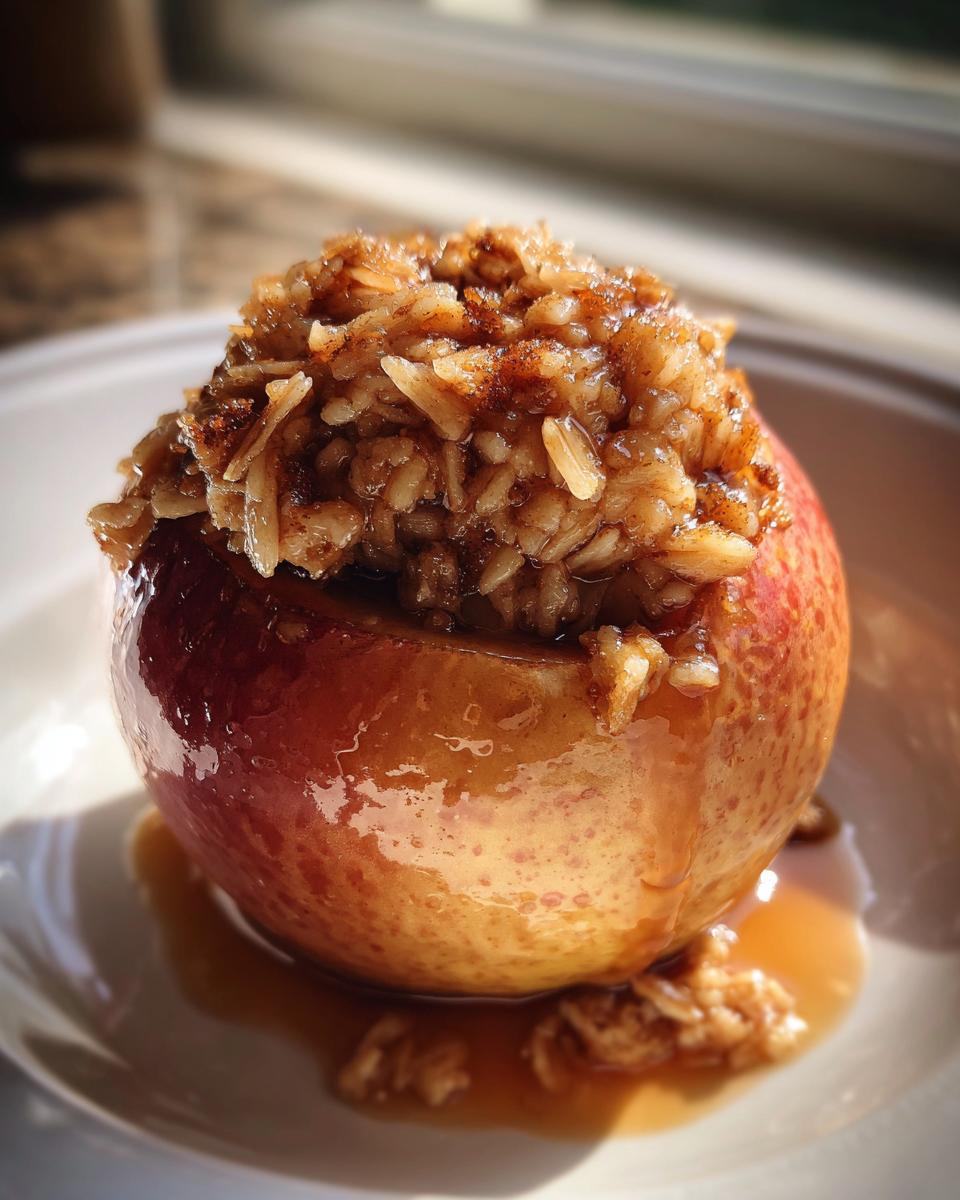
There’s just nothing that says cozy quite like the scent of cinnamon warming up the kitchen, is there? When those first cool breezes of autumn start blowing through, I immediately think back to my childhood home in Ohio. My mom and grandma always knew exactly how to make everything feel right again with simple food, and their baked apples were my absolute favorite comfort dish. Forget complicated desserts! This recipe is the real deal: classic, tender, and perfectly stuffed baked apples made with warm spices and brown sugar. We’re stripping away all the fuss today, friends. I know your busy life needs quick, delicious meals, and these hit that sweet spot perfectly. Trust me, this might just become your go-to baked apple dessert!
- Why This is the Best Baked Apples Recipe You Will Make
- Gathering Ingredients for Your Stuffed Baked Apples Recipe
- Step-by-Step Instructions: How to Bake Apples Perfectly
- Tips for Success Making Classic Cinnamon Baked Apples
- Serving Suggestions for Your Baked Apple Dessert
- Storage and Reheating Instructions for Leftover Baked Apples
- Frequently Asked Questions About Baked Apples
- Estimated Nutrition for Classic Baked Apples
- Share Your Experience with These Fall Baked Apples
Why This is the Best Baked Apples Recipe You Will Make
I’m not going to lie—I’ve tested dozens of apple recipes, but these win every single time. They are the gold standard for a reason! My goal when developing this recipe was maximum cozy flavor with minimum fuss. You’re going to absolutely love how simple this is.
- These are truly easy baked apples; the filling comes together while the oven preheats.
- The combination of brown sugar and oats gives you a wonderful texture that’s kind of like a mini crisp right inside the fruit.
- We create steam in the pan, which is the real secret to getting those beautifully tender baked apples without them dissolving.
If you’re looking for more simple, comforting sweets, you have to check out all my delicious dessert recipes. But first, let’s get these apples ready!
Gathering Ingredients for Your Stuffed Baked Apples Recipe
Okay, ingredient gathering is my favorite part—it’s where the magic really starts to smell good! For these stuffed baked apples recipe, we aren’t using anything fancy or hard to find. We’re sticking to the classics that make this dish sing. Having everything measured out before you start coring those apples will make the whole process fly by so quickly. I always lay mine out on the counter just like this so I can talk myself through the steps!
- 4 large baking apples (I often lean toward Honeycrisp or Granny Smith)
- 1/2 cup rolled oats
- 1/2 cup packed brown sugar
- 1 teaspoon ground cinnamon
- 1/4 teaspoon ground nutmeg
- 1/4 cup all-purpose flour
- 1/4 cup cold unsalted butter, cut into small pieces
- 1/4 cup water (this goes into the pan, not the filling!)
Ingredient Notes and Substitutions for Baked Apples
When it comes to the apples themselves, pick what you love, but know that tart varieties like Granny Smith hold their shape beautifully, while sweeter ones like Honeycrisp get really soft and delightful. If you don’t have brown sugar on hand, you can swap out *some* of it for maple syrup for a slightly different, richer flavor profile—just be mindful of the liquid balance. And listen, if you absolutely must skip the oats for some reason, don’t sweat it; just use the same measurement amount of extra flour, though you will lose that lovely crunch!
Step-by-Step Instructions: How to Bake Apples Perfectly
Alright, are you ready to turn these raw apples into pure comfort? This is where we follow the steps, but remember, even if things seem a little messy, that’s okay! We’re aiming for delicious, not magazine-perfect, especially when making baked apples. I’ve written out the simple process below, but seriously, take your time with the coring part. That’s the trickiest bit for beginners!
- First things first, get that oven warming up to 375 degrees Fahrenheit. While it heats, lightly grease whatever small baking dish you’re using. It doesn’t need to be fancy, just something sturdy enough to hold the apples snugly.
- Now for the coring! Wash those apples well. You need a sharp knife or an apple corer for this. The key here is to core them from the top straight down, but you absolutely must stop before you cut right through the bottom. Leave about a half-inch of apple intact so the filling holds its place. You don’t want your beautiful filling escaping onto the kitchen floor!
- Once the apples are prepped, gently spoon that oat mixture we made into the center of each apple. Pack it down just a little bit—don’t jam it in there, though!
- Tuck those stuffed beauties into your warm baking dish. Then, pour that little bit of water right into the bottom of the dish, surrounding the apples. This creates the steam magic we talked about!
- Pop them into the oven for about 35 to 45 minutes. They are done when you can easily pierce the flesh with the tip of a fork.
If you want to see some fun ways people have used apples in sweet treats, check out this apple pie cookies recipe for inspiration!
Making the Brown Sugar Baked Apples Filling
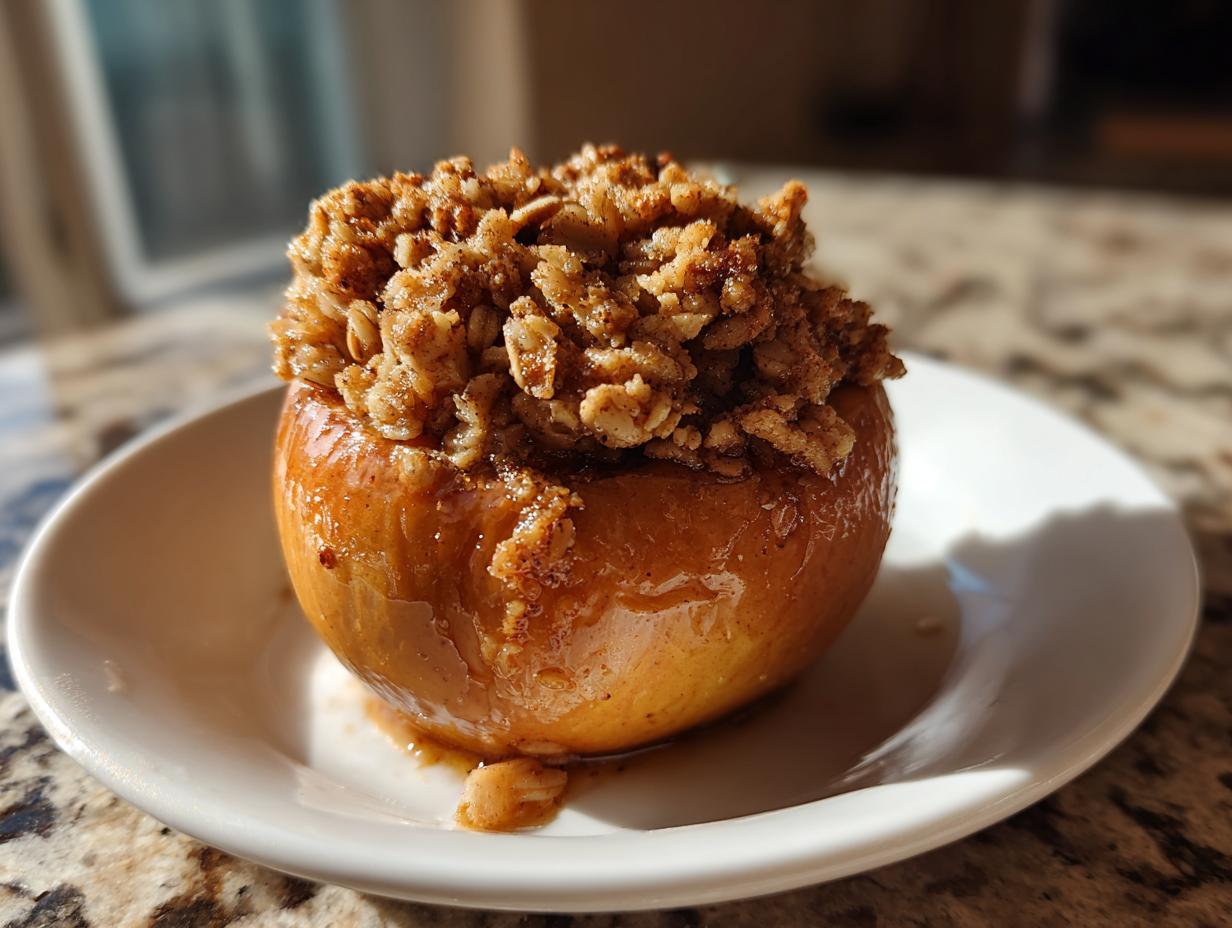
This is where it starts smelling like Thanksgiving! You are just combining the oats, brown sugar, that cinnamon and nutmeg, and the flour. The absolute most important part is adding that cold butter next. You need to use your fingers—yes, your actual hands!—or a pastry blender to cut that butter into the mix until it looks like big, coarse crumbs. That cold butter melts in the heat, creating that wonderful, slightly crisp little layer right on top of your baked apples. Don’t overmix it; we want texture!
Baking Your Tender Baked Apples
Once those apples are stuffed and looking cozy in the pan with that water pooled around their base, they go into that 375°F oven. That water isn’t just for show, by the way; it turns to steam, which helps the apple flesh soften perfectly all the way to the middle. If you pull them out and the fork sinks in with zero resistance, bingo! They are done. If you feel a little pushback, just let them go for another five minutes. We are looking for that sweet spot where they are soft but still holding their shape beautifully.
Tips for Success Making Classic Cinnamon Baked Apples
Even though these cinnamon baked apples are straightforward, a couple of little tricks from my kitchen help guarantee success every time—especially if you’re new to baking whole fruit. My mom always said, “Mia, use the right tools for the job!” and she was right.
First, ditch the regular knife for coring if you can. I find that a standard melon baller works wonders here! It scoops out the core so cleanly, and it’s much easier to stop before you break the bottom skin. Second, check on that water halfway through baking. Sometimes it evaporates faster if your oven runs hot. If the bottom of the pan looks dry, just pour in another quarter cup of hot water so you keep that steam building up!
Finally, remember that the butter for the topping absolutely must be icy cold—like, straight from the freezer cold. This makes sure it cuts into those nice, crumbly pieces instead of just melting into the sugar, which is what gives you that delicious, crisp little blanket over the top. If you love warm apple flavors, you simply have to try making a batch of my easy homemade soft chewy caramels to drizzle over these when serving!
Serving Suggestions for Your Baked Apple Dessert
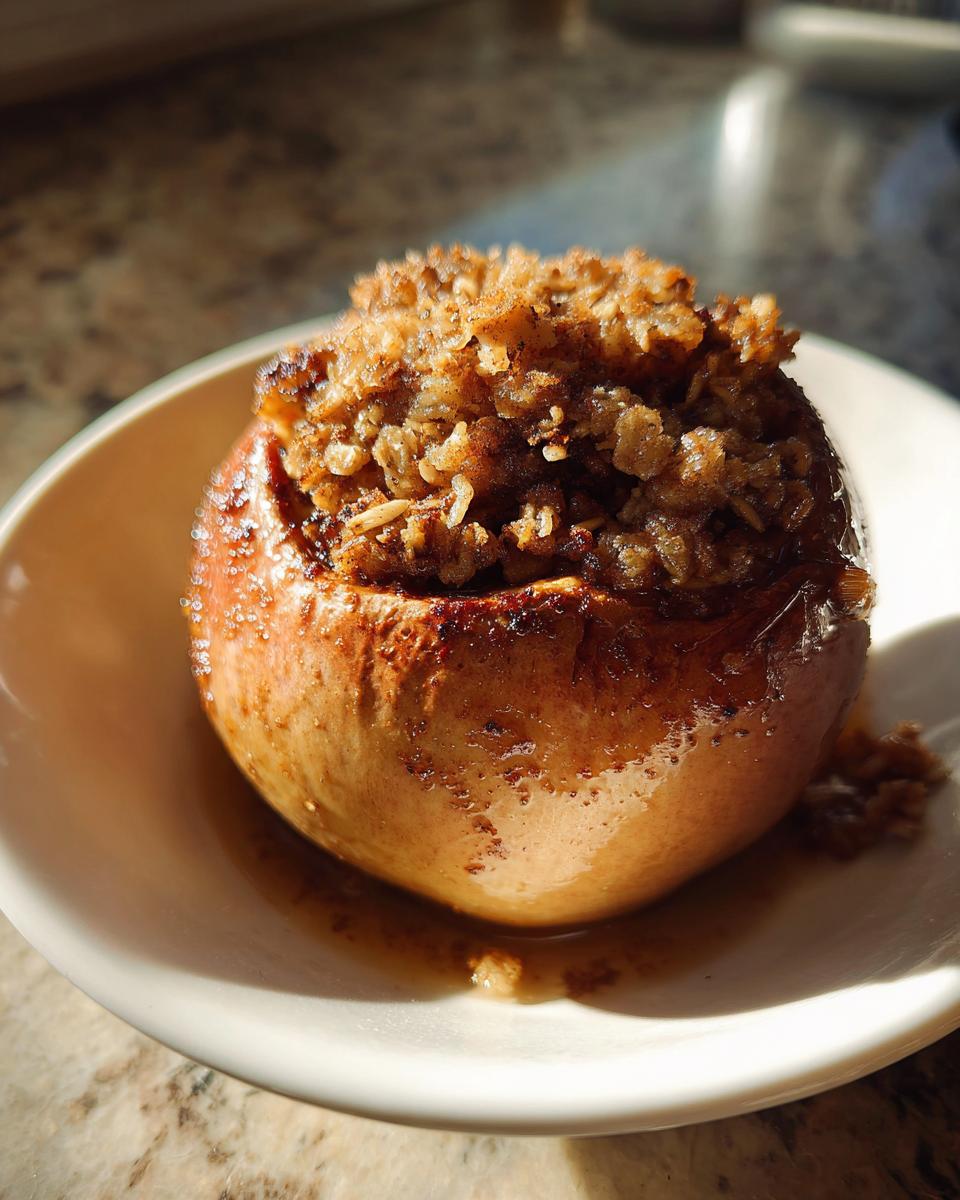
Wow, pull those beauties out of the oven and try not to burn your fingers! These baked apple dessert treats are fantastic all on their own, but they truly shine when dressed up a little. The classic way, which you know I adore, is a simple scoop of vanilla ice cream right on top so it starts melting down into the warm filling. It’s just heavenly!
If you want to go completely over the top—and honestly, sometimes we deserve that—drizzle some of that store-bought caramel sauce right over everything. For something really hearty and cozy that feels like a whole second dessert, serve these alongside a slice of my old-fashioned bread pudding. The combination of warm spiced fruit and creamy custard texture is just what a chilly evening calls for, trust me!
Storage and Reheating Instructions for Leftover Baked Apples
It’s rare that we have leftovers of these amazing apples because everyone usually dives in right away, but if you are lucky enough to have one hiding in the fridge the next day, don’t just toss it! These spiced beauties keep really well, which is great for quick lunches or snacks.
You’ll want to store any remaining fruit in an airtight container in the refrigerator. They should stay perfectly good for about three or maybe four days. The apple itself will soften a little more as it sits, but that’s okay, it just means they get extra tender!
When you’re ready for a reheated portion, the microwave is your best friend for bringing back that warmth quickly. Just place one apple on a microwave-safe plate and heat it for about 30 to 45 seconds. I find that if you splash just a tiny bit of water (maybe half a teaspoon) over the top right before heating, it helps create a little burst of steam, which stops the exposed filling from getting dry and hard. Trust me, warming up the apple itself helps bring back that just-out-of-the-oven softness beautifully!
Frequently Asked Questions About Baked Apples
I always get so many questions after folks try this dessert! It’s clear you all love a good, wholesome apple treat. Here are the things I hear most often about making these simple baked apples. Hopefully, this helps if you’ve got any last-minute confusion!
Can I use different kinds of apples for this recipe?
You sure can! As I mentioned before, I love Granny Smith or Honeycrisp because they hold their shape well. If you use super soft varieties, they might break down faster, which is fine if you prefer a very soft result. For those looking for what I call healthy baked apples, just be aware that sweeter apples will mean you need less added sugar in that wonderful oat filling!
What happens if I don’t want to use oats in the filling?
Oh, that happens! If you have an oat allergy or just don’t have them, no problem at all. You can substitute the rolled oats with an equal amount of all-purpose flour, or even some chopped nuts if you want a different crunch. It changes the texture slightly—it’ll be less crumbly and more like a dense streusel—but they are still absolutely delicious.
Can I make these if I don’t have time to stuff them?
Yes, you can definitely make sliced apples instead of whole ones! If you need truly easy baked apples and want them even faster, just slice the apples thinly instead of coring them. Toss those slices with the entire filling mixture and about half a cup of water in your baking dish. They bake much quicker, usually in about 20 to 25 minutes because there is less depth to cook through. You can find tons of great ideas for quick meals like this in my quick weeknight dinners collection!
Estimated Nutrition for Classic Baked Apples
I always get asked about the nutrition side of things, especially when we talk about desserts that feel more wholesome, like these baked apples. Because we are using fruit as the base and a simple oat/brown sugar filling, they aren’t too heavy! Remember, I’m a cook, not a nutritionist, so these numbers are just estimates based on my calculations for the recipe ingredients, so take them as a general guide for what you’re eating.
But seriously, these are miles better than grabbing something artificially flavored. Cooking at home gives you total control, which is part of my whole philosophy here at Mia’s Meals!
Here is what you can generally expect per serving (that’s one whole stuffed apple) when you make these:
- Serving Size: 1 apple
- Calories: About 350
- Fat: 15g (9g Saturated Fat)
- Carbohydrates: 55g
- Fiber: 6g
- Sugar: 45g
- Protein: 3g
- Cholesterol: 35mg
See? Not bad at all for a dessert that tastes like you spent hours baking! The fiber from the oats and the apple itself really helps balance out that sweetness from the brown sugar.
Share Your Experience with These Fall Baked Apples
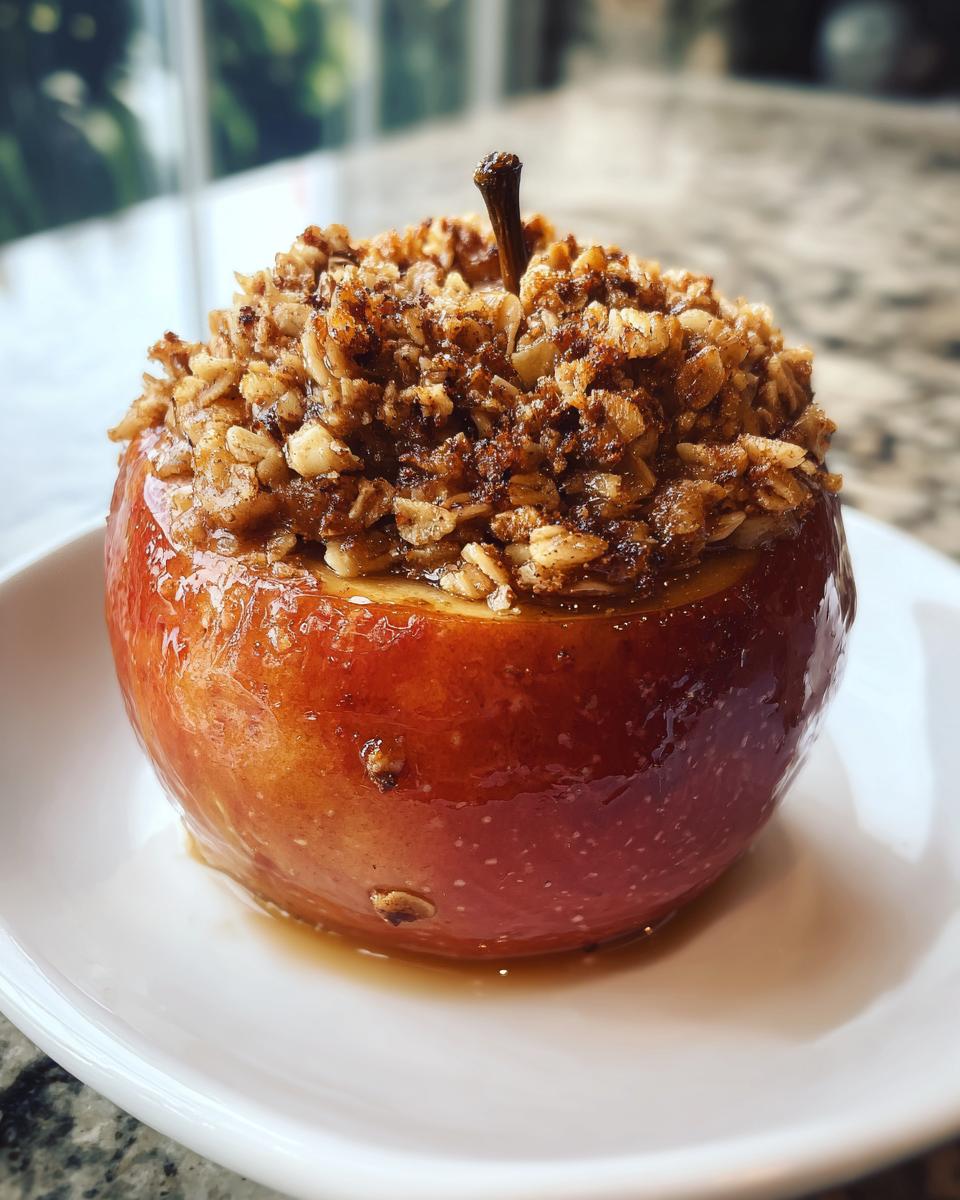
I truly hope these fall baked apples bring a little bit of that cozy, connected feeling into your kitchen just like they did for me growing up! If you make these stuffed apples, please come back and let me know how they turned out for you. Did you add extra cinnamon? Did you serve them with ice cream?
Leave me a rating and a comment below—it genuinely means the world to me and helps other home cooks find reliable, delicious recipes. You can read more about my mission here, but honestly, seeing your results is the best part! If you try them, maybe check out this other highly-rated baked apples recipe for comparison, but I think you’ll stick with this one!
PrintClassic Cinnamon Stuffed Baked Apples
Make these classic baked apples stuffed with a brown sugar, oat, and spice mixture. They are a simple, tender dessert perfect for fall evenings.
- Prep Time: 15 min
- Cook Time: 40 min
- Total Time: 55 min
- Yield: 4 servings 1x
- Category: Dessert
- Method: Baking
- Cuisine: American
- Diet: Vegetarian
Ingredients
- 4 large baking apples (like Honeycrisp or Granny Smith)
- 1/2 cup rolled oats
- 1/2 cup packed brown sugar
- 1 teaspoon ground cinnamon
- 1/4 teaspoon ground nutmeg
- 1/4 cup all-purpose flour
- 1/4 cup cold unsalted butter, cut into small pieces
- 1/4 cup water
Instructions
- Preheat your oven to 375 degrees Fahrenheit. Lightly grease a small baking dish.
- Wash the apples. Use a sharp knife or apple corer to remove the core from the top down, leaving about a half-inch of apple at the bottom intact so the filling stays inside. Do not cut all the way through the bottom.
- In a medium bowl, combine the rolled oats, brown sugar, cinnamon, nutmeg, and flour. Mix well.
- Cut the cold butter into the dry mixture using your fingers or a pastry blender until the mixture resembles coarse crumbs.
- Spoon the oat mixture evenly into the center of each cored apple, packing it down lightly.
- Place the stuffed apples into the prepared baking dish. Pour the 1/4 cup of water into the bottom of the dish around the apples.
- Bake for 35 to 45 minutes, or until the apples are tender when pierced with a fork.
- Carefully remove the apples from the oven. Let them cool slightly before serving warm.
Notes
- Serve these warm baked apples with a scoop of vanilla ice cream or a drizzle of caramel sauce for an extra treat.
- If you prefer a softer apple, you can peel the apples before coring them.
- For a richer flavor, substitute maple syrup for some of the brown sugar in the filling.
Nutrition
- Serving Size: 1 apple
- Calories: 350
- Sugar: 45
- Sodium: 5
- Fat: 15
- Saturated Fat: 9
- Unsaturated Fat: 6
- Trans Fat: 0
- Carbohydrates: 55
- Fiber: 6
- Protein: 3
- Cholesterol: 35