
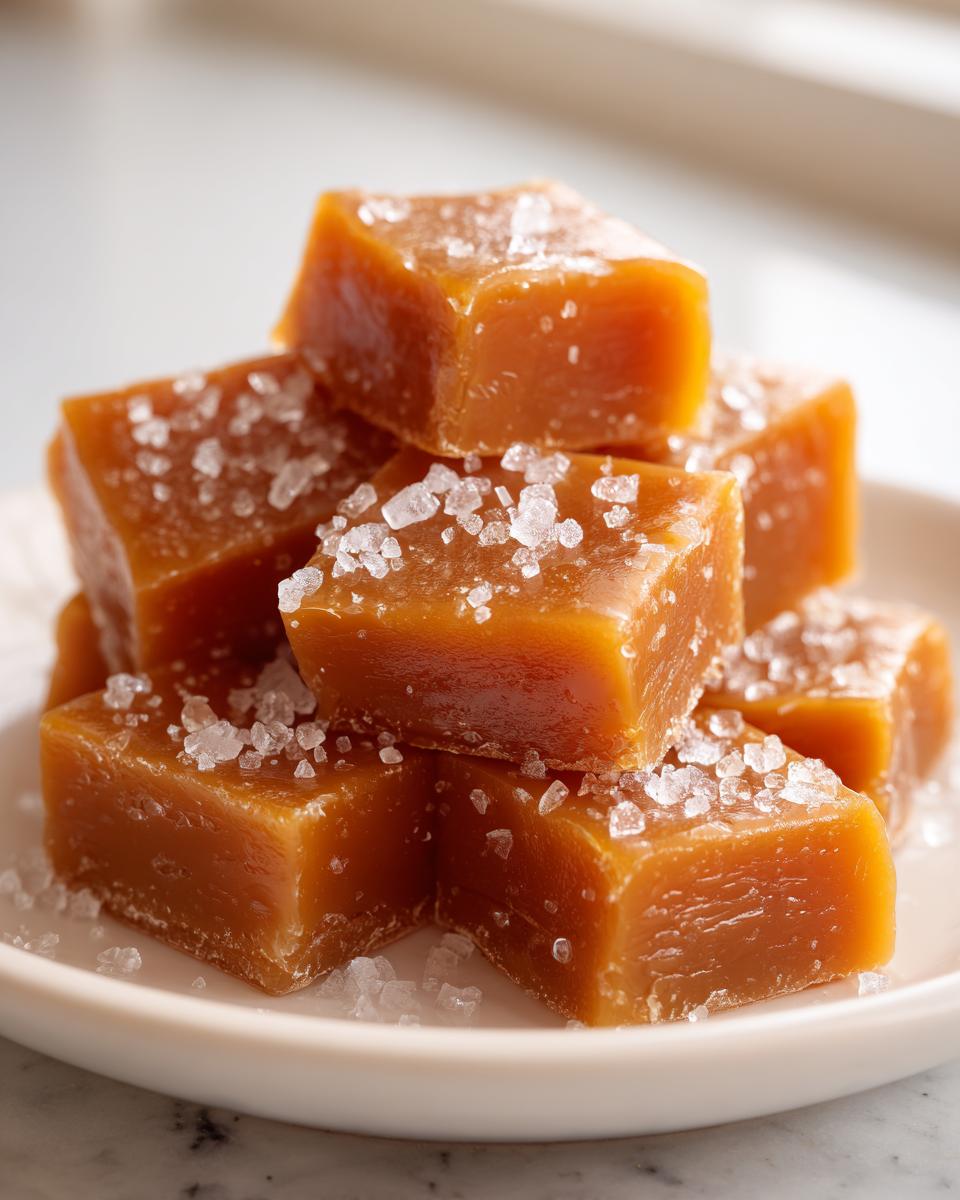
There is just something pure and absolutely joyful about making candy right in your own kitchen, isn’t there? Forget those waxy, store-bought squares! I’m going to show you my secret for the best soft and chewy sea salt homemade caramels you’ll ever taste. Growing up with my mom and grandma, we learned that simple, wholesome ingredients make the best kind of comfort food, and these caramels are the pinnacle of that tradition. These treats will truly melt in your mouth, and I promise they’re easier than you think! If you want to know more about why I believe in keeping cooking simple and warm, check out my story on the About Page.
- Why This Soft Chewy Sea Salt Homemade Caramels Recipe Works (E-E-A-T Focus)
- Gathering Ingredients for Homemade Caramels Recipe
- Essential Equipment for Making Your Caramels
- Step-by-Step Instructions for Soft and Chewy Caramels
- Tips for Perfect Homemade Caramels Every Time
- Variations for Your Chewy Dessert Bites
- Storage and Gifting Your Soft Caramels
- Frequently Asked Questions About Making Caramels
- Estimated Nutritional Data for These Caramels
- Share Your Homemade Caramel Candy Creations
Why This Soft Chewy Sea Salt Homemade Caramels Recipe Works (E-E-A-T Focus)
When it comes to candy making, consistency is everything, and that’s why I know this recipe delivers. If you are looking for the Best Caramel Recipe out there, this is it because we nail that crucial soft and chewy texture every single time. It’s about respecting the process, seeing those sugars transform exactly as they should.
We aren’t trying to make hard candy here; we are aiming for those decadent, mouth-coating bites. That means the temperature reading is non-negotiable when you’re first learning this recipe. It takes the guesswork away completely!
Achieving the Perfect Texture in Your Caramels
The secret handshake for soft, chewy caramels is hitting that perfect “firm-ball stage,” which translates exactly to 245 degrees Fahrenheit on your thermometer. If you go just a couple of degrees over that mark, boom—suddenly you have brittle toffee, and nobody wants that when they are expecting something soft! Keeping it right at that point ensures the sugars are suspended perfectly within that rich blend of butter and cream we use.
This precision means when you bite in, that caramel yields just right. It stretches a tiny bit, melts beautifully on your tongue, and doesn’t stick unforgivingly to your teeth. That’s the goal we are always aiming for!
Gathering Ingredients for Homemade Caramels Recipe
Alright, let’s talk about what you’ll need to haul out of the pantry for these incredible Buttery Caramel Treats. Trust me on this—using the right ingredients is half the battle won when making your first batch of scratch caramels. Don’t try to substitute things here; these ingredients are chosen specifically for the texture we want!
When you look at the list, notice two crucial details: we need the brown sugar to be firmly packed into the cup, which means squeezing it down to get the right molasses content. Also, please grab the flaky sea salt for the topping—it gives that beautiful crunchy finish that cuts through the sweetness so well. Everything else is fairly standard but vital for that rich, classic flavor profile we are chasing!
Essential Equipment for Making Your Caramels
Before you even turn on the stove, you need to organize your tools. When you are stepping up to Gourmet Candy Making like this, having the right gear isn’t fancy—it’s mandatory for successful caramels! I learned the hard way that rushing the setup leads to spills.
For this recipe, you absolutely must have a heavy-bottomed saucepan; trust me, thin pans burn the sugar too easily, and we don’t want scorched flavor! You’ll also need an 8×8 inch pan ready to go, lined with parchment paper for easy lifting later on. And the biggest non-negotiable? A reliable candy thermometer. It’s the key to making sure these turn out soft instead of rock hard!
Step-by-Step Instructions for Soft and Chewy Caramels
This is where the magic happens! Don’t let the ingredient list scare you; following these steps for your Easy Caramel Candy will get you those perfect, chewy bites people dream about. We’re going step-by-step so you can relax and watch these beautiful caramels come together. Remember, making candy is a science, but we’re keeping it easy and intuitive here.
Preparing the Pan and Combining Initial Ingredients for Caramels
First things first: you have to get your 8×8 inch pan ready. Lightly grease it, and then I insist you line it with parchment paper that hangs over the edges—this overhang is your handle for lifting the whole block out later! That parchment is your security blanket; don’t skip it.
Next, grab your heavy saucepan. Add the granulated sugar, corn syrup, brown sugar, heavy cream, and butter all in at once. Put it over medium heat and stir it gently. You must keep stirring only until everything is melted and the sugar grains disappear—make sure you don’t feel any grit on the side of the pan!
Once you see that first boil start bubbling across the surface, step away from the spoon! Stirring after it boils can actually invite crystallization, and we want smooth treats, not grainy ones, so stop stirring immediately after that boil begins.
Cooking the Caramel Candy to Temperature
Now that we aren’t stirring, clip your candy thermometer securely onto the side of the pan. Make sure the tip is dipping right into the mixture but isn’t touching the very bottom of the pan, or you’ll get a false, way-too-hot reading.
This is the waiting game. Keep the heat steady and just let it bubble away! It usually takes about 15 to 20 minutes to climb up to 245 degrees Fahrenheit. That temperature is our golden ticket to soft and chewy caramels—it’s the firm-ball stage. If you don’t have a thermometer handy, you can check the temperature by dropping a tiny bit of the mixture into ice water; it should form a firm but still bendable ball. (We’ll talk more about that trick in a second!)
Finishing and Cutting Your Homemade Caramels
The second that thermometer hits 245°F, pull the whole pot right off the heat—it keeps cooking even when it’s off the burner! Stir in that vanilla extract and the 1/2 teaspoon of salt quickly. Then, carefully pour that glorious hot liquid into your prepared pan. Don’t scrape the sides of the pot, just let it flow!
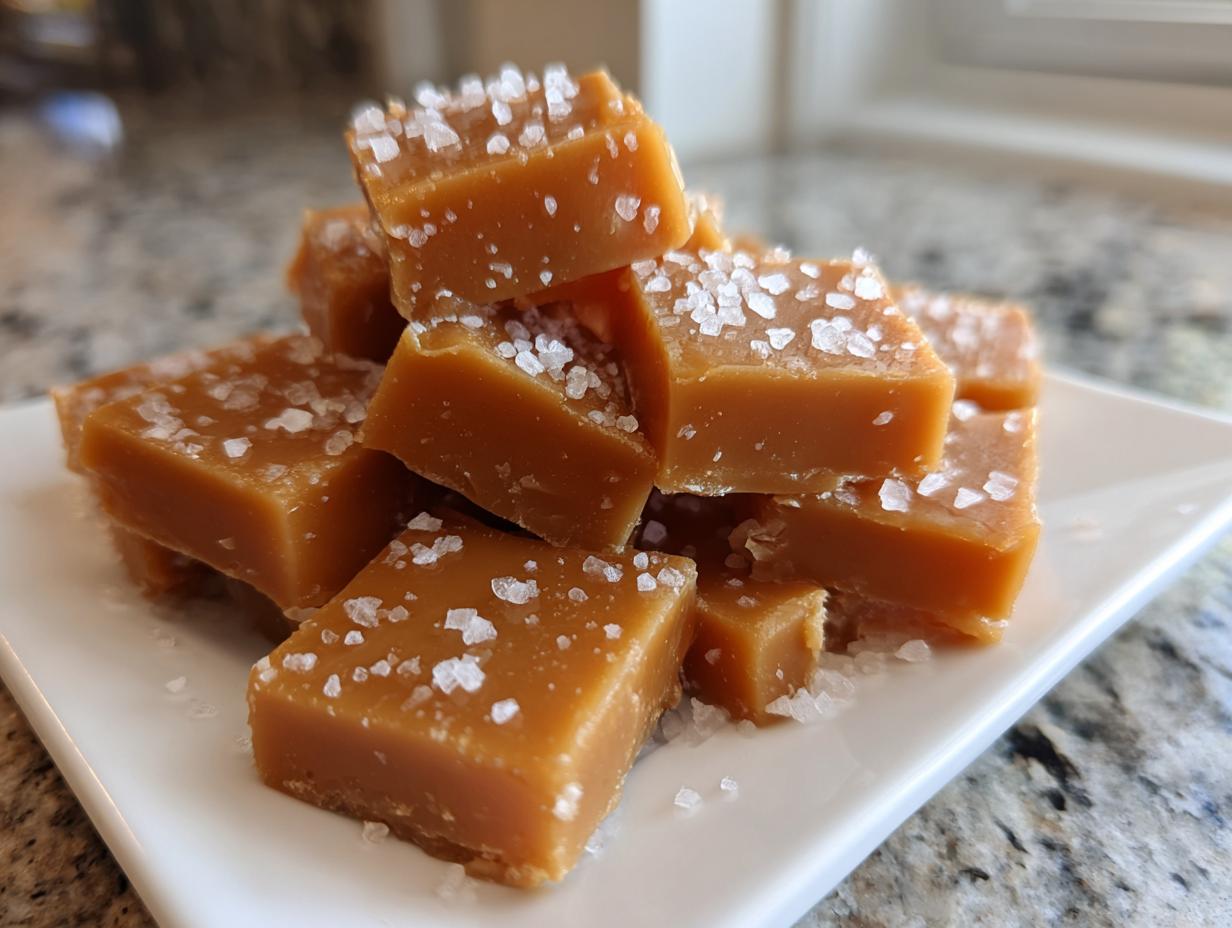
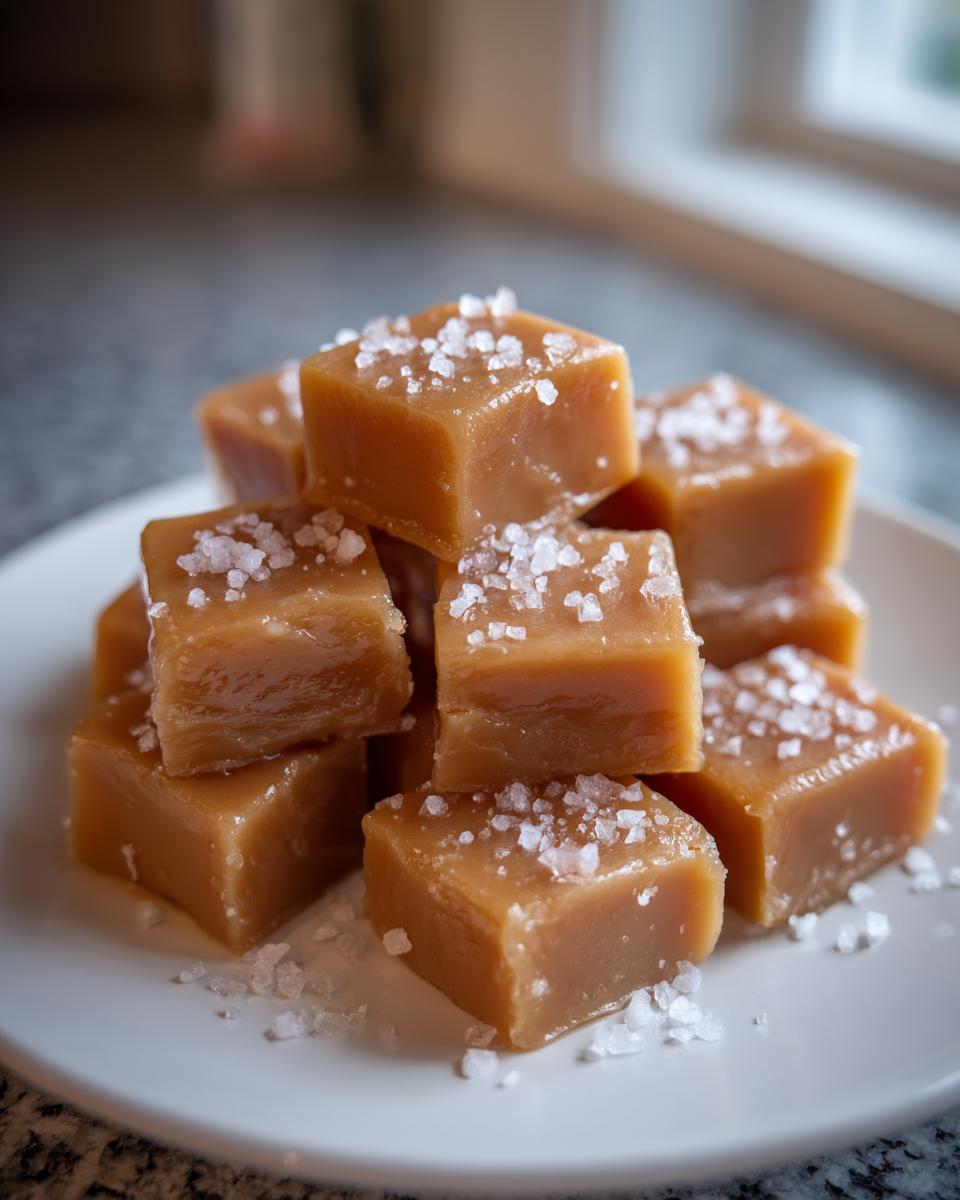
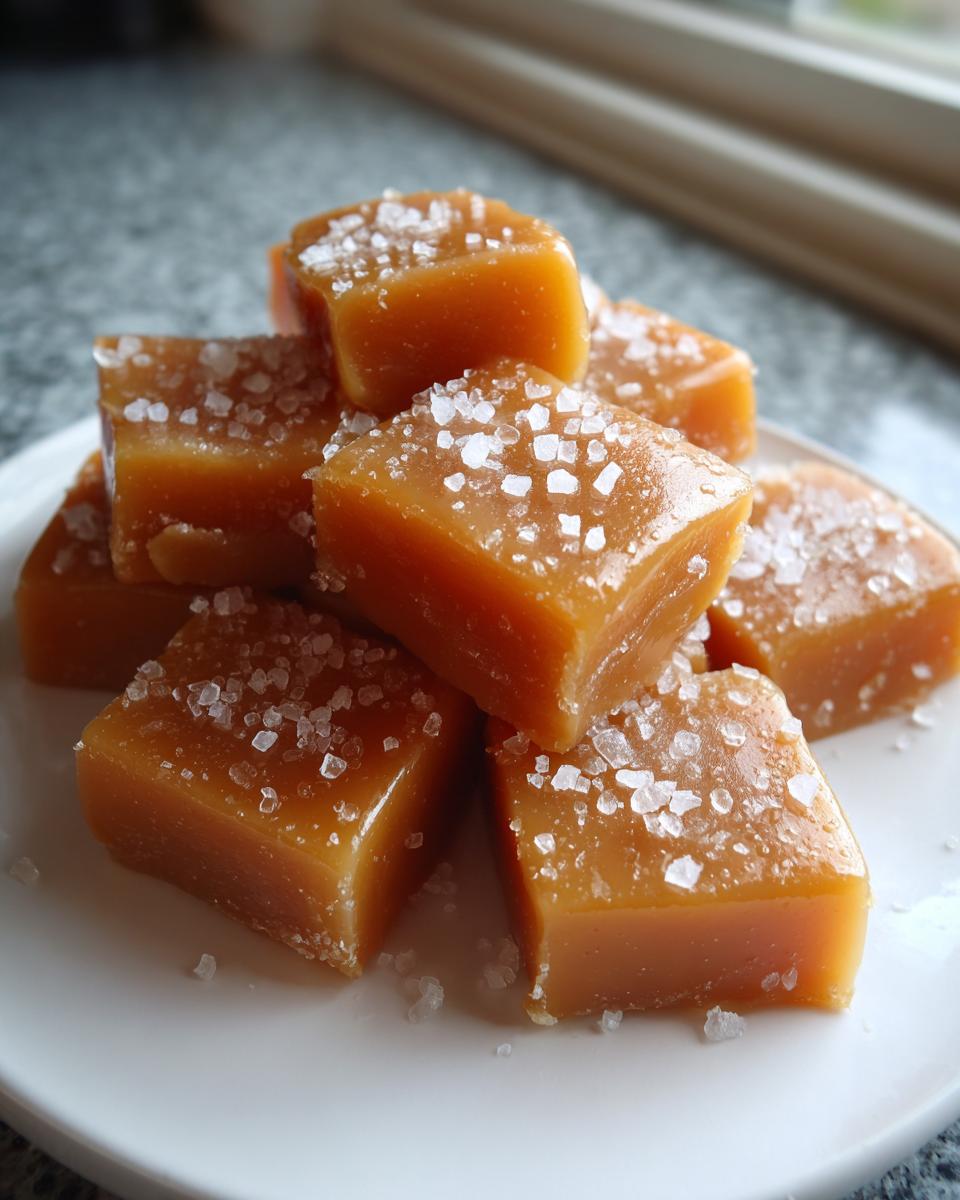
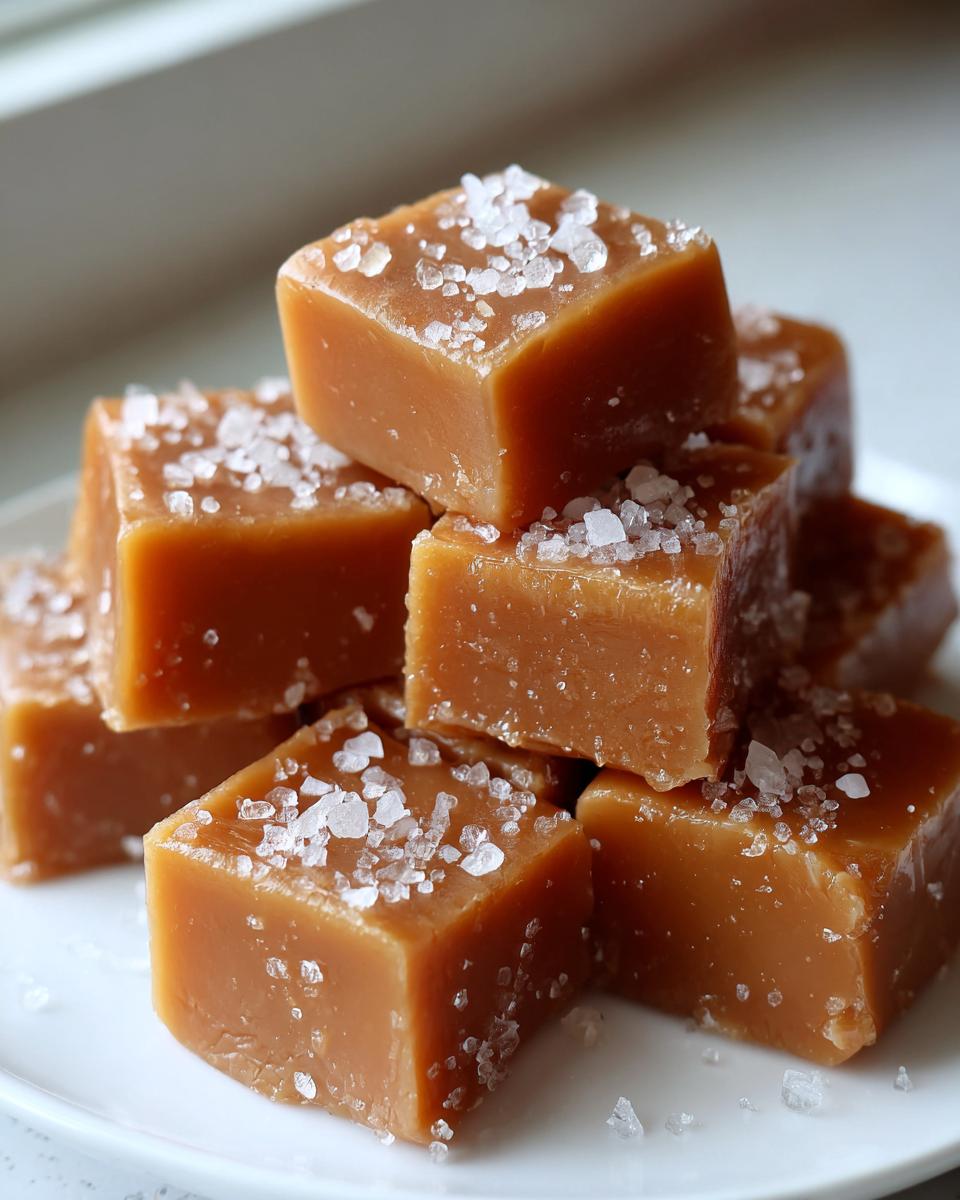
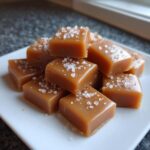
Right away, while it’s still super liquidy, grab your flaky sea salt and sprinkle it evenly all over the top. This is important—if you wait even a minute, the salt won’t stick! Then, you have to leave it completely alone. Seriously, don’t touch it for three long hours at room temperature. Don’t be tempted by the fridge! Once it’s completely firm, use those parchment paper overhangs to lift the whole sheet out. Cut it into squares about an inch big, and wrap them individually in wax paper. That’s how you lock in that chewy goodness!
I love making these for homemade dessert recipes for my neighbors during the holidays. It’s so much easier than you think once you master the temperature!
Tips for Perfect Homemade Caramels Every Time
Making From Scratch Caramel is so rewarding, but I know worrying about crystallization or getting the texture wrong keeps people away from trying! Don’t let it! My best tip for keeping things smooth is actually avoiding agitation once that mixture starts boiling. Resist the urge to stir it vigorously. We want creamy, not grainy texture!
Also, a big rule for setting: never, ever put these in the fridge to speed things up. It makes them way too firm and ruins that beautiful soft chew we worked hard for! Let them sit on the counter for those full three hours. You can bake a lovely date nut bread while you wait!
Handling the ‘No Thermometer Caramels’ Alternative
If you’re like me sometimes and your thermometer decides to quit mid-cook, don’t panic! You can still nail these caramels using the ice water test. Get a small bowl of ice water ready near your cooking area—this is for emergencies only!
When you think you’re close, carefully plop just a tiny droplet—really small, like the size of a pea—into the ice water. Scoop it out immediately with a spoon. If it forms a soft ball that you can easily squish or roll between your fingers, but it still feels pliable and bends when you push it, you’ve hit 245°F! If it snaps immediately, it’s too hot and you’ve made candy, not caramel. If it dissolves, you need more cooking time. See? We can do this without the fancy gear too! For more tips on candy making, check out this great resource here.
Variations for Your Chewy Dessert Bites
Once you master the basic method for these incredible caramels, you absolutely have to start experimenting! They are such an excellent base canvas for extra flavor. Just remember, any time you change ingredients, you might need to adjust that cooking time just a smidge, so watch your temperature!
My favorite switch-up is adding nuts. About two minutes before you pull this mixture off the heat, fold in about a cup of lightly toasted pecans or walnuts. That little crunch against the soft chew is heavenly! Another fun twist to create different Chewy Dessert Bites is swapping out the corn syrup for maple syrup if you want a slightly different, woodsy sweetness. If you use maple, be aware it can sometimes need just a few extra moments to hit that 245°F mark. But honestly, these are so delicious plain, with just that flaky sea salt on top!
Storage and Gifting Your Soft Caramels
These amazing Homemade Caramels truly shine when they are made ahead of time, which makes them perfect for all your Homemade Holiday Candy planning! The shelf life is surprisingly long, provided you treat them right. Once you’ve cut and wrapped your squares, make sure they go into a truly airtight container.
Here’s the big rule: Keep them at room temperature. They need that gradual warmth to maintain that perfect soft and chewy texture we worked so hard to achieve. If you chill them, they get too hard, and the texture just suffers. They should stay wonderful at room temp for about two weeks, maybe a bit longer if your house is cool.
When you’re ready to gift them, presentation really matters! I find wrapping each piece individually in little squares of colorful wax paper makes them look professional and stops them from sticking together in the box. Tie a simple ribbon around a bundle of them, and you have instant, thoughtful gifts! It’s so much better than buying something pre-made, just like how I feel about bringing out my Sweet Potato Pound Cake for potlucks. For more inspiration on homemade treats, you can check out this great guide here.
Frequently Asked Questions About Making Caramels
I know you probably have a few burning questions left after getting the recipe down! That’s completely normal—candy making can feel intimidating, but I promise these Homemade Caramels Recipe questions are common landing spots for bakers. We want to make sure your batch of Soft Chewy Caramels is perfect.
Why did my caramels turn out too hard instead of soft and chewy?
Oh, that’s the big temperature mistake! If your caramels are brittle and snap instead of stretching, you cooked them past 245°F. That extra cooking time turns them into hard candy territory, even by just a degree or two. Always pull the sugar mixture off the heat the second the thermometer reads 245°F. We want that pliable, melt-in-your-mouth texture, not something that cracks a tooth!
Can I substitute milk for the heavy cream in this recipe?
Please don’t try plain milk here! The high fat content in heavy cream is absolutely necessary to create a rich, smooth texture and to help stabilize the sugar as it cooks. If you use regular milk, the water content is too high, and you run a huge risk of getting grainy, splitting caramel that won’t set correctly. Stick to the heavy cream for the Best Caramel Recipe results.
How long do these Homemade Holiday Candy treats last, and how should I store them?
These are best eaten fresh, but they hold up beautifully at room temperature for about two weeks, maybe three if your house is cool! The key to longevity is wrapping them individually right after they cool. Keep them in a single layer inside a truly airtight container. Do NOT put them in the fridge; the condensation when you take them out ruins that perfect chewy coating! If you’re looking for quicker meal ideas for the weeknight, I have some great recipes over at my quick dinners page!
Is it okay if I don’t use corn syrup? Do I need it for From Scratch Caramel?
Honestly, for the softest, chewiest texture, corn syrup is your best friend here. It acts as an ‘interfering agent’ that prevents the standard sugar from forming large, crunchy crystals. If you absolutely can’t use it, your next best bet would be a commercial invert sugar substitute or sticking to the microwave method, which behaves a little differently. For stove-top Easy Caramel Candy, I strongly recommend keeping that corn syrup in the lineup!
Estimated Nutritional Data for These Caramels
Now, folks, I’m not a nutritionist, so take this with a grain of salt—unless, of course, you’re sprinkling that flaky sea salt on top! When you’re making delicious treats like these caramels, especially when you plan on gifting them during the holidays, it’s good to have a general idea of what’s inside.
The numbers below are my best estimation, based on the ingredients used, for just one perfect, wonderfully chewy square. Because these are small, rich bites, they pack a sweet little punch! Keep in mind, these figures are based on the recipe yielding about 64 pieces exactly. If you cut them bigger—which, trust me, I usually do—the numbers will shift.
- Serving Size: 1 square
- Calories: 110
- Total Fat: 4g
- Total Carbohydrates: 19g
- Total Sugars: 18g
- Protein: About 0.5g
See? A little indulgence can fit into any plan! The majority of the calories come from that rich butter and sugar base that makes these Buttery Caramel Treats so incredibly satisfying. Eat responsibly and enjoy every single bite of your homemade candy!
Share Your Homemade Caramel Candy Creations
Okay, that’s it! You did it! You’ve made your very own batch of Soft Chewy Caramels, and I bet they smell absolutely divine right now. I truly hope you enjoyed taking those first few steps into making your own candy from scratch. I know how satisfying that moment is when you finally cut into that perfect, yielding block of candy!
Now comes the best part for me: hearing from you! I want to know absolutely everything about your experience. Did you manage to nail that perfect 245-degree temperature? How many squares did you sneak while cutting them up? Don’t hold back!
Please take a moment to leave a star rating right down below. That helps other folks see that this recipe for Homemade Caramels Recipe is reliable and truly delivers on that chewy promise. And please, please tell me in the comments if you went for the flaky sea salt topping or if you kept them classic. I love seeing all the different ways you enjoy these Buttery Caramel Treats!
If you ever have questions while you’re cooking or just want to send a picture of your gorgeous batch as you wrap them up for gifts, you can always reach out through my Contact Page. Happy making, and enjoy every single melt-in-your-mouth bite!
PrintSoft and Chewy Sea Salt Homemade Caramels
Make rich, buttery, and perfectly chewy homemade caramels. This simple recipe delivers melt-in-your-mouth treats, perfect for holiday gifts or snacking.
- Prep Time: 15 min
- Cook Time: 20 min
- Total Time: 3 hours 35 min
- Yield: About 64 pieces 1x
- Category: Candy
- Method: Stovetop Cooking
- Cuisine: American
- Diet: Vegetarian
Ingredients
- 1 cup granulated sugar
- 1 cup light corn syrup
- 1 cup heavy cream
- 1 cup packed light brown sugar
- 1 cup unsalted butter
- 1 teaspoon vanilla extract
- 1/2 teaspoon salt (for the caramel)
- Flaky sea salt (for topping)
Instructions
- Lightly grease an 8×8 inch baking pan and line it with parchment paper, leaving an overhang for easy removal.
- In a heavy-bottomed saucepan, combine the granulated sugar, corn syrup, heavy cream, brown sugar, and butter.
- Stir the mixture over medium heat until the butter melts and the sugar dissolves. Stop stirring once it boils.
- Attach a candy thermometer to the side of the pan, making sure the tip is submerged but not touching the bottom.
- Cook the mixture, stirring occasionally, until it reaches 245 degrees Fahrenheit (the firm-ball stage). This usually takes 15 to 20 minutes.
- Remove the pan from the heat. Carefully stir in the vanilla extract and 1/2 teaspoon of salt.
- Pour the hot caramel mixture into the prepared baking pan.
- Sprinkle the top evenly with flaky sea salt immediately.
- Let the caramel cool completely at room temperature for at least 3 hours, or until firm. Do not refrigerate.
- Once firm, use the parchment paper overhang to lift the block of caramel out of the pan.
- Cut the block into 1-inch squares. Wrap each piece individually in wax paper or cellophane for storage.
Notes
- If you do not have a candy thermometer, you can test the caramel by dropping a small amount into ice water; it should form a firm but pliable ball.
- For a quicker method, some recipes allow for microwave preparation, but traditional stovetop cooking provides the most consistent texture.
- Store wrapped caramels in an airtight container at room temperature for up to two weeks.
Nutrition
- Serving Size: 1 square
- Calories: 110
- Sugar: 18g
- Sodium: 35mg
- Fat: 4g
- Saturated Fat: 2.5g
- Unsaturated Fat: 1.5g
- Trans Fat: 0g
- Carbohydrates: 19g
- Fiber: 0g
- Protein: 0.5g
- Cholesterol: 10mg