
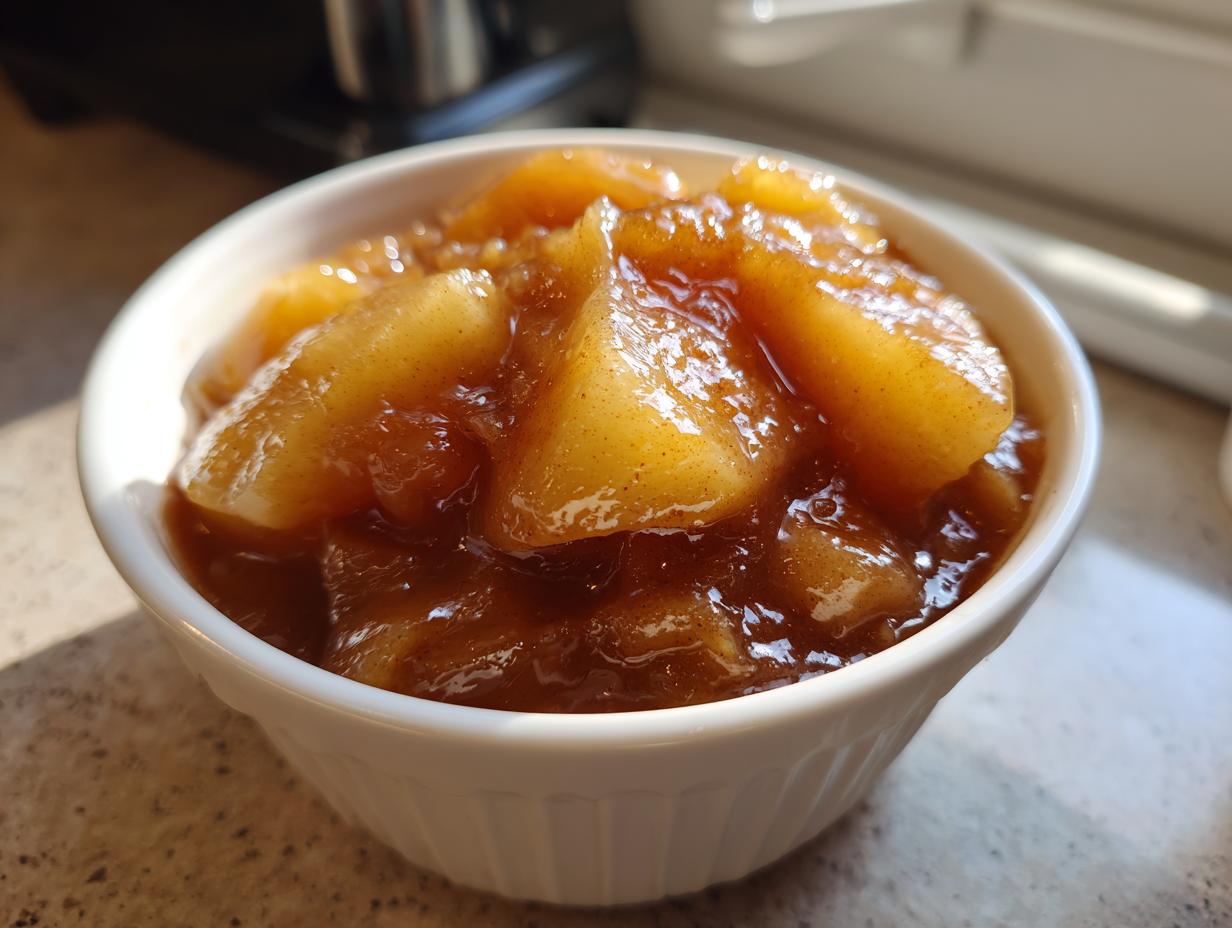
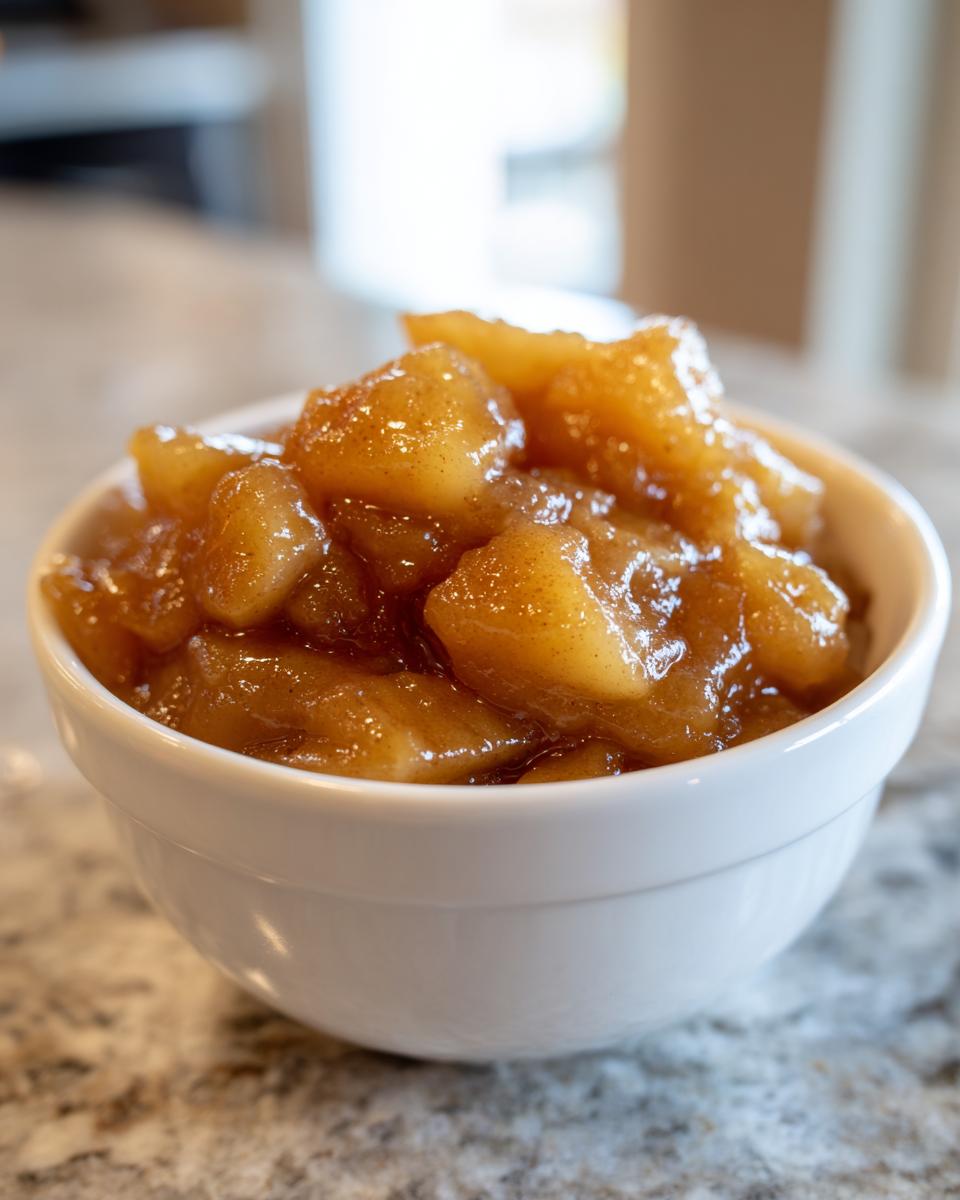
Listen to me—if you are still buying that watery, sad stuff in a can for your pies, we need to talk! Honestly, nothing beats the smell and taste of a truly homemade apple pie filling bubbling on your stove. That salty, sweet, spicy warmth is pure comfort, and I promise it’s easier than you think. This is my Best Ever Easy Stovetop Apple Pie Filling Recipe, and the secret weapon is getting that gorgeous deep flavor from packed brown sugar.
Back when I was juggling my marketing job and starting a family, I desperately needed shortcuts for those classic comfort foods my mom made. That hunt for simple flavor is exactly what built Mia’s Meals. You don’t need hours; you need a good saucepan and about 25 minutes to create a filling so thick and flavorful, you’ll never go back to the store-bought stuff. Trust me on this one.
- Why This Homemade apple pie filling is Your New Go-To Recipe
- Ingredients for the Best apple pie filling with brown sugar
- How to Make Stovetop apple pie filling Step-by-Step
- Pro Tips for the Best apple pie filling Success
- Creative Uses for Your Spiced apple filling
- Storage and Making apple pie filling Ahead
- Frequently Asked Questions About apple pie filling
- Nutritional Estimate for Homemade apple pie filling
- Share Your Best apple pie filling Creations
Why This Homemade apple pie filling is Your New Go-To Recipe
Forget everything you know about pre-made fillings. Why bother when you can have this incredible flavor and texture ready faster than takeout? This recipe is designed for real life, meaning it hits all the right notes for a busy kitchen. It’s the best apple pie filling because it’s fast, incredibly flavorful, and unbelievably thick.
Quick Apple Pie Filling Ready in Under 30 Minutes
Seriously, this is an emergency comfort food solution. Between prepping the apples and watching it bubble on the stove, you’re looking at maybe 25 minutes total. That’s less time than it takes to drive to the grocery store!
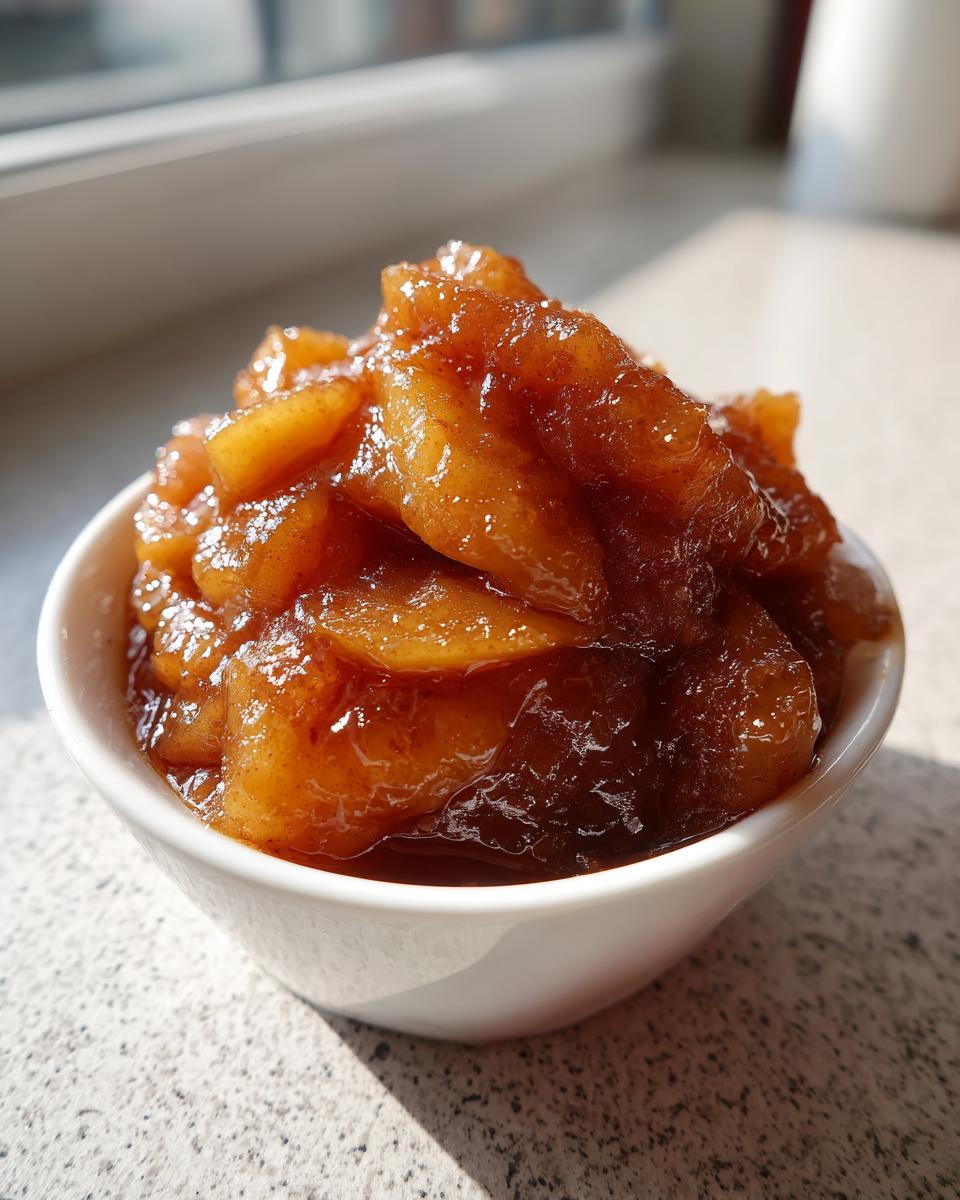
Achieving the Perfect Thick apple pie filling Consistency
The absolute worst thing is a soupy pie where all the liquid runs out onto your baking sheet. Nope! We use just the right amount of cornstarch with our sugars to create that luscious, glossy sauce. This quick stovetop method guarantees your apple pie filling sets up perfectly, whether it’s cooling for a pie or cooling for topping waffles.
Ingredients for the Best apple pie filling with brown sugar
When making this incredible apple pie filling with brown sugar, don’t think you can just eyeball things! Precision matters here to get that right thickness. We need 6 large apples, peeled, cored, and sliced about 1/4-inch thick. The sugars are crucial: 3/4 cup of packed light brown sugar for that deep molasses note, plus 1/4 cup of plain white sugar.
For the thickening magic, grab 1/4 cup of cornstarch. Then, bump up the flavor with a teaspoon of cinnamon, a dash of nutmeg, and just a pinch of allspice, plus a little salt and lemon juice. Finally, finish it off with 2 tablespoons of cold butter stirred in at the end—that’s what makes the glaze shine! If you have leftovers, this filling is amazing over my moist coffee cake, just saying!
Apple Selection and Preparation Tips
This is perhaps the most important part. If you use soft apples, your filling will turn to applesauce, and we absolutely cannot have that! I swear by Granny Smith because they hold their shape and bring a nice tartness, but firm Honeycrisp work beautifully too. You really need that firmness to stand up to the cooking process.
You have to peel and core them, of course. But make sure those slices are consistent—about 1/4-inch thick. If they are too thin, they’ll vanish. If they are too thick, they won’t soften evenly in that quick 10 minutes on the stove. Consistency is how we beat the jarred stuff!
How to Make Stovetop apple pie filling Step-by-Step
Okay, deep breaths! This is where the magic happens, and it moves fast, which is why I love that this is a quick stovetop apple pie filling. We throw everything into one big saucepan. No messy bowls required unless you’re scared of mixing things directly, and honestly, why be scared? We’re aiming for speed and flavor here, folks!
Combining Dry Ingredients and Apples
First, toss those sliced apples right into your saucepan. Now, sprinkle over all your dry stuff: the brown sugar, the white sugar, your cornstarch—and make sure you don’t skip that cornstarch, it’s vital!—plus all those lovely spices and the salt. Before you even think about turning on the burner, use your hands or a big spatula and toss everything until every single apple slice is coated. If that cornstarch or sugar clumps up on the bottom now, it *will* stick when we add the water. We want every apple piece getting that beautiful, sugary spiced glaze right from the start.
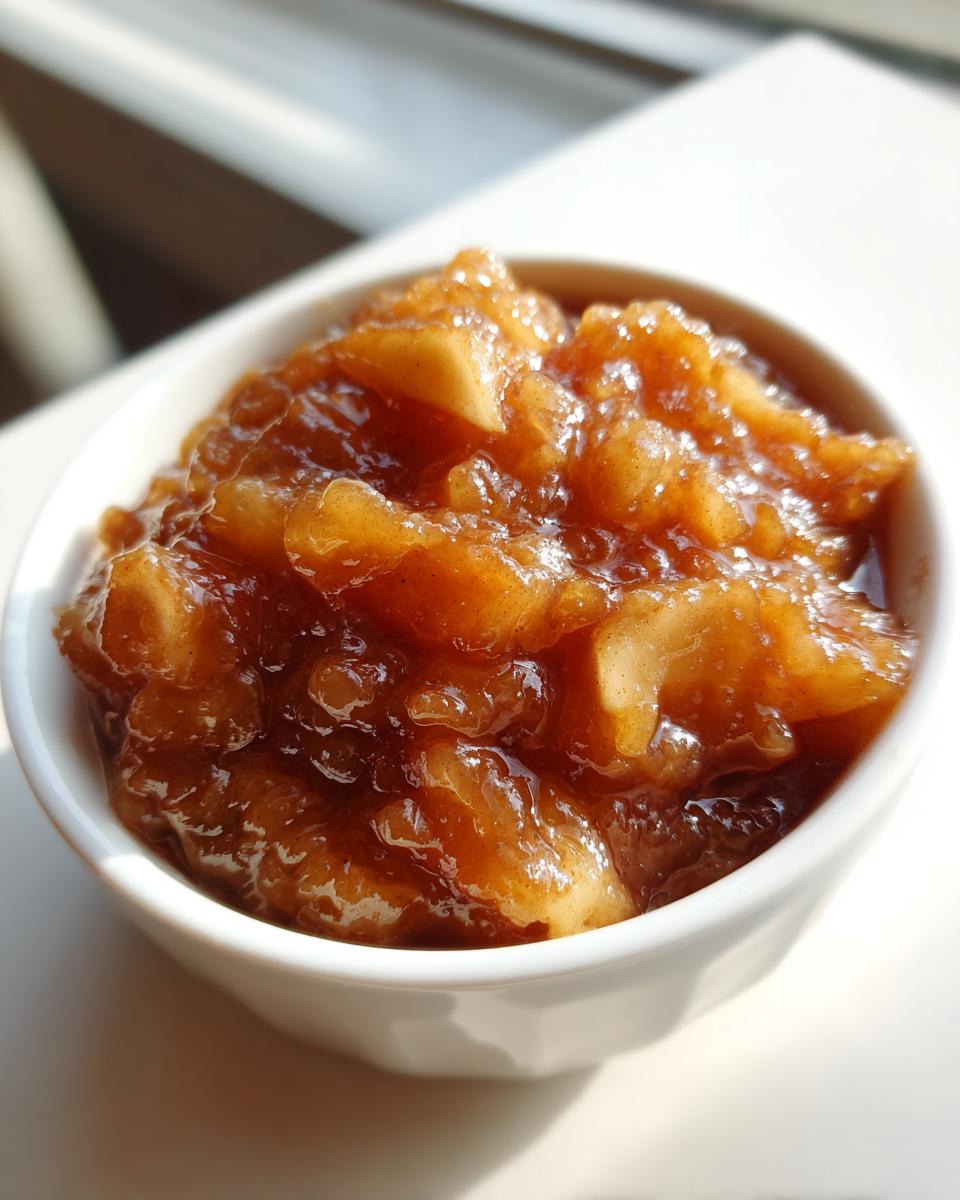
Cooking to Achieve the Right Texture
Once everything is coated, pour in the 3/4 cup of water. Set your pan over medium heat. This is important: you have to stir frequently! Don’t walk away for long. You’ll start seeing the liquid turn thick and glossy, and it should start bubbling around the edges—usually about 8 to 10 minutes total. As soon as it bubbles and coats the back of a spoon, kill the heat. Then, the final touch that gives our **apple pie filling** that unbeatable richness: stir in those final 2 tablespoons of butter until it just melts away. That final minute makes the sauce shine!
Pro Tips for the Best apple pie filling Success
We’ve made the most important steps simple, but listen, sometimes your apples are sweeter than mine, or maybe you just love cinnamon! Don’t be afraid to tweak this recipe. If you taste it and it needs more zing, add an extra splash of lemon juice. If you want that deep, autumnal spice to kick up, sprinkle in another 1/4 teaspoon of cinnamon.
Now, about thickness—I learned this the hard way. One year, I rushed the cooking time, and my first pie was a lava flow! Oops! If you accidentally undercook your sauce and it seems too thin, just mix 1 tablespoon of cornstarch with 2 tablespoons of cold water (a slurry!) and drizzle it in while stirring over low heat. It thickens up almost instantly. That trick saved my favorite apple pie filling more times than I care to admit. It’s just proof that even the best recipes need a little real-world intervention sometimes! You can learn more about my philosophy for simple, reliable cooking over on my About page, but trust me, these tips will make your apple pie filling shine.
Creative Uses for Your Spiced apple filling
You made six cups of this incredible, thick sauce, and maybe you aren’t baking a whole pie today. That is totally fine! This spiced apple goodness is way too flavorful to just sit in the fridge waiting for a crust. We make extra precisely so we can dress up tons of other boring weeknight things. Think of this as your ultimate dessert shortcut!
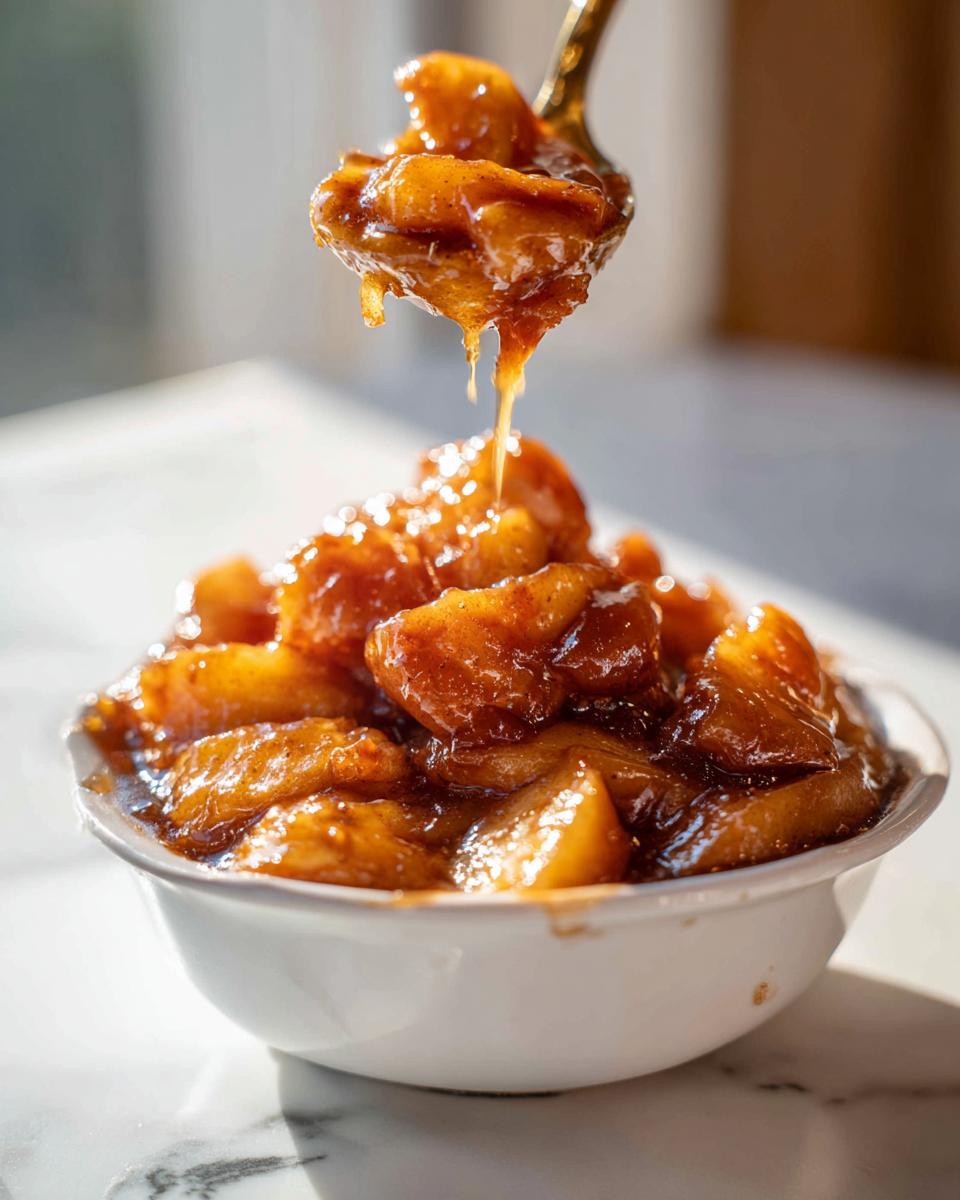
You absolutely have to try it outside of the traditional pie shell. Here are some of my favorite ways to use up any leftover filling:
- Spoon it warm over vanilla ice cream—pure heaven.
- Use it as the center layer when making cinnamon buns instead of plain sugar filling. Wow!
- Thicken it slightly and use it as the base for a rustic apple crisp or crumble.
- Top your pancakes or waffles with it instead of maple syrup for a real treat.
- Stir a big scoop into plain yogurt or try it in my apple cinnamon overnight oats!
Storage and Making apple pie filling Ahead
One of the best parts about making this amazing **apple pie filling** on the stovetop is that you instantly have leftovers for the week—if you don’t eat it all straight from the pot, that is! You must let it cool down completely on the counter first, usually for an hour or so. Don’t cover it while it’s hot, or you’ll trap steam and make the sauce weirdly thin.
Once cooled, you can toss this in an airtight container and keep it in the fridge for nearly two weeks. It’s fantastic for quick breakfasts! If you want to keep it longer, freezing works like a charm. But be aware that if you plan on canning this **apple pie filling**, you absolutely must follow safe home-canning guidelines—that’s super important for safety when preserving high-acid foods.
Freezing Instructions for apple pie filling
When I freeze my extra batches, I portion the cooled filling into heavy-duty, freezer-safe zip-top bags. Lay them flat on a baking sheet in the freezer until they are hard disks; this makes storage so much easier next to my bag of frozen berries! When you need it, just pull out a bag and thaw it overnight in the fridge. It thaws beautifully and the texture stays perfectly thick and gooey, ready for topping pancakes or sneaking into a quick turnover!
Frequently Asked Questions About apple pie filling
When you’re making something as essential as your core apple pie filling, I know you might have a few last-minute worries! I’ve collected the most common questions I get sent through my contact page over the years. Hopefully, these simple answers help settle your mind before you get baking.
Can I use those sweeter apples, like Gala, instead of Granny Smith?
Oh, you definitely can! If you use sweeter varieties, just cut back on the granulated sugar slightly, maybe by 1 tablespoon. Granny Smiths are my preference because they offer a little tartness which keeps the **spiced apple filling** from tasting too heavy. But honestly, using a mix of two firm types—say, one tart and one sweet—gives you the most complex flavor!
Do I absolutely have to use brown sugar in this recipe?
I strongly advise against skipping it! We specifically call for light brown sugar because that molasses content is what gives this **homemade apple pie filling** that signature caramelized depth. White sugar won’t brown the sauce or give you that rich, comforting flavor you want in your **fall baking recipes**.
What happens if I skip the butter at the end?
That little step of stirring in the butter right at the end is what gives the sauce that beautiful, velvety sheen—it makes it glossy, not dull. If you skip it, your **stovetop apple pie filling** will still taste great, but it will lack that luxurious mouthfeel. It’s worth the extra 10 seconds, trust me!
Is this recipe good for canning?
Yes, this quick apple pie filling works wonderfully for storage, but if you are canning it for long-term pantry storage, you must ensure you follow strict, tested home-canning procedures for high-acid foods. It’s super satisfying to pull out your own jar in December!
Nutritional Estimate for Homemade apple pie filling
Now, I’m not a nutritionist, so please take these numbers with a grain of salt—or maybe a dash of cinnamon! Since we are using real ingredients like butter and brown sugar, it’s certainly a decadent treat, not a light snack. But hey, it’s homemade, so we know exactly what went into it, which is way better than that mystery stuff!
This estimate is based on a yield of about 6 cups of filling, with a standard serving size being 1/2 cup. Keep in mind that if you add more sugar or use a different type of apple, these numbers will shift a bit, but they give you a general idea for your **fall baking recipes**!
- Serving Size: 1/2 cup
- Calories: 220
- Total Fat: 3g (Saturated Fat: 2g)
- Carbohydrates: 48g
- Sugar: 35g
- Protein: 0g
- Cholesterol: 8mg
See? That sugar content is no surprise—it’s an apple pie filling, after all! But those 220 calories come packed with the warmth of cinnamon and the joy of knowing you made something beautiful and delicious for your family. Use it wisely!
Share Your Best apple pie filling Creations
Whew! Now that you’ve mastered the **best apple pie filling**, I want to see what you made! Please come back and tell me how this recipe worked for you—five stars if you loved it, or even tell me if you used it as an **apple dessert topping** on ice cream! Sharing your creations or questions in the comments truly helps build our community here at Mia’s Meals. Happy baking, friends.
PrintThe Best Easy Stovetop Apple Pie Filling with Brown Sugar
Make this foolproof, thick, and perfectly spiced homemade apple pie filling on the stovetop. It tastes much better than store-bought and works for pies, crisps, or as a topping.
- Prep Time: 15 min
- Cook Time: 10 min
- Total Time: 25 min
- Yield: About 6 cups 1x
- Category: Dessert
- Method: Stovetop
- Cuisine: American
- Diet: Vegetarian
Ingredients
- 6 large apples (like Granny Smith or Honeycrisp), peeled, cored, and sliced 1/4-inch thick
- 3/4 cup packed light brown sugar
- 1/4 cup granulated sugar
- 1/4 cup cornstarch
- 1 tablespoon lemon juice
- 1 teaspoon ground cinnamon
- 1/4 teaspoon ground nutmeg
- 1/8 teaspoon ground allspice
- 1/4 teaspoon salt
- 3/4 cup water
- 2 tablespoons unsalted butter
Instructions
- Combine the sliced apples, brown sugar, granulated sugar, cornstarch, lemon juice, cinnamon, nutmeg, allspice, and salt in a large saucepan. Toss gently to coat the apples evenly.
- Add the water to the saucepan.
- Place the saucepan over medium heat. Cook, stirring frequently, until the mixture thickens and begins to bubble. This usually takes about 8 to 10 minutes.
- Once the mixture is thick and glossy, reduce the heat to low. Stir in the butter until it melts completely.
- Remove the filling from the heat. The filling will thicken more as it cools.
- Use immediately in your favorite pie crust or allow it to cool completely before storing.
Notes
- For a thicker filling, you can increase the cornstarch to 5 tablespoons.
- You can substitute the water with apple cider for a deeper flavor.
- This filling is excellent as a topping for pancakes, waffles, oatmeal, or vanilla ice cream.
- If you plan to can this apple pie filling, follow safe home canning procedures for high-acid foods.
Nutrition
- Serving Size: 1/2 cup
- Calories: 220
- Sugar: 35
- Sodium: 105
- Fat: 3
- Saturated Fat: 2
- Unsaturated Fat: 1
- Trans Fat: 0
- Carbohydrates: 48
- Fiber: 3
- Protein: 0
- Cholesterol: 8