
There is just nothing quite like walking into a house filled with the warm, sweet aroma of baking apples and cinnamon. It’s comforting, it’s nostalgic, and honestly, it’s my favorite smell in the world! Growing up in my little Ohio kitchen, I learned that pie is where the best family stories happen. Forget the fancy stuff; this apple pie recipe is all about getting to that delicious, flaky crust without spending the whole day wrestling with dough. Trust me when I say this is truly the best homemade apple pie you’ll ever try, because my secret is simplifying the classic, just like we do here at Mia’s Meals. We’re cutting the fuss so you can get that perfect slice faster.
My goal is always to bring that cozy Midwest kitchen feeling to your busy life. We’re focusing on reliable results—a tender filling encased in a crust that shatters perfectly when you cut into it. If you’re looking for dependable, delicious dessert recipes that actually work, you’ve found your new favorite.
- Why This Classic Apple Pie Recipe Stands Out (Best Homemade Apple Pie)
- Gathering Ingredients for Your Apple Pie Recipe
- Simple Apple Pie Directions: Making the Flaky Crust
- Assembling the Double Crust Apple Pie Recipe
- Baking Instructions for a Perfect Apple Pie Recipe
- Cooling and Serving Your Classic Apple Pie Recipe
- Ingredient Notes and Substitutions for Your Apple Pie Recipe
- Frequently Asked Questions About This Apple Pie Recipe
- Storage and Reheating for Your Apple Pie Recipe
Why This Classic Apple Pie Recipe Stands Out (Best Homemade Apple Pie)
I’ve streamlined so many things in my life, but when it comes to pie, I refuse to compromise on texture or flavor. This isn’t just another run-of-the-mill dessert; this is intentionally crafted to be a classic apple pie recipe that delivers big on taste with less fuss. You’re going to get that sought-after, buttery flakiness every time. We strip away the complicated steps but keep all the warmth.
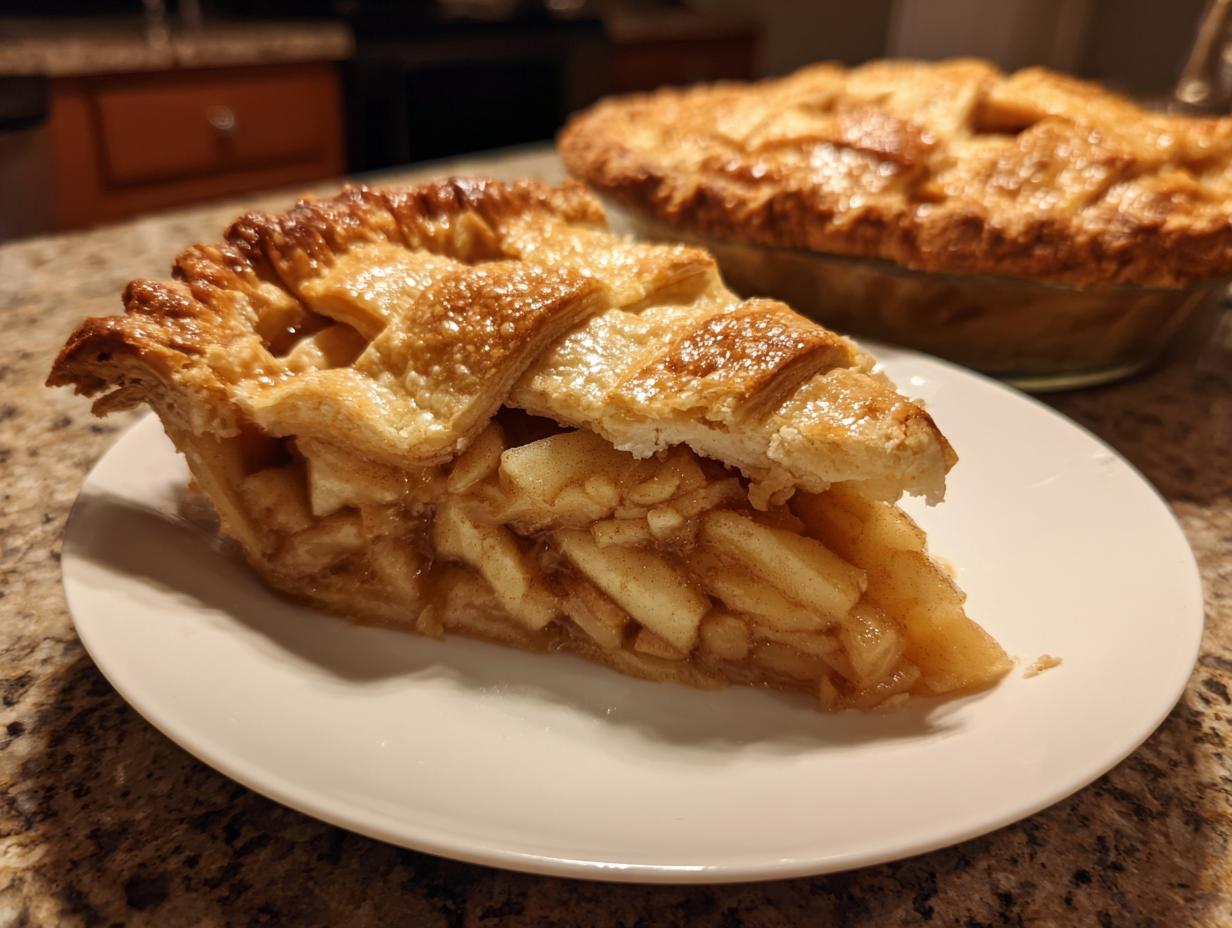
- It features a truly flaky crust that breaks apart beautifully.
- The filling has the right amount of tartness balanced by warm winter spices.
- The directions are simple enough for a beginner but yield restaurant-quality results.
When I developed this, my main focus was ensuring you didn’t have to choose between easy and amazing. We nail both!
The Secret to a Flaky Pie Crust Recipe
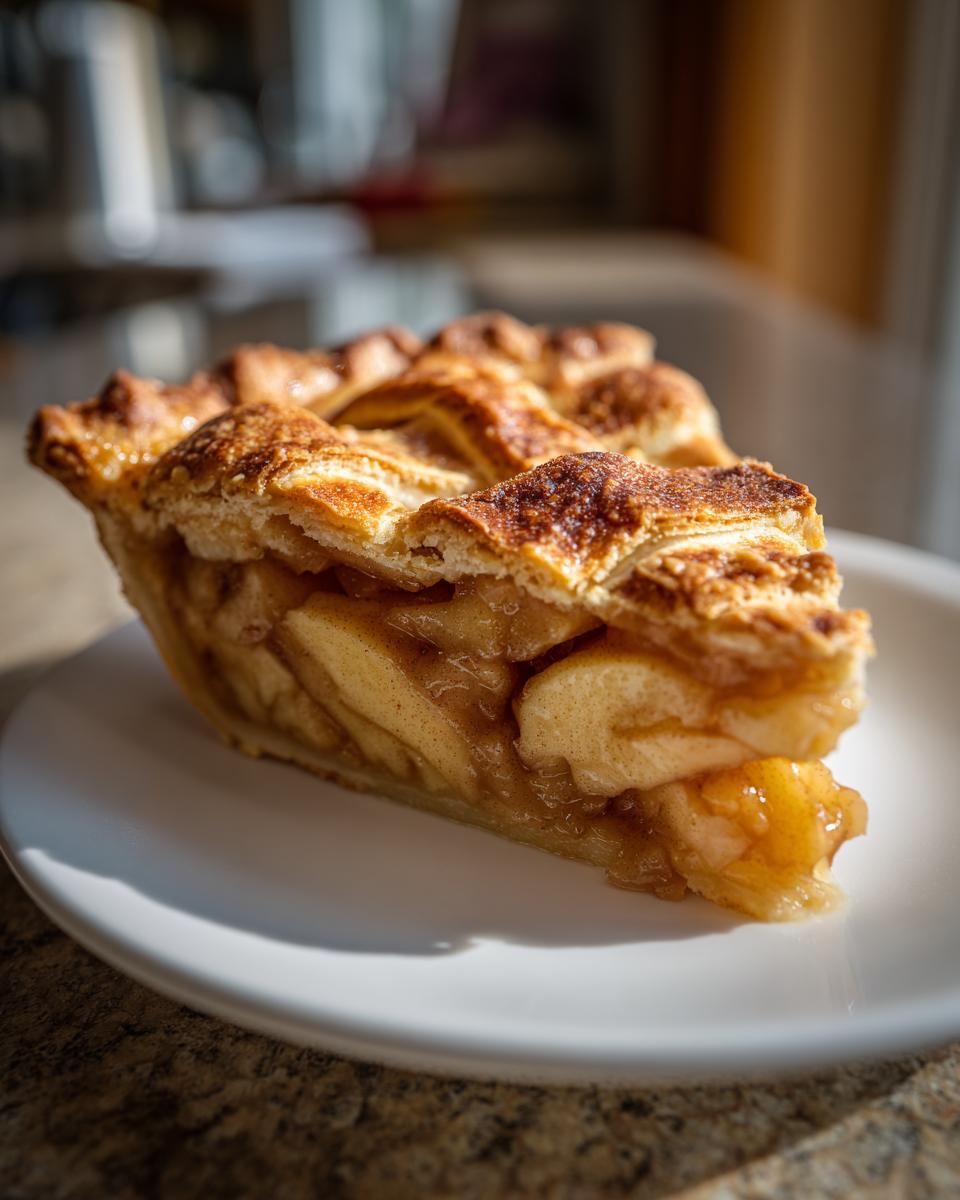
Okay, listen up: the crust is the star! If you want that amazing flaky pie crust recipe, you cannot skip the temperature rule. I mean it—your butter has to be rock solid cold, and you must use ice water, not cool tap water. When that cold butter hits the hot oven, steam bursts out and creates those incredible layers we all adore. It’s science, but it’s easy science, I promise!
Achieving the Perfect Cinnamon Apple Pie Filling
The filling is where we get cozy. You absolutely must use tart apples, like Granny Smiths, or a mix of tart and sweet ones like Honeycrisp. Granny Smiths hold their shape better, which stops your pie from turning into apple soup! I load mine up with cinnamon and just a whisper of nutmeg. That perfect cinnamon apple pie filling comes from just enough sugar so the apples caramelize slightly, not turn into candy. It’s all about balance, honey.
Gathering Ingredients for Your Apple Pie Recipe
See? I told you this was going to be straightforward! The beauty of making an easy apple pie from scratch is that you likely have most of this on hand already. We aren’t chasing exotic ingredients here; we are focusing on perfection using kitchen basics. When you look at this list, you’ll see classic components for a phenomenal double crust pie. Grab your flour, be sure that butter is arctic cold, and get your tart apples ready for slicing thin—about a quarter of an inch is perfect. If you love a good flavorful morning routine, you might also be interested in my apple cinnamon overnight oats!
- 2 1/2 cups all-purpose flour
- 1 teaspoon salt
- 1 cup (2 sticks) unsalted butter, very cold and cubed
- 1/2 cup ice water
- 6-8 medium tart apples (like Granny Smith), peeled, cored, and sliced 1/4 inch thick
- 3/4 cup granulated sugar
- 1/4 cup packed light brown sugar
- 1/4 cup all-purpose flour (for filling stabilizer)
- 1 teaspoon ground cinnamon
- 1/4 teaspoon ground nutmeg
- 1 tablespoon lemon juice
- 1 tablespoon unsalted butter, cut into small pieces (for dotting the top)
- 1 large egg, beaten with 1 teaspoon water (for egg wash)
- 1 tablespoon coarse sugar (for sprinkling on top)
Simple Apple Pie Directions: Making the Flaky Crust
Alright, let’s conquer the crust because, honestly, that’s the scary part for most people, right? I promise this method is foolproof if you just stick to the cold theme. Grab a big bowl and whisk together your reserved flour and that teaspoon of salt. Don’t skip the whisking—it helps lighten everything up!
Next, we introduce the cold butter cubes to the flour. You need to cut this in using a pastry blender or, honestly, just your fingertips. Work fast so you don’t melt the butter with your warm hands! We are looking for the mix to look like coarse crumbs, and listen, you must leave some bigger, pea-sized chunks of butter in there. Those chunks are your insurance policy for flakiness. Seriously, those little cold pockets burst open when baking!
Now for the ice water. This is not a suggestion; it’s a requirement. Add it slowly, maybe a tablespoon at a time, stirring gently with a fork until the dough *just* starts hugging itself into a shaggy mass. Stop mixing the second you can squeeze a handful and have it hold its shape. If you knead this like bread, you’ll end up with tough, cracker-like edges, and nobody wants that drama. Divide that shaggy dough right away into two discs. Wrap them up tight, and then we hide them in the fridge.
I find that once the dough is zipped up, I start prepping the filling while it chills. It gives me time to clear my head before the assembly stage. If you struggled with scone dough before, you might find my tips on achieving a flaky scone recipe surprisingly helpful here, as the concept is the same!
Chilling the Dough for the Best Homemade Apple Pie
You must chill this dough for at least one full hour. I often let mine go for two hours, but one hour is the minimum. This rest time lets the gluten relax, which keeps your crust tender, and crucially, it re-chills that butter! Making the best homemade apple pie depends entirely on getting that butter back down to near-freezing temperatures before it hits the oven heat.
Assembling the Double Crust Apple Pie Recipe
Okay, the dough is rested, and the filling is spiced just right. Now we bring it all together! First, make sure your oven is humming along nicely at 425 degrees F. On a surface dusted lightly with flour, take one of those chilled dough disks out and roll it carefully into about a 12-inch circle. Don’t panic if the edges look a little rough; that just means it’s homemade! Gently drape this magic circle into your 9-inch pie plate. Trim the edges so you have about an inch hanging over the edge—that overhang is crucial for sealing.
Next, pile in all those beautiful, cinnamon-coated apples. They will look like too much, but they cook down, so pile them high! Before you cap it, take those last few bits of cold, small-cut butter and dot them right over the top of the filling. This adds incredible richness. Now, roll out that second disk. Place it right over the apples! This is the grand finale for our double crust apple pie construction. If you’ve ever tried making a lattice top, you know how much fun this part can be—if you need inspiration for weaving, check out how I handle the blackberry pie classic homemade lattice crust!
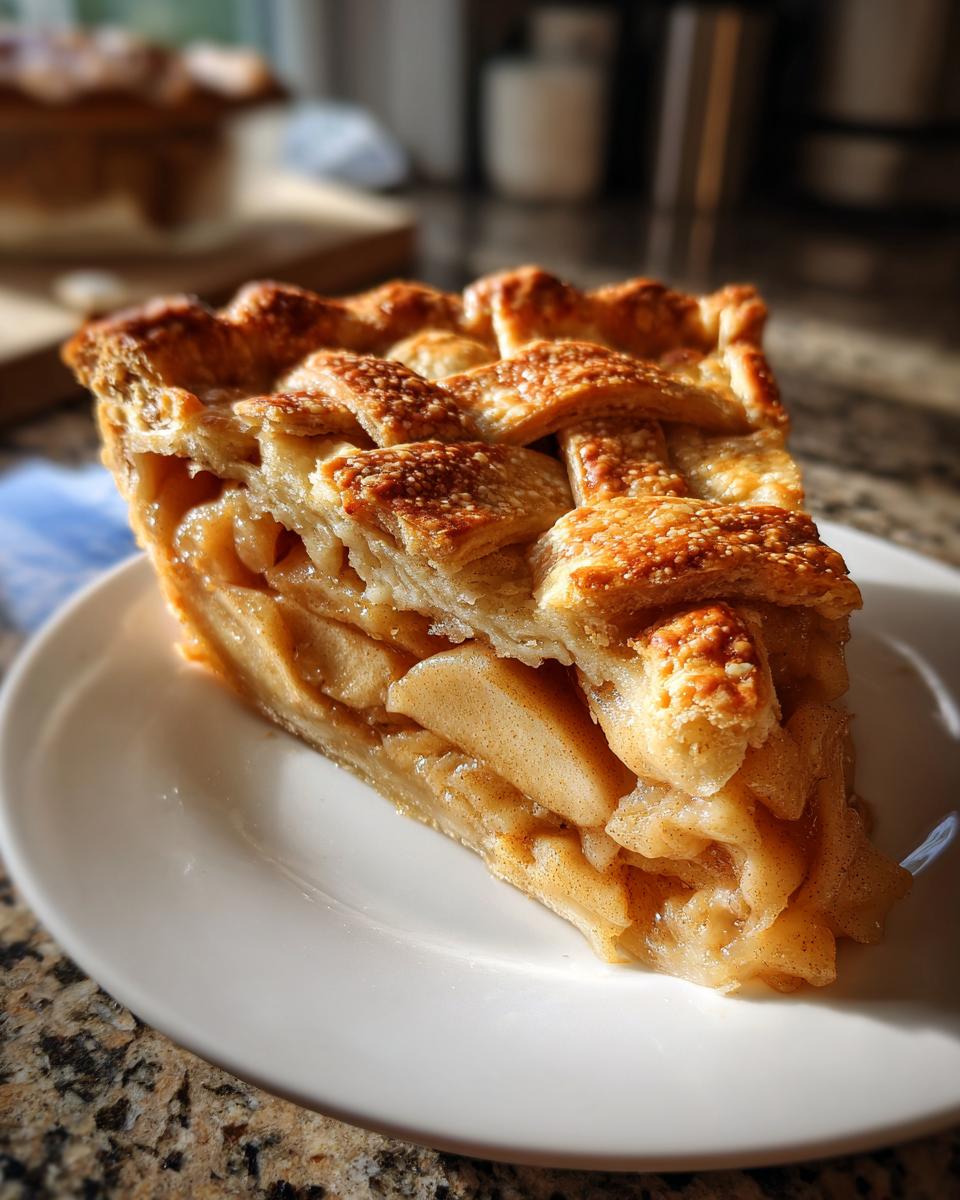
Remember to brush the top with your egg wash and sprinkle on that coarse sugar for a perfect, professional crunch.
Tips for Sealing and Venting Your apple pie recipe
Sealing is non-negotiable: you have to press those top and bottom edges together firmly, then crimp them however you like—a fork work is simple and effective! This step keeps all those delicious juices contained while baking. You absolutely must cut several slits, or vents, right down the middle of the top crust before it goes in. If you skip venting, the steam builds up, and you end up with a spectacular crust explosion! Trust me, those little openings let all that wonderful apple steam escape safely.
Baking Instructions for a Perfect Apple Pie Recipe
This is the big moment! You’ve done the hard work, and now we get the payoff. For this incredible apple pie recipe, we use a two-stage baking approach. Get your oven fully preheated to 425 degrees F first. An initial blast of high heat sets the structure of that gorgeous bottom crust so it doesn’t get soggy. Place the pie on a sturdy baking sheet—trust me, those juices sometimes escape!
Bake it hard for the first 15 minutes. Then, without opening the oven door if you can help it, immediately dial the temperature back down to 375 degrees F. Let it bake for another 40 to 50 minutes. If you see the crust edges getting dark too fast—and they often do because we want that buttery browning—just grab some kitchen foil and loosely tent those edges. You’re looking for a crust that’s a deep, satisfying golden brown, and if you peek through those vents, the filling should be actively bubbling. If you need to practice your cake skills next, check out my ideas for a lemon pound cake with a simple glaze!
Cooling and Serving Your Classic Apple Pie Recipe
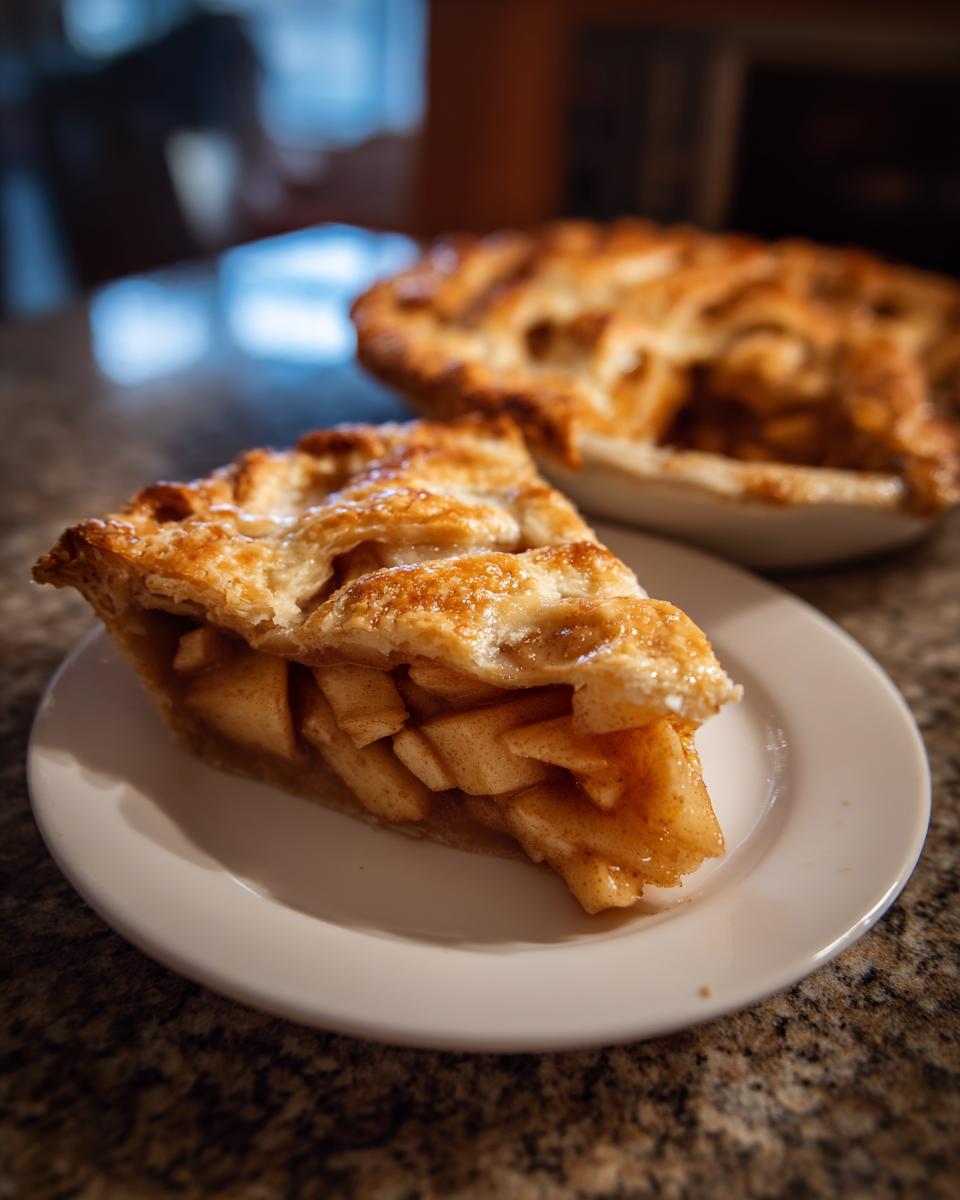
I know, I know, smelling that apple pie baking makes you want to dive right in with a fork, but please, resist the urge! This is the final, hardest step for my classic apple pie recipe: you must let it rest. Place that beauty on a wire rack and walk away for at least two full hours.
When I was first learning, I ignored this rule, and the result was gorgeous crust meeting a puddle of hot, runny apples when I sliced it. It still tasted great, obviously, but it didn’t *look* like pie! Cooling allows that sweet, spiced filling to thicken up and settle properly. Once those two hours are up, though, serve it warm—maybe alongside a scoop of vanilla ice cream? You deserve it after making this masterpiece!
If you’re already thinking about what’s next on your baking list, you might want to peek at my recipe for an easy homemade banana cream pie.
Ingredient Notes and Substitutions for Your Apple Pie Recipe
Sometimes you’re missing an ingredient, or maybe you need to change things up for a crowd. That’s perfectly fine! My philosophy is always about making things work in your kitchen, not stressing over perfection. I’ve learned a few tricks over the years that make substituting easy while keeping that wonderful, homemade flavor profile intact. If you’re making fudge later, you might want to check out my easy homemade soft chewy caramels recipe for inspiration on simple additions!
Let’s talk apples first. Yes, Granny Smiths are my go-to because they don’t turn to mush, but don’t feel locked into just one variety! A mix is always best for depth of flavor. Try swapping out half your Granny Smiths for something sweeter, like Honeycrisp or Braeburn. That combination gives you both that necessary tartness and a lovely background sweetness.
Now, about that top crust. I adore the classic double crust look, but sometimes you just need something different, right? If you’re feeling ambitious or just want a different texture profile, you can absolutely skip rolling out that second dough round and make an apple pie with crumb topping instead. Just use a basic streusel mix—flour, oats, brown sugar, and plenty of cold butter rubbed together—and sprinkle it generously over the filling before baking. It gives you a totally different, crunchy experience!
Also, please, if you see that the recipe calls for lemon juice, don’t skip it! It doesn’t make the pie taste sour; it just brightens up the sweetness of the sugars and keeps the apples from browning too much while you work.
Frequently Asked Questions About This Apple Pie Recipe
Can I make this apple pie recipe ahead of time for Thanksgiving?
You absolutely can! This is a fantastic Thanksgiving pie recipe because the filling actually tastes better the next day. You can assemble the whole pie, cover it tightly, and keep it refrigerated for up to two days before baking. Just remember to pull it out of the fridge about 30 minutes before you pop it in that hot oven so the dough doesn’t shock too much. If you make the filling ahead of time, that’s even easier, but don’t slice it until it’s totally cooled!
What kind of apples create the ‘old fashioned apple pie’ flavor?
To get that truly authentic, old fashioned apple pie flavor, you need apples that balance tartness and texture. My rule is to never use just one kind! I always use a majority of Granny Smith apples—they hold their shape beautifully and provide the necessary tang. I then mix in about two sweeter varieties, like Honeycrisp or Fuji, just to layer the flavor profile. That mix stops the pie from tasting flat or one-note!
My crust always shrinks in the oven. What am I doing wrong?
Oh, the shrinking monster! That’s almost always caused by not chilling the dough long enough (see how important the fridge is?). Your gluten strands are too tense. When you roll it out, you are stretching them tight. If they aren’t relaxed by chilling, the heat makes them snap back—and they pull the dough inwards. For a less frustrating experience, you can check out some other crust tips found here, but my main tip is always chill, chill, chill that dough!
Can I use this filling recipe for an apple pie with crumb topping instead?
Yes, you certainly can! If you decide you want a crunchy streusel top instead of the full double crust, this filling works perfectly. Just set aside the egg wash and the top dough disk. When you are ready to bake, simply top the filling with your favorite crumb mixture and bake it all at 375 degrees F (no initial blast needed for this variation). It’s a great way to simplify things if you are short on time!
If I need a side dish for my holiday meal, what do you suggest?
If you’re planning your big holiday spread, especially around Thanksgiving when pie is a must, you need reliable savory sides! Since you are already in the baking zone, make sure you have a great dressing or stuffing ready to go. I have a super simple sausage stuffing recipe that is always the first thing gone on the table, proving sometimes the simplest comfort dishes are the best!
Storage and Reheating for Your Apple Pie Recipe
So, leftovers! If you happen to have any remaining from your glorious apple pie recipe, storage is easy, but timing matters for quality. Since this is an all-fruit filling, you can safely keep the pie covered on the counter at room temperature for about two days, especially if you used that coarse sugar top! If it’s super hot in your kitchen, or if you plan to keep it longer, pop it into the fridge.
When you reheat a slice—and you absolutely should reheat it!—don’t use the microwave unless you like soggy crust. I wrap my individual slices loosely in foil and heat them in a 350-degree oven for about 10 minutes. That little bit of time warms the filling perfectly while keeping the crust wonderfully crisp. It brings back that fresh-out-of-the-oven smell in a snap! If you enjoy easy baked goods, you might also love my recipe for moist date nut bread.
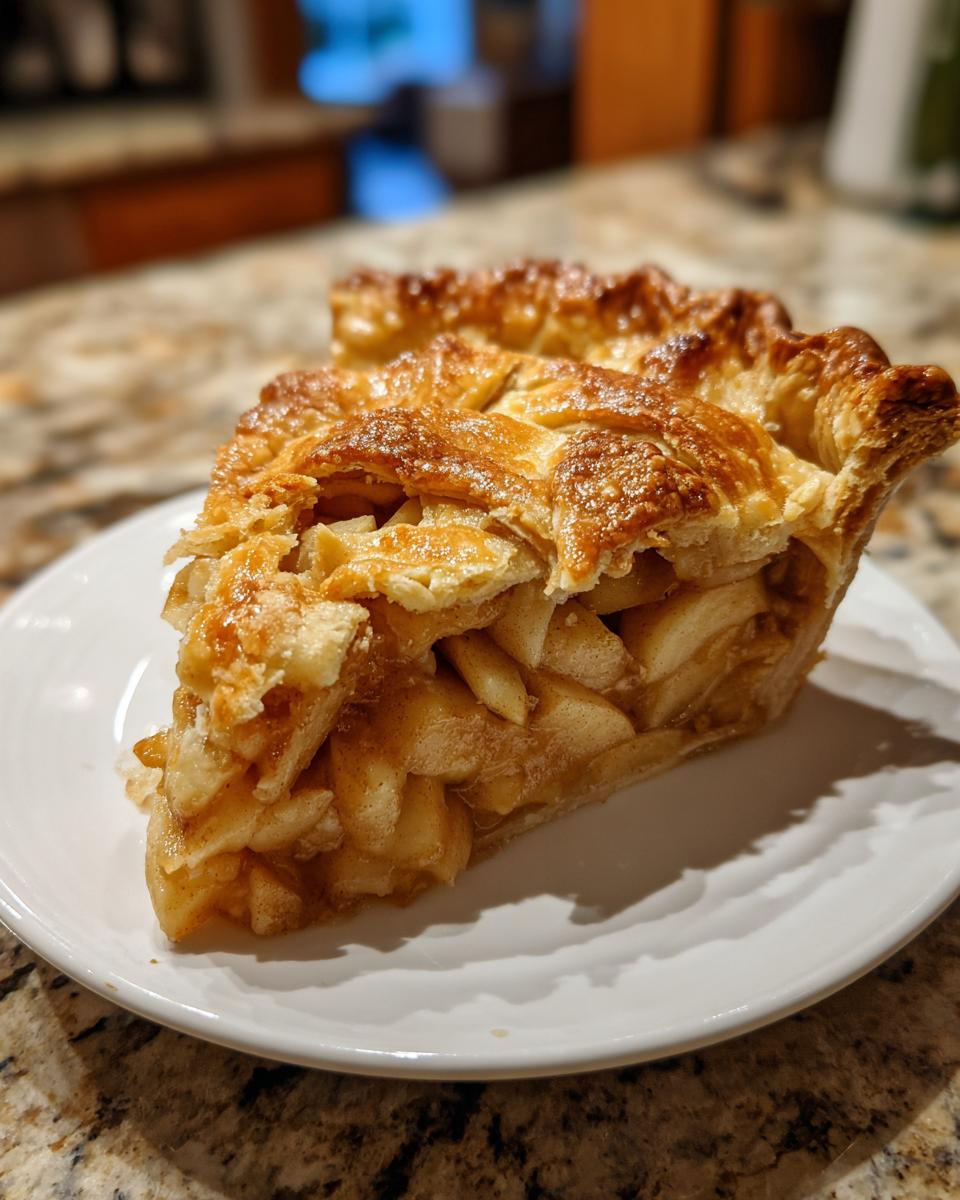
PrintClassic Homemade Apple Pie with Flaky Crust
This recipe provides simple directions for a classic apple pie with a flaky, buttery crust and a sweet, cinnamon-spiced filling. It is the best homemade apple pie for family gatherings or cozy nights.
- Prep Time: 40 min
- Cook Time: 65 min
- Total Time: 105 min
- Yield: 8 servings 1x
- Category: Dessert
- Method: Baking
- Cuisine: American
- Diet: Vegetarian
Ingredients
- 2 1/2 cups all-purpose flour
- 1 teaspoon salt
- 1 cup (2 sticks) unsalted butter, very cold and cubed
- 1/2 cup ice water
- 6–8 medium tart apples (like Granny Smith), peeled, cored, and sliced 1/4 inch thick
- 3/4 cup granulated sugar
- 1/4 cup packed light brown sugar
- 1/4 cup all-purpose flour
- 1 teaspoon ground cinnamon
- 1/4 teaspoon ground nutmeg
- 1 tablespoon lemon juice
- 1 tablespoon unsalted butter, cut into small pieces (for dotting)
- 1 large egg, beaten with 1 teaspoon water (for egg wash)
- 1 tablespoon coarse sugar (for sprinkling)
Instructions
- Prepare the Crust: In a large bowl, whisk together the 2 1/2 cups flour and 1 teaspoon salt. Cut in the cold butter using a pastry blender or your fingers until the mixture resembles coarse crumbs with some pea-sized pieces of butter remaining. Gradually add the ice water, 1 tablespoon at a time, mixing until the dough just comes together. Do not overmix. Divide the dough in half, flatten each half into a disk, wrap in plastic, and chill for at least 1 hour.
- Prepare the Filling: In a large bowl, gently toss the sliced apples with the granulated sugar, brown sugar, 1/4 cup flour, cinnamon, nutmeg, and lemon juice until the apples are evenly coated.
- Assemble the Pie: Preheat your oven to 425 degrees F (220 degrees C). On a lightly floured surface, roll out one disk of dough into a 12-inch circle. Carefully transfer the dough to a 9-inch pie plate. Trim the edges, leaving a 1-inch overhang.
- Fill the Pie: Pour the apple mixture into the bottom crust. Dot the top of the apples with the 1 tablespoon of small butter pieces.
- Top the Pie: Roll out the second disk of dough. Place it over the filling. Trim the top crust, leaving a 1-inch overhang. Crimp the edges of the top and bottom crusts together to seal. Cut several slits in the top crust to allow steam to escape.
- Bake: Brush the top crust with the egg wash and sprinkle with coarse sugar. Place the pie on a baking sheet to catch any drips. Bake for 15 minutes at 425 degrees F. Then, reduce the oven temperature to 375 degrees F (190 degrees C) and continue baking for 40 to 50 minutes, or until the crust is golden brown and the filling is bubbly. If the edges brown too quickly, cover them loosely with aluminum foil.
- Cool: Let the pie cool on a wire rack for at least 2 hours before slicing and serving. This allows the filling to set properly.
Notes
- For the flakiest crust, keep all your butter and water extremely cold.
- If you prefer a crumb topping instead of a double crust, use the crumb topping ingredients in place of the top dough disk.
- Use a mix of apples, such as Granny Smith for tartness and Honeycrisp for sweetness, for the best flavor balance.
Nutrition
- Serving Size: 1 slice
- Calories: 450
- Sugar: 35g
- Sodium: 250mg
- Fat: 25g
- Saturated Fat: 15g
- Unsaturated Fat: 10g
- Trans Fat: 0g
- Carbohydrates: 58g
- Fiber: 3g
- Protein: 5g
- Cholesterol: 60mg