
There is just something about a classic cookie that smells like home, isn’t there? Back in my small-town Ohio kitchen, the scent of melting butter and baking sugar meant comfort was on the way. If you’re anything like me, you need recipes that are quick, dependable, and taste exactly how you remember them. Forget those dry, crumbly versions; this simple recipe for peanut butter cookies delivers that thick, nostalgic texture every single time. These are truly the Best Soft & Chewy Classic Peanut Butter Cookies you will ever make, and guess what? They are ready to eat in under 30 minutes! I know life gets busy, which is why I developed this straightforward method for you to enjoy that simple connection food brings, just like I learned from my family. You can read more about my baking philosophy over at Mia’s Meals—it’s all about bringing people together.
- Why These are the Best Soft & Chewy Classic Peanut Butter Cookies
- Gathering Ingredients for Your Homemade Peanut Butter Cookies
- Step-by-Step Instructions for Quick Peanut Butter Cookies
- Tips for Success When Making Peanut Butter Cookies
- Variations on Classic Peanut Butter Cookies
- Storage and Reheating for Chewy Peanut Butter Cookies
- Frequently Asked Questions About Easy Peanut Butter Cookies
- Estimated Nutritional Data for Classic Peanut Butter Cookies
- Share Your Homemade Peanut Butter Cookies Experience
Why These are the Best Soft & Chewy Classic Peanut Butter Cookies
I promise you, these peanut butter cookies tick every box you’re looking for. We aren’t messing around with fussy steps; we want deliciousness fast. Because they come together so quickly, you can satisfy that craving practically right away! Here’s why these homemade treats stand out:
- They bake up perfectly thick—no flat, sad cookies here!
- The centers stay incredibly soft and chewy, even when cooled.
- We use simple pantry staples you probably already have on hand.
If speed and texture are your main goals, you’ve found your winner today. I’ve spent too long trying to fix dry cookies, and this recipe is the solution!
Achieving the Perfect Texture in Your Peanut Butter Cookies
The secret to getting that amazing balance—crisp edges and a tender middle—lies in the sugars and the creaming time. You absolutely need that mix of brown sugar and white sugar. The brown sugar, with its molasses content, is what keeps things moist and chewy for days. Don’t rush that first creaming step when you mix the butter and sugars!
When you beat that butter and those sugars for a good two minutes until it looks pale and fluffy, you’re incorporating tons of tiny air pockets. Those pockets are what give the final cookie its lift and that lovely, airy softness instead of turning out dense brick after two days. Trust me on the creaming time; it’s essential for the texture in these soft peanut butter cookies. If you loved learning about pie texture, you might want to check out my creamy lemon pie secrets, too!
Gathering Ingredients for Your Homemade Peanut Butter Cookies
I love this part because gathering the ingredients for true, classic peanut butter cookies feels like pulling out an old, trusted toolbox. Everything here is basic—the kind of things I always try to keep stocked so I can whip up a batch of these easy cookies anytime the craving strikes. We’re getting about 24 perfect cookies out of this batch, so it’s great for sharing (or, let’s be honest, keeping all to yourself for a few days!).
When you’re measuring, pay attention to the details of the texture we want. You need one cup of unsalted butter, and it *must* be softened, not melted! Melted butter leads to flat, greasy cookies, and we are aiming for those thick, satisfying ones. Also, remember when measuring the brown sugar? Pack it down firmly in your measuring cup. That’s how you make sure you get the proper amount of rich molasses flavor in there.
We’re keeping it simple with creamy peanut butter; it blends smoother and helps achieve that wonderfully uniform, soft texture we talked about. If you’re looking for more simple building blocks for great meals, check out my recipe for easy homemade garlic butter!
Ingredient Notes and Simple Swaps for Classic Peanut Butter Cookies
Okay, time for me to step in as your kitchen coach! While this is a fantastic base recipe for peanut butter cookies, sometimes we need to improvise. If all you have is crunchy peanut butter, go ahead and use it! It will just give your cookies a little extra texture, which isn’t a bad thing, but know that creamy is the key to the smoothest dough.
If you’re out of light brown sugar, you can use dark brown sugar, but be aware that the flavor will be much deeper and molasses-forward. I wouldn’t recommend swapping all the brown sugar for white sugar, though, because that’s where we lose that beautiful chewiness. We need that chew!
Also, for the leaveners—the baking soda and baking powder—use exactly what this calls for. If you skip the baking powder, your cookies might come out too dense, even with all that creaming happening. It’s those little ratios that make all the difference in the world when you’re making the best homemade cookies!
Step-by-Step Instructions for Quick Peanut Butter Cookies
Alright, time to get mixing! The beauty of these is how fast they come together, which is why they are some of my favorite quick cookie recipes. First things first: get that oven fired up to 350°F (175°C). Line your baking sheets with parchment paper, because nobody wants to spend time scrubbing baked sugar off a tray later—that’s just wasting precious cookie-eating time! If you need some inspiration for what to serve alongside these cookies, you can browse my latest quick weeknight dinners for easy sides.
You’ll start by mixing your wet ingredients, just like we discussed regarding the creaming. Get that butter, brown sugar, and white sugar light and fluffy. Then, drop in the egg and vanilla, followed by the peanut butter. In a separate bowl, whisk your dry stuff—flour, baking soda, baking powder, and salt—so everything is evenly distributed. Gently combine the two bowls. Mix only until you see the last streaks of flour disappear. Overmixing is the enemy of soft cookies, so seriously, stop when it looks *just* combined!
Mastering the Crisscross Pattern on Your Peanut Butter Cookies
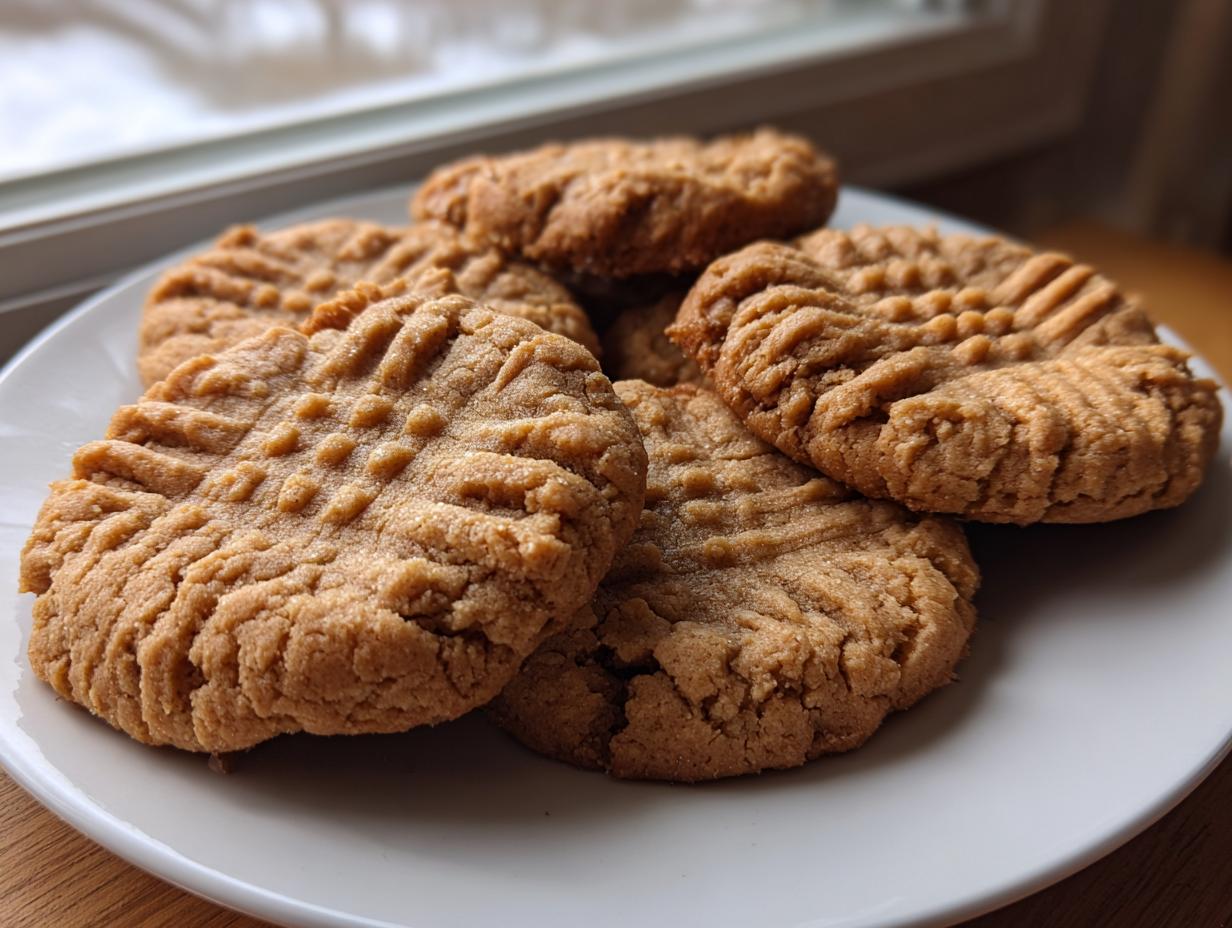
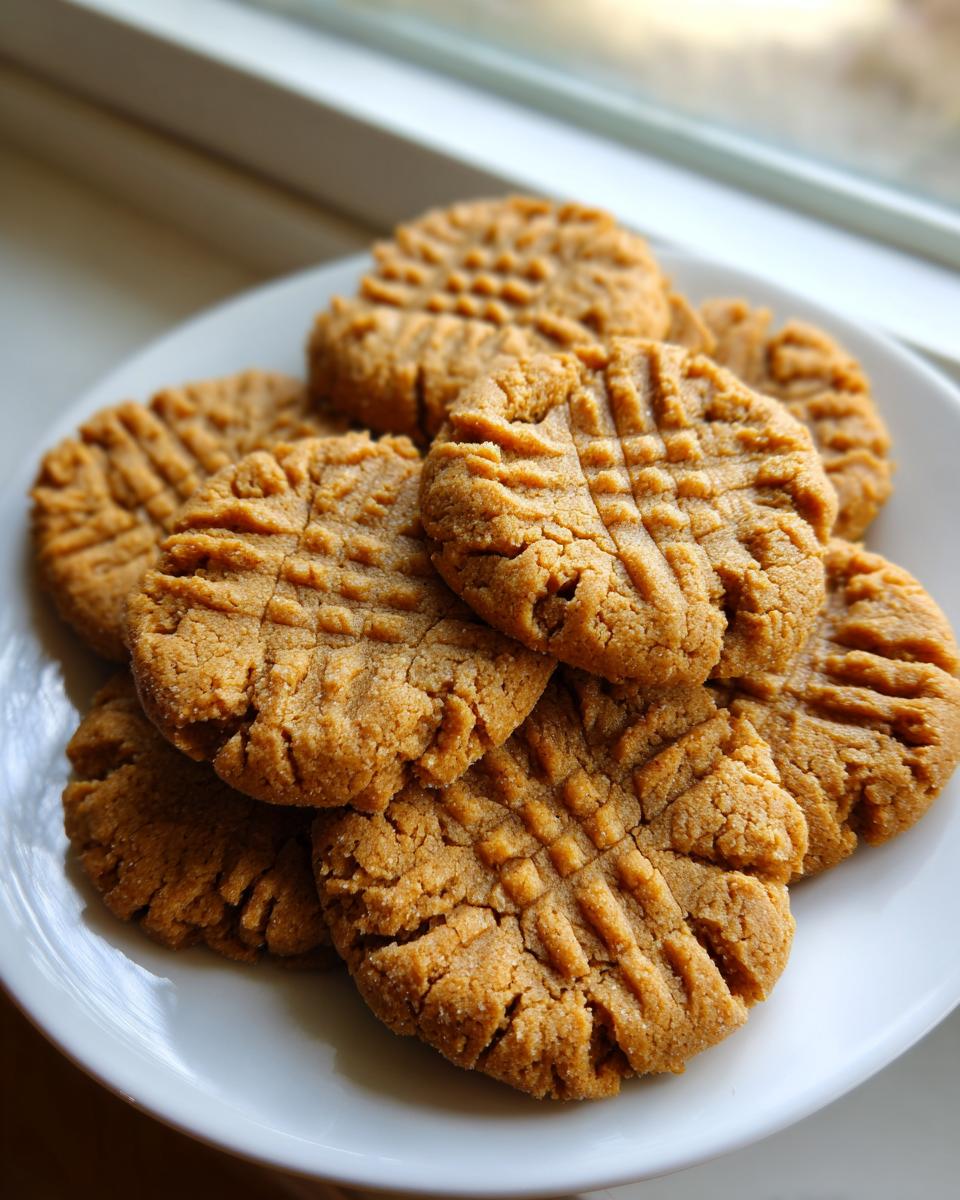
This fork design isn’t just for looks, though it certainly adds that nostalgic, Classic Peanut Butter Cookies vibe we love! Once your dough is ready, roll it into little one-inch balls. Place them about two inches apart on your prepared sheets. Now for the fun part! Take a fork and gently press down on the top of the dough ball. You want to press once in one direction, then lift the fork and press again perpendicular to your first marks, creating that classic crosshatch. Don’t press too hard; we want them thick!
Baking Time Secrets for Soft Peanut Butter Cookies
This is where most people go wrong, trying to bake them until they look perfectly golden brown all over. Don’t do it! For truly soft peanut butter cookies, you are baking them for just 9 to 11 minutes. When they look ready, the edges should be barely set, but the very centers should look just a tiny bit puffy and maybe even slightly underbaked. Seriously, they will look naked in the middle! Pull them out—they finish cooking on that hot pan. Let them sit there for 5 minutes before you move them onto the cooling rack. That resting period is crucial for setting up that perfect chewy texture.
Tips for Success When Making Peanut Butter Cookies
It’s true that the recipe gets you 90% of the way there, but those last few tweaks are what separate a good cookie from a truly memorable one. I’ve learned a few things over the years here in the kitchen that I just have to share so you don’t have any baking fails!
If your biggest goal is having those beautifully thick cookies that don’t spread out into thin discs on the baking sheet, you need to chill the dough. It feels like an extra chore, I know, especially when you want cookies *now*, but putting the rolled balls in the fridge for at least 30 minutes before baking makes a huge difference. That resting time solidifies the fat, which prevents excessive spreading while they go into the heat.
Also, remember that sea salt spark I mentioned? A tiny pinch of flaky sea salt sprinkled right on top of the dough ball, just before it goes into the oven, is transformative. The salt cuts through the richness of the peanut butter and sugar, making the whole cookie taste brighter and more balanced. Don’t skip it if you have some on hand!
For more general wisdom on keeping your baking consistent and perfect every time, you absolutely must read my full guide on best cookie baking tips. It covers everything from oven calibration emergencies to fixing weeping cookies!
Variations on Classic Peanut Butter Cookies
Once you master the base dough for these wonderful peanut butter cookies, you’ll find they are perfect for customizing! That soft, chewy vanilla-peanut butter flavor profile is such a lovely blank canvas. The recipe as written is great for a midday snack, but maybe you’re looking for something a bit more decadent for dessert? Don’t worry, we can easily jazz these up without ruining the fantastic texture we worked so hard to achieve.
My favorite quick upgrade is adding chocolate chips. If you fold in about a cup of semi-sweet chocolate chips right at the end when you add the flour mixture, you get a salty-sweet dream. The chips melt just enough while baking and stay gooey after they cool. If chocolate isn’t your thing, try a teaspoon of instant coffee granules in the dry mix for a mocha twist! For other ideas involving chocolate and peanut butter perfection, take a peek at my chocolate chip banana bread or even my no-bake peanut butter balls recipes.
Making Peanut Butter Blossom Recipe Variations
I know a lot of people search for the famous Peanut Butter Blossom recipe, and you absolutely can adapt this base dough for that famous candy-topped cookie! The trick here is timing and dough temperature. Since we want these cookies to look perfectly round and hold their shape so we can press a chocolate kiss into the middle, you must chill this dough. Make the dough, roll it into balls, and then chill those balls for at least an hour—maybe even two—before baking them for just 8 or 9 minutes.
You want them underbaked when you take them out because you will be applying extra pressure right afterward. As soon as they come out of the oven (edges set, centers soft!), press a Hershey’s Kiss right into the center of each warm cookie. The warmth of the cookie will gently soften the chocolate, letting it adhere perfectly. Wait about 10 minutes for that chocolate to firm up slightly before handling them too much. They are so pretty on a platter!
Storage and Reheating for Chewy Peanut Butter Cookies
We want those beauties to stay just as soft as when they first came out of the oven, right? The best way to keep your Chewy Peanut Butter Cookies tasting homemade is to store them correctly. Don’t tuck them away in the fridge; that speeds up staling. Instead, place them in a tightly sealed, airtight container at room temperature.
If you stack them, put a small piece of parchment paper between the layers. This stops them from sticking together! They stay perfectly soft like this for about four days. Need to reheat one? A quick 10 seconds in the microwave brings back that fresh-out-of-the-oven gooeyness. If you are ever craving something quick and comforting that’s not a cookie, try my homemade chocolate pudding recipe!
Frequently Asked Questions About Easy Peanut Butter Cookies
I always get questions after I post this recipe because everyone wants to know how to guarantee the best results, especially when making peanut butter cookies for the first time. Here are the things I hear most often in my comments section!
Can I use natural peanut butter in this peanut butter cookies recipe?
That’s a great question that comes up often! Natural peanut butter, the kind that separates and you have to stir forever, has a different moisture content than the regular creamy stuff we listed. Because natural PB is runnier, if you use it, I really recommend adding an extra tablespoon of flour, maybe even two, just to keep your dough from feeling too loose. If the dough is too wet, you’ll end up with cookies that spread too much while baking, and we want those thick, satisfying discs!
What makes these Old Fashioned Peanut Butter Cookies stay soft?
It really boils down to two main things in this recipe. First, that brown sugar! It locks in moisture way better than granulated sugar does, which is why we use a healthy amount of it. Second, and this is huge: remember how I hammered home the importance of creaming the butter and sugar correctly? That initial fluffing creates the structure that traps the softness inside. If you under-cream or overmix the flour, you develop the gluten too much, and you get tough, crumbly, old-fashioned cookies instead of the wonderfully soft ones we’re after.
If you are looking for even more simple pantry cookie recipes, you should check out some of my ideas over at easy breakfast ideas—sometimes a cookie is just a breakfast, right?
Estimated Nutritional Data for Classic Peanut Butter Cookies
I always try to be upfront about what we are putting into our bodies, even when it comes to indulging in the best peanut butter cookies! Now, please remember that these numbers are just guidelines based on the standard ingredients I used when testing this recipe. Commercial peanut butter brands vary wildly in sugar and oil content, so your values might be slightly different. If you need more balanced meal ideas to go alongside your treats, I have tons of recipes over at my healthy lunch recipes section!
For one cookie (and this recipe yields about 24), here is what you can generally expect:
- Calories: around 180
- Sugar: 12 grams
- Fat: 10 grams (with about 4 grams being saturated—that’s the butter working hard!)
- Protein: 4 grams
- Carbohydrates: 21 grams
Since these are homemade peanut butter cookies made with real ingredients, they do contain that satisfying fat content that makes them so deliciously rich and chewy. Enjoy them in moderation, one perfect bite at a time!
Share Your Homemade Peanut Butter Cookies Experience
Now that you have baked a batch of these incredibly soft and chewy peanut butter cookies, I really want to hear about them! Baking is all about sharing, isn’t it? It connects us, right here in the kitchen, even if we are miles apart. Did you try the chilling trick? Did you add those chocolate chips I mentioned, or maybe you went for the classic crisscross?
Please take a moment to leave your rating below, using five stars if these became your new favorite recipe! I thrive on hearing how these simple, honest recipes fit into your busy home life. If you made any clever swaps, please share those details in the comments too—we all learn from each other’s kitchen adventures! And if you want to send me a picture of your beautiful results, the contact page is always open over at Mia’s Meals.
If you’re looking for more ideas on classic baked goods, I saw someone else sharing some amazing thoughts on old-fashioned peanut butter cookies that might give you extra inspiration for your next baking day!
PrintThe Best Soft & Chewy Classic Peanut Butter Cookies (Ready in 30 Minutes)
Make classic peanut butter cookies that are perfectly soft and chewy. This easy recipe uses simple pantry staples and delivers that nostalgic, thick texture quickly.
- Prep Time: 15 min
- Cook Time: 11 min
- Total Time: 26 min
- Yield: 24 cookies 1x
- Category: Dessert
- Method: Baking
- Cuisine: American
- Diet: Vegetarian
Ingredients
- 1 cup (2 sticks) unsalted butter, softened
- 1 cup packed light brown sugar
- 1/2 cup granulated sugar
- 1 large egg
- 1 teaspoon vanilla extract
- 1 cup creamy peanut butter
- 2 1/2 cups all-purpose flour
- 1 teaspoon baking soda
- 1/2 teaspoon baking powder
- 1/2 teaspoon salt
Instructions
- Preheat your oven to 350°F (175°C). Line baking sheets with parchment paper.
- In a large bowl, cream together the softened butter, brown sugar, and granulated sugar until the mixture is light and fluffy. This takes about 2 minutes.
- Beat in the egg and vanilla extract until just combined. Mix in the peanut butter until smooth.
- In a separate medium bowl, whisk together the flour, baking soda, baking powder, and salt.
- Gradually add the dry ingredients to the wet ingredients, mixing on low speed until just combined. Do not overmix the dough.
- Roll the dough into 1-inch balls and place them 2 inches apart on the prepared baking sheets.
- Use a fork to press down on each dough ball, creating the classic crisscross pattern. Press once in one direction, then press again perpendicular to the first marks.
- Bake for 9 to 11 minutes. For soft peanut butter cookies, aim for edges that are set but the centers still look slightly underbaked.
- Let the cookies cool on the baking sheet for 5 minutes before transferring them to a wire rack to cool completely. This helps them set into chewy peanut butter cookies.
Notes
- For the thickest cookies, chill the dough for 30 minutes before rolling and pressing.
- Use creamy peanut butter for the best texture in these soft peanut butter cookies.
- Sprinkle a tiny pinch of sea salt on top of the dough balls before baking for enhanced flavor.
Nutrition
- Serving Size: 1 cookie
- Calories: 180
- Sugar: 12
- Sodium: 110
- Fat: 10
- Saturated Fat: 4
- Unsaturated Fat: 6
- Trans Fat: 0
- Carbohydrates: 21
- Fiber: 1
- Protein: 4
- Cholesterol: 20