
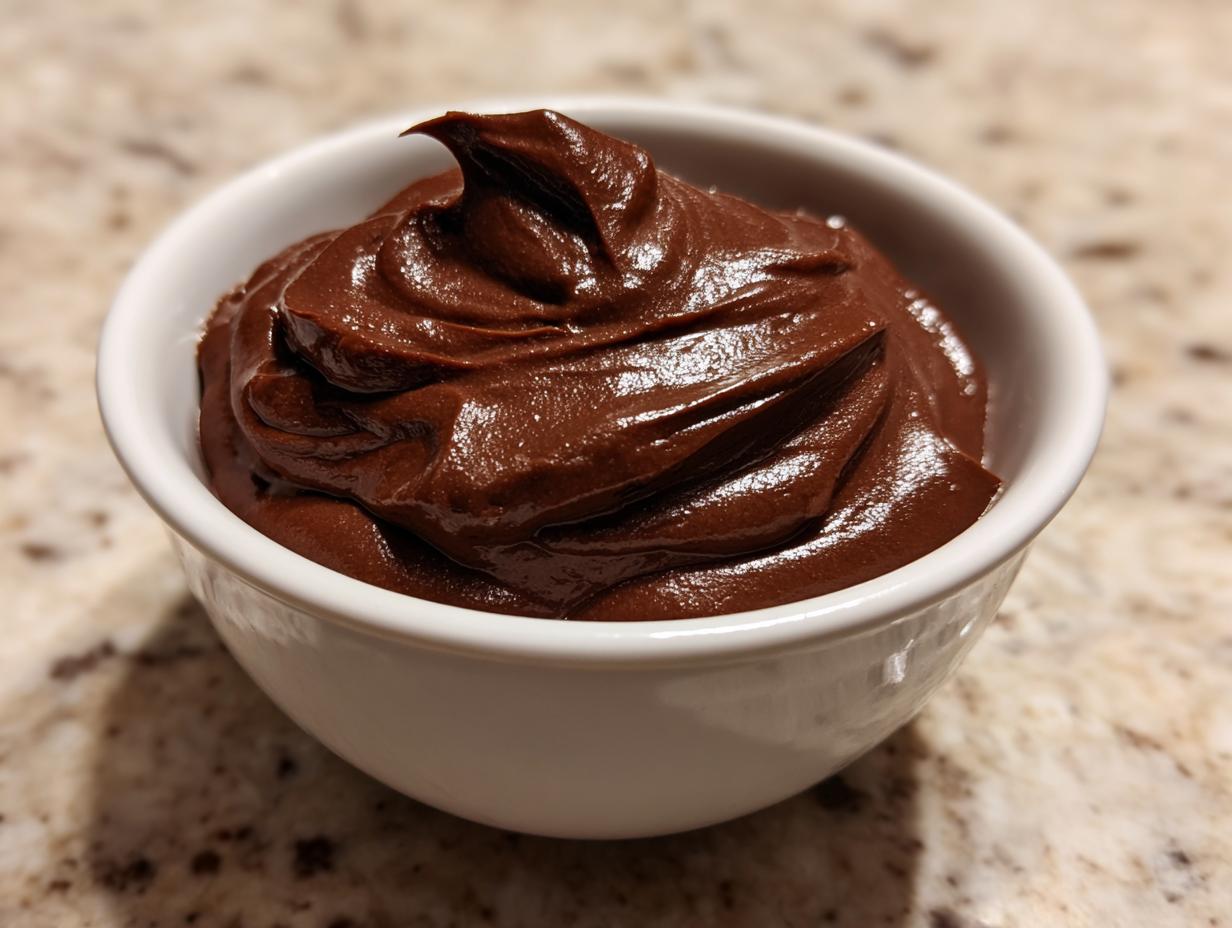
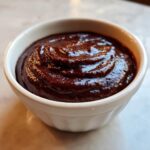
Forget those sad little boxes of powder, seriously. Nothing compares to digging into a bowl of truly decadent, **homemade chocolate pudding** that tastes like pure comfort. When I was growing up, simple desserts were my Mom and Grandma’s way of saying, “I love you, and I’m proud of you.” That’s why I’m sharing what I call The Best Creamy, Rich homemade chocolate pudding From Scratch. This isn’t just dessert; it’s that velvety smooth texture that instantly brings you back home. It’s so much better than anything you buy ready-made, and honestly, it’s easier than you think to whip up for a weeknight treat. If you’re looking for that hug in a bowl, you’ve come to the right place. You can find more of my go-to satisfying desserts right here: delicious dessert recipes.
- Why This homemade chocolate pudding Recipe is Your New Favorite Comfort Food Dessert
- Gathering Ingredients for Your homemade chocolate pudding From Scratch
- Simple Pudding Recipe: Step-by-Step Instructions for homemade chocolate pudding
- Tips for Success When Making homemade chocolate pudding
- Ingredient Notes and Substitutions for homemade chocolate pudding
- Serving Suggestions for Your Classic Chocolate Pudding
- Storage & Reheating Instructions for homemade chocolate pudding
- Frequently Asked Questions About Making homemade chocolate pudding
- Estimated Nutritional Data for This Creamy Chocolate Dessert
- Estimated Nutritional Data for This Creamy Chocolate Dessert
Why This homemade chocolate pudding Recipe is Your New Favorite Comfort Food Dessert
Listen, I tested so many versions of this recipe before I settled on this one. Why? Because store-bought is just… sad. We want a truly **Creamy Chocolate Dessert**, something that feels substantial and deeply flavored. This recipe hits that perfect spot where it’s intensely rich but still wonderfully light. It’s truly the ultimate **Comfort Food Dessert** experience.
My goal was a dependable recipe, something you don’t have to stress over. The specific ratio of milk, sugar, and cocoa powder is just where I found the magic happened. If you want the secrets to my amazing caramel, check out how I make easy homemade soft chewy caramels, because precision matters!
Achieving That Velvety Pudding Recipe Texture
The key to avoiding that gritty, lumpy disaster is focusing on two things: cornstarch and those egg yolks. Cornstarch is what gives us that perfect thickness without needing tons of flour, ensuring a wonderfully **Silky Smooth Pudding** every single time.
Then you have the tempering—don’t skip that! That gentle warming of the yolks before they hit the hot milk guards against scrambling. I learned that the hard way so you don’t have to! For more inspiration on great comfort food, you can see how others are making rich puddings too: homemade raw milk chocolate pudding.

Gathering Ingredients for Your homemade chocolate pudding From Scratch
Okay, let’s get this dessert moving along! Because this **homemade chocolate pudding from scratch** relies on simple pantry staples, you probably have most of this ready to go. You do need to ensure you have those two large egg yolks measured out; please don’t try to substitute whole eggs here—the yolks are crucial for that deep color and richness.
Here’s exactly what you need ready on the counter before you start cooking. Remember, we’re moving fast once the heat goes on!
- 3 tablespoons unsweetened cocoa powder
- 3/4 cup granulated sugar
- 1/4 teaspoon salt
- 1/4 cup cornstarch
- 2 cups whole milk
- 2 large egg yolks
- 2 tablespoons unsalted butter
- 1 teaspoon vanilla extract
If you’re looking for other simple ideas for the morning, check out my easy breakfast ideas while you grab your ingredients!
Simple Pudding Recipe: Step-by-Step Instructions for homemade chocolate pudding
Alright, this is where the magic happens! Even though this is an **Easy Chocolate Pudding**, we treat the stove with respect because heat does most of the heavy lifting here. Remember, no preheating needed for stovetop stuff! We just follow the order and keep whisking. This whole cooking process takes about 15 minutes, making it a fantastic **Quick Chocolate Dessert** option for any night.
Start by grabbing your medium saucepan. Whisk together the dry guys first—cocoa, sugar, salt, and cornstarch—until they look totally uniform. Then, slowly whisk in the 2 cups of whole milk until it’s completely smooth. We want zero surprises later!Quick weeknight dinners deserve easy desserts like this!
Put that pan over medium heat. You need to stir this constantly, and I mean *constantly*, for about 8 to 10 minutes. It’s going to look thin forever, and then suddenly, whoosh! It thickens up like crazy and starts bubbling. Once you see those slow, happy bubbles, move quickly to the next step.
The Crucial Step: Tempering the Egg Yolks for Rich Chocolate Dessert
This is the make-or-break moment if you want a **Rich Chocolate Dessert** that isn’t scrambled. In a separate little bowl, just whisk those two egg yolks until they’re slightly broken up. Now, you have to temper them. Take a big ladle—maybe half a cup—of that hot pudding and—while whisking the yolks like crazy—pour that hot liquid in slowly, drop by drop at first!
You’re basically tricking the yolks into warming up without seizing up. Once that yolk mixture is warm, you pour it all back into the main saucepan. Keep cooking and stirring for another minute or two until it gets nice and thick again. Don’t let it go crazy and boil rapidly now, just a gentle simmer!
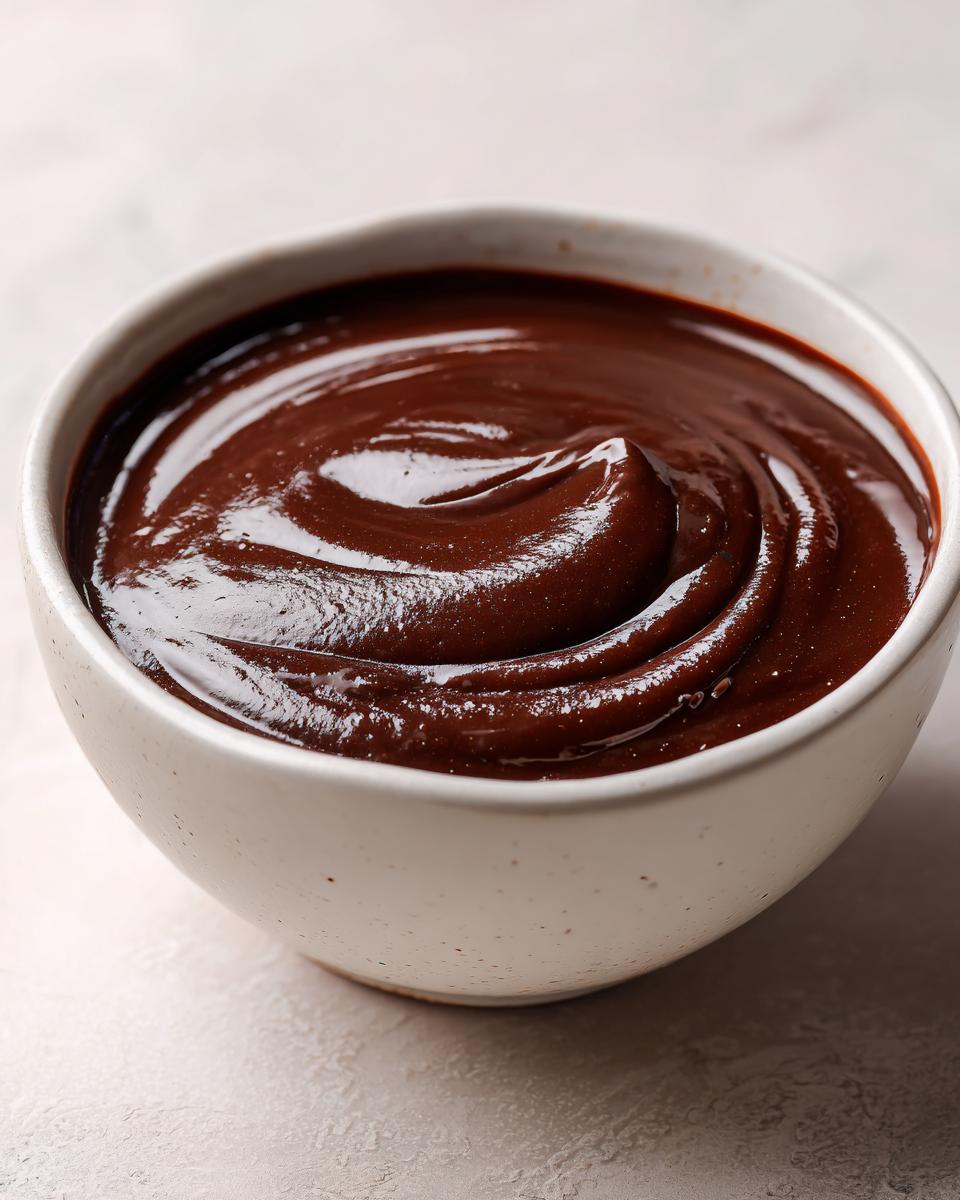
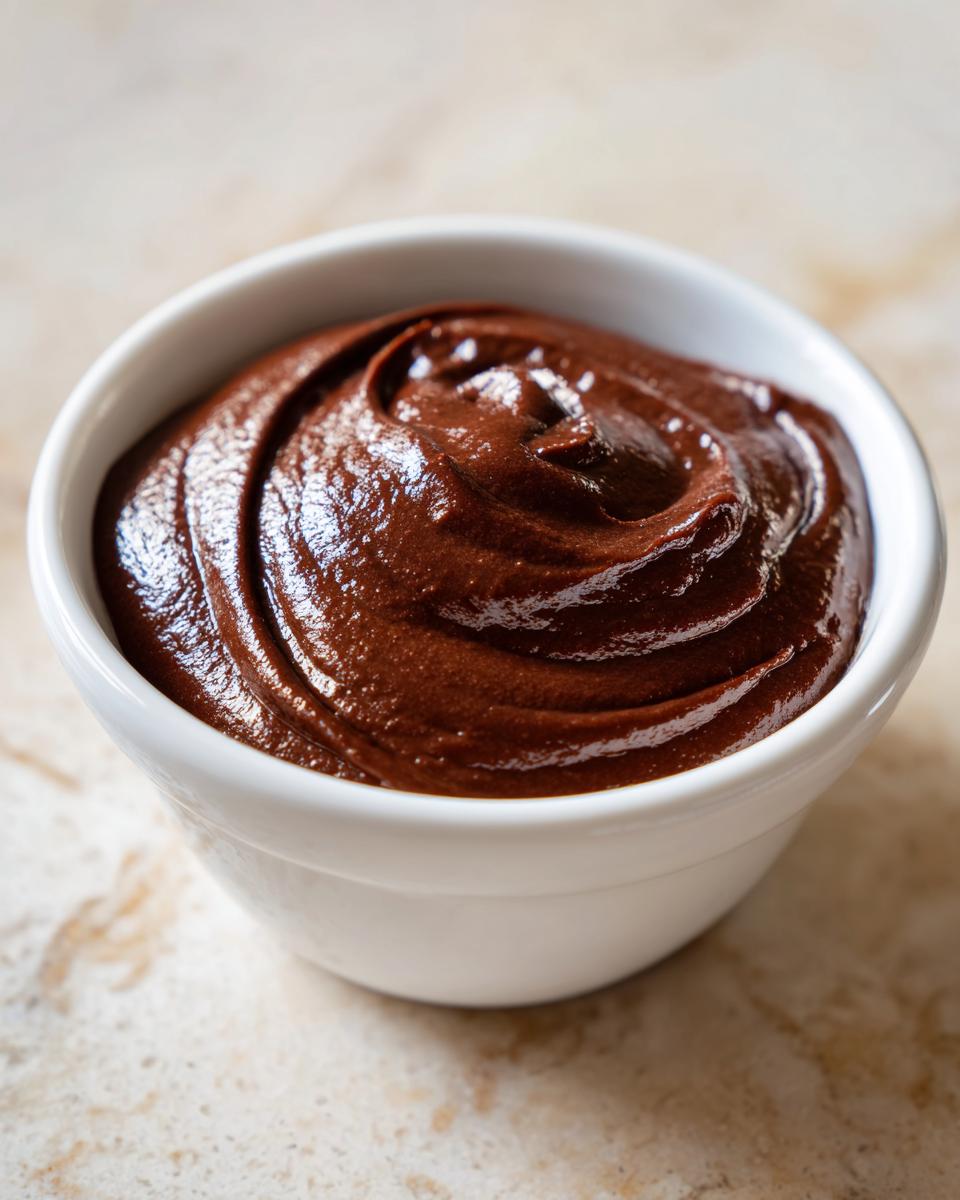
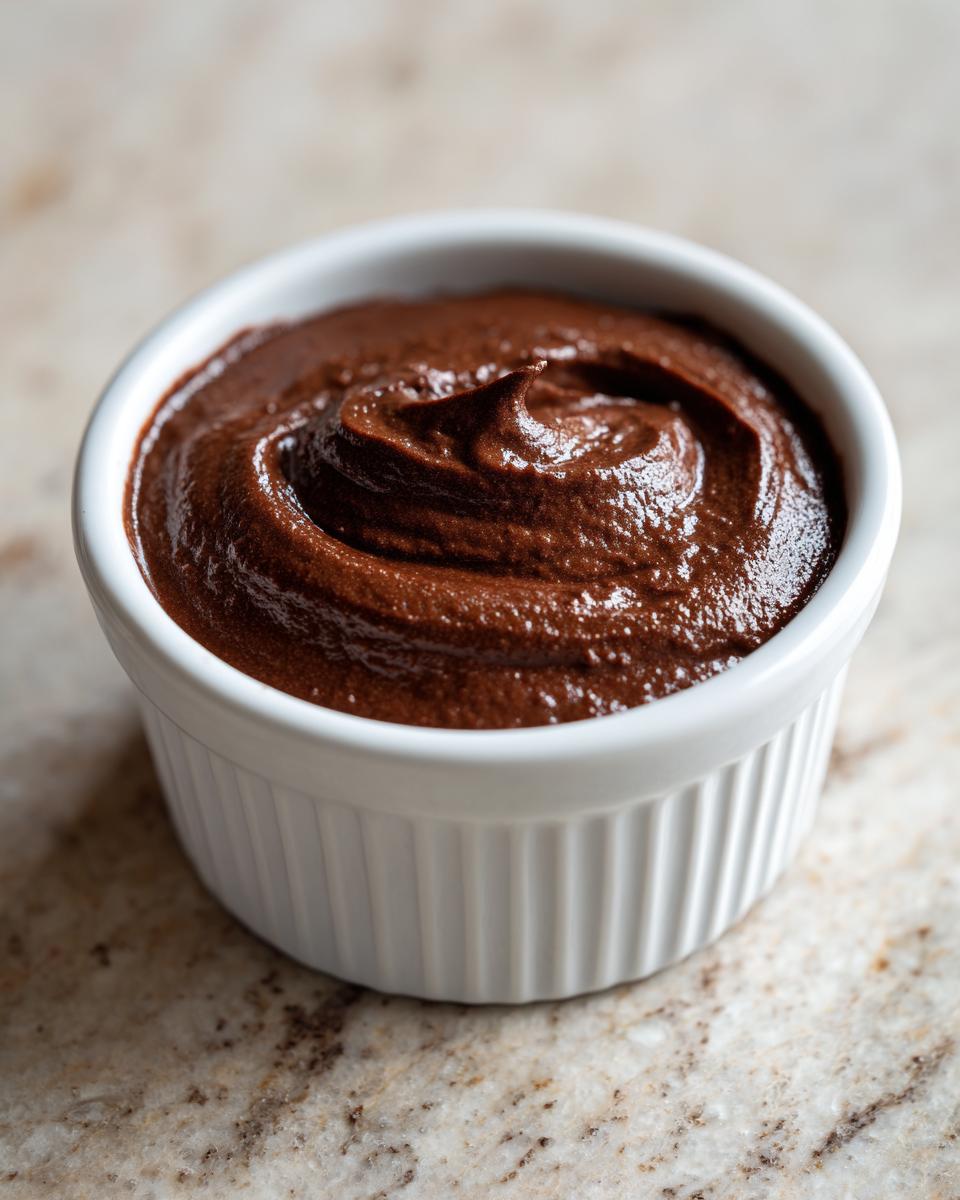
Chilling Your Velvety Pudding Recipe for Perfect Set
Right after you take it off the burner and stir in that butter and vanilla—oh my goodness, the smell is incredible—you need to get these into bowls fast. This is how we guarantee that **Velvety Pudding Recipe** texture!
Here’s the absolute best trick my grandmother taught me: take a piece of plastic wrap and press it directly onto the surface of the pudding in each bowl. I mean smoosh it down so it’s touching the pudding everywhere. This stops air from hitting the top and forming that gross film. Then, chill them for a minimum of 2 hours. Trust me, patience pays off for that perfect set! If you’re looking for other easy recipes, check out this: healthy chocolate pudding recipe.
Tips for Success When Making homemade chocolate pudding
I know you want the absolute **Best Homemade Pudding**, the kind that tastes like you spent the whole afternoon fussing over it, even though we know this is super quick! I learned a few tricks over the years that guarantee success, especially if you’re getting nervous about the whisking part.
First, if you’re worried about lumps, don’t be shy with that initial dry whisk! Make sure the cornstarch is totally incorporated with the cocoa powder *before* the milk goes in. A tiny lump of starch can ruin the whole thickening process, and we don’t want that gritty texture here.
Second, for that deep, dark, luxurious look, try using Dutch-processed cocoa powder instead of standard natural cocoa if you have it. It gives the pudding a smoother, less acidic chocolate flavor, making it seem even richer. It’s a small switch that makes a big visual difference!
Finally, when it thickens on the stove, the moment it starts bubbling steadily, you’re nearly there. Pull it right off the heat immediately after incorporating the yolks, because if you leave it boiling rapidly, you can reduce the starch’s thickening power. If you want more great recipes that always turn out right, take a peek at my best soft chewy chocolate chip cookies!
Ingredient Notes and Substitutions for homemade chocolate pudding
One of the best parts about making dessert from scratch is knowing exactly what’s going into it, and also having the power to swap things out if you need to! This recipe uses whole milk because I find it gives a really nice, classic body to the pudding—not too thin, not too heavy. But hey, life happens, right?
If you want to go straight for ultra-decadent, feel free to swap out half a cup of that whole milk for heavy cream. Wow, that makes it unbelievably rich. It’s almost like a silk-and-chocolate cloud! If you make that swap, you might want to cook it just a touch longer after adding the yolks so it has time to set up properly.
Now, what about non-dairy options?
- **Oat Milk:** This is my favorite alternative! It tends to be creamy enough that you won’t notice a huge difference in texture, which is great for a **From Scratch Dessert**.
- **Almond Milk:** This one is thinner, so you might want to increase the cornstarch by just half a teaspoon. It works, but the final result will definitely be lighter than the whole milk version.
Also, I always use unsalted butter, but if you only have salted on hand, just skip adding the 1/4 teaspoon of salt called for in the main dry ingredients. See? Simple swaps! If you want to make a creamy sauce that goes great drizzled over this pudding, you should check out my easy creamy garlic sauce recipe—just kidding! That’s for pasta, but it shows you that knowing how to adjust basic ratios is key in the kitchen!
Serving Suggestions for Your Classic Chocolate Pudding
Just when you think this **Classic Chocolate Pudding** is done, we get to the best part: making it look fancy! While it’s absolutely perfect eaten plain right out of the bowl—hello, **Weeknight Pudding Treat**—a little topping goes a long way for those special moments.
My favorite way to dress this up is simply with a dollop of freshly whipped cream. You know, the kind you whip yourself so it actually tastes like cream, not spray can air? A sprinkle of shaved dark chocolate on top of that looks incredibly chic. Or, if you have fresh raspberries around, their tartness cuts through the richness so beautifully.
If you’ve got a little extra time, maybe check out my recipe for moist lemon pound cake—you could use a slice of that cake crumbled on top if you’re feeling wild! For more delicious dessert ideas in general, check out this lovely inspiration: chocolate pudding recipe delight.
Storage & Reheating Instructions for homemade chocolate pudding
So you made the *best* **homemade chocolate pudding** and have leftovers! Good job! This pudding is definitely safe for a **Weeknight Pudding Treat** the next day, but you must store it correctly to keep that **Silky Smooth Pudding** look.
Remember that plastic wrap trick we talked about? Press it right on top before you seal the container. It will keep happily in the fridge for about 4 or 5 days. Now, about reheating—honestly, I don’t recommend it! It’s meant to be served cold, and reheating can sometimes make the texture a little strange or runny, even though the cornstarch is strong.
If you absolutely *must* warm it up for tiny hands, do just a small portion in the microwave for about 10 seconds, stirring well. But for the best dessert experience, serve it chilled! If you’re looking for a different kind of treat that stores well, you should check out my date nut bread moist easy recipe.
Frequently Asked Questions About Making homemade chocolate pudding
I know you might have a few lingering questions once you get into the rhythm of making your **homemade chocolate pudding from scratch**. That’s totally fine! I always want to make sure you feel confident in the kitchen, especially when trying to achieve that perfect texture.
We want this to be your favorite **Simple Pudding Recipe**, not a source of stress! Here are the things folks ask me about most often when they realize how much better this is than the old boxed stuff.
Can I make this Quick Chocolate Dessert without egg yolks?
Yes, you absolutely *can*, but you’re losing some of the magic! Egg yolks are what give this **Quick Chocolate Dessert** that deep, creamy mouthfeel and richness. If you leave them out totally, I recommend bumping up your cornstarch by about half a teaspoon. You’ll end up with a pudding that’s perfectly thick, but frankly, it won’t have the same luxurious texture we are aiming for. It’s thicker, maybe a little more like a custard, but less wonderfully rich.
How do I prevent a skin from forming on my homemade pudding from scratch?
Oh, the dreaded pudding skin! It’s the true nemesis of any **homemade pudding from scratch**. That skin forms because the surface of the hot pudding dries out when it hits the cool air. To stop it dead in its tracks, you have to press a sheet of plastic wrap directly onto the surface of the pudding immediately after you pour it into the bowls. I mean really press it down so there is zero air gap between the plastic and the pudding itself. Once you do that, it stays silky smooth underneath until you’re ready to eat it!
What is the best cocoa powder for a Rich Chocolate Dessert?
This is a great question if you want to elevate this **Rich Chocolate Dessert** even more! The recipe as written calls for standard unsweetened cocoa powder. That works great! But if you want the deepest, darkest, smoothest chocolate flavor that really carries well, try using Dutch-processed cocoa powder. Dutch-processed has been alkalized, which tones down the acidity and gives you a much smoother, almost sweeter chocolate note. It makes a huge difference in the final color, too!
If you want to see more about what I’m cooking up these days and check out my general approach to simple family food, swing by my About Page!
Estimated Nutritional Data for This Creamy Chocolate Dessert
You know I always say that we cook for flavor and happiness first, not for spreadsheets! But since you’re curious about what goes into your bowl of **Creamy Chocolate Dessert**, here are the estimates based on the standard recipe. Keep in mind these numbers are estimates only; my exact measurements might vary slightly depending on the brand of cocoa I grab that day, so take them as a general guide!
These numbers are based on 4 equal servings:
- Calories: 280
- Fat: 11g
- Carbohydrates: 40g
- Sugar: 35g (Yes, it’s a treat!)
- Protein: 6g
It’s satisfying, rich, and honestly, worth every single bit of that sugar when you taste how good **homemade chocolate pudding** is! If you ever want to reach out with a cooking question or just say hi, my contact page is always open!
PrintThe Best Creamy, Rich Homemade Chocolate Pudding From Scratch
This recipe delivers a velvety smooth texture and deep, satisfying chocolate flavor. It is a classic comfort dessert made easily with simple pantry staples, beating any store-bought version.
- Prep Time: 10 min
- Cook Time: 15 min
- Total Time: 25 min
- Yield: 4 servings 1x
- Category: Dessert
- Method: Stovetop Cooking
- Cuisine: American
- Diet: Vegetarian
Ingredients
- 3 tablespoons unsweetened cocoa powder
- 3/4 cup granulated sugar
- 1/4 teaspoon salt
- 1/4 cup cornstarch
- 2 cups whole milk
- 2 large egg yolks
- 2 tablespoons unsalted butter
- 1 teaspoon vanilla extract
Instructions
- In a medium saucepan, whisk together the cocoa powder, sugar, salt, and cornstarch until combined.
- Gradually whisk in the whole milk until the mixture is smooth and no lumps remain.
- Place the saucepan over medium heat. Cook, stirring constantly with a whisk, until the mixture thickens significantly and begins to bubble. This takes about 8 to 10 minutes.
- In a small bowl, whisk the egg yolks lightly. Temper the yolks by slowly pouring about 1/2 cup of the hot pudding mixture into the yolks while whisking constantly.
- Pour the tempered yolk mixture back into the saucepan with the remaining pudding. Continue to cook over medium heat, stirring constantly, for 1 to 2 minutes more until the pudding is very thick. Do not let it boil rapidly.
- Remove the saucepan from the heat. Stir in the butter and vanilla extract until the butter is fully melted and incorporated.
- Pour the pudding into individual serving bowls or a single large dish. Press plastic wrap directly onto the surface of the pudding to prevent a skin from forming.
- Chill in the refrigerator for at least 2 hours, or until completely cold and set.
Notes
- For a lump-free texture, ensure you whisk the dry ingredients thoroughly before adding any liquid.
- If you prefer a richer flavor, substitute 1/2 cup of the milk with heavy cream.
- This recipe is perfect for a quick weeknight pudding treat.
Nutrition
- Serving Size: 1 serving
- Calories: 280
- Sugar: 35
- Sodium: 150
- Fat: 11
- Saturated Fat: 6
- Unsaturated Fat: 5
- Trans Fat: 0
- Carbohydrates: 40
- Fiber: 2
- Protein: 6
- Cholesterol: 75