

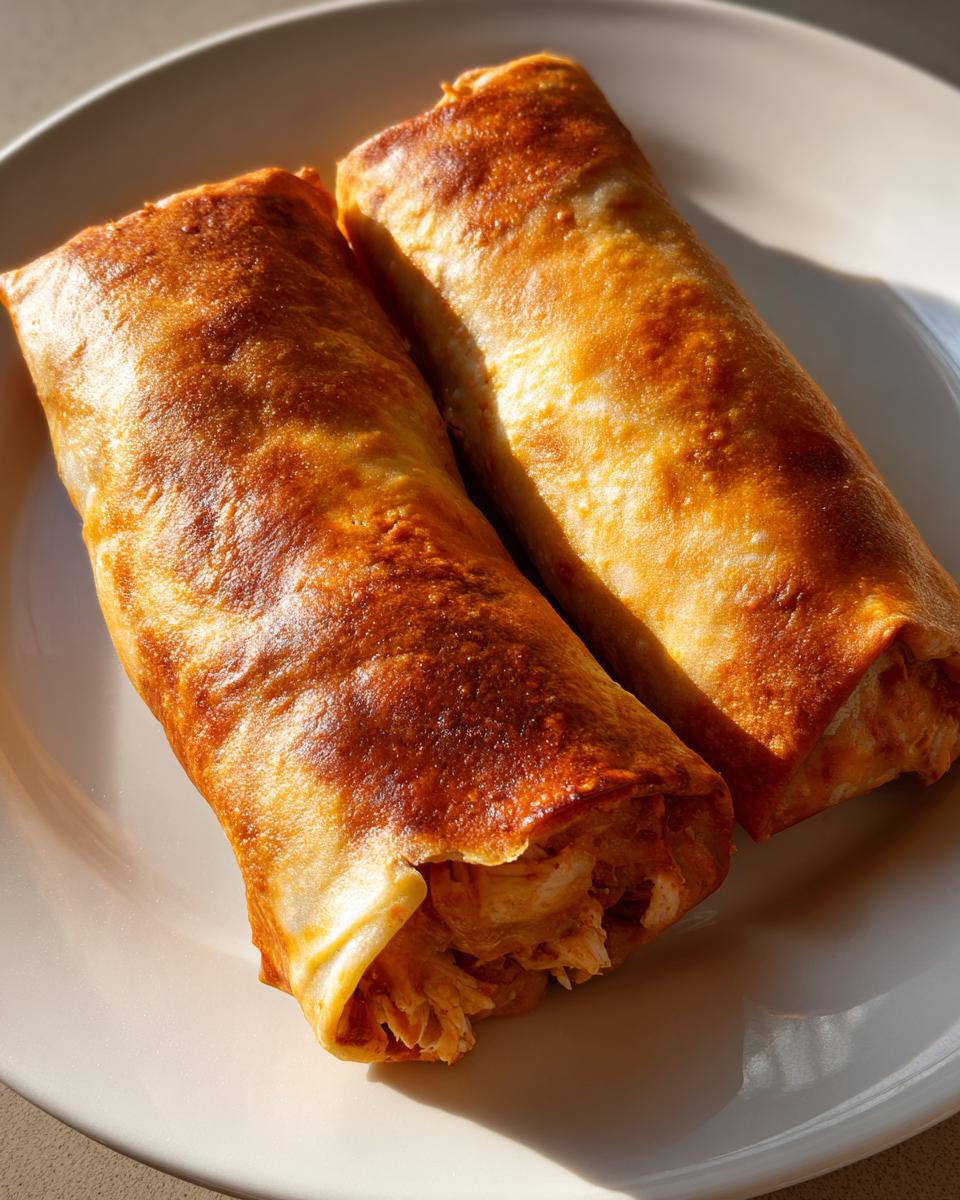
Oh, I know that feeling! You get that powerful craving for proper, restaurant-style Tex-Mex—that satisfying, golden crunch you usually only get from deep-frying. But then reality hits, and you realize you’re trying to keep things lighter for a weeknight meal. Don’t sweat it! That’s exactly why I developed this recipe for Baked Chicken Chimichangas. My goal here at Mia’s Meals is always to simplify the flavor without sacrificing the fun, right? We nail that incredible crispy texture using just the oven, delivering a genuinely guilt-free version that tastes like a splurge. Trust me, these are your new go-to quick weeknight dinners.
- Why You Will Love These Crispy Baked Chicken Chimichangas
- Essential Ingredients for Flavorful Baked Chicken Chimichangas
- The Secret to Crispy Baked Tortillas for Your Baked Chicken Chimichangas
- Step-by-Step Instructions for Perfect Baked Chicken Chimichangas
- Ingredient Notes and Substitutions for Healthy Chimichangas Recipe
- Serving Suggestions for Your Baked Chicken Chimichangas
- Make Ahead Chicken Chimichangas and Storage Tips
- Frequently Asked Questions About Oven Baked Mexican Food
- Estimating Nutrition for These Baked Chicken Chimichangas
- Estimating Nutrition for These Baked Chicken Chimichangas
Why You Will Love These Crispy Baked Chicken Chimichangas
I get so excited when people try these because they finally solve that age-old problem: how do I get that crunch without pulling out the deep fryer? This recipe works miracles, I promise! When you’re looking for something that fits into a busy schedule but still feels like a special, comforting meal, these hit every single mark.
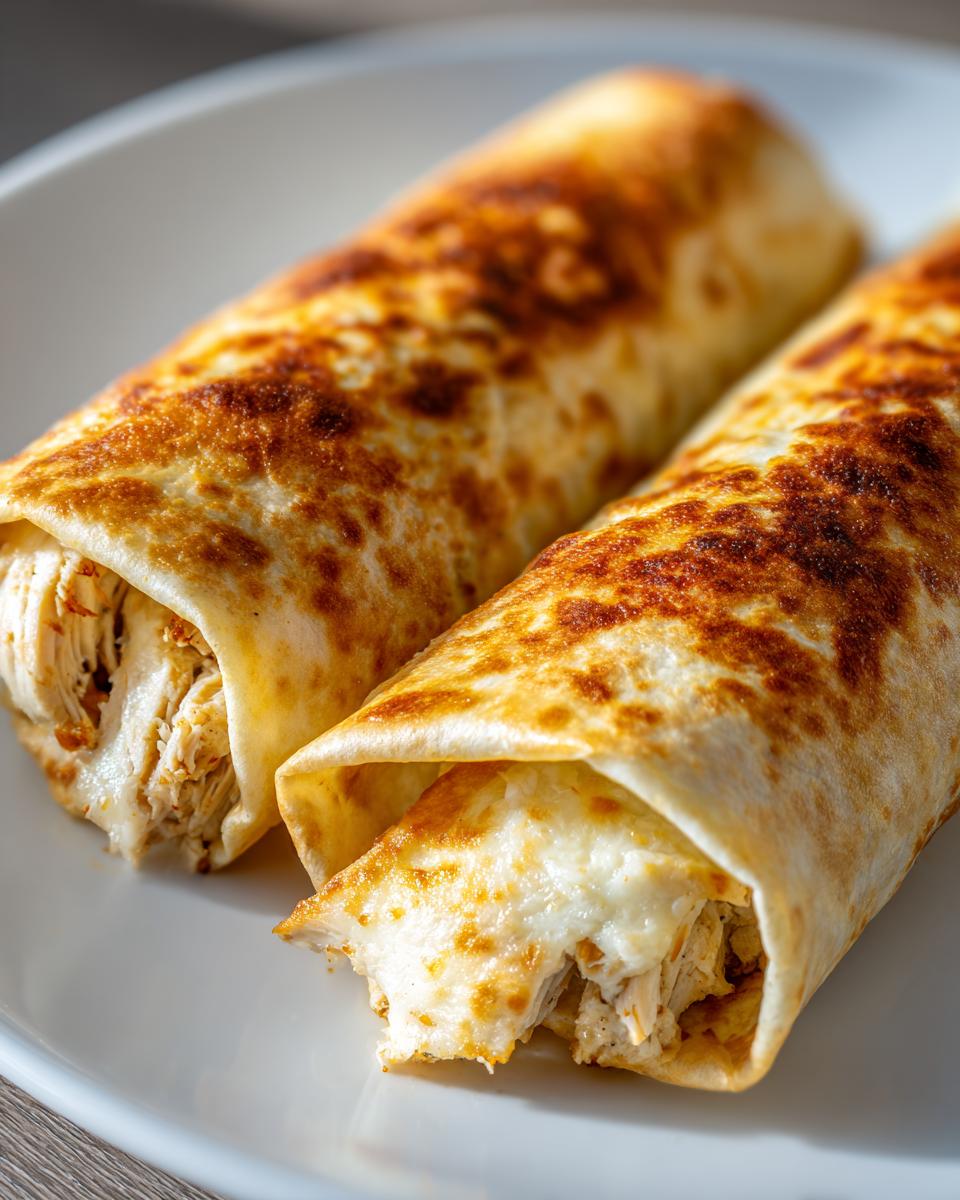
- Seriously Crispy Texture: This is the big one! We use a little technique with oil spray that turns these tortillas golden brown and crunchy—you absolutely won’t miss the frying oil. They taste truly better than fried chimichangas!
- Lightning Fast Dinner: Total prep and cook time comes in under 45 minutes. When you need an Easy Weeknight Tex Mex fix, this is the answer.
- Guilt-Free Tex-Mex: You get all the flavor, the cheese pull, and the spices, but without the heavy feeling afterward. They are a fantastic, Low Oil Chimichanga Recipe dream come true.
- Family Crowd-Pleaser: Let’s be honest, kids love anything wrapped up tasty, and these are perfect for those inevitable nights when everyone wants something different. Think of them as Family Friendly Mexican Dinners that are nearly impossible to mess up.
- Amazing Meal Prep Base: Since the filling is so flavorful, this recipe works beautifully for making a batch ahead of time. Cook once, eat twice!
Essential Ingredients for Flavorful Baked Chicken Chimichangas
Now, when we talk about making something oven-baked taste authentic, it all comes down to seasoning that filling perfectly. We aren’t relying on oil to make up for tired flavors here; we are building big flavor from the ground up! Remember, using already cooked, shredded chicken is what makes this a true weeknight wonder. We take simple pantry spices and turn them into a restaurant-style chicken filling.
You’ll need:
- 2 cups cooked, shredded chicken (I always keep a big batch of shredded chicken ready, though sometimes I’ll even make a batch of chicken salad base and pivot to this!)
- 1 teaspoon chili powder
- 1/2 teaspoon cumin
- 1/4 teaspoon garlic powder
- 1/4 teaspoon onion powder
- 1/4 teaspoon dried oregano
- 1/4 teaspoon salt and 1/8 teaspoon pepper (Don’t skimp on the salt—it brings out the spices!)
- 1 (4 ounce) can green chiles, make sure they are drained
- 1 cup shredded Monterey Jack cheese and 1 cup shredded cheddar cheese (for that ultimate cheese pull)
- 8 large (10-inch) flour tortillas
- 2 tablespoons olive oil or cooking spray (This is for our crisp coating later!)
That spice blend right there is what gives us that deep Tex-Mex flavor, so make sure you measure it out. It’s so satisfying when a Healthy Chimichangas Recipe tastes this rich!
The Secret to Crispy Baked Tortillas for Your Baked Chicken Chimichangas
Okay, let’s talk texture, because this is where most people get nervous about making Baked Chicken Chimichangas at home. If you’re used to deep-fried everything, you worry that the oven will just give you a dry, floppy wrap. Nope! We are achieving that glorious, shatteringly crisp shell here. The entire game changes with how you treat the tortilla *before* it goes into the heat.
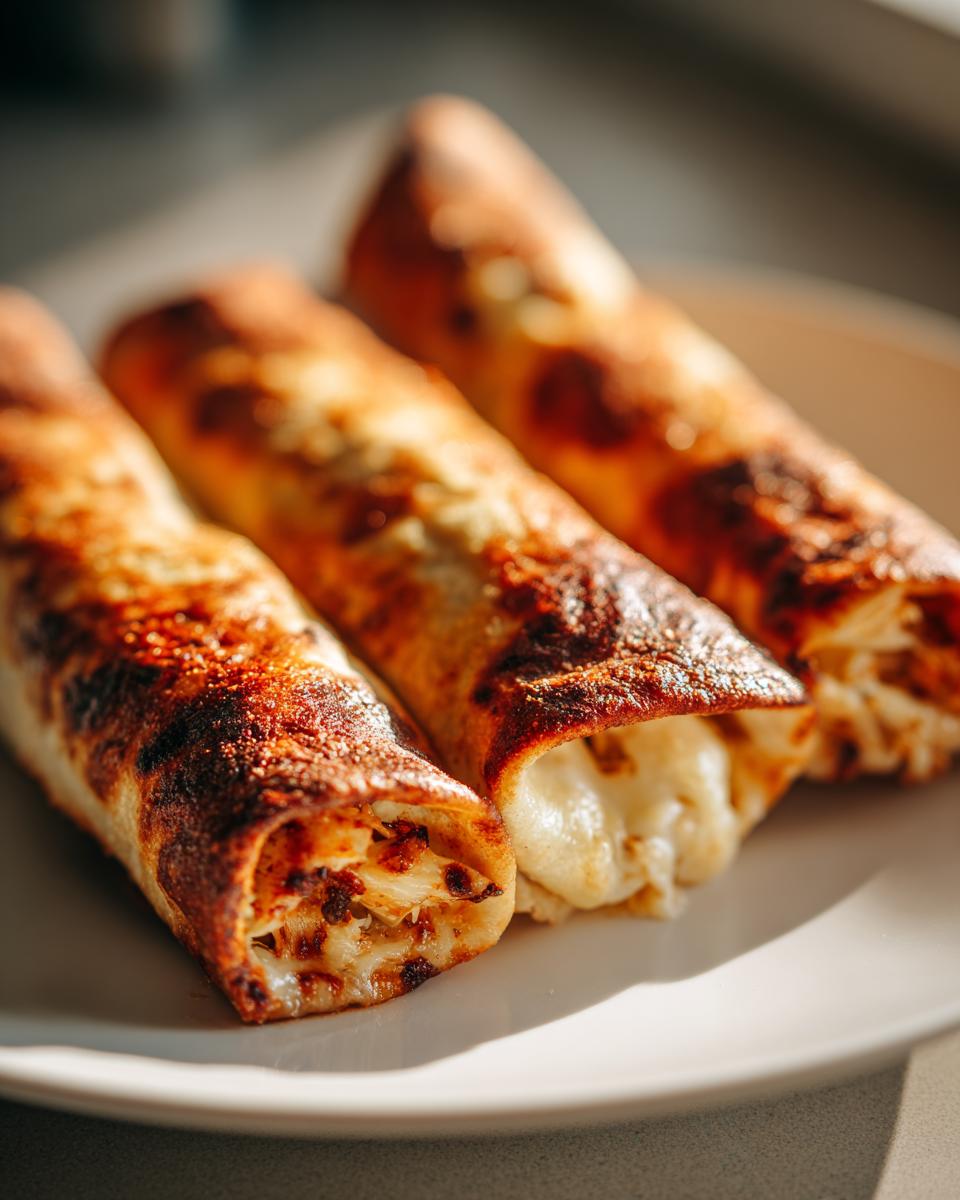
Forget soaking them in water or trying to crisp them up later—it just doesn’t work the same way. The trick is getting a very thin, even layer of fat across the entire exterior surface. Whether you use a light brush of olive oil or even a direct spray from an olive oil cooking spray, this fat is what turns the tortilla that beautiful golden brown. This is the same principle I use when I’m making my crispy baked chicken wings without frying!
Here’s an expert tip from my kitchen that helps these Baked Chicken Chimichangas rise above the rest: if you have the space, put your rolled chimichangas on a wire rack set inside your baking sheet. It sounds extra, but trust me—air circulation wraps completely around the tortilla, so the bottom doesn’t steam or get soggy while the top crisps up. It guarantees all-around crunch!
Preheating and Preparing the Baking Sheet
First things first: don’t even open the oven door until it’s roaring hot. We need high heat right away to start crisping those exteriors. Set your oven temperature to 400°F (200°C). While that’s heating up, get your baking sheet ready. I usually just grease mine lightly with a paper towel dipped in oil. If you’re using the wire rack trick I mentioned, make sure the rack itself is on the baking sheet and you lightly spray the rack too!
Step-by-Step Instructions for Perfect Baked Chicken Chimichangas
Alright, buckle up, because putting these Baked Chicken Chimichangas together is fast and honestly, kind of fun! Getting the filling ready is like mixing up a small batch of amazing chicken tacos—it just needs a good, thorough toss so every piece of chicken is coated in flavor. We want these to be juicy inside, remember? That’s why we mix in some cheese and those bright green chiles right there with the chicken. Do not skip warming those tortillas first, though! Cold tortillas are stiff, and they will crack and break the whole thing apart when you try to roll them tightly. That always leads to a mess and a sad, deconstructed chimichanga.
Preparing the Seasoned Chicken Filling
Grab a medium bowl—nothing too fancy required! Toss in all your perfectly shredded chicken. Now, sprinkle in your chili powder, cumin, garlic powder, onion powder, oregano, salt, and pepper. Use a fork or a spatula and just stir and toss until that chicken looks beautifully rusty orange and every bit is flavored. Once it’s coated, fold in the drained green chiles and about half of your gorgeous mix of cheddar and Jack cheese. Save the rest for later! If you need a fantastic base, check out my recipe for shredded chicken recipe oven style—it’s perfect for this.
Rolling and Sealing the Chimichangas
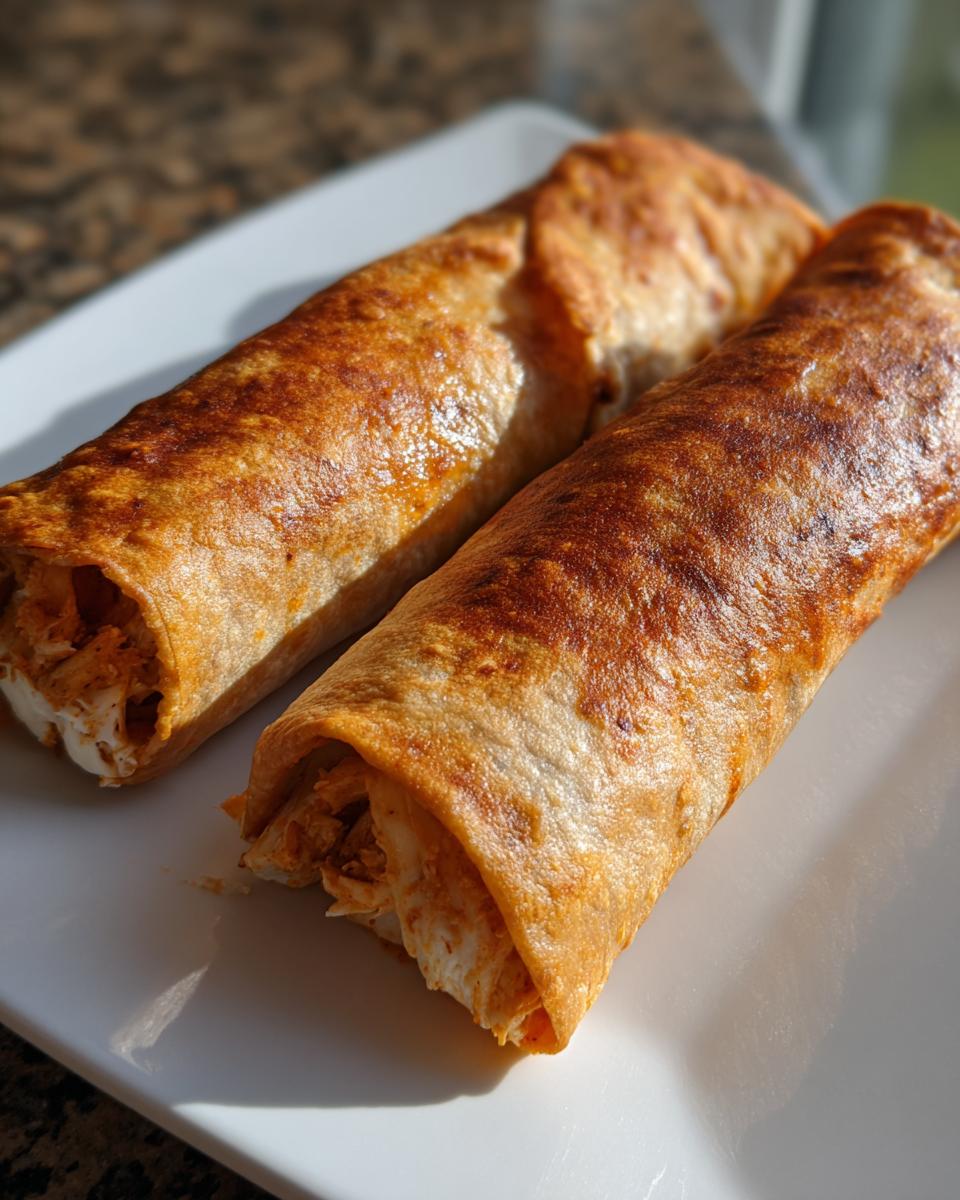
See how warm and soft that tortilla is now? That’s what we want! Lay one flat. Put about a quarter of that seasoned chicken filling right across the center, leaving space on the sides. Fold those side edges in first—just like you’re wrapping a present—and then roll the bottom edge up tightly over the filling. Tuck it in! Place the rolled chimichanga seam-side down right onto your oiled baking sheet. Repeat this process until all eight are snug on the pan.
Baking for Golden Perfection
Time for the oven magic! Slide your pan in and let them bake for about 15 to 20 minutes. You must flip them halfway through so both sides get that lovely golden brown crust. Once they look crispy, pull them out. Now, sprinkle that final bit of cheese on top, pop them back in for just another 2 or 3 minutes, only until the cheese is bubbly and melted. That final little blast of heat after the big bake seals the deal for the very best texture.
Ingredient Notes and Substitutions for Healthy Chimichangas Recipe
Sometimes you just don’t have exactly what’s listed, and that’s totally fine! That’s the beauty of home cooking—we adapt. While this recipe is designed to be a fantastic Low Oil Chimichanga Recipe as is, you can certainly play around with the filling. If you’re starting with raw chicken instead of pre-cooked, please, please, bake those breasts first! Toss them in a little salt and pepper, bake at 375°F until done, and shred them—it’s so easy and tastes much fresher than anything canned.
For the cheese, I swear by the savory sharpness of cheddar mixed with the meltiness of Monterey Jack. But hey, if you only have Pepper Jack or even a good quality Oaxaca cheese, throw it in! The point is that rich, gooey texture. You can also swap out the green chiles for a tablespoon of canned chopped jalapeños if you want a little more kick in your filling.
When it comes to the spices, feel free to adjust the ratios to your taste, but watch the salt! If you feel like you need more moisture in the filling but don’t want to add more cheese, sometimes I’ll stir in a tiny splash of mild salsa. Just be careful not to overdo it, or your tortillas will get damp and won’t crisp up right when baking! That crispy exterior is too important to risk!
Serving Suggestions for Your Baked Chicken Chimichangas
Okay, so you pulled those gorgeous, golden Baked Chicken Chimichangas out of the oven. They are piping hot, crispy, and smell absolutely heavenly, right? Well, you can eat them plain—honestly, with that filling, they are amazing all by themselves—but true Tex-Mex magic happens when you pile on the toppings! Think of the toppings as the final layer of customization that turns a simple weeknight meal into something fun.
These aren’t fussy at all; it’s all about creamy, cool contrasts to that spicy, hot filling.
Here are the must-haves I always set out for the family:
- Salsa Power: You can never have too much salsa! If you’re feeling lazy, just grab your favorite jar, but if you want to amp it up, I have a killer 5-minute nacho cheese sauce recipe that is incredible dolloped right on top instead of just salsa.
- Cool & Creamy: A big dollop of sour cream or plain Greek yogurt cools down the spices beautifully. Trust me, the tang cuts through the richness of the cheese inside.
- Guac is Great: Fresh guacamole is non-negotiable for me. If you don’t have time for a full batch, even a few slices of fresh avocado sprinkled with lime juice work wonders!
- Crunch Factor Finale: Don’t forget shredded lettuce and maybe some chopped black olives or diced tomatoes for color and that extra fresh crunch.
When you set all those bowls out, everyone can build their own perfect chimichanga. It cuts down on my serving time, and everyone gets exactly what they want on their plate. It turns dinner into a little interactive experience!
Make Ahead Chicken Chimichangas and Storage Tips
This is where these Baked Chicken Chimichangas become your weeknight superhero! Because the filling just gets better sitting overnight (those spices really meld together, you know?), assembling them ahead of time is totally the way to go. You can skip all the rolling and cheese sprinkling on a busy Monday night and just dive right into the baking!
For making them ahead, follow steps 1 through 5 in the main recipe—season the chicken, mix in the chiles and half the cheese, warm the tortillas, and roll them up tightly. Just make sure you place them seam-side down on your baking sheet, just like you would for immediate baking. At this point, you have two great options:
- For Refrigeration (Up to 2 Days): Cover the baking sheet tightly with plastic wrap once assembled and pop the whole thing right into the fridge. The tortillas might look a little damp when you pull them out the next day, but don’t panic!
- For Freezing (Up to 2 Months): If you want a true emergency stock, wrap each rolled chimichanga separately in plastic wrap, then wrap the whole batch tightly in foil before freezing.
The most important part? Reheating! If you want that crispy texture that makes these Baked Chicken Chimichangas so delicious, you absolutely have to avoid the microwave for crisping. The microwave steams the tortilla, making it chewy. For refrigeration, just pull them out, spray them liberally with cooking spray (don’t forget that wire rack trick!), and bake them at 400°F just like the recipe says, maybe adding about 5 extra minutes since they are colder. If you’re baking from frozen, toss them onto the rack/sheet, and bake at 375°F for about 30–35 minutes until heated through and golden brown. Instant, guilt-free Tex-Mex!
It feels so good knowing a fantastic dinner is already tucked away, ready to go. If you are planning a big batch, you can check out my specific tips on freezing and reheating over at make ahead chicken chimichangas for even more details!
Frequently Asked Questions About Oven Baked Mexican Food
I always get questions after people try these chimichangas for the first time because they can’t believe how crunchy they get without deep frying! Since this recipe falls into that whole “lightened up Tex Mex” category, folks have a lot of curiosity about how it holds up compared to the classic versions. Here are a few things I hear all the time!
Are these really better than fried chimichangas?
Well, I wouldn’t say they are *exactly* the same, because let’s face it, deep-frying gives you a certain kind of intense richness! But for everyday eating? Absolutely, these are better than fried versions because they are genuinely lighter and you don’t feel weighed down afterward. If you are looking for a truly satisfying crunch without the oil mess, these are miles ahead of the game. They are definitely Better Than Fried Chimichangas when you consider the health factor coupled with how quick they are for a Quick Chicken Dinner Idea!
How can I make sure my shredded chicken stays moist if I’m making these for meal prep?
That’s a great question! The green chiles and cheese in the filling do a lot of heavy lifting, moisture-wise. But if you are making a huge batch of the filling for future use, just make sure you don’t overcook your chicken breasts initially. If you use my method for the Shredded Chicken Recipe Oven style, the chicken stays really tender. When reheating, always use the oven, not the microwave, to maintain that crispy shell. You want to reheat them straight from the fridge or freezer on a rack—that’s key!
Can I use whole wheat tortillas instead of flour for these guilt free chicken burritos?
You certainly can! Whole wheat tortillas are a wonderful option for making these even healthier. They tend to be a little less pliable than the standard white flour ones, so be extra gentle when you warm them up—maybe give them a few extra seconds in the microwave until they are super soft. They might not brown quite as uniformly, but they still get delightfully crispy, and you still end up with amazing Guilt Free Chicken Burritos!
What is the highest oven temperature that is safe for this recipe?
We bake these at 400°F (200°C) because we need that high heat to evaporate the moisture from the tortilla quickly so the oil spray can crisp it up immediately. I wouldn’t recommend much higher than that unless you are using an air fryer! If you go much higher, say 425°F, you risk burning the outside before the cheese in the middle has a chance to melt nicely, and we don’t want charcoal wrapped around that delicious filling!
Estimating Nutrition for These Baked Chicken Chimichangas
I always like to share a general idea of what you’re getting when you eat these lighter versions. Remember that since we skip the deep frying, the fat content drops significantly compared to traditional restaurant takes—it’s a win for your waistline! These numbers are just estimates based on the ingredients listed, using standard low-moisture cheeses and a light spray of oil. If you use more cheese or a heavy brush of olive oil, those numbers will creep up a bit, naturally!
Here is a breakdown for two Baked Chicken Chimichangas:
- Serving Size: 2 chimichangas
- Calories: Approximately 450
- Fat: Roughly 18g (Most of this is coming from the cheese, not the frying oil!)
- Protein: About 30g (That’s solid dinner fuel!)
- Carbohydrates: Around 45g
- Sugar: Very low, about 3g
- Sodium: Around 650mg (This can vary a lot based on how much salt you add and the sodium content of your shredded chicken.)
What I love about these numbers is the high protein and lower overall fat content compared to their fried cousins. They fit beautifully into a balanced meal plan, especially when paired with a big, fresh salad instead of fries!
PrintThe Crispiest Guilt-Free Baked Chicken Chimichangas (Oven-Baked to Perfection)

You can achieve the satisfying crunch of fried chimichangas using only your oven. This recipe delivers restaurant-style flavor with seasoned shredded chicken and a golden, crispy tortilla shell, making it an easy, healthier Tex-Mex dinner perfect for busy weeknights.
- Prep Time: 15 min
- Cook Time: 20 min
- Total Time: 35 min
- Yield: 4 servings 1x
- Category: Dinner
- Method: Baking
- Cuisine: Tex-Mex
- Diet: Vegetarian
Ingredients
- 2 cups cooked, shredded chicken
- 1 teaspoon chili powder
- 1/2 teaspoon cumin
- 1/4 teaspoon garlic powder
- 1/4 teaspoon onion powder
- 1/4 teaspoon dried oregano
- 1/4 teaspoon salt
- 1/8 teaspoon black pepper
- 1 (4 ounce) can green chiles, drained
- 1 cup shredded Monterey Jack cheese
- 1 cup shredded cheddar cheese
- 8 large (10-inch) flour tortillas
- 2 tablespoons olive oil or cooking spray
Instructions
- Preheat your oven to 400°F (200°C). Lightly grease a baking sheet or line it with parchment paper.
- In a medium bowl, combine the shredded chicken, chili powder, cumin, garlic powder, onion powder, oregano, salt, and pepper. Mix well to coat the chicken evenly with the seasonings.
- Stir in the drained green chiles and half of the shredded cheese into the chicken mixture.
- Warm the flour tortillas briefly in the microwave (about 15 seconds) to make them pliable and prevent tearing.
- Lay a tortilla flat. Place about 1/4 of the chicken mixture in a line across the center. Sprinkle a small amount of the remaining cheese over the filling.
- Fold in the sides of the tortilla over the filling, then tightly roll the bottom edge up and over, creating a sealed burrito shape. Place the chimichanga seam-side down on the prepared baking sheet. Repeat with the remaining filling and tortillas.
- For the best crispiness, lightly brush the tops and sides of each rolled chimichanga with olive oil or spray generously with cooking spray. This step is key for a golden brown finish.
- Bake for 15 to 20 minutes, flipping halfway through, until the tortillas are golden brown and crispy.
- Remove from the oven. Top immediately with the remaining cheese and return to the oven for 2-3 minutes, or until the cheese melts.
- Serve immediately with your favorite toppings like salsa, sour cream, or guacamole.
Notes
- To make the chicken ahead of time, cook and shred chicken breasts in an Instant Pot or slow cooker for simple meal prep.
- If you want an extra crispy texture, place the chimichangas on a wire rack set inside the baking sheet before spraying with oil. This allows air to circulate underneath.
- This recipe is a great base for a baked Mexican casserole alternative; simply place the rolled chimichangas seam-side down in a baking dish, top with enchilada sauce and cheese, and bake until bubbly.
Nutrition
- Serving Size: 2 chimichangas
- Calories: 450
- Sugar: 3
- Sodium: 650
- Fat: 18
- Saturated Fat: 8
- Unsaturated Fat: 10
- Trans Fat: 0
- Carbohydrates: 45
- Fiber: 3
- Protein: 30
- Cholesterol: 85