
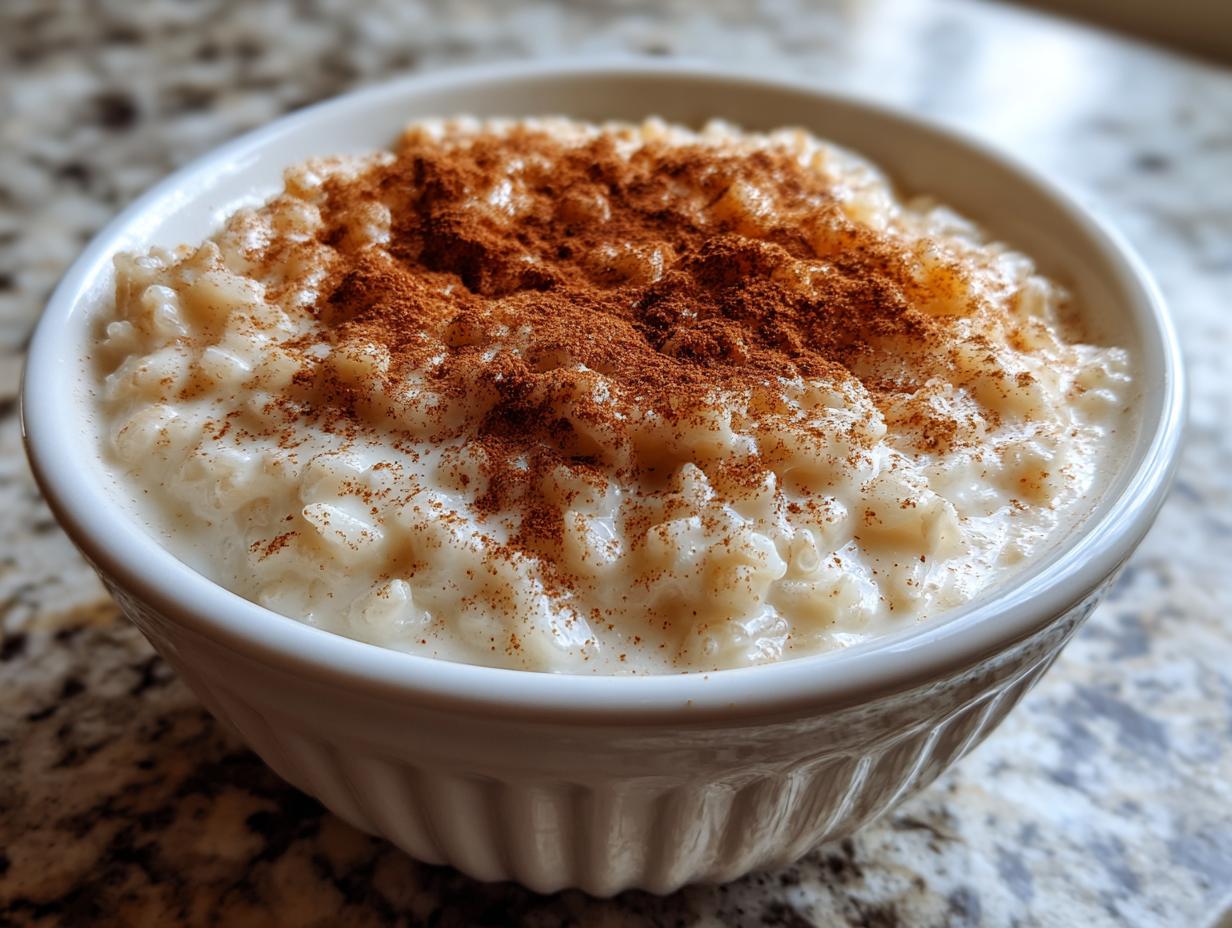
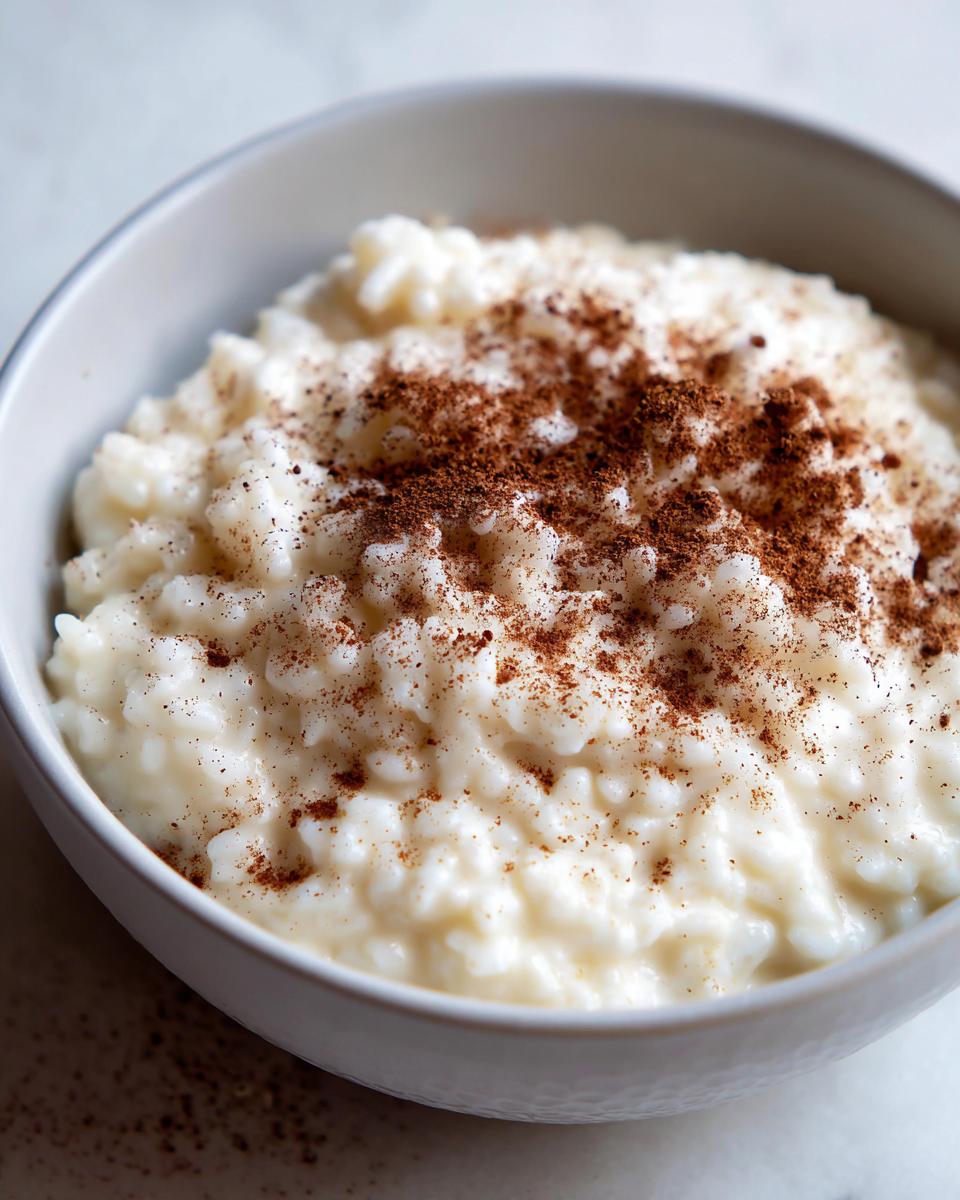
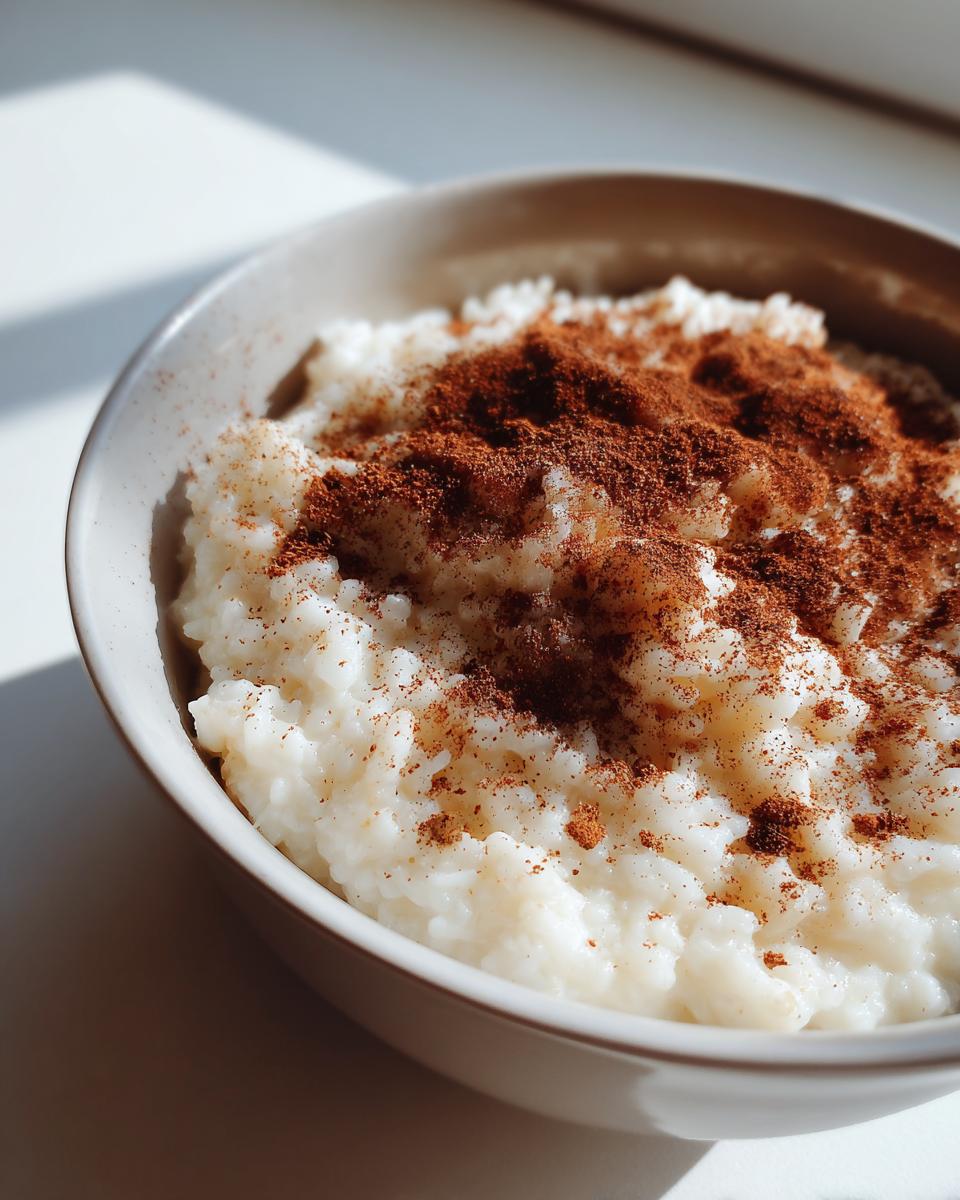
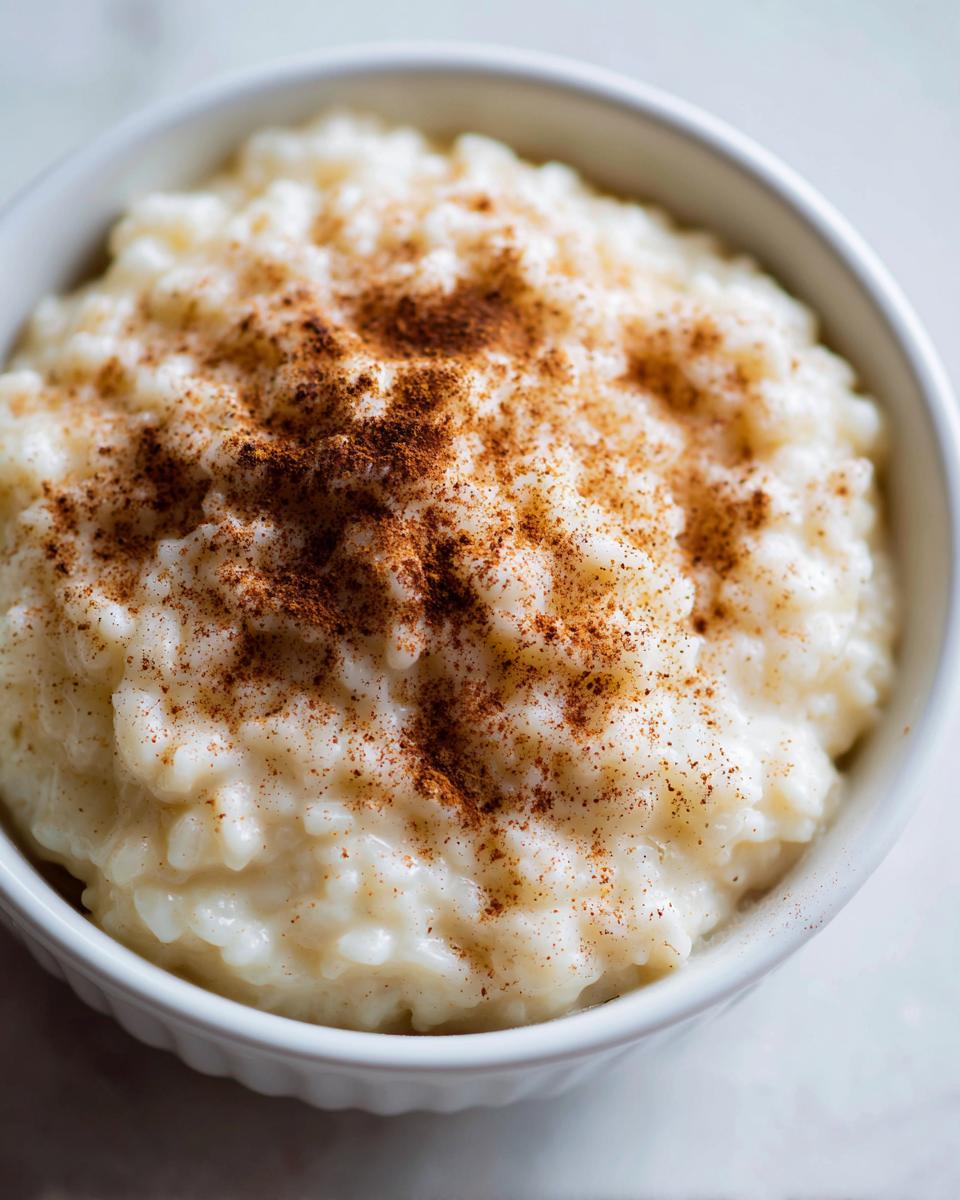
There is nothing quite like the warmth of true comfort food hitting the spot after a long day, is there? For me, that feeling always leads straight back to the kitchen I grew up in. That’s why I’m so excited to share my absolute favorite, the Old Fashioned Creamy Rice Pudding Recipe. Forget those thin, soupy versions you sometimes get! This stovetop method gives you that rich, thick texture we all search for in a nostalgic dessert.
Here at Mia’s Meals, my whole philosophy is about stripping away the fuss and complexity of classic dishes while keeping all the love and flavor intact. This recipe is the perfect example: it uses simple ingredients you probably already have to create something truly memorable. I promise, achieving that perfect texture is easier than you think! If you love this kind of cozy feel, you might want to check out my full collection of delicious dessert recipes.
- Why This Old Fashioned Rice Pudding Recipe Works So Well
- Gathering Ingredients for Your Classic Rice Pudding Recipe
- Step-by-Step Instructions for the Best Rice Pudding Tutorial
- Expert Tips for Perfect Homemade Rice Pudding
- Serving Suggestions for Your Vanilla Cinnamon Dessert
- Storage and Reheating Instructions for Classic Dessert Recipe
- Variations on the Rice Pudding Recipe
- Frequently Asked Questions About This Rice Pudding Recipe
- Share Your Old Fashioned Rice Pudding Experience
Why This Old Fashioned Rice Pudding Recipe Works So Well
If you’ve ever tried making rice pudding and ended up with something watery or grainy, I get it. That’s why this recipe is my go-to for guaranteed success. It leans into that wonderful, nostalgic desserts vibe without needing a weird ingredient list. We are sticking firmly to the stovetop, which makes all the difference for that hallmark texture.
- It focuses purely on slow simmering, making the rice break down naturally.
- It requires just a handful of pantry staples. You won’t need eggs or a complicated double-boiler setup, trust me!
- It comes together fast enough to be an easy dessert idea for a last-minute craving. Check out more about my simple cooking mission if you want more inspiration like this!
Achieving Peak Creamy Rice Pudding Texture
The secret to truly creamy rice pudding isn’t heavy cream—it’s time and stirring! When you simmer the rice slowly in the milk and water, the starches naturally release from the grains. These starches are the magic glue that thickens the entire mixture without any gloppy flour or cornstarch. We let the rice do all the work!
Simple Dessert Ideas Using Minimal Ingredients
I love that this recipe truly only needs five main things once you look at the whole list. Milk, water, rice, sugar, and that essential splash of vanilla. When you keep the ingredients list short, the quality of each component really shines through. It’s proof that you don’t need to overcomplicate things to get that deep, satisfying comfort food flavor.

Gathering Ingredients for Your Classic Rice Pudding Recipe
Okay, let’s get organized! Since this is an old fashioned rice pudding recipe, we are keeping the ingredient list super straightforward—just like my mom used to grab from the pantry. Having everything measured out before that saucepan hits the heat makes the cooking process so much smoother. Trust me, that 50 minutes flies by when you’re ready!
Here is exactly what you need for four servings of this delicious dessert:
- 1 cup long-grain white rice (don’t use instant!)
- 4 cups whole milk
- 1 cup water
- 1/2 cup granulated sugar
- 1/4 teaspoon salt
- 1 teaspoon vanilla extract
- 1/2 teaspoon ground cinnamon, plus extra for serving
That’s it! Simple, classic, and ready to go. I always make sure my cinnamon jar is fresh because that warm spice is key to the whole cozy vibe.
Step-by-Step Instructions for the Best Rice Pudding Tutorial
Alright, this is where the magic happens! While our rice pudding recipe is incredibly simple, the technique ensures you get that luxurious texture every single time. We are aiming for about 50 minutes of dedicated stovetop simmering to turn those simple grains into the ultimate comfort food dessert.
Initial Simmering and Starch Release
First things first: grab your big, heavy-bottomed saucepan. This is important! Dump in your cup of long-grain rice, the four cups of whole milk, and the water. Get this mixture over medium-high heat and bring it right up to a boil. Now, and listen to me closely on this—you have to stir frequently while it heats up. If you walk away, that milk will absolutely scorch to the bottom of the pan, and trust me, that cleanup is the opposite of cozy!
Developing the Rich and Creamy Dessert Base
Once it hits that rolling boil, immediately drop your heat way down to low. We need a gentle simmer, nothing aggressive. For the next 40 to 50 minutes, you need to keep an eye on it and stir every five to seven minutes. This constant, gentle agitation is what forces the starch out of the rice, which is what creates that amazing, rich and creamy dessert body. Keep stirring, keep simmering! When it looks thick and coats the back of your spoon nicely, you’re ready for the next step. For more ideas on dinners that come together quickly, you can browse my collection of quick weeknight dinners.
Expert Tips for Perfect Homemade Rice Pudding
You’ve done the hard work simmering on the stovetop, but these little tricks separate a good batch of pudding from what I consider the best rice pudding tutorial winner. These tips make this simple comfort food dessert feel totally elevated, even though we are keeping things easy. I learned these little secrets from watching my mom hover over the pot, so you know they are tried and true!
Rice Selection and Flavor Boosts
We used long-grain rice here because it holds its shape nicely. But if you want something *super* rich, try swapping out half a cup of the whole milk for heavy cream. Wowza, that makes it deeply luxurious. If you are craving a surprise texture, this recipe lets you add about a half cup of golden raisins right when you add the sugar in step five, just like my Aunt Carol always did. She swore the raisins helped stabilize the moisture content!
Adjusting Consistency After Cooking
This is a crucial moment for any pudding maker: cooling down. When this pudding cools, it firms up a lot more than you expect! If you notice it’s still a little loose when you take it off the heat, don’t panic. Just let it sit for five minutes. If it’s still significantly thicker than you like, stir in just a tiny splash of extra milk until it loosens up. You want it creamy, not gluey. For more inspiration on homemade classics, take a peek at my homemade cream of chicken soup recipe—it carries the same feeling of warmth.
If you want to see how other home cooks tackle this classic, you might want to check out this other great rice pudding recipe online for comparison!
Serving Suggestions for Your Vanilla Cinnamon Dessert
The moment you pull this vanilla cinnamon dessert off the stove, you have a decision to make—warm or cold? Honestly? There’s no wrong answer here, but they offer totally different experiences. If you want maximum comfort, serve it right away while it’s steaming hot. The vanilla aroma is just incredible when it’s warm, and it feels like a hug in a bowl.
For serving warm, I take a little knob of unsalted butter—just a tiny pat—and let it melt right into the top center of the bowl. It melts down beautifully into the creamy base. Then, a dash more ground cinnamon right on top for color and that little extra spice kick. That’s pure nostalgia right there!
Now, if you chill it, it firms up significantly, which I actually prefer on a warmer evening. Chilled rice pudding is almost like a decadent, dense custard. If you go this route, I love serving it with a little preserved fruit on the side, maybe some tart cherries or berries, just to cut through that rich milkiness. Or, if you’re feeling extra fancy (which, you know I love to sneak in a little elegance without the fuss!), try serving it alongside my creamy mashed sweet potatoes recipe—wait, no, that’s dinner! Just kidding! Stick to a little sprinkle of toasted pecans or maybe some orange zest when it’s cool. It just brightens everything up!
Storage and Reheating Instructions for Classic Dessert Recipe
One of the best things about making this classic dessert recipe from scratch is that you’re guaranteed leftovers! Unlike some desserts that go bad overnight, this pudding actually gets richer and denser as it rests, which I love. Storing it properly is key to keeping that creamy mouthfeel we worked so hard to achieve on the stovetop.
Pop any leftovers into an airtight container right away. I find that glass containers work best because you can see exactly how much you have left! This homemade rice pudding stays wonderfully fresh in the refrigerator for about three to four days. Don’t try to push it past that, though; fresh milk products are best enjoyed within that window, even cooked down into a delicious dessert.
Now, for reheating this delightful treat. If you prefer it warm—which, let’s face it, is my favorite way to eat it—you need to be gentle. Heating pudding too fast can cause the liquid to separate or turn the rice gummy. Take out what you want to eat and put it into a small saucepan on very low heat. You absolutely must stir in a small splash of extra whole milk or even water while you warm it up. That little bit of extra liquid keeps it from turning into a brick when it heats through.
If you’re in a terrible rush (we’ve all been there!), you can microwave a portion, but stir it every 20 seconds! Seriously. Don’t just let it spin unattended. It heats unevenly, and you’ll end up with a scorching hot bottom and a cold top. For more simple recipes that store and reheat well, take a look at my easy homemade cranberry sauce recipe—that one is another winner for leftovers!
If you are looking for other reliable baking tutorials, I came across a great guide for Rice Pudding Perfection that covers some other good tips for making sure it’s creamy every time.
Variations on the Rice Pudding Recipe
I truly believe this rice pudding recipe is perfect as is, but I know you home cooks like to experiment sometimes! Since we focused on that classic American stovetop taste, a simple switch can take you across the world. For example, if you wanted to lean toward an Arroz con Leche Recipe vibe, just add a strip of citrus zest—orange or lemon works wonderfully—when you start simmering the milk.
You can also amp up the flavor while keeping the stovetop method going strong. Try swapping out the cinnamon for a pinch of cardamom or even using almond extract instead of vanilla. If you are worried about the texture getting too firm when cold, you can always add a half cup of unsweetened coconut flakes along with the raisins. See how easy it is to customize? For more sweet swaps, you can check out my persimmon cookies recipe, which is full of spice variations!
Frequently Asked Questions About This Rice Pudding Recipe
When I first started making my homemade rice pudding, I had so many questions, especially about making sure it came out perfectly creamy! Don’t worry if you feel like you need a little extra guidance for your classic dessert recipe. I pulled together the questions I get asked the most:
Can I use short-grain rice instead of long-grain for this rice pudding recipe?
Yes, you absolutely can! If you happen to have Arborio rice, which is typically used for risotto, go for it. The key difference here is that short-grain rice releases starch much faster and more aggressively than long-grain rice. That means you will get an even thicker, stickier, and richer result. It’s not what this particular recipe was designed for, but it works beautifully if you love that super dense texture. Just keep an eye on the cooking time; it might thicken up faster than the 50 minutes we planned!
How do I prevent the rice pudding from sticking to the bottom of the pan?
This is probably the number one concern for anyone making a stovetop pudding recipe! My main defense is what I mentioned in the steps: you need a heavy-bottomed saucepan. The thick bottom distributes that heat so gently that scorching is much less likely to happen. Secondly, the stirring is non-negotiable, especially during that initial boil and the low simmer phase. If you follow the instruction to stir every five to seven minutes, you are physically lifting the rice grains off the hot surface of the pan, which keeps everything moving and stops that thick layer from cementing itself to the bottom. A little movement goes a long way!
Is this an Easy Rice Pudding Recipe if I want to bake it instead?
This specific rice pudding recipe is perfectly calibrated for the stovetop, which is how my mom always preferred it for the fastest, creamiest result. If you decide you really want to try baking it, be aware that you do need to adjust the liquid. Baking tends to evaporate more liquid than simmering uncovered, so you might need to increase the milk by about a half-cup to avoid ending up with a super-dense brick! For a true baked version, you usually need more eggs and a lower temperature, so this recipe does best when you let the stovetop do the work for you!
If you have more questions about making this comfort classic, please feel free to reach out through my contact page!
Share Your Old Fashioned Rice Pudding Experience
I truly hope this recipe makes your kitchen feel just a little bit cozier tonight! Taking the time to make something slow and comforting like this old fashioned rice pudding is always worth it, even on the busiest weeknights. It’s about creating traditions, not just recipes.
Now, I’m dying to know what you think! Did you serve it warm with that pat of melting butter, or did you chill it down for a cool treat? Did you try adding raisins, or did you keep it wonderfully simple?
Please leave a star rating for this stovetop pudding right below so other busy cooks can see how easy and delicious this classic dessert recipe is. If you have any tweaks or stories about making your own batch, drop them in the comments! I read every single one and love hearing from you. Happy cooking, and don’t forget to check out my simple collection of easy breakfast ideas for more straightforward goodness!
PrintOld Fashioned Creamy Rice Pudding Recipe (Stovetop)

This classic stovetop rice pudding recipe delivers a rich, creamy texture using simple ingredients. It is a comforting dessert perfect for any night.
- Prep Time: 5 min
- Cook Time: 50 min
- Total Time: 55 min
- Yield: 4 servings 1x
- Category: Dessert
- Method: Stovetop
- Cuisine: American
- Diet: Vegetarian
Ingredients
- 1 cup long-grain white rice
- 4 cups whole milk
- 1 cup water
- 1/2 cup granulated sugar
- 1/4 teaspoon salt
- 1 teaspoon vanilla extract
- 1/2 teaspoon ground cinnamon, plus extra for serving
Instructions
- Combine the rice, milk, and water in a large, heavy-bottomed saucepan.
- Bring the mixture to a boil over medium-high heat, stirring frequently to prevent scorching on the bottom.
- Once boiling, reduce the heat to low. You want a gentle simmer.
- Cook uncovered for 40 to 50 minutes, stirring every 5 to 7 minutes. The pudding thickens as the rice absorbs the liquid and releases starch, creating the creamy texture.
- When the pudding is thick and creamy, remove it from the heat. Stir in the sugar, salt, and vanilla extract until fully combined.
- The pudding will thicken more as it cools. If it becomes too thick, stir in a splash of extra milk.
- Serve warm, sprinkled with extra ground cinnamon, or chill completely for a cold dessert.
Notes
- For an even richer flavor, substitute 1/2 cup of the whole milk with heavy cream.
- If you prefer raisins in your pudding, add 1/2 cup of golden raisins when you add the sugar in step 5.
- This recipe uses long-grain rice; Arborio rice will yield a slightly stickier, richer result.
Nutrition
- Serving Size: 1 cup
- Calories: 350
- Sugar: 25
- Sodium: 150
- Fat: 8
- Saturated Fat: 4
- Unsaturated Fat: 4
- Trans Fat: 0
- Carbohydrates: 60
- Fiber: 1
- Protein: 10
- Cholesterol: 25