
Oh, my goodness, you know those moments when the sweet craving hits, but you just *cannot* justify that bowl of regular ice cream because you’re trying to keep your macros in check? I totally get it. After chasing toddlers and balancing life, I brought my Midwest philosophy of simplifying comfort food into the fitness world, and that’s exactly how this recipe was born!
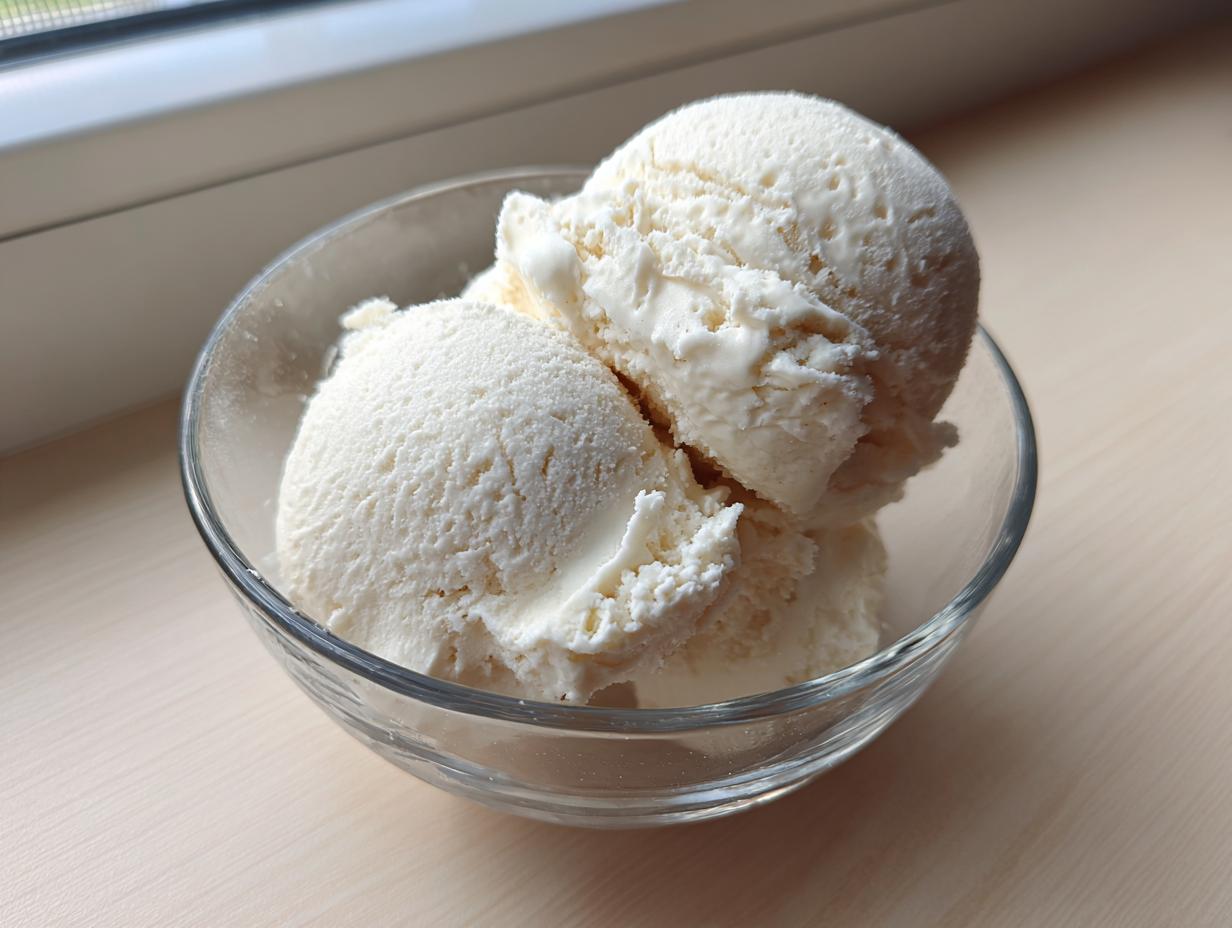
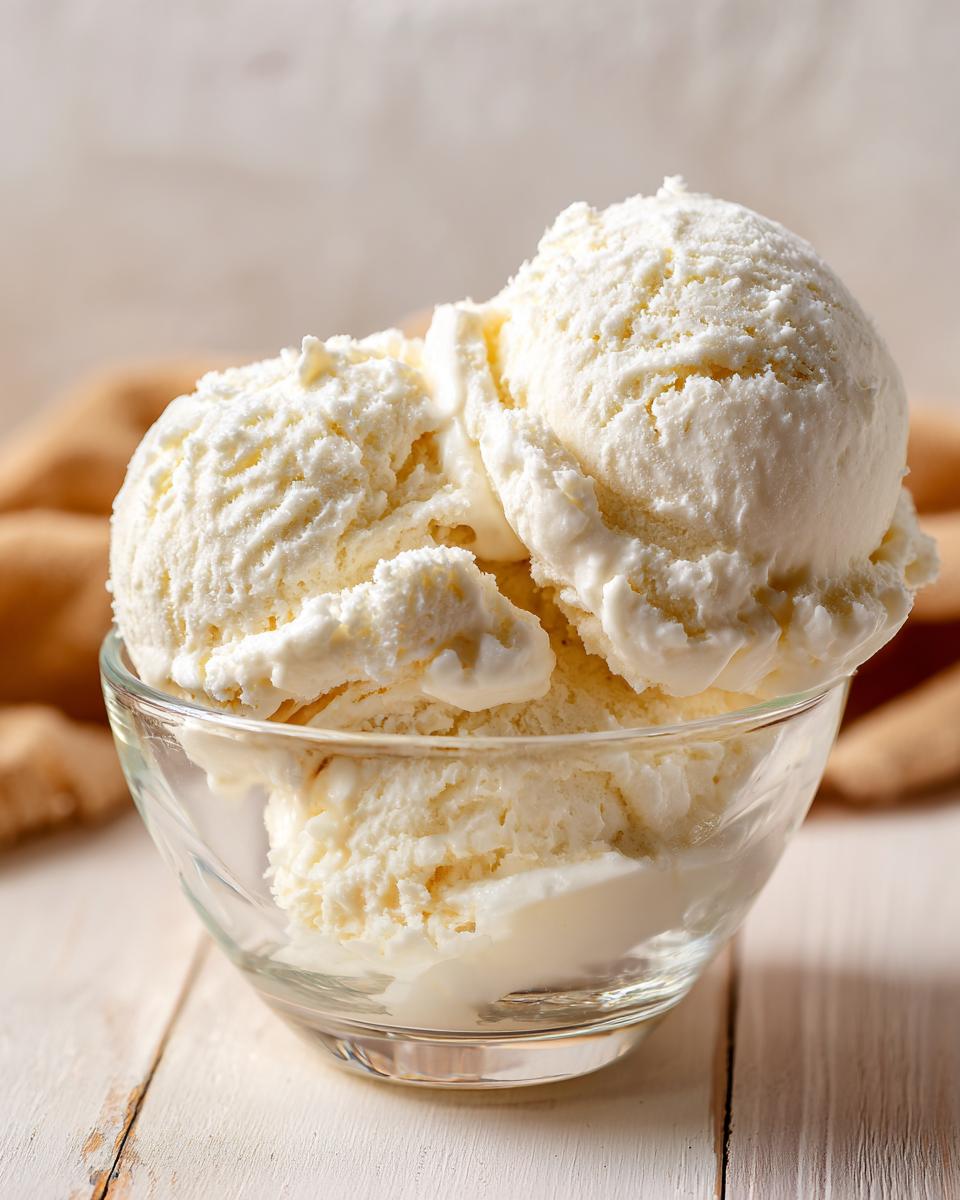
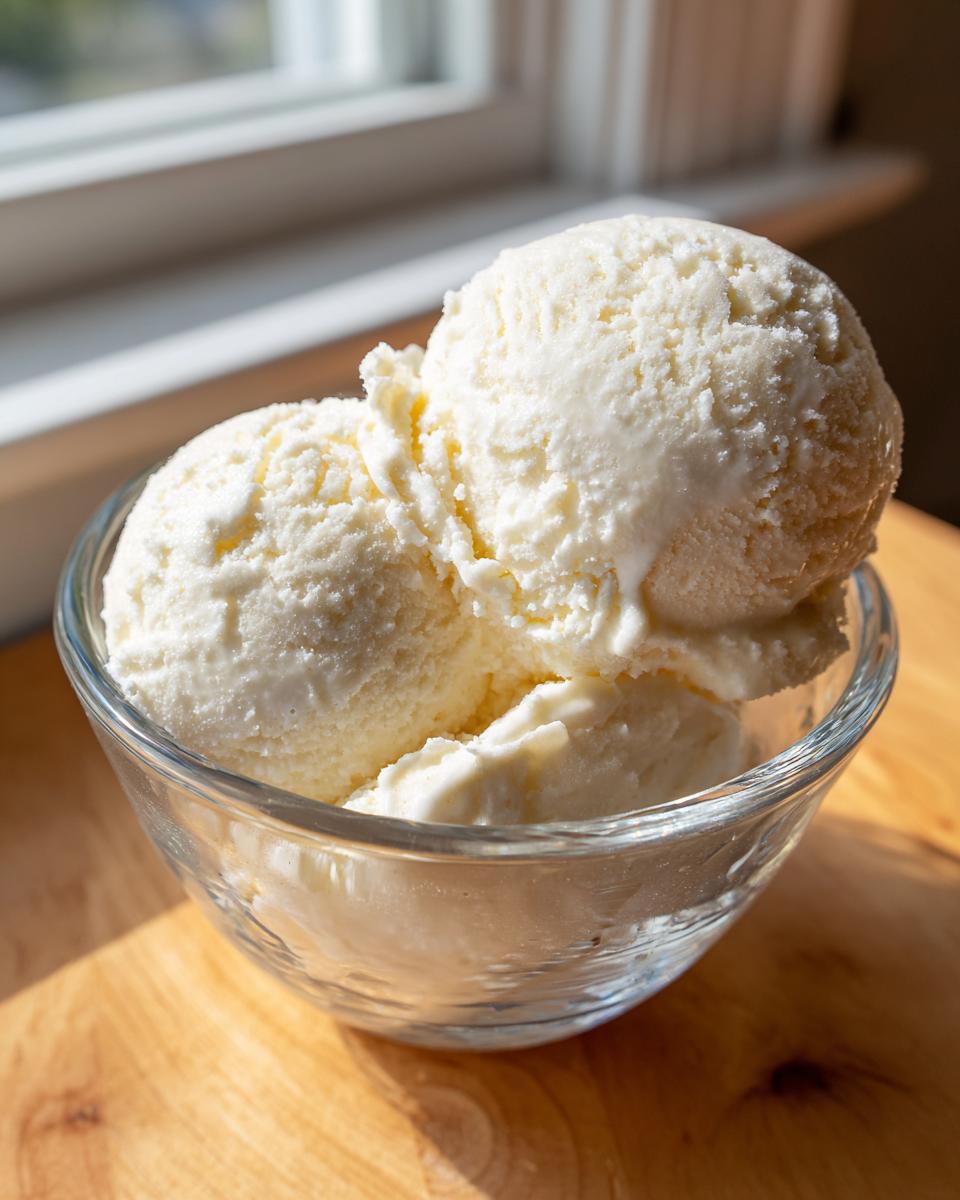
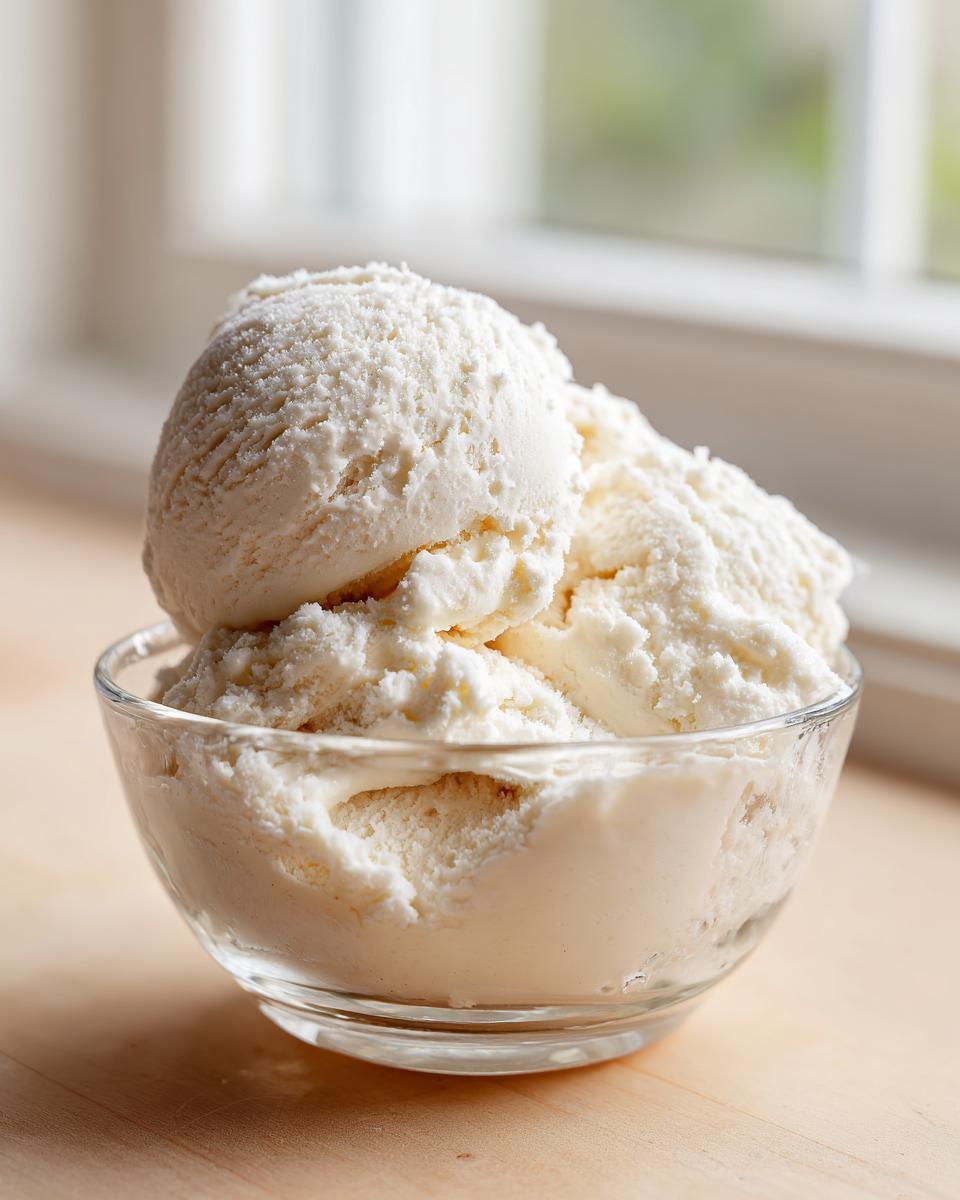
Forget bulky machines and endless stirring; this is my absolute favorite solution for a truly decadent **protein ice cream** that you can make right now. We’re talking unbelievably creamy, high in protein, and so easy it feels like cheating. This is my signature no-churn vanilla base, and trust me, it tastes like something you’d pay ten dollars for!
I developed this because I truly believe that a healthy life includes joy, and joy often comes in a scoop. Ready to make a batch? You can check out my easy protein muffins too if you need another macro-friendly snack to prep for the week! Easy Protein Muffins are a Must-Try!
- Why This No-Churn protein ice cream Recipe Works So Well
- Ingredients for Your Easy Homemade protein ice cream
- Step-by-Step Instructions for Perfect protein ice cream
- Tips for the Best Ever creamy protein dessert
- Flavor Variations for Your protein ice cream Base
- Making protein ice cream with Cottage Cheese Explained
- Storage and Reheating Instructions for protein ice cream
- Frequently Asked Questions About Making protein ice cream
- Estimated Nutritional Breakdown for This protein ice cream
Why This No-Churn protein ice cream Recipe Works So Well
I’ve tried just about every hack out there for making homemade ice cream without the machine, and most of them end up tasting like a sweet, protein-flavored popsicle. No thanks! The reason this batch works so perfectly every single time is that we sneak in a few secret helpers that keep everything smooth and scoopable.
This really is the ultimate healthy frozen dessert. You get that amazing high-protein punch—making it a true macro friendly sweet treat—without sacrificing the decadent mouthfeel everyone wants from ice cream. It’s all about managing moisture and particle suspension, which is what we tackle next!
Achieving Creamy Texture in Your protein ice cream
The secret weapon here is xanthan gum, seriously. It’s a fantastic stabilizer that binds everything just enough so you don’t end up with those annoying ice shards later. If you use cottage cheese—which I love for an extra protein boost—you need to blitz it in the blender first until it disappears completely. That combination gives you the dreamy, scoopable texture you think you can only get from store-bought stuff!
Ingredients for Your Easy Homemade protein ice cream
Okay, let’s talk supplies. You don’t need a fancy setup for this; you just need to gather up these simple things on your counter. The right milk choice makes a huge difference here, which is why I always insist on the higher protein options to keep those macros smiling. Don’t stress too much if you don’t have every single thing, though—I marked one item as optional for those protein emergencies!
This batch makes two satisfying bowls, perfect for me and my partner after dinner, or just meal-prepped serving sizes for a couple of days. If you’ve ever made my cottage cheese chicken salad, you know my love for sneaking in extra protein, and it works wonders here too!
- 1 cup Fairlife fat-free milk (or any high-protein milk you prefer)
- 1 scoop vanilla whey or casein protein powder
- 1/2 teaspoon vanilla extract
- 1/4 teaspoon xanthan gum (Seriously, don’t skip this!)
- 1/4 cup cottage cheese (Totally optional, but it packs in extra protein!)
- Sweetener to taste (I usually reach for erythritol or stevia, depending on what I’m grabbing)
That’s it! See? Easy assembly for what tastes like gourmet **protein ice cream** that fits right into your plan.
Step-by-Step Instructions for Perfect protein ice cream
Making this is honestly so straightforward, it’s almost silly. I like to get this base mixed up right after breakfast, and then I can forget about it until dessert time. The key is just getting everything smooth before it hits the deep freeze! Remember how I mentioned blending the cottage cheese if you use it? That’s step one, and it’s non-negotiable for a smooth result.
If you bypass the cottage cheese, just pour your milk into your mixing bowl or sturdy container first. Next, you’re going to whisk in your protein powder, vanilla, sweetener, and that pinch of magic, the xanthan gum. Whisk it like you mean it until there are no dry pockets lurking at the bottom. You want a totally uniform liquid base before we lock this down for the long haul.
I always find that prepping everything ahead of time makes life so much easier, sort of like how I prep all my sauces and condiments in advance for the holidays. It saves so much stress later!
The Critical Freezing and Softening Process for protein ice cream
Once everything is mixed well in your freezer-safe loaf pan or container, cover that puppy up tight. And I mean *tightly*—press plastic wrap down right onto the surface of the liquid to block out air. Air exposure is what creates those dreaded ice crystals that ruin a good **protein ice cream**! It needs to freeze for a minimum of six hours. Six hours! Don’t cheat this step. When you are ready to serve, pull it out and let it sit on the counter for a good 10 to 15 minutes. This tempering time is essential; it lets it soften perfectly for scooping. If, for some reason, yours comes out a little too hard, you can always give it a quick pulse in your food processor or run it on the ‘Lite Ice Cream’ setting if you have one of those fun machines!

Tips for the Best Ever creamy protein dessert
Now that you know the basic steps, let me share a few insider tricks I learned while perfecting this recipe. Seriously, these small things elevate this from “good diet food” to genuinely indulgent **creamy protein dessert**. First off, if you can swing it, try blending your protein powder using a mix of whey and casein. Casein gels up nicely, which gives you that extra thickness you’re looking for, keeping that ice cream texture stable and rich.
Also, remember I stressed the xanthan gum? That stuff is non-negotiable in no-churn recipes. It’s what stops water molecules from creating big ice structures, keeping everything beautifully smooth. My personal rule before I ever slap the lid on and send it into the freezer is this: I always taste the liquid base first. If you don’t love the raw flavor—is it sweet enough? Does the vanilla come through?—you definitely won’t love the frozen version. Adjust your sweetener or vanilla now! Check out my maple brown sugar cookies; they need a similar taste-test precision!
Flavor Variations for Your protein ice cream Base
Vanilla is amazing, truly the perfect foundation, but I know you’re staring at your tub of chocolate powder wondering if you can swap it out. Absolutely! The beauty of this base is how easily it morphs into your favorite treats. For a rich chocolate flavor, just ditch the vanilla powder and use your favorite chocolate variety. It’s that simple!
If you want to explore the **best high protein ice cream flavors**, try adding a teaspoon of instant espresso powder to the mix before whisking everything smooth. It gives you a fantastic mocha swirl that tastes incredible when frozen. Trust me, you’ll want to try that one soon! Don’t forget, if you are looking for other decadent, yet simple treats, my recipe for whipped hot chocolate is perfect for pairing with this cool dessert.
Making protein ice cream with Cottage Cheese Explained
So, I know cottage cheese might sound a little weird in your ice cream, but hear me out! This is where we really push those macros up, making this an absolute powerhouse of a **post workout protein dessert**. Cottage cheese is just loaded with slow-digesting casein protein, which is fantastic for keeping you full and fueling recovery.
The key takeaway if you decide to add it for that amazing protein boost is blending! Remember in step one? You *have* to use a blender to get that cottage cheese completely incorporated into the milk. If you skip that, you’ll end up with little chunky curds floating around, and that is definitely not the **creamy protein dessert** experience we are aiming for here.
When it’s fully incorporated after blending, it disappears, leaving nothing but smooth texture and extra protein punch. It’s a trick I use all the time, even in savory dishes like my famous lasagna with cottage cheese. Trust me on this one step; it really makes the difference!
Storage and Reheating Instructions for protein ice cream
Since this **protein ice cream** is no-churn, we have to be extra careful about keeping the texture spot-on once it’s done freezing. You want this to be your go-to **make ahead protein dessert**, right? So, storage is everything! Make sure you pop it into a truly airtight container. What I do is press a piece of plastic wrap directly onto the surface, right against the frozen ice cream, before I put the lid on. This blocks out freezer air and stops those nasty ice crystals from forming on top.
Now, about ‘reheating’—we definitely aren’t putting this in the microwave, unless you enjoy hot, sugary liquid! When you’re ready to eat, just pull your container out of the freezer and leave it on the counter. Give it about 10 to 15 minutes to temper. It softens up beautifully and becomes perfectly scoopable again. Patience is key for the best bite!
Frequently Asked Questions About Making protein ice cream
Can I use whey isolate instead of whey or casein blend?
You absolutely can use whey isolate! Isolates tend to absorb liquid a bit differently than casein, though. If you notice the mixture seems too thick from the start, just add an extra tablespoon of milk until you get that pourable consistency. You might lose a tiny bit of that thick, stabilizing texture that casein gives you, but it’s a great option for a **low calorie ice cream**!
I don’t have xanthan gum! What do I do for my sweet treat?
Oof, that little gum is magic for a **creamy protein dessert** without a machine! If you absolutely don’t have it, your next best bet is using the cottage cheese *and* making sure you blend it really well, which will add some natural body. Just know that without the gum, this will likely be icier, so plan on letting it temper on the counter for closer to 20 minutes. For even more ideas on simple meals, check out my easy breakfast ideas!
How much protein is actually in one serving?
That’s the best part! Based on the ingredients here, each serving packs about 30 grams of pure protein. That’s why this is my favorite **post workout protein dessert**—it feels so satisfying, but it’s doing good work for your muscles. It’s a fantastic way to hit those daily targets!
Does this no-churn recipe work if I process it in my Ninja Creami?
Oh, if you have a Creami, you are in luck! While this is designed to be a no-churn recipe, if you freeze the base solid and then run it on the ‘Lite Ice Cream’ setting, you will get an almost unbelievably smooth result. We all know the Creami is trending for a reason! If you want specific guidance on that appliance, you should check out the experts over at Protein Eats and Treats for Creami recipes!
Estimated Nutritional Breakdown for This protein ice cream
I know when you are tracking your food, the nutrition facts matter just as much as the taste. I always run these numbers through my tracker, but please remember that these are *estimates*! Protein powder brands vary wildly, and if you swap out the milk or use a different sweetener, those numbers will shift a bit.
These figures are based on one serving, which is half of the whole recipe batch. It’s a fantastic way to get a big serving of protein without loading up on sugar or fat. If you’re looking for other healthy ways to manage your midday meals, I have tons of ideas in my healthy lunch recipes collection!
Here’s the general idea for what you’re getting per serving:
- Calories: 180
- Protein: 30g
- Fat: 2g
- Carbohydrates: 10g
- Sugar: 4g
For a dessert, 30 grams of protein is just hard to beat, isn’t it? Enjoy every spoonful, knowing you’re fueling your body right!
PrintCreamy No-Churn High-Protein Vanilla Ice Cream

Make this unbelievably creamy, high-protein vanilla ice cream easily without an ice cream maker. This recipe delivers a decadent, macro-friendly frozen dessert perfect as a post-workout treat.
- Prep Time: 5 min
- Cook Time: 0 min
- Total Time: 6 hr 5 min
- Yield: 2 servings 1x
- Category: Dessert
- Method: No-Churn Freezing
- Cuisine: American
- Diet: Low Fat
Ingredients
- 1 cup Fairlife fat-free milk (or other high-protein milk)
- 1 scoop vanilla whey or casein protein powder
- 1/2 teaspoon vanilla extract
- 1/4 teaspoon xanthan gum (for texture)
- 1/4 cup cottage cheese (optional, for extra protein boost)
- Sweetener to taste (e.g., erythritol or stevia)
Instructions
- If using cottage cheese, blend the milk and cottage cheese in a blender until completely smooth. This step is important for a smooth texture.
- Pour the milk mixture into a freezer-safe container or loaf pan.
- Whisk in the protein powder, vanilla extract, xanthan gum, and sweetener until fully combined and no lumps remain.
- Cover the container tightly with plastic wrap, pressing the wrap directly onto the surface of the mixture to prevent ice crystals.
- Freeze for at least 6 hours, or until solid.
- When ready to serve, let the ice cream sit on the counter for 10 to 15 minutes to soften slightly before scooping.
- If the texture is too icy, you can briefly blend it in a food processor or use a Ninja Creami on the ‘Lite Ice Cream’ setting for the best results.
Notes
- Xanthan gum is key for preventing ice crystals in no-churn recipes; do not skip it.
- For a richer flavor, use a blend of whey and casein protein powder.
- If you prefer a chocolate version, substitute vanilla protein powder with chocolate protein powder.
- This recipe yields about 2 servings, each containing approximately 20g of protein.
Nutrition
- Serving Size: 1/2 recipe
- Calories: 180
- Sugar: 4
- Sodium: 150
- Fat: 2
- Saturated Fat: 1
- Unsaturated Fat: 1
- Trans Fat: 0
- Carbohydrates: 10
- Fiber: 1
- Protein: 30
- Cholesterol: 15