
If you’ve ever ordered perfect french fries at a lively restaurant and wondered why their dipping sauce tastes infinitely better than anything you make at home, stop wondering! I’ve got the secret weapon for you, and it’s this incredible, rich garlic aioli. Back in my busy marketing days, making memorable family dinners was key, but I needed speed. This is where I perfected my approach to creating powerful flavor without wasting an afternoon over a stove. Trust me, this easy aioli recipe is the simple shortcut to gourmet taste you’ve been looking for. It truly transforms everything!
- Why This Homemade Garlic Aioli Recipe is Your New Go-To Condiment
- Gathering Ingredients for Your Classic Garlic Aioli
- How to Make Aioli From Scratch: The Step-by-Step Garlic Aioli Instructions
- Tips for Success When Making Your Garlic Aioli
- Serving Suggestions for This Versatile Garlic Dip
- Storing Your Homemade Garlic Aioli Properly
- Frequently Asked Questions About Making Garlic Aioli
- Nutritional Estimates for Garlic Aioli
- Share Your Creamy Garlic Sauce Creations
Why This Homemade Garlic Aioli Recipe is Your New Go-To Condiment
I’m here to tell you why this recipe knocked every store-bought jar out of my fridge the moment I mastered it. It’s all about flavor payoff versus effort spent. This isn’t some complicated gourmet project; it’s pure utility that tastes expensive. Think of it as your new culinary superpower!
- It delivers that unmistakable restaurant style aioli flavor that takes simple things like canned tuna or weeknight potatoes up ten notches.
- You get a gorgeously thick, creamy garlic sauce without any fuss or weird stabilizers, unlike the stuff from the store.
- It’s so much more satisfying knowing you made it yourself! If you loved my simple homemade tartar sauce, you’ll appreciate this technique.
Speed and Simplicity: Making Garlic Aioli in Minutes
When I say this is fast, I mean it. The active whisking time is under 10 minutes, honest! If you’re ready to whisk, you’re ready to eat. The secret to keeping it quick is having your few ingredients lined up, because you can’t really walk away once you start whipping that oil in. It’s truly an easy aioli recipe.
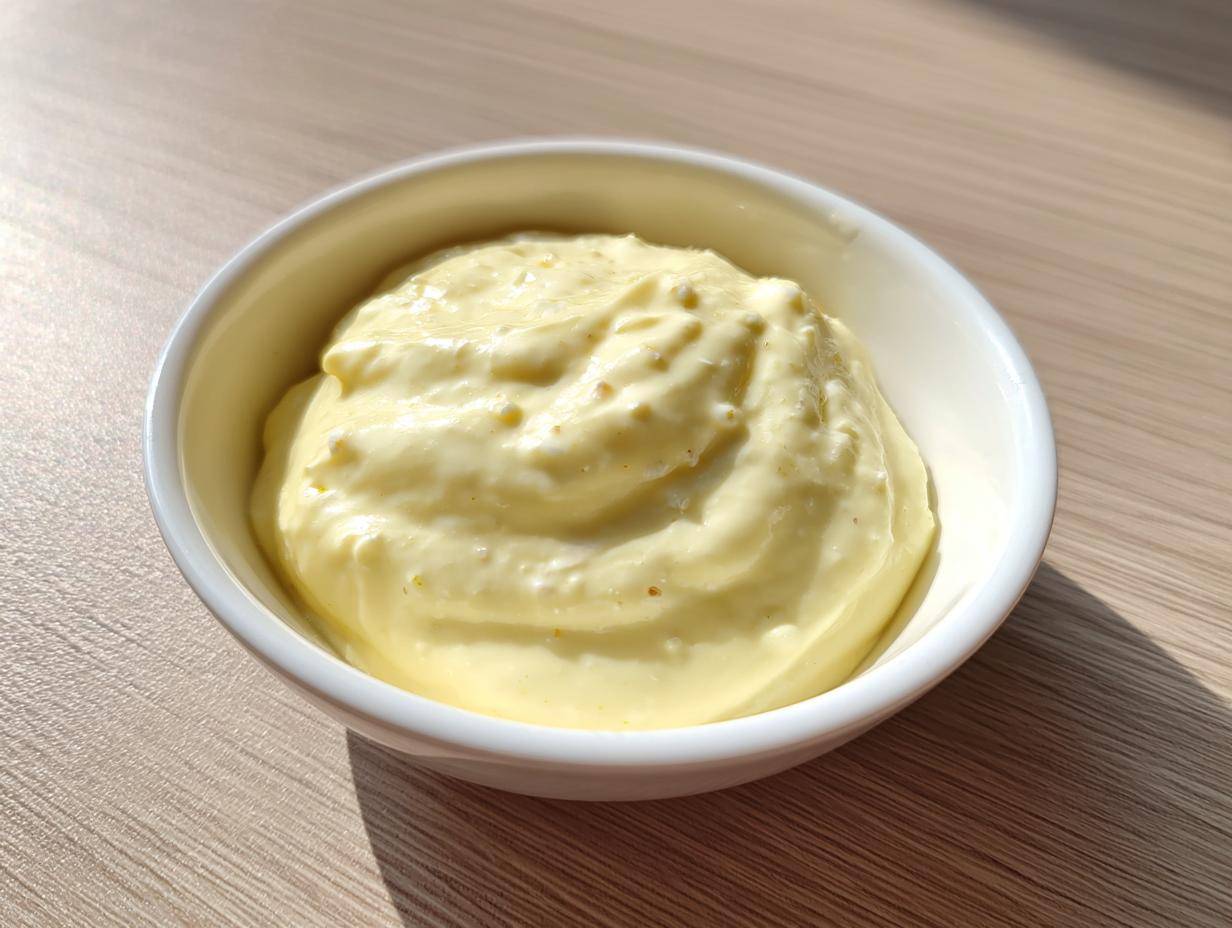
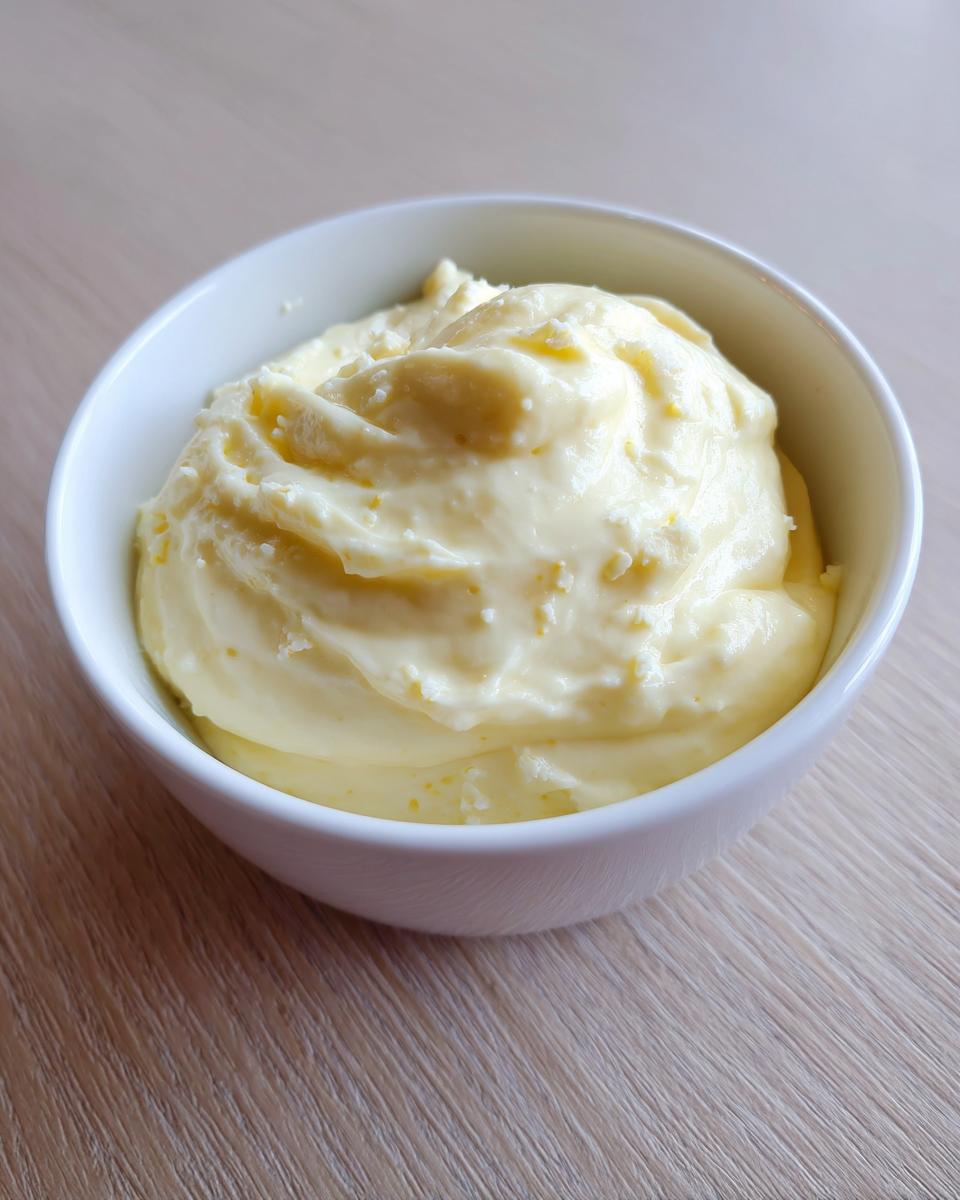
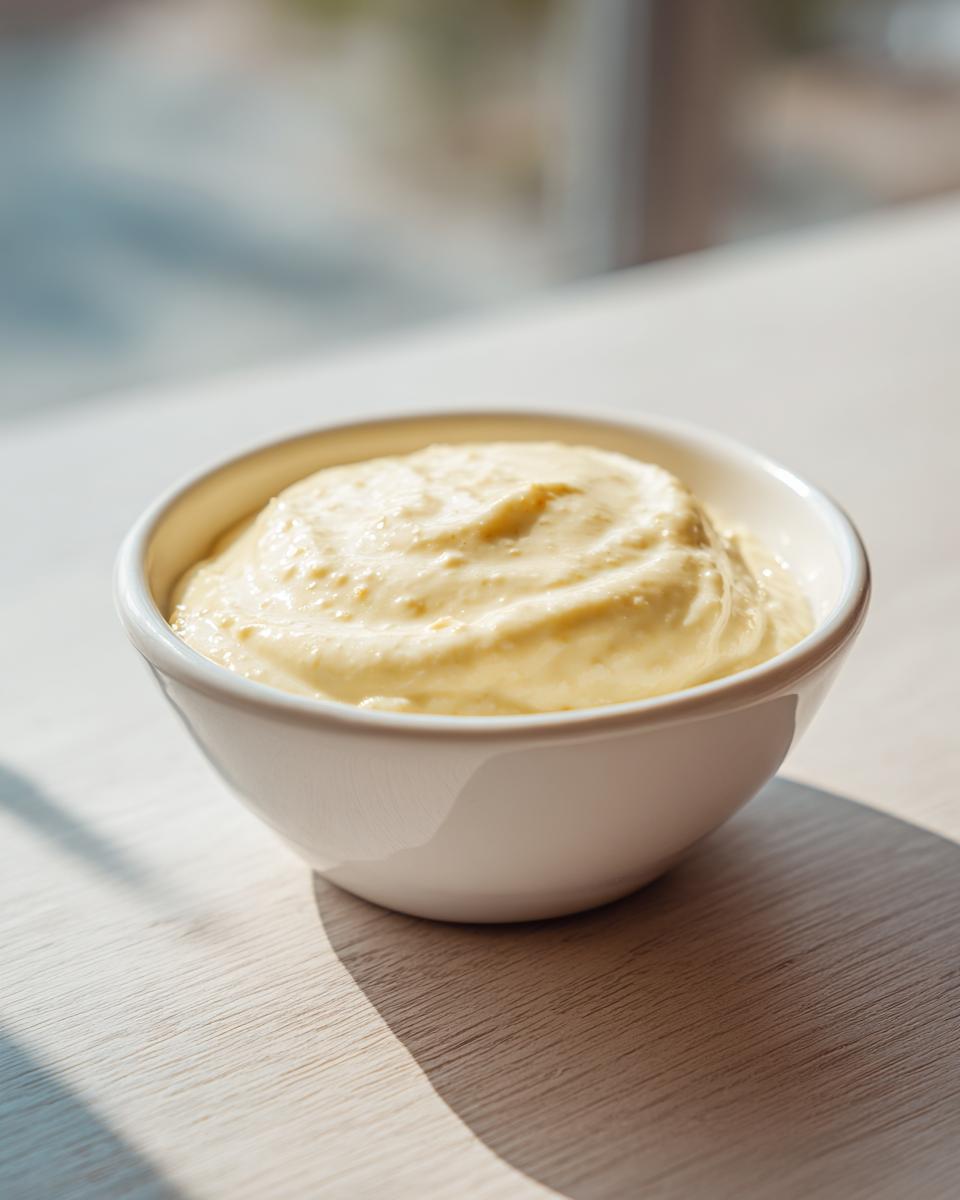
Achieving That Perfect Creamy Garlic Sauce Texture
The texture is everything when it comes to a great dunking sauce. We are aiming for thick, silky, and stable. If you use a cold egg yolk straight from the fridge, things can get messy fast. Make sure that yolk is at room temperature; it helps everything bind together beautifully, leading to a gorgeous, stable garlic aioli that holds its shape perfectly on a heap of fries.
Gathering Ingredients for Your Classic Garlic Aioli
Okay, let’s talk about what you need. Making this from scratch means we only use ingredients that actually make a difference, which is why I stick to this exact short list. Don’t try to substitute the mustard or the lemon juice; they are the stabilizers that keep this from turning back into an oily mess!
First things first, that egg yolk! Please, please, please—let it sit on the counter for about 30 minutes before you start. Cold ingredients fight each other, and we want teamwork here. Room temperature egg yolk is the secret handshake for a successful emulsion.
Ingredient List for the Best Garlic Aioli
When you gather these items, double-check that you’ve minced your garlic super fine—we don’t want big chunks when we’re aiming for that lovely, smooth taste. We use two kinds of oil too, which is important! We use a neutral oil, like canola or grapeseed, for the bulk because it lets the garlic shine without adding a heavy flavor early on. Then, we finish with a touch of extra virgin olive oil just for that lovely, fruity aroma.
You will need: one large egg yolk, make sure it’s at room temperature; a couple of cloves of fresh garlic that you mince really, really fine; Dijon mustard; fresh lemon juice; salt; about half a cup of a neutral oil; and finally, two tablespoons of nice extra virgin olive oil to bring it home.
How to Make Aioli From Scratch: The Step-by-Step Garlic Aioli Instructions
Okay, this is where the magic happens! If you follow these steps carefully, you’ll have a perfect garlic aioli every single time. Remember, patience is key, especially when we start adding that oil. Don’t rush the whisking; it’s worth every second of effort! It really is one of my simplest recipes, but attention to detail means you get a wonderful sauce, not a broken mess. For more ideas, you can check out my cranberry sauce recipe—patience is just as important there!
Creating the Flavor Base for Your Garlic Aioli
First, in your bowl, toss in that room-temperature egg yolk, that finely minced garlic we talked about, the Dijon mustard, your squeeze of lemon juice, and the salt. Now, grab your whisk and beat this mixture like you mean it! You are looking for it to lighten up in color—pale yellow—and get a little bit bubbly and airy. This initial mix needs to be super consistent before we introduce the fat.
The Critical Emulsification Process for Creamy Garlic Sauce
This is the make-or-break moment. You simply cannot dump the oil in! Start with the neutral oil, adding it literally one drop at a time while whisking frantically. I mean it—drop by drop for the first third of the oil. Once the mixture looks creamy and thick—it should resist the whisk a little—then you can move to a very thin, slow drizzle. If you pour too fast, the whole thing breaks. If that happens, don’t panic; you can fix it, just like the folks at this site suggest!
Finishing and Chilling Your Homemade Garlic Aioli
Once all that neutral oil is smoothly incorporated, slowly whisk in your two tablespoons of richer extra virgin olive oil. Give it a final taste. Does it need more salt? More zing from the lemon? Then, cover it up. You absolutely must chill this homemade garlic aioli for at least 30 minutes before you serve it. Trust me, resting the flavors is what gets you that incredible depth and a truly restaurant-quality sauce.
Tips for Success When Making Your Garlic Aioli
Even when I follow my own recipe to the letter, sometimes an emulsion just decides it doesn’t want to cooperate. That’s okay! Making a beautiful garlic aioli is about knowing how to bring it back from the brink. I usually never have trouble if I stick to the recipe cards, but if you run into that dreaded “broken” sauce, don’t throw it out! That happened to me last Thanksgiving when the kitchen got too warm.
My mom always taught me that if the sauce splits—the beautiful creamy structure separates into oil and a chunky mess—it’s not ruined. It just needed a little encouragement to come back together. I keep this little trick up my sleeve for those slightly stressful holiday cooking moments. You can find more easy foundational tips, like managing garlic butter, on my site!
Troubleshooting Broken Garlic Aioli
If your beautiful sauce separates, here’s the fix that works every time. Grab a completely clean, small bowl and put just one teaspoon of warm water—not hot, just warm—into it. Now, take all that broken, separated garlic mixture you have and start whisking it into that warm water, drop by agonizing drop. It feels slow, but that little bit of water kickstarts the entire emulsification process all over again. Keep whisking gently, and you’ll watch it smooth out back into that thick, glorious sauce you aimed for. It’s like magic!
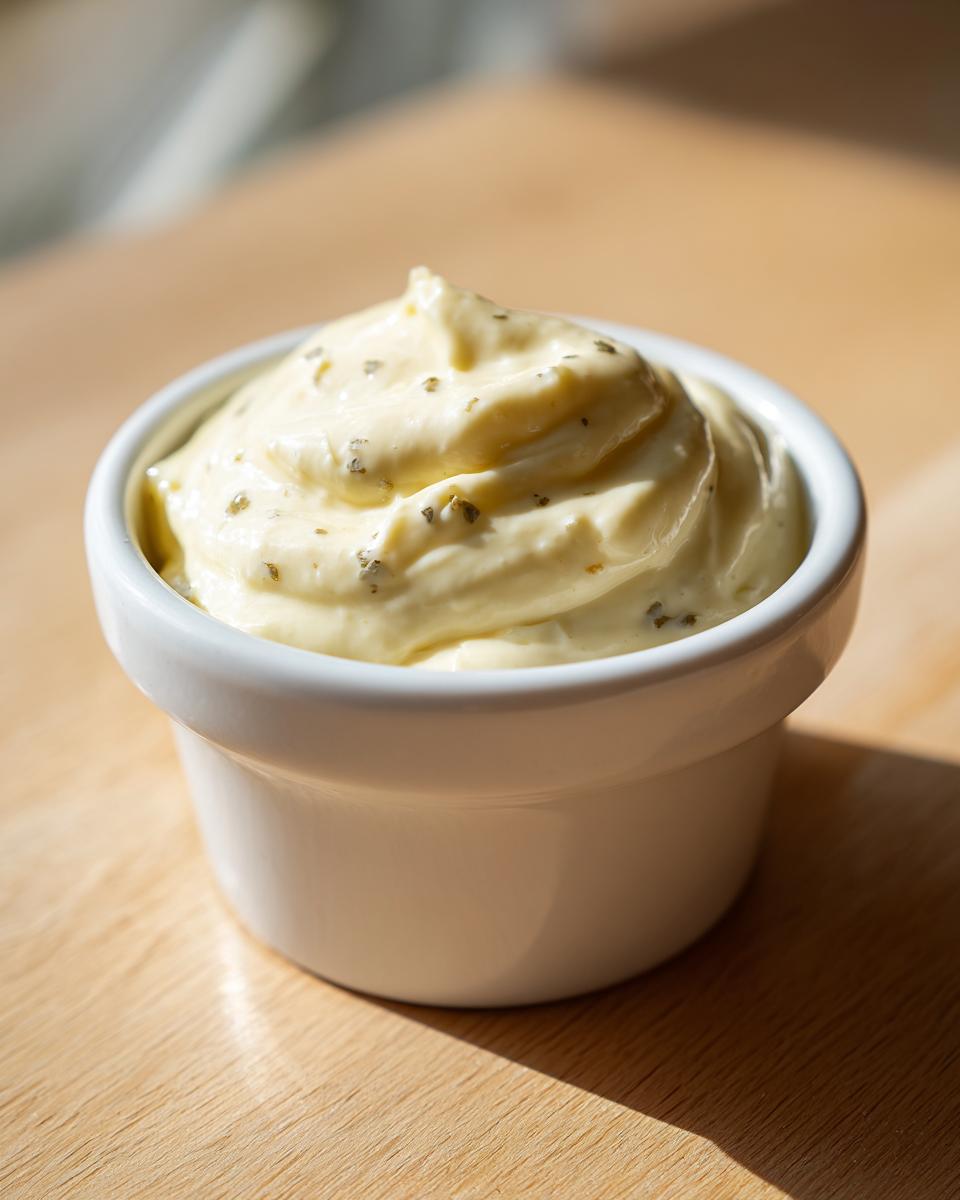
Creating a Roasted Garlic Aioli Variation
Because garlic is the star in this sauce, we have to talk about roasting it. If you really want that deep, sweet, mellow flavor that takes your garlic aioli from great to “where did you buy this,” you need roasted garlic. It’s incredibly simple! Just take a whole head of garlic, slice the top off so the cloves are exposed, drizzle it with olive oil, wrap it in foil, and pop it in the oven until it’s super soft and golden brown—usually about 40 minutes at 400 degrees.
When it’s cool enough to handle, squeeze those soft cloves right out into your bowl before you even start Step 1 of the recipe. Mash them up a bit first, then add them with the egg yolk and other flavorings. Seriously, this changes the game, especially if you use it on steak or seafood! You can see a similar flavor transformation idea over at this Pinterest link for reference!
Serving Suggestions for This Versatile Garlic Dip
Now that you have this incredibly creamy, flavorful dipping sauce, what do you do with it? Honestly, the list is endless, but let’s start with the absolute must-haves. This sauce is truly a jack-of-all-trades in the condiment world. I often make a huge batch just because I know it won’t last long once the family discovers it!
For me, the classic texture of this sauce meant it was born to be paired with something crunchy. It’s the absolute perfect aioli for fries—whether you’re making skinny shoestring fries or big, chunky steak fries. Just squeeze a bit of fresh lemon over the fries before dipping, and you’ve got appetizer heaven!
But don’t stop at potatoes! This is the upgrade your sandwiches have been begging for. Swap out boring mayo for this sauce when you build your next burger. It cuts through the richness of the meat beautifully, turning a standard weeknight burger into something worthy of a gourmet bacon cheeseburger night. It also acts as a phenomenal aioli for burgers, providing that savory, garlicky kick.
Think beyond bread and potatoes, too. I love swiping this on top of perfectly grilled shrimp or using it as a dip for roasted asparagus. If we’re feeling extra indulgent, it’s fantastic alongside some homemade fried pickles. Seriously, once you see how easy this is to make, you’ll find a thousand uses for this versatile garlic dip!
Storing Your Homemade Garlic Aioli Properly
After all that whisking and waiting for the flavors to mingle, you’ve finally got the best garlic aioli you’ve ever tasted. Now, the really important part: how do you keep this magic sauce safe and delicious? Since we are making this from scratch with fresh egg yolk, food safety is key here. I’m not big on storing things for ages; part of the joy of this recipe is how quickly you can whip up a fresh batch!
But if you do have leftovers—maybe you only made a half batch since you’re just trying it out—you need to treat it right. Keep it covered in a sealed container, tuck it away in the coldest part of your refrigerator. Because of the raw egg yolk, the shelf life is shorter than commercial spreads, which is totally expected.
You can safely keep this homemade sauce for about one week. Honestly, mine rarely survives past Day Three because my family destroys it on roast lamb or fries, but knowing it holds up for seven days gives me peace of mind. Always make sure to use a clean spoon for dipping, too—we don’t want to introduce any bacteria back into that lovely container!
Frequently Asked Questions About Making Garlic Aioli
I always get questions when people first try making this sauce because it seems too good to be true! Since this recipe relies on that classic emulsion technique, folks have logical worries. I want to clear up any confusion so you feel completely confident making your own garlic aioli!
Can I make garlic aioli without raw egg yolk?
Oh, absolutely! If you’re nervous about the raw egg yolk, or if you just need a sauce faster than 10 minutes, you can totally cheat! A lot of people make a mayonnaise-based aioli, and it works beautifully as a shortcut. You skip the scary emulsification step entirely. Just mix great quality mayonnaise with your minced garlic, lemon juice, and salt. It’s faster, sure, but I’ll tell you, it doesn’t have the same light, rich body as the pure egg yolk aioli recipe I shared here. My version is definitely more authentic, but the mayo swap is a fantastic backup plan!
How do I make a lemon garlic aioli version?
This one is super easy to customize! The lemon in my base mixture is mostly there to help keep the emulsion stable, but you can enhance that bright, zesty flavor instantly. If you want a real punch of citrus—what you might call a lemon garlic aioli—just add a little bit of fresh lemon zest along with your minced garlic in the very first step. A little bit of zest goes a long way to brighten up the whole sauce. Try tasting it as you add it, though, because those oils are potent!
Is this quick condiment recipe better than store-bought?
Is the sky blue? Yes! A million times, yes! When you make this at home, you control the garlic level, the quality of the oil, and, most importantly, the freshness. Store-bought jars have stabilizers and flavor enhancers that just can’t compete with the sharp, vibrant taste of fresh garlic emulsified right before your eyes. If you are looking for the best quick condiment recipe to upgrade your weeknight meals, this homemade sauce is the gold standard. It really showcases how simple, fresh ingredients beat industrial processing every time. You can find more ideas on quick flavor boosts over at this site.
If you’re thinking about trying a batch, make sure you keep my link handy for my cranberry sauce guide too—it’s another example of taking a store-bought standard and making it infinitely better at home!
Nutritional Estimates for Garlic Aioli
Now, I’m Mia, and I focus on flavor and connection, not counting every tiny calorie! But because you asked, and because it’s only fair to know what you’re working with when you make something this delicious, I pulled together some general nutritional estimates based on the ingredients listed in the recipe. Remember, this is just a guideline based on 1 tablespoon servings!
Since this is essentially a homemade oil-and-egg emulsion, you can expect it to be rich, but wow, the flavor payoff is huge. If you’re comparing this to jars filled with fillers and weird ingredients, knowing what’s in your garlic aioli is empowering. These numbers reflect the ingredients listed for one serving size of about one tablespoon.
- Serving Size: 1 tablespoon
- Calories: Around 110 calories
- Fat: 12 grams (mostly healthy unsaturated fats from the oils!)
- Carbohydrates & Sugar: Zero! It’s naturally low-carb.
- Protein: Less than 1 gram
- Cholesterol: Around 30mg (from the yolk)
Keep in mind that since this is a homemade sauce, the fat content is high because oil *is* the base of aioli. But that’s what makes it so wonderfully rich and perfect for dipping your fried snacks! If you want a lighter option, remember the mayonnaise substitution I mentioned earlier, though it definitely changes the texture of that classic sauce experience.
Share Your Creamy Garlic Sauce Creations
Making this incredible garlic aioli really did connect me back to my childhood kitchen, and I hope creating this batch brought a little warmth and joy to your home, too. Cooking should always be about connection, right? It’s that simple step of making something flavorful from scratch that says, “I made this for you.” I really hope you enjoyed getting that restaurant-quality sauce on your own table!
I would absolutely love to hear how you used this sauce! Did you try it on burgers? Did it become your new favorite dip for sweet potato fries? Or maybe you used it in a completely unexpected way? Head over to my About Page to share your thoughts! If you made a batch, please leave a rating on the recipe card above—it helps other busy home cooks find the path to simple, delicious food.
Every time you take the time to whisk up this lovely creamy garlic sauce instead of grabbing the jar, you’re continuing that tradition of making something special. Whether you call it a dip, a spread, or a phenomenal savory homemade sauce, I hope it brings your family together around the table. Happy cooking, friends, and don’t forget to check out more of my shortcut flavor boosters, like this amazing dip mentioned over at this external site!
Print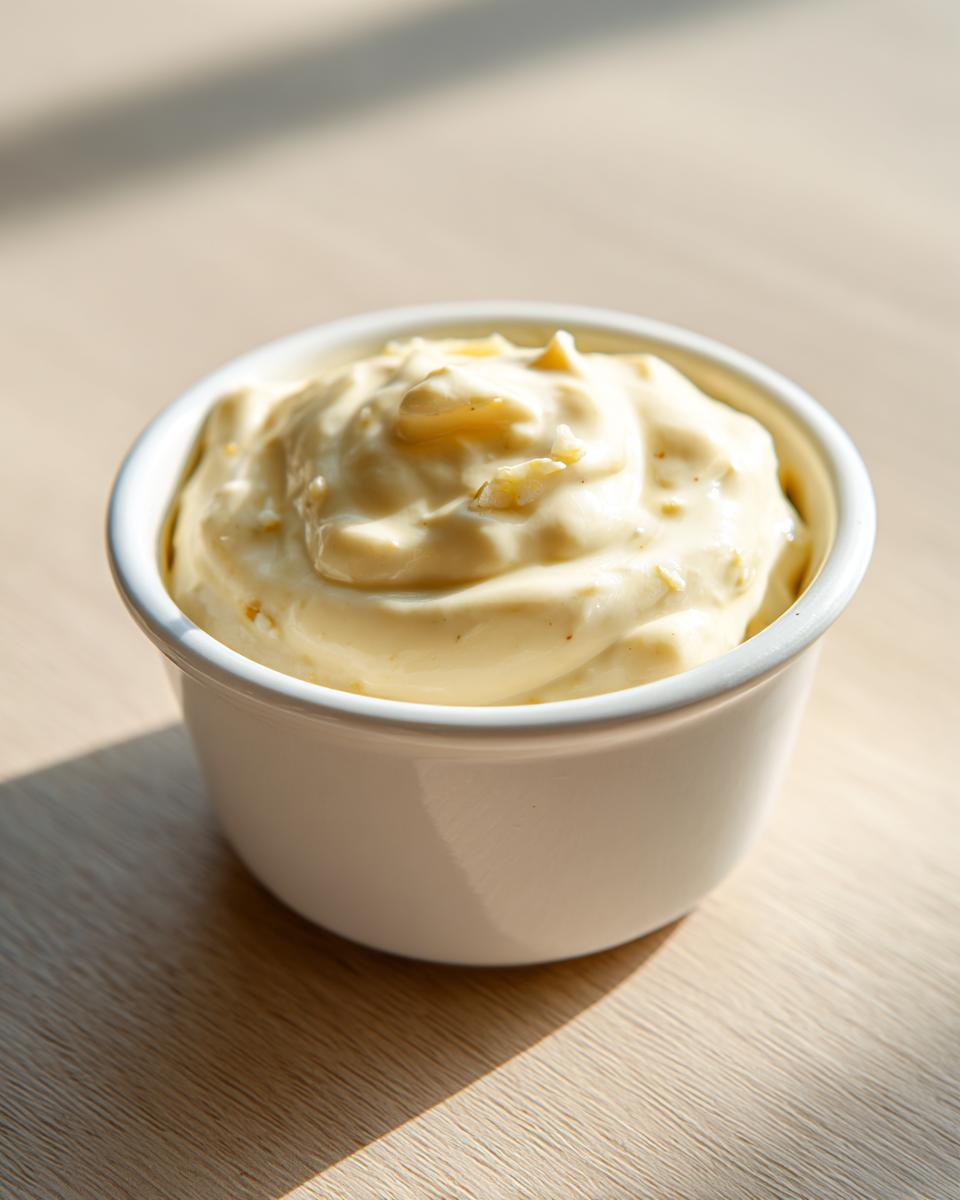
Easy Homemade Garlic Aioli Sauce for Fries and Burgers
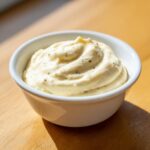
Make restaurant-style creamy garlic aioli at home in minutes. This simple recipe uses basic ingredients to create a versatile, flavorful garlic spread perfect for dipping fries, topping burgers, or serving with seafood.
- Prep Time: 10 min
- Cook Time: 0 min
- Total Time: 10 min
- Yield: About 3/4 cup 1x
- Category: Condiment
- Method: Whisking/Emulsifying
- Cuisine: Mediterranean Inspired
- Diet: Low Fat
Ingredients
- 1 large egg yolk, room temperature
- 2 cloves fresh garlic, minced very fine
- 1 teaspoon Dijon mustard
- 1 teaspoon fresh lemon juice
- 1/4 teaspoon salt
- 1/2 cup neutral oil (like canola or grapeseed)
- 2 tablespoons extra virgin olive oil
Instructions
- Place the egg yolk, minced garlic, Dijon mustard, lemon juice, and salt into a medium bowl. Whisk these ingredients together until they are well combined and slightly pale.
- Begin adding the neutral oil, one drop at a time, while whisking constantly and vigorously. This slow addition is critical for emulsification.
- Once about one-quarter of the neutral oil is incorporated and the mixture begins to thicken, you can increase the oil stream to a very thin, steady drizzle, continuing to whisk without stopping.
- When all the neutral oil is incorporated, whisk in the extra virgin olive oil slowly until fully combined. The aioli should be thick and creamy.
- Taste the garlic aioli and adjust salt or lemon juice as needed.
- Cover the bowl and chill the aioli in the refrigerator for at least 30 minutes before serving to allow the flavors to meld.
Notes
- For a roasted garlic aioli flavor, roast 1 head of garlic until soft, squeeze out the cloves, and mash them before adding them with the egg yolk in Step 1.
- If your aioli separates (breaks), place one teaspoon of warm water in a clean bowl and slowly whisk the broken mixture into the water, drop by drop, until it re-emulsifies.
- This homemade garlic aioli keeps well in an airtight container in the refrigerator for up to one week.
Nutrition
- Serving Size: 1 tablespoon
- Calories: 110
- Sugar: 0
- Sodium: 55
- Fat: 12
- Saturated Fat: 1.5
- Unsaturated Fat: 10.5
- Trans Fat: 0
- Carbohydrates: 0
- Fiber: 0
- Protein: 0.5
- Cholesterol: 30