
Oh, that sunshiney taste of summer fruit! I swear, nothing beats a spoonful of bright, ripe berries plucked straight from the vine. But since the growing season moves so fast, we need ways to tuck that perfect flavor away for later, right? That’s where my absolute favorite method comes in: making **freezer jam**! Forget the messy, all-day process of traditional water bath canning—this is pure Mia’s Meals magic. We’re talking about capturing that fresh fruit essence in about 30 minutes, no cooking involved. This simple, dependable recipe is designed for busy kitchens just like yours, proving you don’t have to spend hours cooking to connect your family over something delicious.
- Why This Strawberry Freezer Jam is the Best Beginner Canning Alternative
- Gathering Ingredients for Your Strawberry Freezer Jam
- How to Prepare Your Strawberry Freezer Jam: A No Cook Jam Recipe
- Tips for Success When Making Freezer Jam
- Storage and Enjoying Your Homemade Jam
- Variations on This Simple Jam Recipe
- Frequently Asked Questions About Freezer Jam
- Serving Suggestions for Your Fresh Fruit Jam
- Sharing Your Kitchen Preserving Results
Why This Strawberry Freezer Jam is the Best Beginner Canning Alternative
If you’ve been nervous about diving into preserving because the idea of boiling jars sounds way too complicated (and frankly, kind of scary!), then you’ve found your gateway recipe. This strawberry **freezer jam** changes everything! Because we aren’t running a water bath, we skip the intense heat that can dull the fresh fruit flavor. Trust me, I love a good batch of classic preserves, and I always have my eye out for great easy homemade cranberry sauce recipe ideas for the holidays, but sometimes you just want that bright, vibrant taste of summer without the fuss. This method is foolproof, fast, and lets you keep **small batch jam** quantities, which is just perfect for testing out new favorite fruits.
We keep things super simple here, focusing on getting the amazing flavor of **quick fruit preserves** without stressing over sterile equipment or long cooking times. It’s my reliable little secret for busy weekends when I still crave those homemade goodies. If you want to see how other folks are enjoying their fruits all year, you can check out some fantastic inspiration in this roundup of 12 Tasty Freezer Jam Recipes.
Key Benefits of Making Freezer Jam Recipes
- It keeps the fruit flavor so unbelievably bright—it tastes like fresh strawberries! Way better than heavily cooked jam.
- It’s a true **beginner canning alternative** because there is absolutely no water bath processing required. You just mix and chill!
- This **easy homemade jam** sets up really quickly; you’re only waiting about four hours before it’s ready to move into the freezer.
- It’s fantastic for making a **small batch jam** if you only have a few pounds of berries kicking around!
Gathering Ingredients for Your Strawberry Freezer Jam
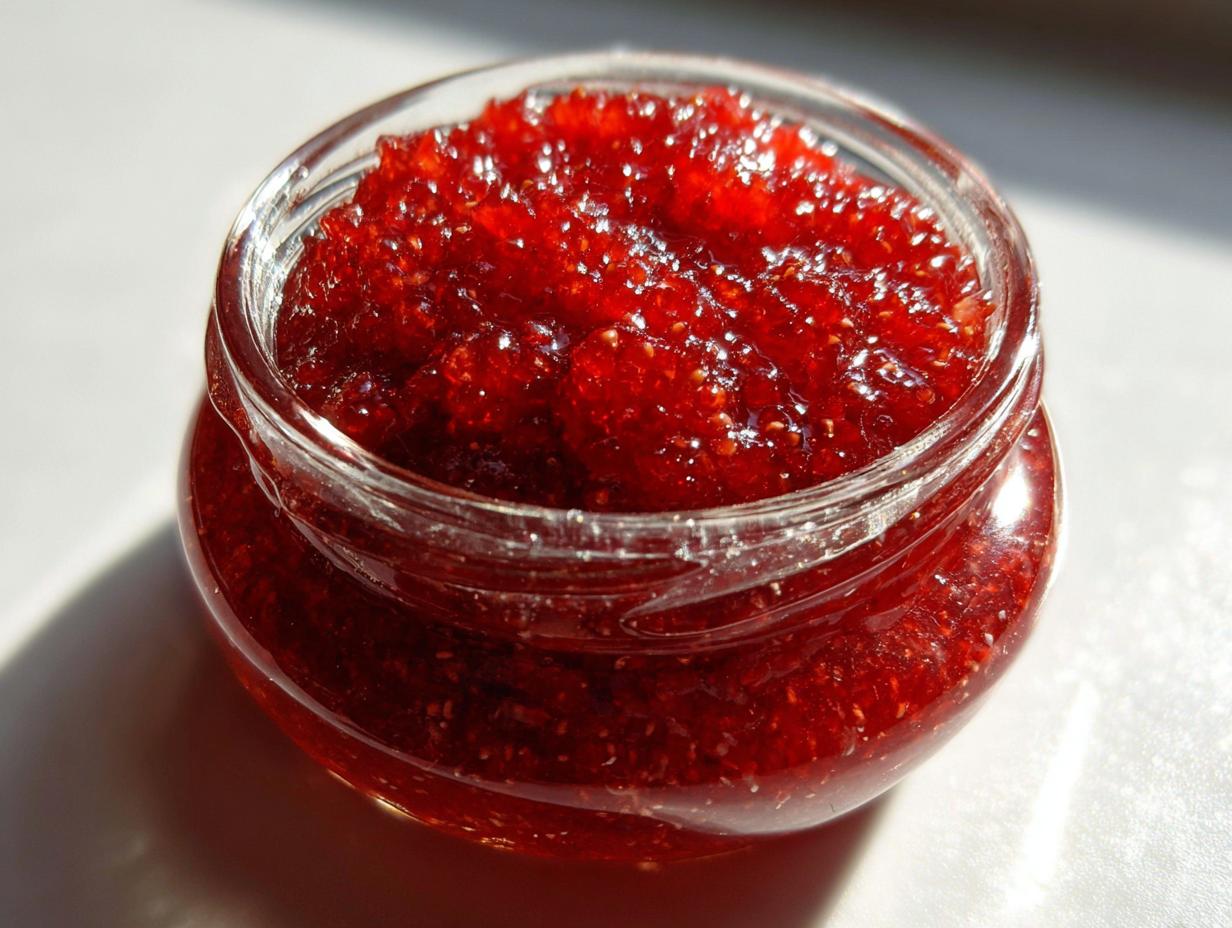
Okay, before we mix anything, let’s talk ingredients. Because this is a **no-boil jam method**, the quality of what you put in really shines through, so shop for the best berries you can find! This recipe makes about five of those cute little half-pint jars—perfect for a **small batch jam**.
A key helper here is the powdered fruit pectin; you need a standard 1.75 oz package. Don’t skip that, or your jam won’t set up right! We use 7 cups of regular granulated sugar, and since we’re crushing four cups of strawberries by hand, you’ll need a big bowl to work in. Oh, and one tiny optional trick? I sometimes add just 1/2 teaspoon of butter right at the end to keep the top from getting too foamy.
Ingredient Notes and Substitutions for Freezer Jam
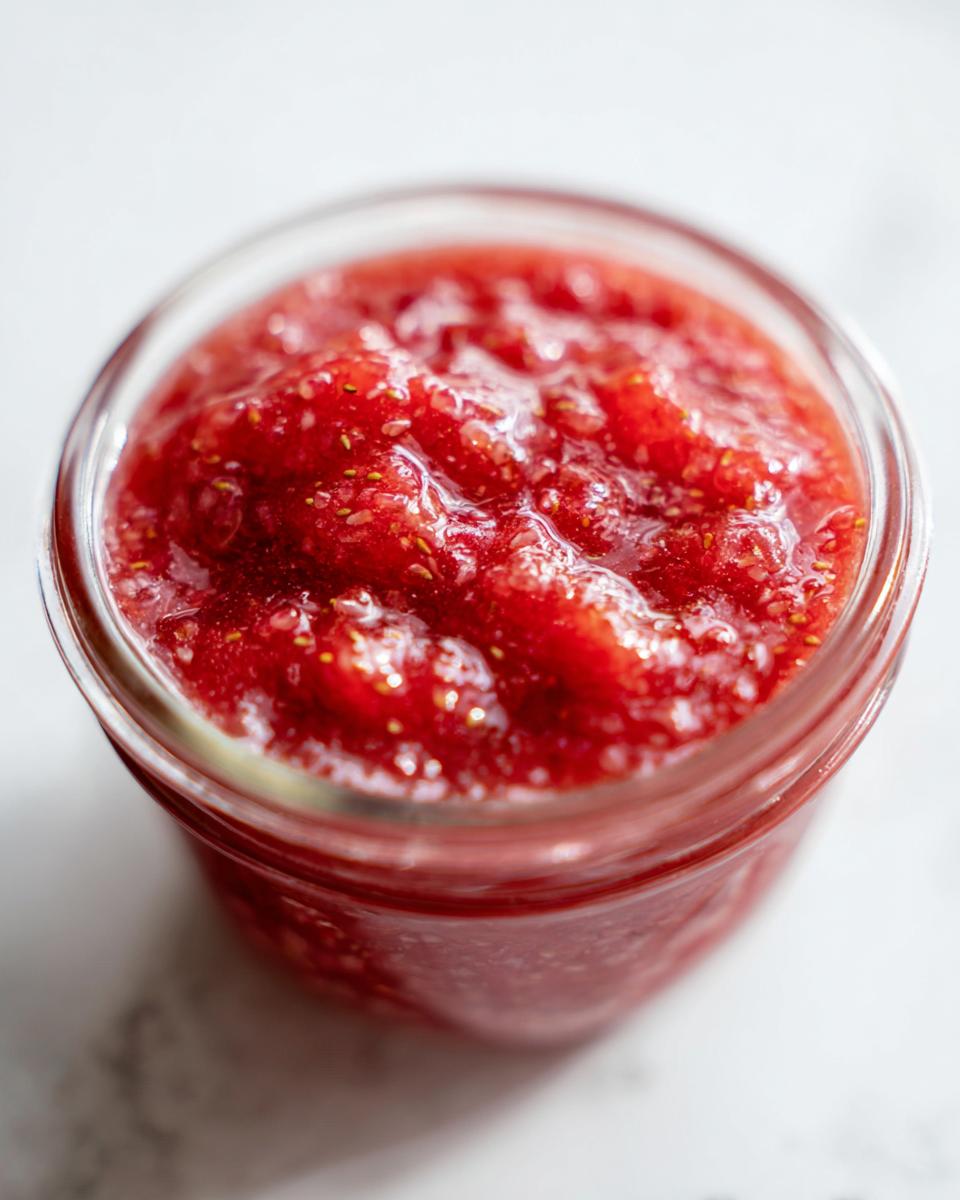
When it comes to your strawberries, please use the freshest, reddest ones you can get your hands on. That’s where 90% of the flavor in this **freezer jam** comes from! We need them crushed—think more chunky applesauce texture than smooth puree. Remember, we aren’t cooking them down, so that texture stays put.
Now, about the sugar: While this recipe calls for standard granulated sugar, I know many of you look for **low sugar jam** options. If that’s you, grab your pectin package! They always have specific instructions printed right on the box for reducing the sugar and using alternatives like low-sugar sweeteners. Just follow their directions exactly if you go that route, okay?
How to Prepare Your Strawberry Freezer Jam: A No Cook Jam Recipe
This is where the magic truly happens! If you’re following along, you already have your beautiful, crushed strawberries waiting patiently. Remember, since we are using the **no-boil jam method**, we skip the stovetop entirely, which keeps all that sunshiney flavor locked in. It’s so satisfying to watch this mixture thicken up just by mixing! We’ll be using a little bit of science here with the pectin, but don’t worry, it’s super simple. The whole active time is just minutes, and then we wait for the jars to set up perfectly.
We rely on the natural action of the fruit juices, sugar, and the pectin packet to create that thick consistency we all love in our **freezer jam recipes**. This **simple jam recipe** is an absolute staple for me during the summer glut of strawberries. I follow these steps exactly every time—you can see the full process laid out in detail at making an easy puff pastry apple strudel recipe if you want extra visual reassurance, or check out this great guide for the jam!
Crushing Fruit and Activating Pectin
First, make sure those berries are mashed well—a potato masher works great if you like a chunkier texture. Now, here is a crucial step for building trust in your set: never dump your powdered pectin directly into the fruit puree! Always mix the pectin packet first into about one cup of your granulated sugar. This keeps it from clumping into weird, unmixed pockets that won’t activate later on. Stir that pectin-sugar blend into the smashed fruit until it’s really combined.
Setting and Storing Your Quick Fruit Preserves
Next up, add the rest of your sugar and stir until you can’t see any graininess anymore; this takes a couple of minutes! Now, we let it rest on the counter for 30 minutes. This resting time is non-negotiable—it lets the pectin wake up and start thickening slightly. Once that’s done, pour your **quick fruit preserves** into your clean, freezer-safe containers, making sure to leave about half an inch of space at the top. That headspace is important! Then, let them sit on the counter for another 30 minutes just to ensure a good first set before they travel to the fridge for 3 to 4 hours. Finally, pop them in the freezer!
Tips for Success When Making Freezer Jam
I’ve failed at jam before—runny jam is the saddest thing! But when you follow the science behind this **freezer jam**, you’ll never have that problem again. These little **kitchen preserving tips** are what move your jam from ‘maybe it will set’ to ‘perfectly spreadable every time.’ My biggest piece of advice? Don’t try to rush the resting period after you mix everything.
Remember, you are using powdered pectin, which needs time to absorb the liquid and start thickening *before* it hits the cold air of the fridge or freezer. Also, be very rigorous about using the right containers. You absolutely need **freezer jam** containers or heavy-duty, freezer-safe small jars. Thin jars can crack when the jam freezes and expands. If you’re looking for something soft and wonderful to spread this jam on later, you absolutely have to check out my recipe for those soft, moist glazed lemon scones! A perfect pairing!
Finally, make sure your fruit is perfectly ripe, but not mushy. Overripe fruit has too much water, and that extra hydration can stop the pectin from grabbing hold properly. Keep these simple things in mind, and that wonderful summer flavor is yours to keep!
Storage and Enjoying Your Homemade Jam
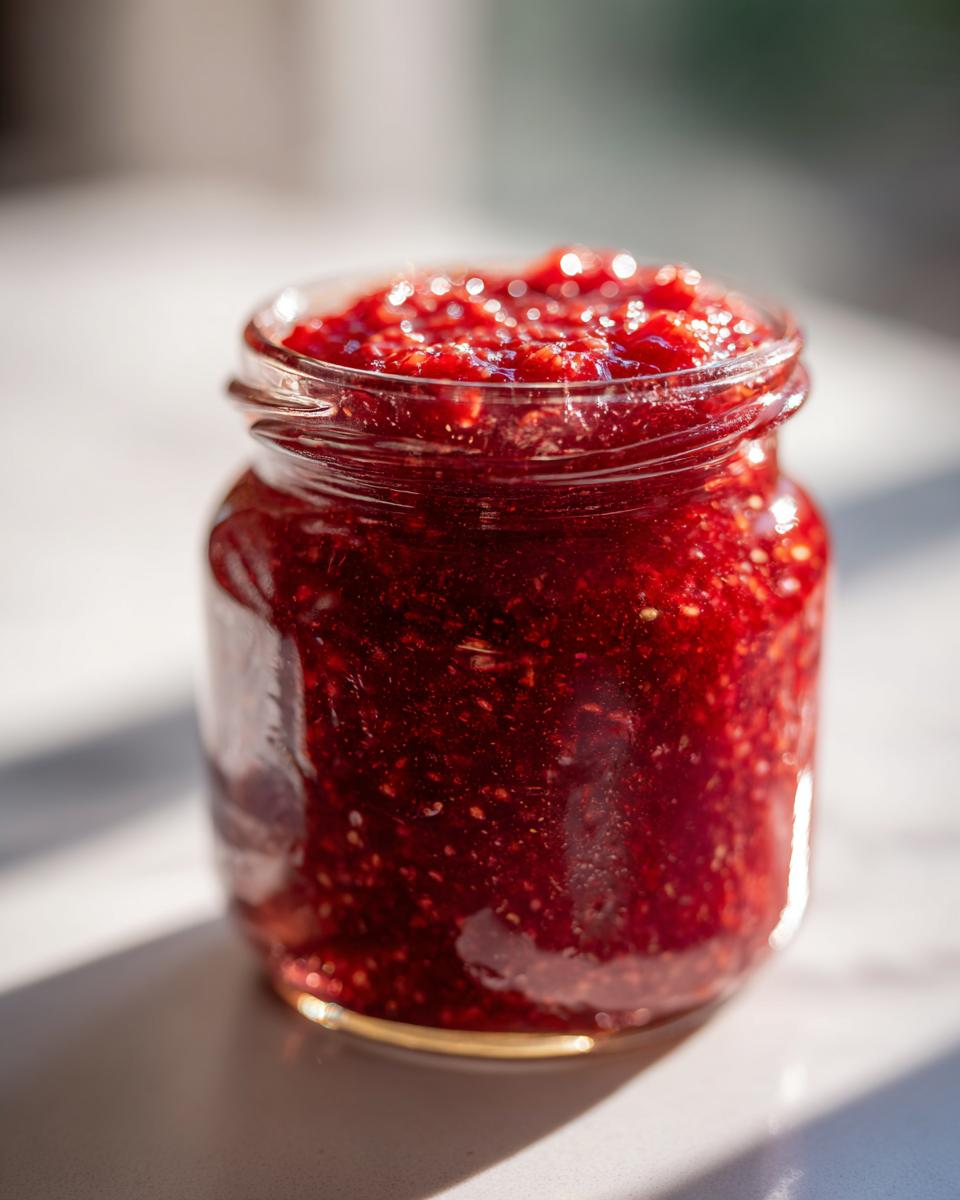
So, you’ve got these beautiful jars of shimmering **freezer jam**! The best part about this no-cook method is how fresh it stays, but you do need to treat it a little differently than traditional canned goods.
If you plan on eating it fairly quickly, you can keep a small, sealed jar right in the refrigerator for about three weeks. That’s perfect for grabbing it on your way out the door in the morning! For long-term storage—which is why we love **freezer jam**—tuck those containers into the freezer. They stay wonderful for up to a year!
When you want to use a frozen jar, just pull it out and let it thaw in the fridge overnight. It thaws so nicely! I love swirling it into yogurt for an afternoon snack, or spooning it warm over my creamy roasted butternut squash soup if I’m feeling really decadent. For more comprehensive guidance on keeping your preserves perfect, take a look at this fantastic overview on The ULTIMATE Guide to Freezer Jam. It really breaks down the freezing process beautifully!
Variations on This Simple Jam Recipe
While strawberry **freezer jam** is just divine, the beauty of this **no-cook jam recipe** is how easily you can swap out the star fruit! Honestly, once you master the ratio of fruit to sugar to pectin, you can conquer almost any berry or stone fruit. It empowers you to make **quick fruit preserves** all season long.
The next most popular batch I make, right after strawberry season ends, is definitely **raspberry freezer jam**. Raspberries get super juicy, so make sure you crush them gently but thoroughly! And don’t forget about summer peaches—**peach freezer jam** is out-of-this-world delicious, tasting just like summer sunshine when you spread it on a warm biscuit.
This method is so brilliant because it works whether you’re keeping it simple with one fruit or mixing a few together for a complex flavor. If you’re looking for inspiration on what other fruits pair well together, I always flip through collections like the 12 Tasty Freezer Jam Recipes article because they often list successful combinations.
When I switch fruits, especially to something less sweet like rhubarb or tart raspberries, I sometimes add a little extra vanilla or a tiny pinch of spice, kind of like how I enhance my creamy maple brown butter sweet potatoes. It just deepens the background flavor!
Frequently Asked Questions About Freezer Jam
I totally get it—when you’re trying out a **simple jam recipe** for the first time, you have questions! That’s why I wanted to clear up a few things about getting the perfect set on this **freezer jam**. Having a runny jar is such a letdown after you’ve gone to all that effort crushing those beautiful **fresh fruit jam** ingredients. But don’t you worry; these little tips should keep you on the right track for success!
We want dependable results here, not guesswork! If you’re trying to make a batch to go over chili later—just kidding, I know you’re making this for toast!—but seriously, you need that set. If you’re curious about other fun things to preserve, I’ve got a great recipe for buffalo chicken chili that gets rave reviews!
Can I make this freezer jam recipe without pectin?
For this specific **no-cook jam recipe**, the answer is, unfortunately, no, you really shouldn’t skip it. Pectin is what gives us that beautiful, quick set without having to boil the fruit down for ages. If you skip the pectin, you are essentially making a fruit syrup, and it will stay loose. Now, there are **pectin free jam** methods out there, but those usually involve simmering the fruit and sugar for a long time on the stove to concentrate the natural pectin, which defeats the purpose of our speedy **freezer jam** method!
How long does homemade jam last in the freezer?
This is the beauty of **freezer jam recipes**! Because they aren’t processed with heat like shelf-stable jam, you need to keep them frozen for the absolute *best* quality and flavor. As long as they have a tight seal and are kept consistently frozen—no funny thawing and refreezing business—they are fantastic for up to a full year. After a year, the flavor might start to dull a tiny bit, but they are just safe. They’re just so good you’ll probably eat them faster than that anyway!
Serving Suggestions for Your Fresh Fruit Jam
Now that you have jars of the freshest **freezer jam** ever, the fun part begins: eating it! Since this jam tastes like pure, unadulterated summer strawberries, you want to use it where that beautiful, bright flavor can really sing. Obviously, it’s incredible spread thick on warm toast or a flaky, homemade biscuit.
But don’t stop there! I often swirl a big dollop right into plain Greek yogurt for a quick, fancy breakfast. It’s also unbeatable dolloped over vanilla ice cream—it melts just slightly and tastes heavenly. For a savory twist, try it alongside some sharp cheddar cheese on a cracker. If you’re looking for something wonderful to roast alongside your next meal, don’t forget my garlic parmesan roasted broccoli!
Sharing Your Kitchen Preserving Results
Well, that’s it! You’ve officially made delicious **freezer jam** without breaking a sweat over a boiling water bath. I hope you love this **easy homemade jam** as much as we do. Once you try it, come back and give this recipe a rating, okay? Let me know in the comments what you paired your **fresh fruit jam** with! Did you slather it on a scone, or maybe swirl it into something else amazing? If you’ve got questions, you can always reach out via my contact page. Happy preserving, friends!
PrintEasiest Strawberry Freezer Jam Recipe (No Cook)
Make bright, fresh strawberry freezer jam without any cooking. This simple, beginner-friendly recipe captures the taste of summer berries and is ready fast.
- Prep Time: 20 min
- Cook Time: 0 min
- Total Time: 20 min
- Yield: About 5 half-pint jars 1x
- Category: Dessert Topping
- Method: No-Cook Mixing
- Cuisine: American
- Diet: Vegetarian
Ingredients
- 4 cups fresh strawberries, crushed
- 7 cups granulated sugar
- 1 package (1.75 oz) powdered fruit pectin (like Sure-Jell)
- 1/2 teaspoon butter (optional, to reduce foam)
Instructions
- Wash and hull the strawberries. Crush them using a potato masher or a food processor until you have a coarse puree.
- Measure the crushed strawberries into a large bowl.
- In a separate small bowl, mix the powdered fruit pectin thoroughly with 1 cup of the sugar.
- Add the pectin-sugar mixture to the crushed strawberries. Stir well for about 2 minutes.
- Add the remaining sugar to the strawberry mixture. Stir until the sugar is completely dissolved. If using, stir in the butter now.
- Let the jam mixture sit at room temperature for 30 minutes, stirring occasionally. This allows the pectin to activate and the mixture to thicken slightly.
- Pour the jam into clean, freezer-safe containers, leaving about 1/2 inch of headspace.
- Wipe the rims clean, cover the containers tightly, and let them sit on the counter for 30 minutes to ensure a good set.
- Place the containers in the refrigerator for 3 to 4 hours, or until the jam has set.
- Transfer the set jam to the freezer for long-term storage. You can also keep small batches in the refrigerator for up to 3 weeks.
Notes
- This recipe avoids the water bath canning process, making it a great alternative for quick fruit preserves.
- For a low sugar jam option, check pectin package directions for specific low-sugar adjustments.
- This recipe makes a small batch, perfect for immediate use or gifting.
Nutrition
- Serving Size: 2 tablespoons
- Calories: 50
- Sugar: 13
- Sodium: 0
- Fat: 0
- Saturated Fat: 0
- Unsaturated Fat: 0
- Trans Fat: 0
- Carbohydrates: 13
- Fiber: 0
- Protein: 0
- Cholesterol: 0