
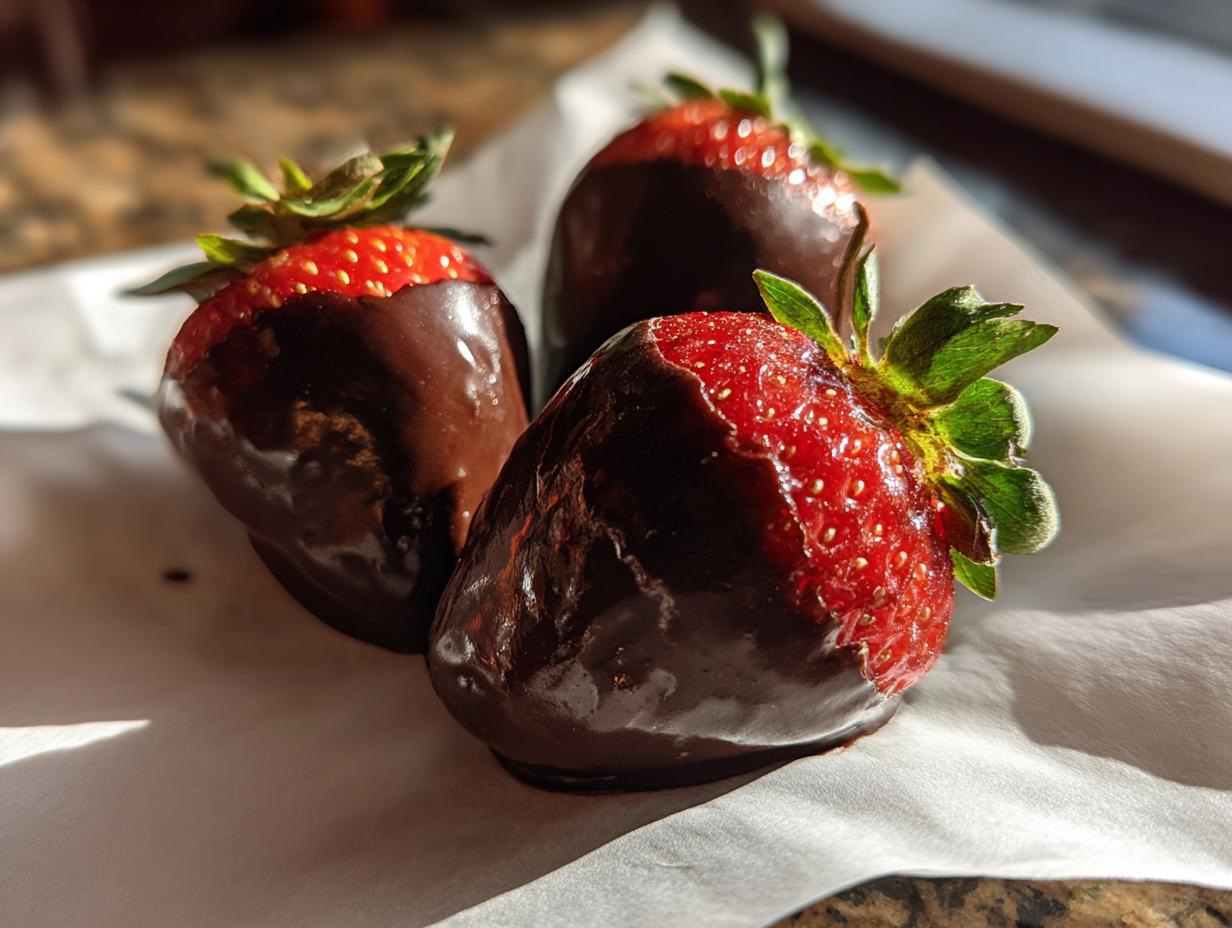
When you need a dessert that looks like it took hours of fancy work but actually takes minutes, I always reach for my **chocolate covered strawberries** recipe. We all love those moments of connection that come from serving something beautiful, right? That’s my whole philosophy here at Mia’s Meals—simple ingredients leading to big smiles! You absolutely do not need complicated tempering equipment to pull off a gorgeous batch of **chocolate covered strawberries**. I’m going to show you exactly how to get that flawless, shiny dip every single time, making your next holiday or simple weeknight feel just a little bit more special. Trust me, these are the easiest, most impressive treats you’ll ever whip up. You can check out all my other delicious dessert recipes later, but first, let’s dip!
- Why This is the Best Chocolate Covered Strawberries Recipe for Home Cooks
- Ingredients for Perfect Chocolate Covered Strawberries
- How to Make Chocolate Strawberries: Step-by-Step Instructions
- Chocolate Drizzle Ideas and Topping Variations for Gourmet Chocolate Dipped Fruit
- Essential Chocolate Strawberry Dipping Tips for Success
- How to Store Chocolate Covered Strawberries to Keep Them Fresh
- Frequently Asked Questions About Homemade Chocolate Strawberries
- Serving Suggestions for Your Easy Dessert Recipes
- Estimated Nutritional Data for Chocolate Covered Strawberries
Why This is the Best Chocolate Covered Strawberries Recipe for Home Cooks
I know you’re busy—we all are! That’s why this chocolate covered strawberries recipe is my go-to when I need something that looks like it took hours of fancy work but actually takes minutes. It’s reliable, you see. I’ve tested this method dozens of times so you don’t have to worry about those chocolate disasters we sometimes see. It checks all the boxes for a happy home cook, just like those quick weeknight dinners I love to share!
- It’s perfect for when you need **quick sweet treats** that look spectacular.
- It transforms simple fruit into an **elegant fruit dessert** instantly.
- It’s one of the best **easy dessert recipes** for last-minute guests!
Quick Sweet Treats Ready in Under 30 Minutes
Seriously, the active time here is nothing. We’re talking about maybe 10 minutes of prep to get those berries dry, and then just a few minutes of melting. You can easily have these chilling when you’re just sitting down to watch the evening news. It’s proof that my philosophy works: high reward for low effort. It’s a fabulous way to fit something special into those busy schedules!
Achieving a Flawless, Shiny Chocolate Coating
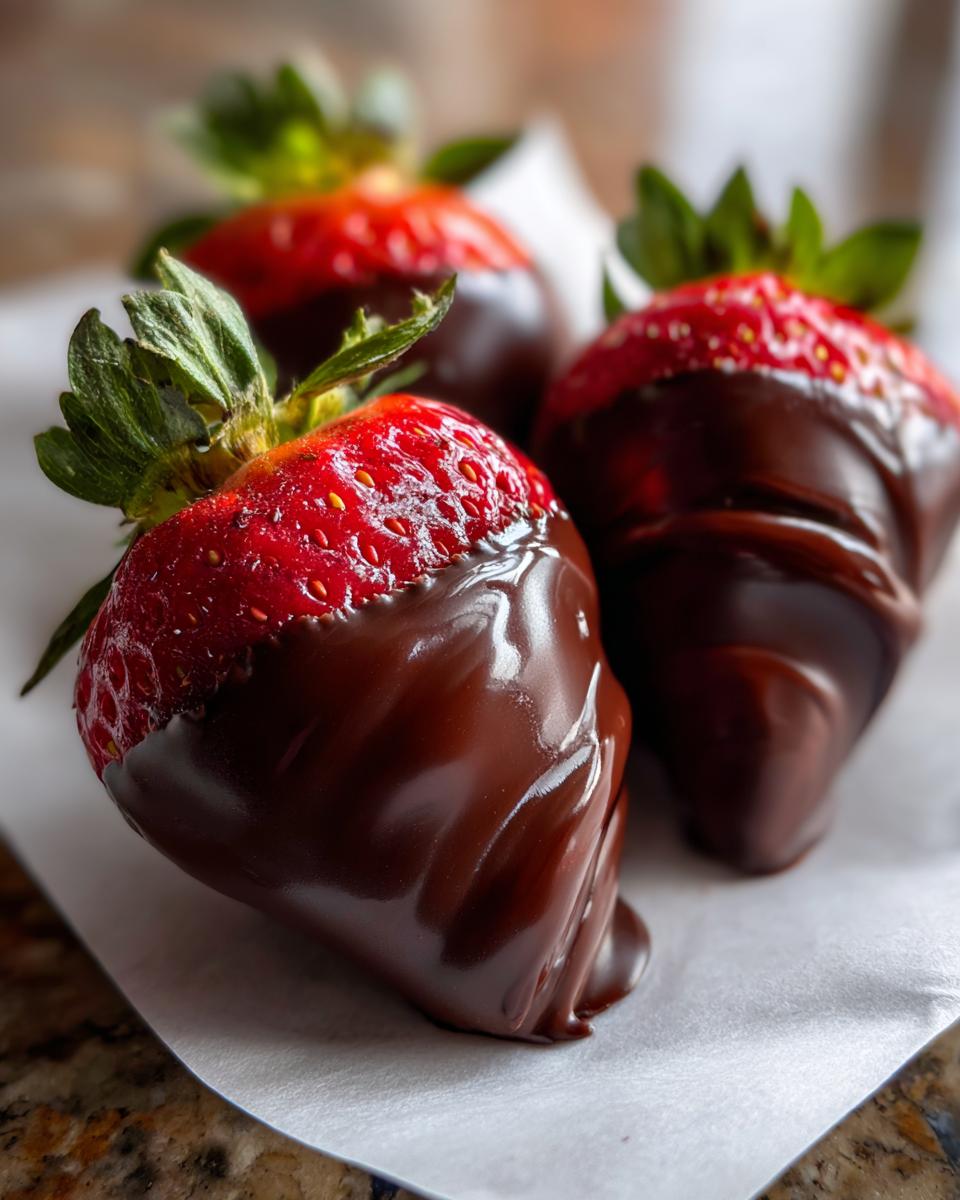
The biggest fear people have with homemade chocolate covered strawberries is that sad, dull, or sticky finish, right? Forget that! We focus on the chocolate melting just right—using a tiny secret ingredient that helps it set up beautifully. That glossy look is totally achievable without the headache of full tempering, giving you that impressive, professional coat every time for your **chocolate covered strawberries**.
Ingredients for Perfect Chocolate Covered Strawberries
When we’re talking about chocolate covered strawberries, every single item on this tiny list matters, but the quality is number one. We’re keeping this super simple because the fresh berry should shine through, not a sticky mess of cheap candy coating. Remember, this isn’t a complex bake; it’s about putting great flavors together!
- 1 pound fresh strawberries, washed and completely dried
- 12 ounces high-quality melting chocolate (dark, milk, or white), chopped or chips
- 1 teaspoon coconut oil (optional, for extra shine)
Ingredient Notes and Substitution Guidance
You asked about the best chocolate for these, and honestly, this is where you shouldn’t cheat! If you can find real couverture chocolate, go for it; it melts beautifully and gives that snap we look for. But listen, if you’re in a rush, good quality chips work just fine for this **easy chocolate dipped strawberries** recipe. We aren’t doing a full temper here, which saves tons of time, but we need smooth chocolate!
That little bit of fat in the recipe—the coconut oil—is my trick for getting that gorgeous, glossy finish without spending 45 minutes stirring chocolate over a double boiler! It makes the melted chocolate a little thinner and easier to work with. If you skip the oil, your chocolate might set up a little duller. Milk or white chocolate can sometimes need a tiny splash more oil to stay fluid, so just watch that consistency as you go. Dark chocolate is usually pretty friendly!
How to Make Chocolate Strawberries: Step-by-Step Instructions
Okay, this is where the magic happens, and honestly, it’s the simplest part once you get the hang of it! Making great chocolate covered strawberries is truly just about a few focused steps at the right time. We’re moving fast here, so make sure your parchment-lined tray is ready to go before you even touch the chocolate. If you want to see another pro’s take on the chocolate part, check out this guide on melting chocolate flawlessly. You’ll see that even the pros have methods that look complicated but are built on simple steps, just like my recipe for easy homemade cranberry sauce!
Preparing the Strawberries for Dipping
Listen to me carefully on this part: these berries MUST be bone dry. I cannot stress this enough! Moisture is the mortal enemy of chocolate. If there is even one tiny drop of water, your beautiful melted chocolate will seize up, turn gritty, and look like a sad, separated mess right there in the bowl. Always wash them first, but then you need to pat every single one down—top to bottom—with paper towels. Seriously, take your time! We need them completely dry before dipping. Leave those green stems on; they are your perfect little handles. No sticks, no mess on your fingers, easy dipping!
Melting Chocolate for a Smooth Dip
Pop your chocolate and that optional teaspoon of coconut oil into a microwave-safe bowl. We melt it gently. Zap it for 30 seconds, stir it thoroughly, and then another 30 seconds. Keep doing this, stirring really well each time until it’s *almost* melted. Keep stirring until the residual heat finishes the job. That’s the easy way to avoid burning it! If you want that true, shatteringly hard, glossy look—the perfect chocolate coating for strawberries—you’d use a double boiler and get a thermometer, aiming for about 90 degrees. But, for home cooks like us, our gentle microwave approach with that little bit of fat works wonders!
Dipping Technique and Setting the Chocolate
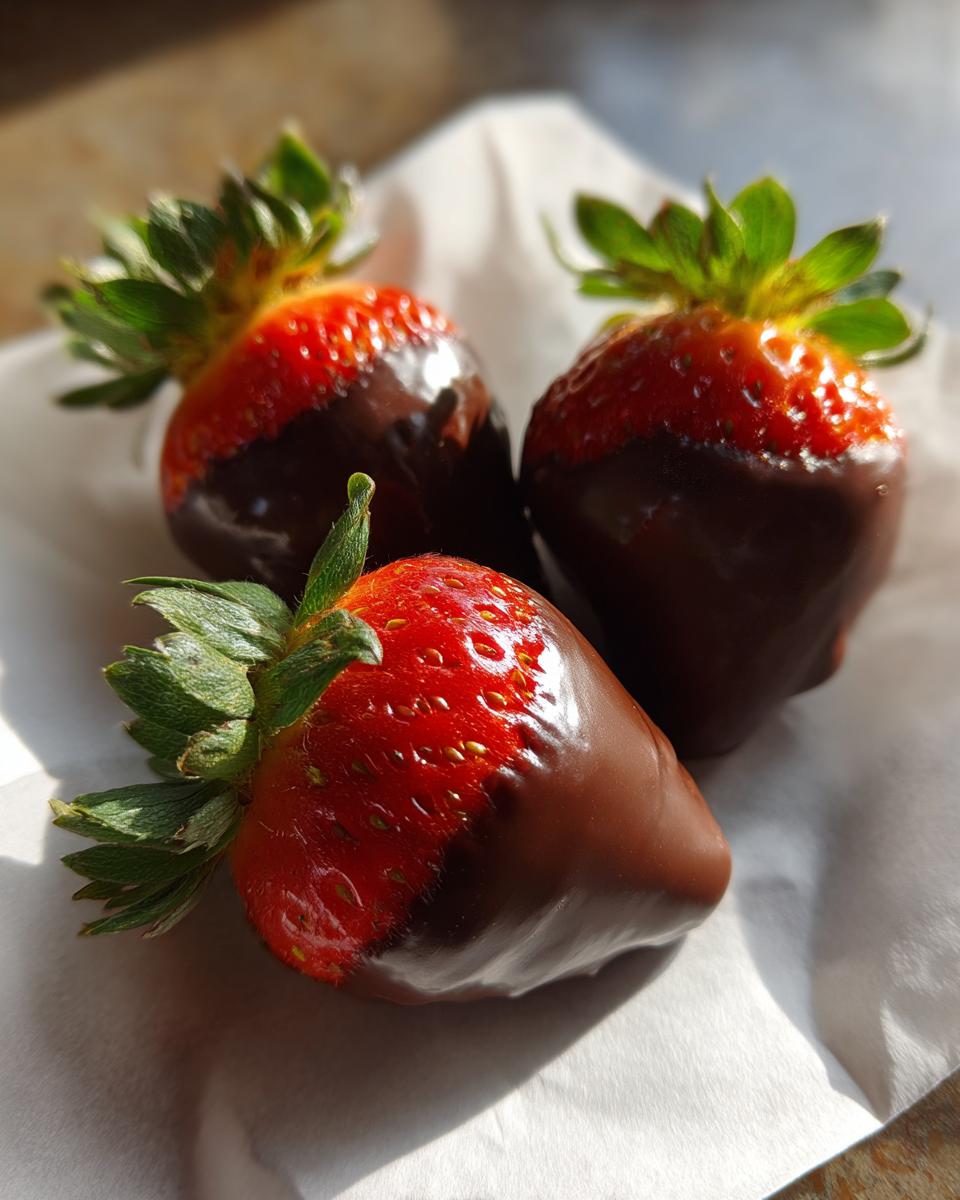
Now, grab the berry by the stem, give it a little swirl into the warm chocolate, and pull it out. You only want to cover about three-quarters of it; leaving that little bit of red peaking out is so classy! As you lift it out, gently tap your wrist on the edge of the bowl once or twice. This lets the extra chocolate drip right back in. Don’t shake it, just tap! Place the coated berry right on that waiting parchment sheet. If you’re adding sprinkles or anything right away, do it now before the chocolate gets too firm. We usually pop these straight into the fridge for about 15 to 30 minutes until the chocolate sets up totally firm. You want that firm coating for beautiful **chocolate covered strawberries**!
Chocolate Drizzle Ideas and Topping Variations for Gourmet Chocolate Dipped Fruit
This is where you turn a lovely dessert into a total showstopper! You’ve got the base coat of dark or milk chocolate done, and now you get to play because these **chocolate covered strawberries** are begging for a little extra flair. Making them look like gourmet chocolate dipped fruit is easier than you think, honestly. It just takes a little planning!
The best way to add that professional touch is with a contrasting drizzle. Do you want to make gorgeous **white chocolate strawberries**? Melt a small batch of white chocolate chips (maybe add a tiny bit more oil to keep it smooth!). Once your first layer of dark chocolate is fully set—and I mean *fully* firm—you can take a fork, dip the tines into the melted white chocolate, and flick it quickly back and forth over the berries. It creates those lovely, thin lines!
If you’re using a piping bag for a more controlled drizzle, that works too. Just make sure your primary chocolate layer is totally cool before you start layering! I usually reserve different colored melts or ganaches for this step. For example, if you went with dark chocolate strawberries, a swirl of ruby chocolate or a pale pink melt makes them look incredible for Valentine’s Day.
Don’t forget the crunchy and colorful stuff! Sprinkles, crushed nuts, or even a tiny sprinkle of flaky sea salt right after the drizzle goes on are amazing. If you’re feeling ambitious, you can even dip the tip of the berry into something completely different, like finely crushed peppermint or mini chocolate chips, right after the main dip. Just remember what I always say about icing: the thinner the coating, the faster it sets up, which is key when you’re dealing with cold fruit!
For more visual inspiration on how to really decorate them up, I always recommend taking a peek at ideas like those shared over at Sarah’s Scoop for fun designs!
Essential Chocolate Strawberry Dipping Tips for Success
Okay, we need to talk about the little things that turn a good batch of **chocolate covered strawberries** into one of those truly impressive, bakery-worthy treats. These aren’t just random steps; these are secrets I learned the hard way so you don’t have to! Getting the shine and keeping the chocolate stuck is all about preparation and temperature control. These **chocolate strawberry dipping tips** are non-negotiable if you want that perfect look.
First, let’s stick to the drying rule: pat those berries down until they feel almost fuzzy dry! If you fight the moisture, the chocolate wins, resulting in weeping or sliding. I always keep my leftover chocolate warm, too. If it starts getting thick while I’m dipping, I give it just 10 seconds in the microwave. Thick chocolate means clumpy dipping, and we want smooth coverage.
Also, here’s a pro move: if you want an extra-firm shell that resists fingerprints, you can use a trick that helps create a bit of a barrier. I read about a great technique over at Cooking En Vogue that locks everything in place, though my coconut oil trick usually handles most issues for basic home dipping. Remember the goal: professional-looking **homemade chocolate strawberries** without the stress. If you struggle with glazes, you might also want to check out how I get my lemon scones glaze to set perfectly hard—it’s the same principle!
How to Store Chocolate Covered Strawberries to Keep Them Fresh
I know you want to make these gorgeous **chocolate covered strawberries** ahead of time, especially if you’re whipping them up for a big party or as a gift. They look so elegant, you want them to last! The short answer is, they are best eaten right after they set, which is why they make such great quick sweet treats. But, if you absolutely must store them, I have the exact method that keeps them looking beautiful.
Here’s the deal on **how to store chocolate covered strawberries** so they don’t start sweating or getting that tacky film over the chocolate. You need airtight storage, and surprisingly, the fridge is where they need to go if you aren’t eating them within a few hours. Place them in a single layer in an airtight container. Don’t stack them if you can help it; if you have to stack, put a piece of parchment paper between the layers so the chocolate doesn’t stick together.
They should last about two days this way. Now, here is the most important **chocolate strawberry dipping tip** for serving: don’t pull them straight from the fridge to the platter! Cold makes the chocolate firm and sometimes a little dull, and the berry inside can get slightly watery as it warms up. Before you serve them, let your magnificent chocolate covered strawberries sit out on the counter for about 15 to 20 minutes. That slight warming brings out the richness of the chocolate and gets the berry back to its perfect juicy texture. If you want more details on keeping your beautiful treats fresh long-term, check out the excellent guide on storing chocolate covered strawberries!
Frequently Asked Questions About Homemade Chocolate Strawberries
I totally get it—when you make something this pretty, you want it to be perfect! I’ve gathered up the questions I get asked the most about making **homemade chocolate strawberries**. Hopefully, these quick answers save you any last-minute panic!
Can I make chocolate covered strawberries a day ahead?
You totally can, and I won’t judge you if you do! They are honestly at their absolute peak texture-wise the day you make them, but life happens, right? If you need to prep ahead, the key is how you store them, based on what we talked about earlier. Make sure they are perfectly set—no soft spots!—and pop them into an airtight container in the fridge. They’ll be great for about 24 to 48 hours. Just remember to pull them out about 20 minutes before serving so they aren’t rock-hard from the cold!
What is the best chocolate for dipping strawberries?
This is a big one. For the most beautiful finish that looks like those fancy chocolates you buy, you want good quality chocolate, preferably couverture, if you’re feeling fancy. But for this **easy chocolate dipped strawberries** method, where we skip the full temper, the better choice for reliability is often a good quality melting wafer or chocolate chips. They have stabilizers already in them, which helps them set up nicely. If you use standard baking chocolate, make sure you have that little bit of coconut oil or shortening in there, just like in the recipe, to keep things smooth and glossy. Don’t settle for waxy stuff; it makes all the difference!
Why is my chocolate coating sliding off the berries?
Oh, the dreaded slide! It’s the most frustrating—you’ve dipped it, you set the tray down, and five minutes later, it looks like the chocolate just decided to run away from the berry! That is 99.9% an issue with moisture. The chocolate simply will not adhere properly if there is any water condensation or dampness on that strawberry skin. You must wash them, then dry them until you think they are dry, and then dry them again! Pat them down vigorously with paper towels. Seriously, this is the number one rule for mastering any chocolate covered fruit technique!
Serving Suggestions for Your Easy Dessert Recipes
Now that you have these stunning, flawless chocolate covered strawberries, the real fun begins: showing them off! These treats are so versatile that they work for almost any occasion, though they are practically mandated for **valentine dessert ideas**, aren’t they?
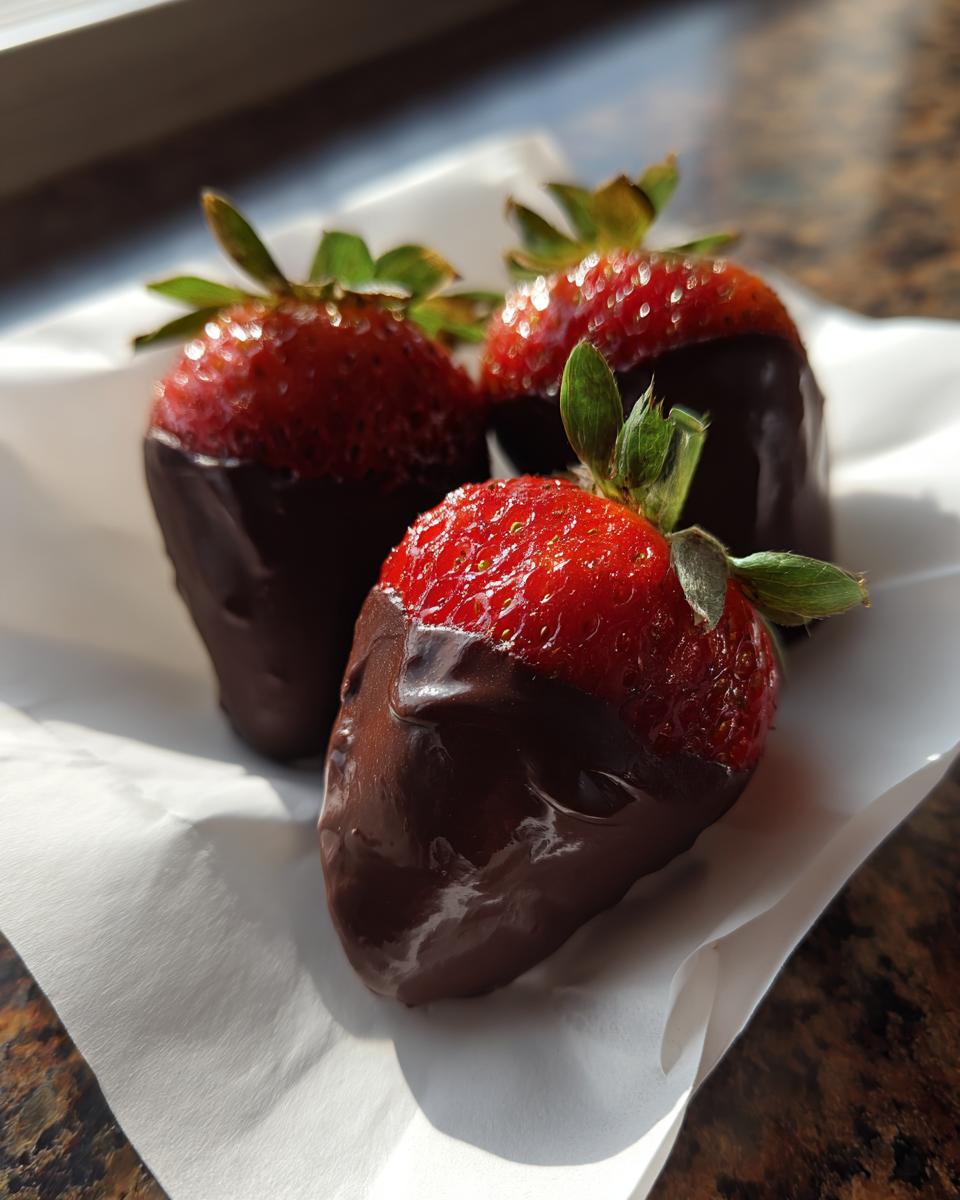
For a romantic evening, skip the fancy platter and use a simple white serving dish. The deep red and dark brown contrast beautifully all by themselves. Serve them chilled, perhaps alongside a glass of crisp Prosecco or a strong, dark roast coffee. They are decadent enough to stand alone!
If you’re bringing these to a party or gathering, think about creating a larger fruit board. Set your chocolate covered strawberries right next to slices of kiwi, bright yellow pineapple, and maybe a bowl of fresh whipped cream for dipping. They add a wonderful height and elegance to the platter. They also look amazing stacked gently in a small, clean basket lined with white tissue paper if you’re gifting them. Remember, presentation is half the fun when serving these simple, yet perfect, no bake chocolate treats!
If you’ve made my easy puff pastry apple strudel recently, maybe use the same tray for serving these berries to keep that cohesive, comforting look across your dessert spread!
Estimated Nutritional Data for Chocolate Covered Strawberries
I always try to give folks a general idea of what’s in what we eat, even when it’s a pure indulgence. Remember, since we are using different kinds of chocolate here—dark, milk, or white chips—these numbers are really just an estimate, okay? What kind of chocolate you choose makes a big difference in the final calorie and sugar count. This breakdown is based on an average serving size of one berry using the ingredients listed.
- Serving Size: 1 strawberry
- Calories: 85
- Sugar: 8g
- Sodium: 1mg
- Fat: 5g
- Saturated Fat: 3g
- Unsaturated Fat: 2g
- Trans Fat: 0g
- Carbohydrates: 10g
- Fiber: 1g
- Protein: 1g
- Cholesterol: 1mg
So, enjoy them guilt-free! Even as a lovely treat, they aren’t loaded with all the stuff found in heavy baked goods. It proves my point again: simple, quality ingredients make for the best food, whether it’s a busy weeknight meal or a decadent dessert like these glorious **chocolate covered strawberries**.
PrintThe Ultimate Easy Chocolate Covered Strawberries: With Pro Tips for a Flawless, Shiny Dip

Make impressive chocolate covered strawberries using this straightforward recipe. You learn how to melt chocolate for a smooth, shiny coating that sets perfectly, ideal for gifting or parties.
- Prep Time: 20 min
- Cook Time: 5 min
- Total Time: 25 min
- Yield: About 2 dozen 1x
- Category: Dessert
- Method: Dipping
- Cuisine: American
- Diet: Vegetarian
Ingredients
- 1 pound fresh strawberries, washed and completely dried
- 12 ounces high-quality melting chocolate (dark, milk, or white), chopped or chips
- 1 teaspoon coconut oil (optional, for extra shine)
Instructions
- Prepare the strawberries: Gently wash the strawberries and dry them completely. Moisture causes chocolate to seize or sweat. Leave the green stems on for easy dipping and presentation.
- Melt the chocolate: Place the chocolate in a microwave-safe bowl. Microwave in 30-second intervals, stirring well after each interval, until the chocolate is mostly melted.
- Achieve a smooth dip: Stir in the coconut oil, if using. Continue stirring until the chocolate is completely smooth. If you want a perfectly tempered, hard shell, use a double boiler method until the chocolate reaches 90-92°F (32-33°C) for dark chocolate, or slightly lower for milk/white. For simple dipping, ensure the chocolate is fully melted and smooth.
- Dip the strawberries: Hold a strawberry by the stem. Dip it into the melted chocolate, tilting the bowl slightly. Rotate the berry to coat about three-quarters of the way up, leaving a small area of red visible near the top.
- Remove excess chocolate: Lift the strawberry out and gently tap the wrist holding the berry against the side of the bowl to let excess chocolate drip off.
- Set the coating: Place the dipped strawberries immediately onto a baking sheet lined with parchment paper or a silicone mat.
- Add toppings (optional): If you want sprinkles or drizzles, add them immediately before the chocolate sets. For a contrasting drizzle, melt a small amount of a different colored chocolate and drizzle it over the set coating using a fork or piping bag.
- Chill to set: Place the baking sheet in the refrigerator for 15 to 30 minutes, or until the chocolate is completely firm.
Notes
- The key to preventing chocolate from sliding or sweating is ensuring the strawberries are completely dry before dipping. Pat them down with paper towels.
- If the chocolate thickens while you work, reheat it gently in 15-second bursts.
- For a professional, glossy finish, consider tempering your chocolate using a thermometer, though simple melting with coconut oil works well for home use.
- Store finished chocolate covered strawberries in a single layer in an airtight container in the refrigerator for up to 2 days. Eat them slightly cooler than room temperature for the best texture.
Nutrition
- Serving Size: 1 strawberry
- Calories: 85
- Sugar: 8
- Sodium: 1
- Fat: 5
- Saturated Fat: 3
- Unsaturated Fat: 2
- Trans Fat: 0
- Carbohydrates: 10
- Fiber: 1
- Protein: 1
- Cholesterol: 1