
You know, one of the easiest ways to make a regular Tuesday dinner feel special is by adding one incredible condiment. It’s the little secret to feeling like you actually spent hours cooking! That’s exactly why I honed this garlic aioli recipe. Growing up in my mom’s (and grandma’s!) kitchen, I learned that connection happens over good food, and good food doesn’t have to be fussy.
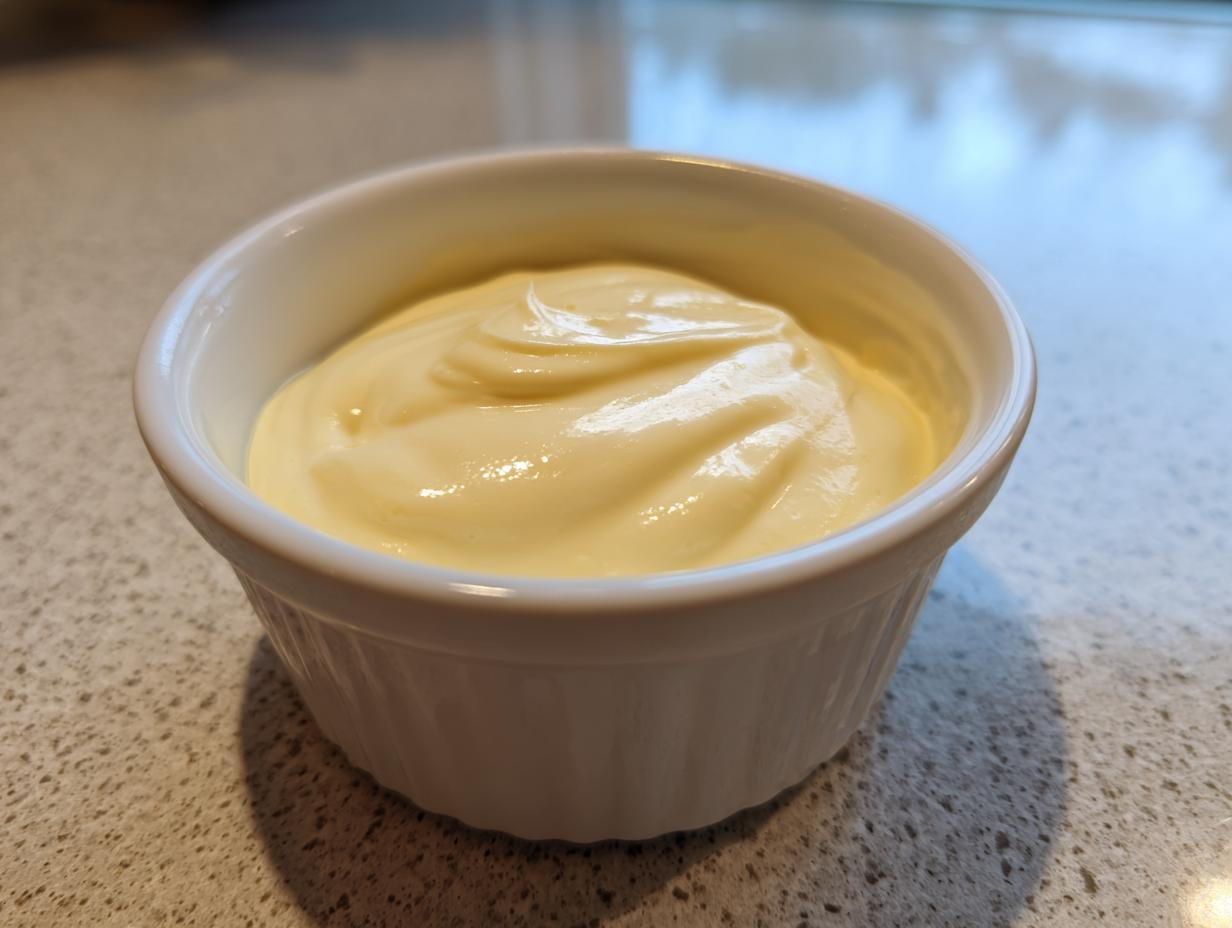
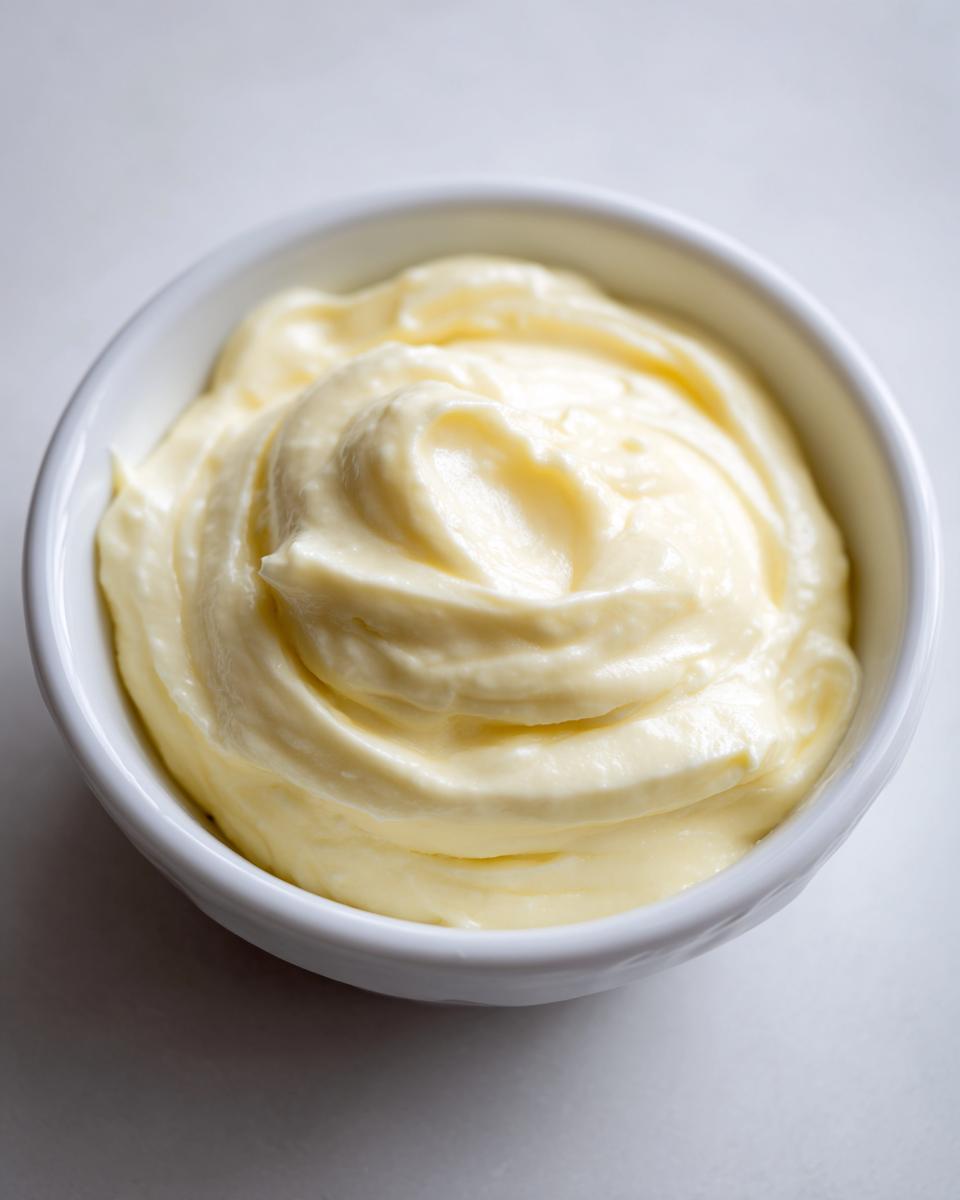
This isn’t the fussy, raw-egg version, either! This is my ultimate quick fix for a gourmet sauce: the 5-Minute Aioli. It tastes unbelievably rich, creamy, and packs that huge punch of garlic flavor we all crave. If you’re rushing to get dinner on the table but want that restaurant-style feeling, believe me, this homemade sauce is your new secret weapon. It’s perfect for grabbing a quick, delicious flavor boost before diving into weeknight dinners.
- Why This Is the Best Easy Aioli Recipe for Your Kitchen
- Ingredients for Your Homemade Garlic Aioli Recipe
- How to Prepare the Easiest Garlic Aioli Recipe Step-by-Step
- Tips for the Ultimate Garlic Aioli Recipe Success
- Serving Suggestions for Your Garlic Aioli Recipe
- Storage and Reheating for Your Creamy Garlic Sauce
- Frequently Asked Questions About the Garlic Aioli Recipe
- Nutritional Snapshot of This Garlic Aioli Recipe
- Share Your Homemade Garlic Aioli Creations
Why This Is the Best Easy Aioli Recipe for Your Kitchen
When I designed this recipe, I cut out all the stress usually involved in making a fantastic dipping sauce. This is, without a doubt, the easy aioli recipe that works for busy people who still want that gourmet touch. We are skipping the tricky egg emulsification that can go wrong in a heartbeat. Since we rely on good quality mayonnaise as our base, you get a foolproof, naturally thick and unbelievably restaurant style aioli every single time. It’s pure flavor, zero fuss!
Plus, for those of you who are nervous about handling raw eggs in condiments, this version is perfect. No worries about swirling yolks—just whisk and go. It’s the reliable, rich, garlicky sauce I rely on when I don’t have an extra hour but still want something amazing to serve with dinner. I use this base for so many things, like jazzing up roasted potatoes. Check out my tips for other quick homemade recipes!
Quick Preparation: Your 5 Minute Aioli
Honestly, you can’t beat the speed here. If you can measure ingredients, you can make this batch of 5 minute aioli. Once the garlic has that tiny rest period, everything else comes together in the bowl in under five minutes flat. I often whip this up while the oven preheats! It is the definition of instant gratification in condiment form. The flavor payoff is huge compared to the minimal effort required.
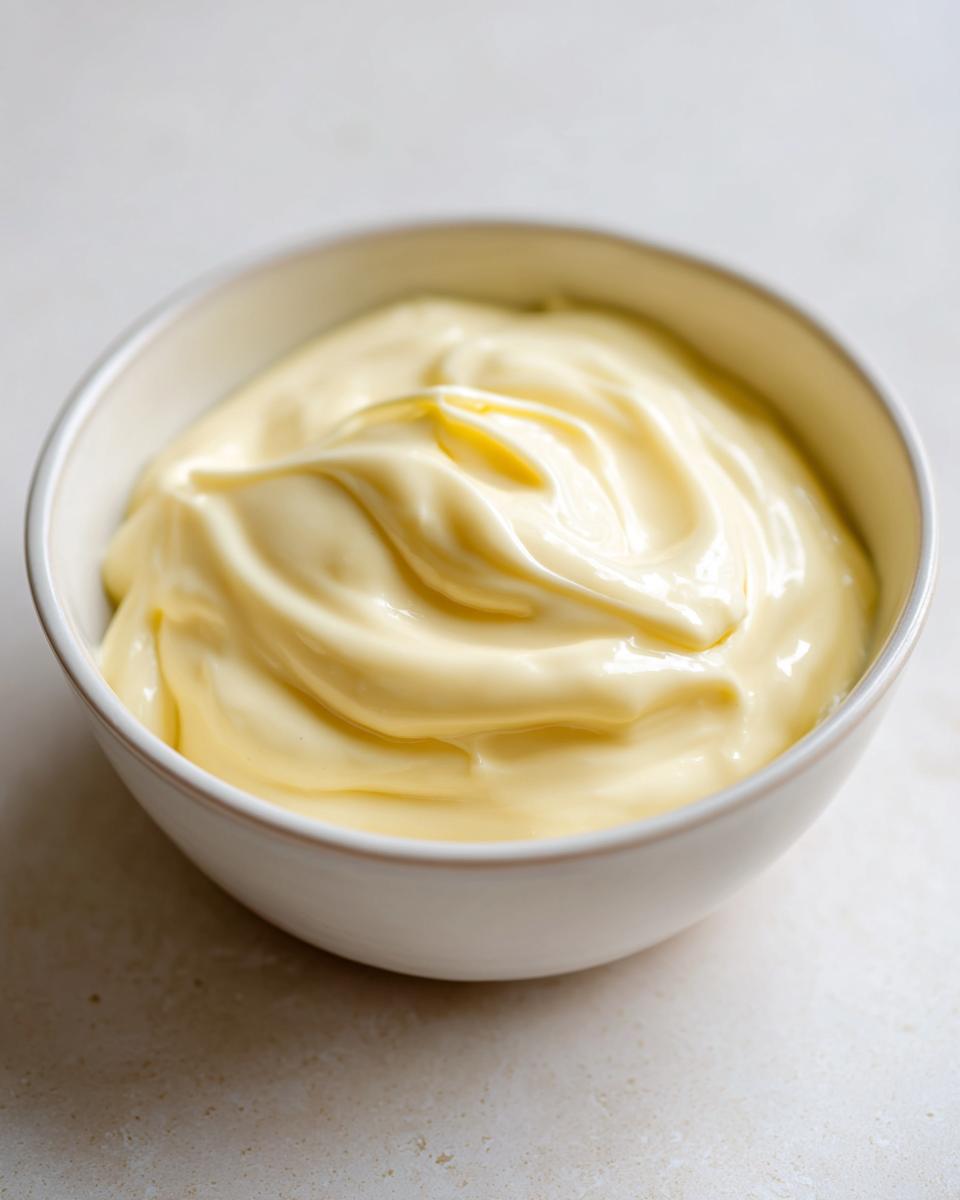
Achieving That Creamy Garlic Sauce Texture
The secret to that thick, velvety mouthfeel we love in a creamy garlic sauce is simple: start with good mayo and whisk well. Don’t just stir it half-heartedly! You want to whisk until you see tiny air bubbles forming—that’s how you build volume and that luxurious texture. Trust me on this, even though the recipe says 5 minutes prep, letting it chill for that extra 15 minutes really lets that texture set and deepens the garlic flavor beautifully.
Ingredients for Your Homemade Garlic Aioli Recipe
When we list out what you need for the garlic aioli recipe, remember that since this is a no-cook sauce, the quality of your starting materials really shines through. We only need a handful of things, but make sure they are the things you actually like eating! I always tell people that if you aren’t wild about the mayonnaise straight from the jar, you won’t love the aioli. Grab your favorites, because we are mixing them all together!
I’ve linked to my cranberry sauce recipe before, which also relies on simple ingredients shining through. This one is no different. Here are the treasures you’ll need to pull together your ultimate homemade garlic aioli.
Ingredient Clarity and Preparation Notes
The garlic is the star, so treat it right! You absolutely must mince it very finely, almost to a paste. If you leave big chunks, the flavor will be too intense and raw when you bite into it. For the base, please use a mayonnaise that is full-fat and one you happen to enjoy; that creamy texture is non-negotiable for a great result! Dijon mustard is in there to add just the right little tang to balance the richness of the base. Trust me on the fine mince; it makes the difference between a good sauce and a great one.
How to Prepare the Easiest Garlic Aioli Recipe Step-by-Step
Learning how to make aioli this way is fantastic because it’s just assembly—no actual cooking required! I’ve laid out the steps simply below. Just follow the order, and you’ll have that spread ready before you can even decide what to dip in it. It’s all about sequencing these simple steps so the flavors have a chance to bloom! I always get mine done as soon as I start prepping veggies for roasting, like in my honey garlic butter carrots.
Mellowing the Garlic for the Best Flavor
First things first: don’t just dump the garlic straight in! Take your finely minced garlic and put it into your small mixing bowl all by itself. Now, this is important: let it hang out for about five full minutes. This little rest time mellows out some of that really sharp, raw bite. It keeps our wonderful garlic aioli recipe tasting deeply garlicky without being overwhelming!
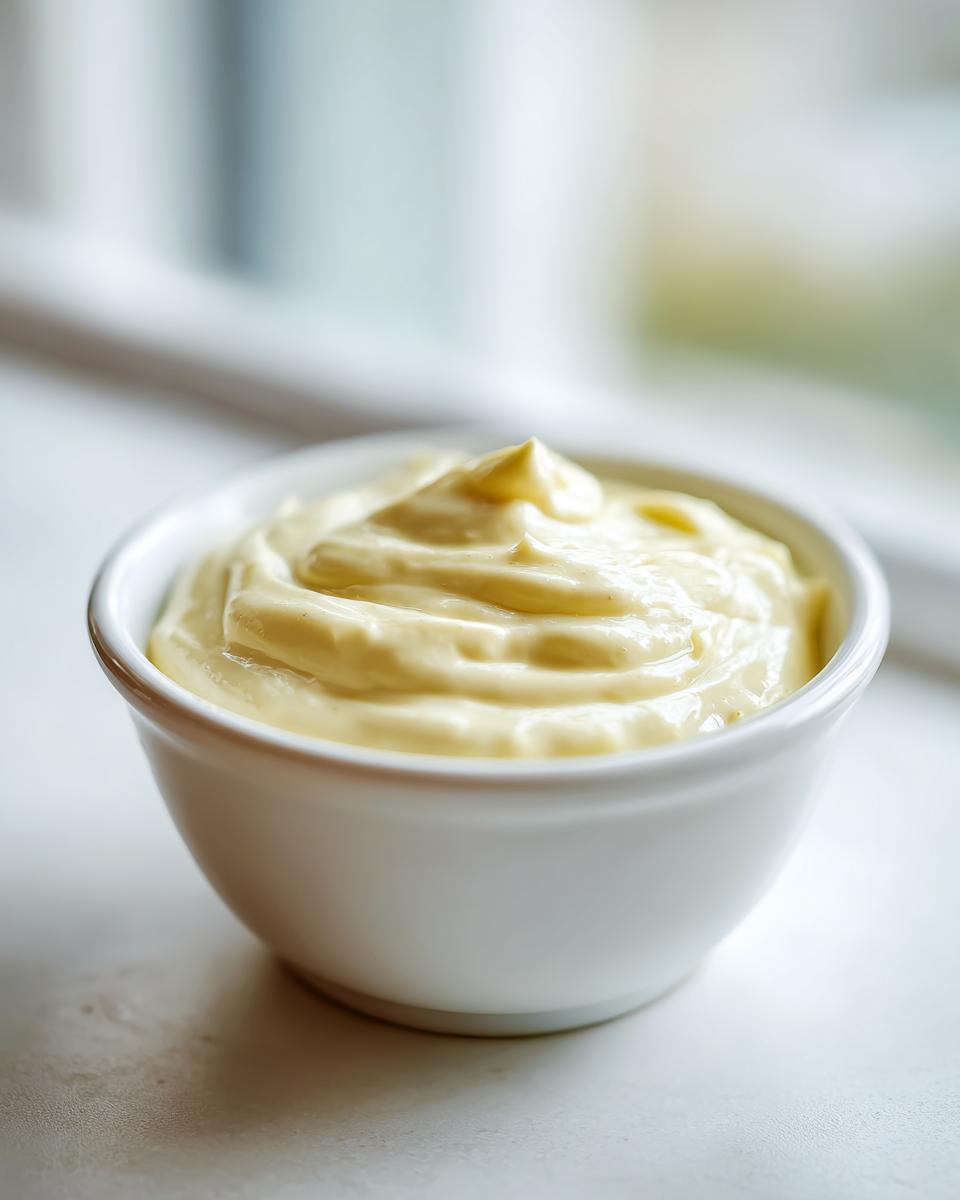
The Final Whisk and Flavor Check
After the garlic enjoys its quiet time, you’ll add the mayo, lemon juice, and Dijon, and whisk everything until it looks perfectly smooth—no streaks allowed! Then, stir in your salt and pepper. Now, here’s the secret sauce part: taste it! Does it need more zip? Add more lemon. Once you’re happy, cover that bowl up. You absolutely must chill your homemade garlic aioli for at least 15 minutes. This resting time is magic; trust me!
Tips for the Ultimate Garlic Aioli Recipe Success
We’ve got our best garlic aioli recipe down to a science now, but I always love sharing ways to tweak it slightly depending on what I’m serving! Since this is such a simple base—just a few pantry stars—it’s super easy to customize it without losing that creamy texture we worked so hard to build. If you’re having trouble getting that perfect thickness, remember that little note I added about swapping out some mayo for olive oil slowly while whisking; it adds richness if you need it, though for this quick version, I usually skip that extra step!
You might be making this for my baked Caesar chicken tonight, or maybe just dipping fries. Either way, having options is fun!
Variations: Lemon Garlic Aioli and More
If you want to lean into that bright citrus we already added, just boost it up! For a fantastic lemon garlic aioli, I simply bump the fresh lemon juice up to about one and a half tablespoons. It makes the sauce sing, especially over grilled fish. If you want a smokier profile for burgers, try stirring in just a quarter teaspoon of smoked paprika right at the end. Or, honestly, a sprinkle of fresh parsley gives it a gorgeous lift!
Serving Suggestions for Your Garlic Aioli Recipe
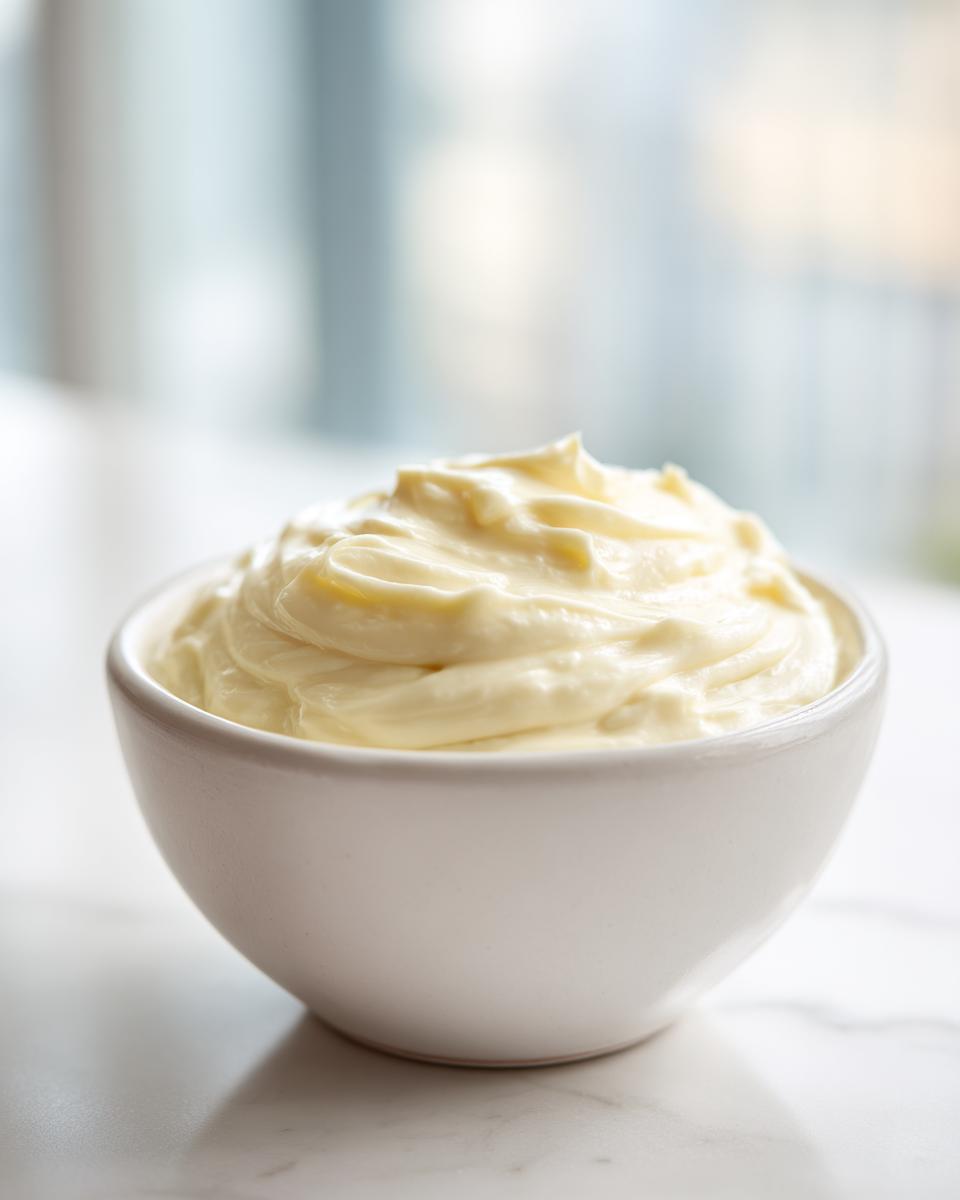
Okay, now that we have this amazing, quick homemade garlic aioli, the real question is: what are we putting it on first? Because this sauce is so versatile, it can truly elevate anything on your plate. I know everyone first thinks of using this as an ultimate aioli for fries—and yes, it is heavenly with a crispy, salty batch fresh from the fryer or oven!
But please, don’t stop there! I adore using this as a thick, zingy sandwich spread garlic layer on my turkey burgers. It cuts through the richness so beautifully. My absolute favorite way to use it, though, is drizzled all over my crispy, spicy fried pickles. I’ve got my secret recipe for those over on the blog if you want to double down on appetizer heaven! This creamy garlic sauce is just too good to limit to just one dish.
Storage and Reheating for Your Creamy Garlic Sauce
Since this is a no-cook sauce, keeping it fresh is key! You can totally make a double batch because this creamy garlic sauce keeps beautifully in the fridge. Just pop it into a clean, airtight container—a mason jar works perfectly for me—and keep it cold. It stays wonderfully flavorful and thick for up to a full week. Honestly, I find the flavor even gets better after day two!
Now, about reheating: there’s really no need to reheat aioli, right? It’s meant to be served chilled or at room temperature, especially on cool things like sandwiches. If you notice it stiffens up after a few days in the cold, just let it sit on the counter for about 10 minutes before serving. If you need to thin it out slightly, stir in just a tiny drop of water or a splash more lemon juice. For other sauces you might want to heat up, check out my homemade tartar sauce recipe notes!
Frequently Asked Questions About the Garlic Aioli Recipe
I know when you’re trying a new way to make a favorite sauce, questions pop up right away! That’s totally normal. I gathered the questions I hear most often about this super quick garlic aioli recipe. I try to keep things simple here, but customizing is always half the fun when you’re making your own homemade dipping sauce! I always recommend checking out my notes on other simple mixtures, like my cranberry sauce recipe, for more flavor building basics.
Can I make a traditional, egg-yolk based garlic aioli recipe instead?
You absolutely can! Traditional aioli relies on emulsifying olive oil into an egg yolk. But honestly? This mayonnaise base gives you that same thick texture and is way faster and safer since we don’t mess with raw yolks. It’s my go-to anytime I need a quick garlic dip recipe.
How do I make this a roasted garlic aioli?
Oh, that’s a fantastic upgrade! If you want that deep, mellow flavor that many people associate with the best garlic aioli, you should roast the garlic first. Wrap a whole head of garlic in foil with a tiny drizzle of oil, bake at 400°F until soft (about 30 minutes), then squeeze the soft cloves right into the mix instead of mincing raw ones!
Why does my homemade garlic aioli taste too sharp?
Usually, that sharp flavor means the raw garlic didn’t get enough of a rest period! Remember that first step where I asked you to let the minced garlic sit alone for five minutes? That helps tame the raw edges. If it’s already mixed, don’t panic—just whisk in another tiny squeeze of lemon juice; that bright acidity helps correct that harshness beautifully.
Nutritional Snapshot of This Garlic Aioli Recipe
I always tell folks here at Mia’s Meals that when you make your own condiments, you know exactly what’s going into them, which is comforting! Since this recipe contains mostly fats from the mayonnaise base, the numbers reflect that. Please remember these are just estimates based on the ingredients listed in the recipe card. For about two tablespoons, you are looking at around 190 calories, roughly 20 grams of fat, and less than one gram of carbohydrates. It’s definitely a flavor booster, not a low-fat topping, but wow, is it worth it!
Share Your Homemade Garlic Aioli Creations
Now that you’ve whipped up this wonderfully easy garlic aioli recipe, I really want to see what you made! Did you use it as that perfect aioli for fries, or did you upgrade a simple roast chicken? Please jump down into the comments below and tell me! If you are feeling extra generous, leave a rating for the recipe—it helps other busy folks like us know this sauce is a winner. Snap a picture and share it with me; I love building our little community of happy home cooks around simple, delicious food! If you have any questions about technique or storage, don’t hesitate to reach out via my contact page.
PrintEasy 5-Minute Garlic Aioli Recipe
Make creamy, restaurant-style garlic aioli at home in just five minutes using simple ingredients. This homemade garlic aioli is perfect for dipping fries or spreading on sandwiches.
- Prep Time: 5 min
- Cook Time: 0 min
- Total Time: 20 min
- Yield: About 1 cup 1x
- Category: Condiment
- Method: No Cook
- Cuisine: American
- Diet: Vegetarian
Ingredients
- 1 cup mayonnaise (use your favorite brand)
- 3 cloves garlic, minced finely
- 1 tablespoon fresh lemon juice
- 1 teaspoon Dijon mustard
- 1/4 teaspoon salt
- 1/8 teaspoon black pepper
Instructions
- Place the minced garlic into a small bowl. Let it sit for 5 minutes to mellow the sharp flavor slightly.
- In a medium bowl, combine the mayonnaise, minced garlic, lemon juice, and Dijon mustard.
- Whisk the ingredients together until the mixture is completely smooth and uniform.
- Stir in the salt and black pepper until combined.
- Taste the aioli. Add more lemon juice or salt if needed to balance the flavor.
- Cover the bowl and chill the garlic aioli in the refrigerator for at least 15 minutes before serving. This step helps the flavors meld for the best taste.
Notes
- For a richer flavor, you can substitute 1/4 cup of the mayonnaise with olive oil, whisking slowly to emulsify.
- If you prefer a lemon garlic aioli, increase the lemon juice to 1.5 tablespoons.
- Store leftover creamy garlic sauce in an airtight container in the refrigerator for up to one week.
Nutrition
- Serving Size: 2 tablespoons
- Calories: 190
- Sugar: 0.5
- Sodium: 180
- Fat: 20
- Saturated Fat: 3.5
- Unsaturated Fat: 16.5
- Trans Fat: 0
- Carbohydrates: 0.5
- Fiber: 0
- Protein: 0.5
- Cholesterol: 10