
Oh, spring! Isn’t it just the best? When those little yellow heads pop up everywhere—I just can’t help myself. I always feel like I need to rush out and bottle up that sunshine before summer hits! My mom always said foraging for wild edibles was like finding little kitchen treasures just waiting to be unlocked. That’s exactly what we’re doing today. We’re turning those cheerful weeds into something truly special: bright, floral Dandelion Jelly for Spring Toasts. If you want to know more about my journey coming back to these simple truths, check out my story here. Trust me, this sweet, subtle spread is what spring breakfast dreams are made of. We’re going to use a trusty pectin method to make sure you get that perfect, spreadable set every single time. This recipe is pure joy in a jar!
- Why This Dandelion Jelly for Spring Toasts Recipe Works
- Gathering and Preparing Dandelion Flowers for Dandelion Jelly for Spring Toasts
- Ingredients for Making Jelly from Dandelion Flowers
- Step-by-Step Instructions for Dandelion Jelly for Spring Toasts
- Canning Dandelion Jelly for Long-Term Storage
- Tips for Perfect Dandelion Jelly for Spring Toasts Every Time
- Serving Suggestions: Gourmet Toast Toppings with Dandelion Jelly for Spring Toasts
- Storage and Reheating Instructions for This Sweet Dandelion Recipe
- Frequently Asked Questions About Dandelion Jelly for Spring Toasts
Why This Dandelion Jelly for Spring Toasts Recipe Works
This recipe is the absolute best way to capture that fleeting spring flavor. It’s simple, vibrant, and truly seasonal. I love it because it delivers exactly what the name promises – a gorgeous, Homemade Flower Jelly for Toast that tastes like sunshine!
- It gives you the Best Dandelion Jelly Set using commercial pectin, so you don’t have to worry about mushy results.
- It’s light enough that it doesn’t overpower the bread.
Achieving the Perfect Floral Flavor
Listen, the difference between beautiful jelly and bitter mess is the green stuff. Seriously! We are only steeping the yellow petals. Anything green—the base, the fuzz—will make your jelly taste like a gardener’s apron. Keeping it pure ensures that delicate, slightly sweet, floral flavor we’re aiming for, building that trust in your foraging skills!
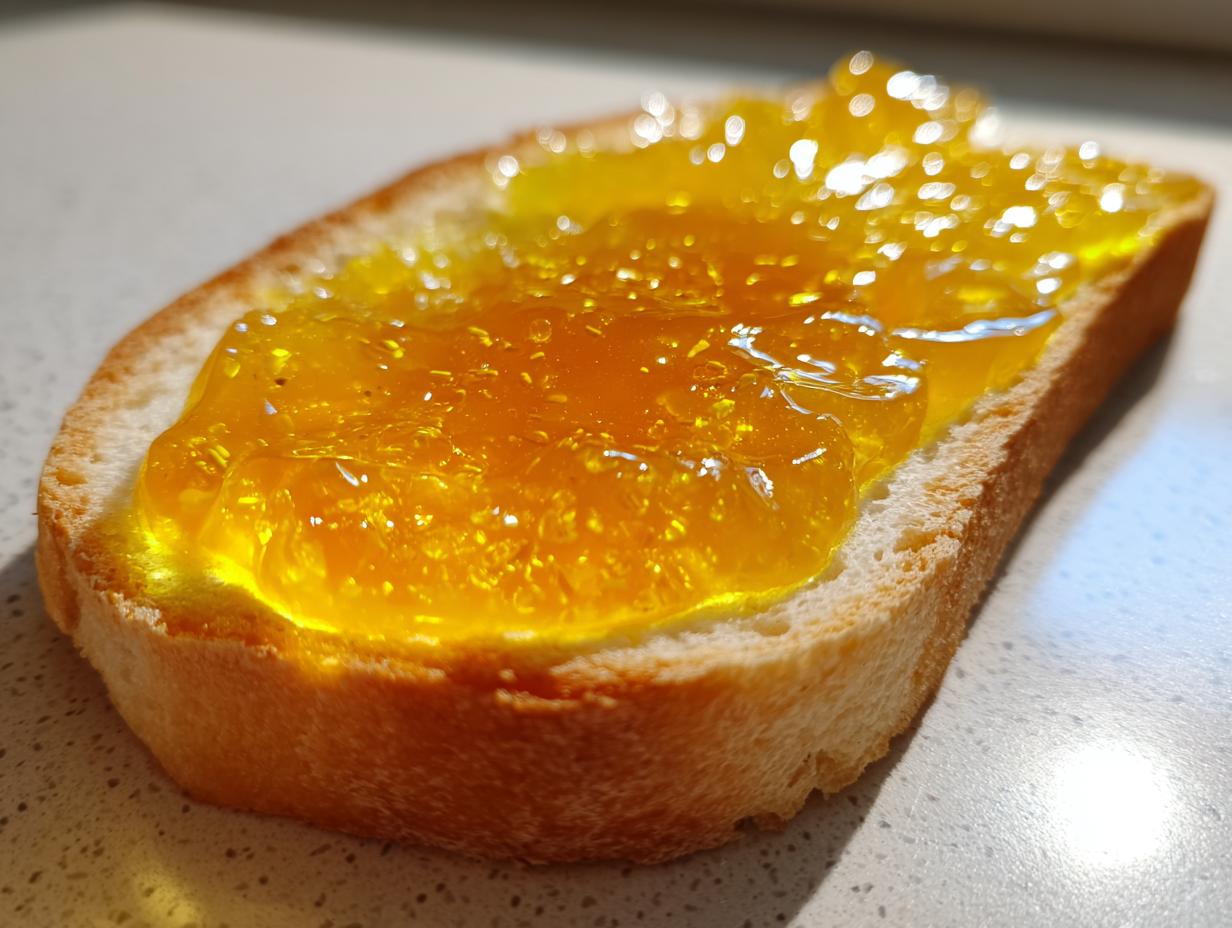
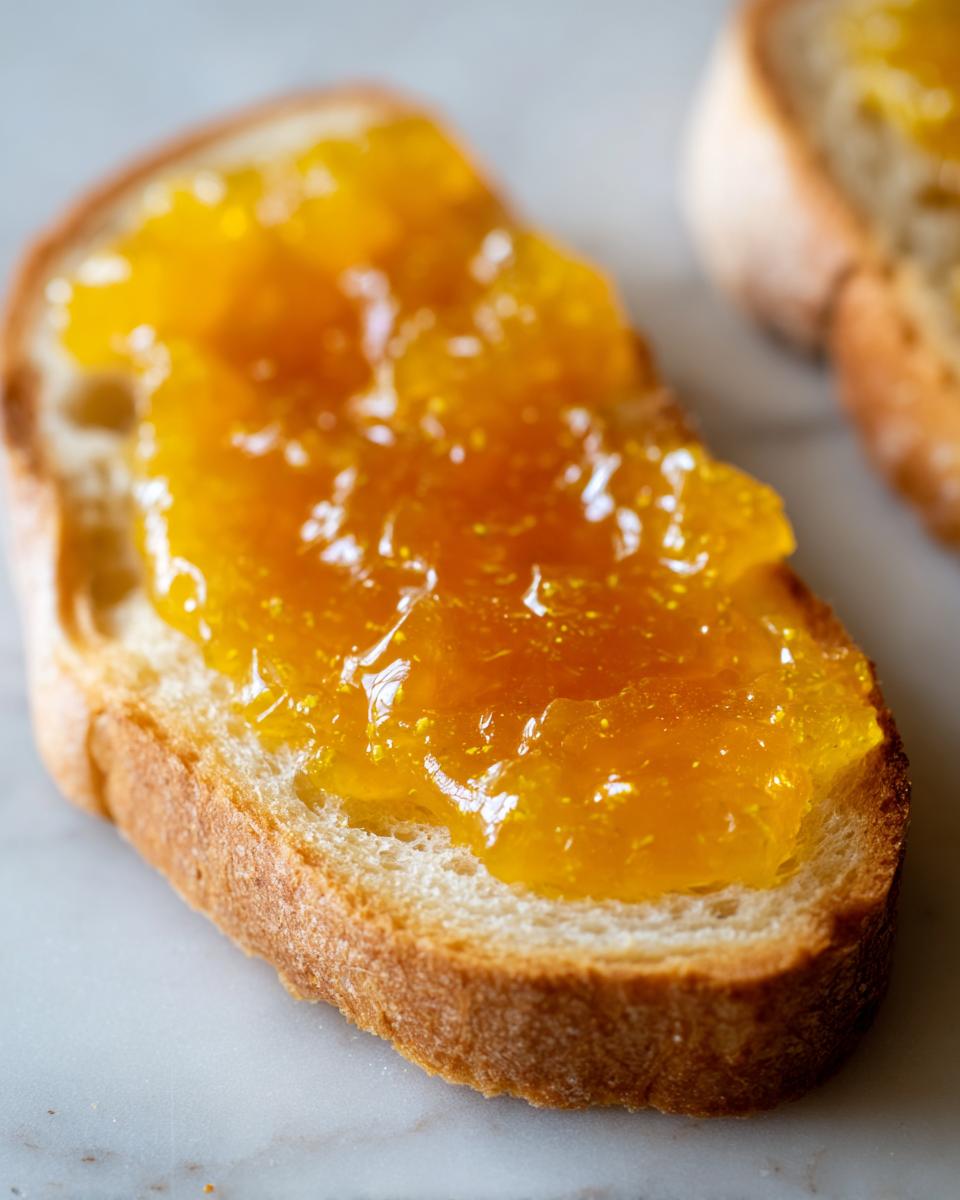
Ideal Pairing: Dandelion Jelly for Spring Toasts
If you’re going to the trouble of making a beautiful, bright yellow jelly, you need the perfect vehicle! This isn’t for heavy sandwiches; it’s for light, perfect spring bites. I make this specifically for thick slices of toasted sourdough or soft, buttery brioche. These bases let the jelly shine as a fantastic Gourmet Toast Topping.
Gathering and Preparing Dandelion Flowers for Dandelion Jelly for Spring Toasts
Okay, let’s talk foraging, because this part is where a lot of people get nervous. But honestly, this is my favorite part of making any Dandelion Jelly Recipe! You need flowers that are truly open, soaking up the sun. I always head out mid-morning; you want them open wide, but before the hottest part of the day makes them droop. Crucially, you must pick them from an area you know is completely clean—no roadside sprays, no weird runoff. We are focusing on the best technique for How to Harvest Dandelion Petals for Jelly.
The Importance of Petal Separation
I know it looks tedious, but you absolutely must separate the yellow petals from the green base. I mean every tiny piece of green fluff. That green sepals? That’s where the bitterness sneaks in! My quick trick is to hold the flower head upside down and gently snip the bottom stem off, then use clean kitchen scissors to quickly tear the petals away from the base. It’s faster than picking them off one by one. This careful cleaning ensures your final product is sweet, bright, and truly special.
Ingredients for Making Jelly from Dandelion Flowers
When you gather your supplies, make sure everything is measured out and ready to go before you start boiling. Jelly making moves fast once you hit the heat, so having everything staged is non-negotiable. Don’t substitute the pectin here, either! We need that specific powdered fruit pectin to help our low-pectin flowers set up nicely.
- 4 cups dandelion flower heads, making sure they are just the yellow petals—pack those petals in!
- 4 cups boiling water—use good, clean water for steeping.
- 1 box (1.75 oz) powdered fruit pectin—this is our helper for structure.
- 1/4 cup fresh lemon juice—needed to balance the flavor and help the pectin activate.
- 6 cups granulated sugar—don’t reduce this too much, we need that sugar for setting!
Step-by-Step Instructions for Dandelion Jelly for Spring Toasts
Alright, let’s move into the actual cooking phase of these Foraged Spring Jelly Instructions. This isn’t like making regular jam; the infusion step is everything here. Don’t rush it! This is the magic that pulls all that gorgeous sunshine flavor out of the flowers and into your liquid base. Once the tea is ready, it’s game time, and things move really fast, so have your jars sterilized and ready to go.
Steeping the Dandelion Tea Base
First thing: place those carefully separated yellow petals into a heatproof bowl. Now, boil your water and pour it right over those petals. Cover the bowl tightly—we want to trap all that fragrance! You need to let this steep for a minimum of 4 hours, but honestly, overnight is best. When you strain it later, you’re looking for a liquid that’s a rich, almost golden yellow color. If it looks pale, you didn’t steep long enough! Drain the mixture through cheesecloth, squeezing gently to get every last drop. Aim for about three to three-and-a-half cups of this beautiful base.
Achieving the Best Dandelion Jelly Set
Pour your dandelion tea—making sure to add the lemon juice now—into a large pot. Whisk in that powdered fruit pectin, then crank the heat to high. Bring it to a full, rolling boil that you absolutely cannot stir down. Once it’s boiling hard, toss in all 6 cups of sugar at once. Stir really well until it’s dissolved, then let it return to that powerful rolling boil again. This time, you boil it hard for exactly 60 seconds—no more, no less! That precise time is key for the pectin to activate properly for the Best Dandelion Jelly Set. After that minute, take it off the heat instantly! If you’re looking for more canning tips for beginners, check out how I handle sauces that need a good set.
Canning Dandelion Jelly for Long-Term Storage
Okay, now that we have this perfectly bright, hot jelly mixture, we have to seal it up properly if we want to enjoy this all year long. Don’t worry if you’ve never done this before; Canning Dandelion Jelly is actually very straightforward because we used commercial pectin, which helps stabilize the process. Safety first, always! Make sure your jars and lids are sterilized—I usually run mine through a quick boil right before I start filling them.
When you ladle that gorgeous, shimmering jelly into the jars, pay close attention to the headspace. We need exactly 1/4 inch of space between the top of the jelly and the rim of the jar. Too much space, and the jar might not seal right! Once they are filled, wipe the rims down with a clean, damp cloth—any sticky residue can break that seal.
Then, into the boiling water bath they go! Make sure your jars are covered by at least an inch of water above the lids. Process them for exactly 10 minutes. Now, you might have to adjust that time if you live high up in the mountains, so always double-check your local altitude guidelines, okay? Once the time is up, turn off the heat, take the lids off the canner, and let the jars sit in the hot water for about five more minutes. Then, carefully set them on a towel on your counter, spaced apart so they don’t touch. You should hear that sweet ‘ping’ sound as they vacuum seal. That noise? That’s the sound of sunshine coming to you in the middle of February!
Tips for Perfect Dandelion Jelly for Spring Toasts Every Time
Even though we used pectin, sometimes a little foamy drama happens! That foam isn’t dangerous, but it sure does make your beautiful, bright jelly look a little cloudy, and we want crystal clear glasses of sunshine for our morning routine, right? Skimming off that foam is worth the extra minute of effort. This ensures that when you serve your jars of Spring Breakfast Spreads, they look as vibrant internally as they do externally.
If you find your finished jelly is just a hair too soft for your liking, don’t panic next time! My notes suggested you could slightly reduce the sugar, but if you’ve already processed a batch, you can’t change it now. You could always treat that batch like a thick syrup and use it for drizzling over pancakes instead!
Preventing Foam on Your Homemade Flower Jelly
Just before you ladle the hot jelly into the jars—after the minute of hard boiling is done—grab a spoon and gently skim any bubbles or foam off the top surface. These light bubbles form when the jelly mixture is agitated by the boil. Getting rid of them gives you a smooth, professional-looking jar. It keeps your presentation flawless for when you’re showing off those amazing Gourmet Toast Toppings!
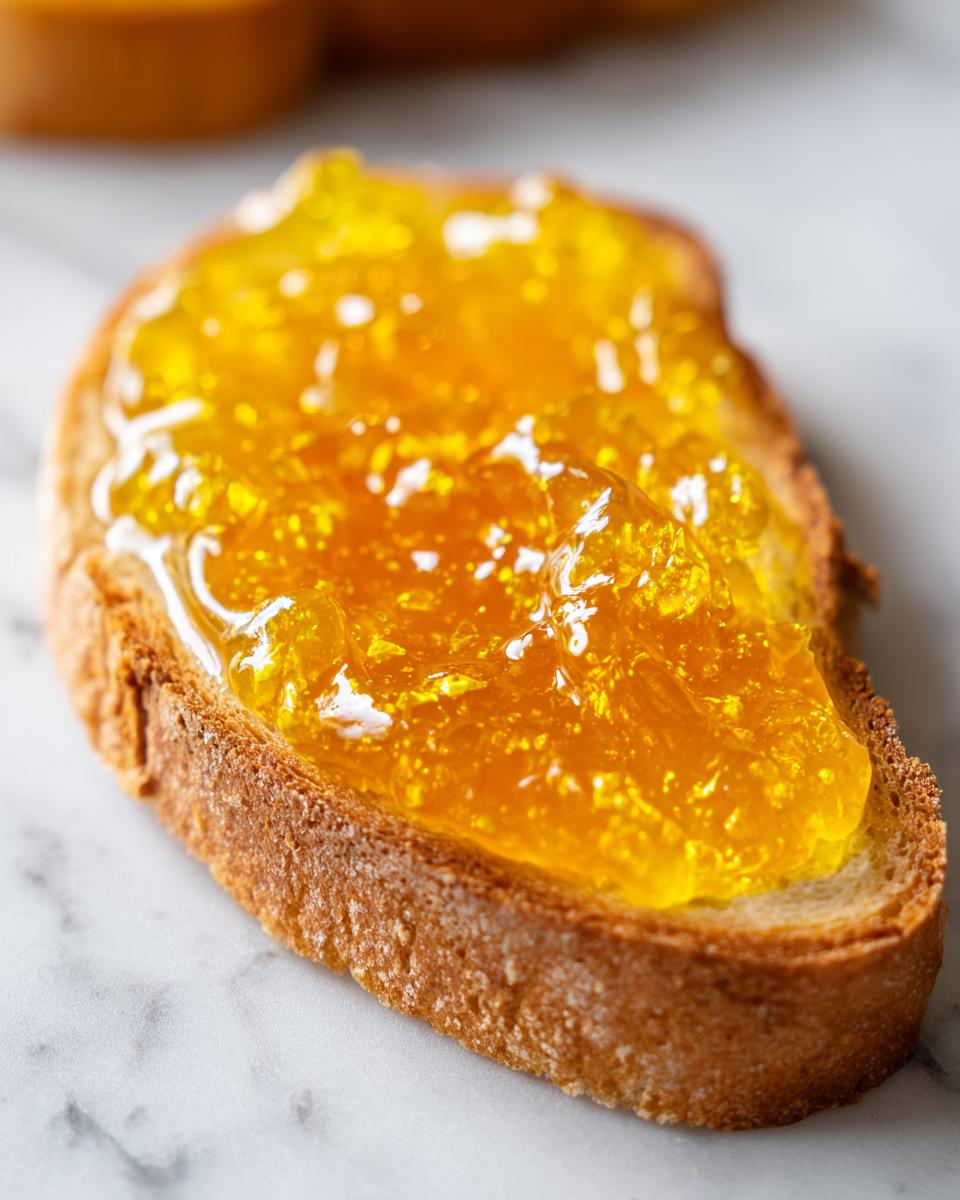
Serving Suggestions: Gourmet Toast Toppings with Dandelion Jelly for Spring Toasts
Okay, now that you have this stunning, bright yellow jelly, we need to treat it right! While just a swipe on warm sourdough is heavenly, you can really elevate your breakfast game. Think beyond the basic spread. This floral sweetness cries out for creamy textures!
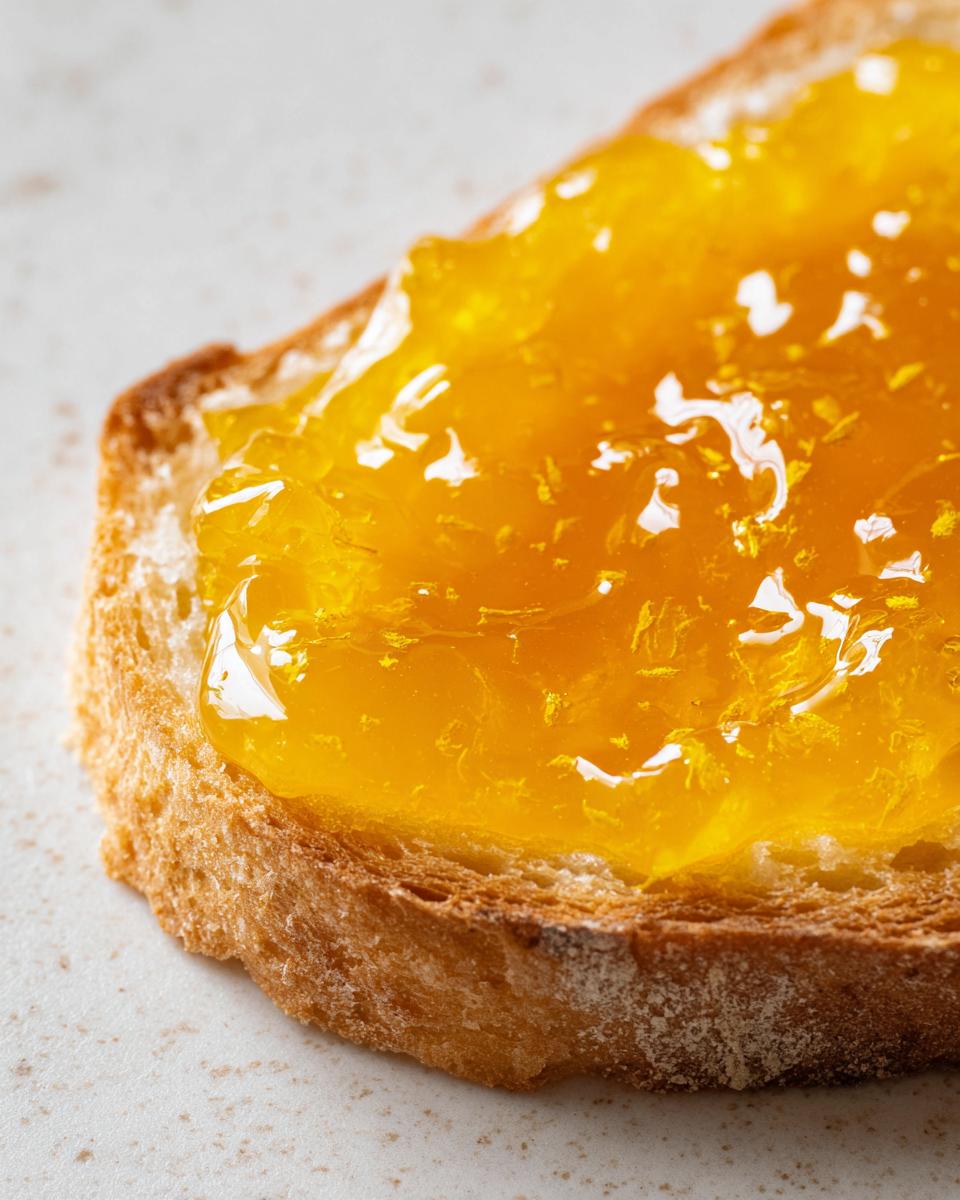
Try this: toast up some lovely artisan bread—sourdough or maybe even a sweet brioche—and slather on a layer of whipped ricotta. You can find my favorite whipped ricotta recipe right here, which adds such a luxurious feel. Top that creamy base with a generous dollop of your Dandelion Jelly for Spring Toasts, and maybe finish it with a tiny sprinkle of fresh thyme or a few flakes of sea salt. It’s amazing how delicious these Artisan Bread Spreads become when you combine sweet, tangy, and fresh flavors!
Storage and Reheating Instructions for This Sweet Dandelion Recipe
Now that we have safely canned those beautiful jars of floral goodness, we have to talk about keeping them perfect. Storing these preserves is actually wonderfully simple, but you have to respect the process we just went through! For the jars you successfully processed in the water bath canner, they are essentially good to go for a very long time.
If you kept them sealed correctly, store those jars in a cool, dark place—a pantry or cupboard works perfectly. Away from the stove or direct sunlight is best! If kept sealed, they are naturally shelf-stable for up to a year—maybe even longer, but mine never last that long! That’s the beauty of canning dandelion jelly.
Now, what about the jars you didn’t seal? Maybe you made a small, experimental batch, or perhaps one didn’t quite ‘ping’ during cooling? No problem! Those jars are now treated just like any other fresh condiment. They need to go straight into the refrigerator. Once opened, or if they never sealed, the rule is the same: keep them chilled. They will stay wonderful in the fridge for about three weeks. Remember, cold temperatures keep that bright yellow color looking its best!
Frequently Asked Questions About Dandelion Jelly for Spring Toasts
I always get so many questions when I share something from the garden! It’s exciting, but sometimes people aren’t sure about the foraging aspects or the setting process. Here are the things I get asked most often about making this Dandelion Jelly Recipe that tastes so wonderful on toast.
Can I use honey instead of sugar in this Dandelion Jelly Recipe?
Oh, I wish you could, especially when trying to make Sweet Dandelion Recipes! However, for this specific recipe where we are using commercial powdered pectin to guarantee a firm texture, adding honey just won’t work well. Honey has a different sugar structure, and it messes up the chemical balance that the pectin needs to set up properly. If you want that perfect structure for your Gourmet Toast Toppings, stick to the white granulated sugar we called for. You can always use honey next time to make a syrup substitute!
How do I ensure my jelly is bright yellow and not dull?
This goes right back to how you handle the flowers! The brighter the yellow you start with, the brighter the final jelly will be. Make sure you harvest your dandelions early in the day when they are fully open and vibrant. Most importantly, be ruthless about removing every tiny bit of the green base when you are preparing the petals. Any green material will dull the color and, yes, make it taste bitter. A great harvest equals a bright Bright Yellow Jelly Recipe!
If you need more ideas for quick and easy mornings, check out some of my favorite easy breakfast ideas!
PrintSimple Dandelion Jelly for Spring Toasts
Make a bright, floral dandelion jelly using foraged spring blossoms. This recipe provides clear steps for a perfect set, ideal for serving on sourdough or brioche toast.
- Prep Time: 30 min plus 6 hours steeping
- Cook Time: 20 min
- Total Time: 6 hours 50 min
- Yield: About 6 half-pint jars 1x
- Category: Preserves
- Method: Canning
- Cuisine: American
- Diet: Vegetarian
Ingredients
- 4 cups dandelion flower heads (petals only)
- 4 cups boiling water
- 1 box (1.75 oz) powdered fruit pectin
- 1/4 cup fresh lemon juice
- 6 cups granulated sugar
Instructions
- Harvest dandelion heads early in the morning when fully open. Separate the yellow petals from the green bases; discard all green parts. You need about 4 cups of packed petals.
- Place the dandelion petals in a heatproof bowl. Pour 4 cups of boiling water over the petals. Cover and let steep for 4 to 6 hours, or overnight, until the water is deeply colored.
- Strain the liquid through a fine-mesh sieve lined with cheesecloth. Gently squeeze the cheesecloth to extract all liquid. You should have about 3 to 3.5 cups of dandelion tea.
- Pour the dandelion tea into a large, non-reactive saucepan. Add the lemon juice.
- Stir in the powdered fruit pectin. Bring the mixture to a rolling boil over high heat, stirring constantly.
- Add all the granulated sugar at once. Stir well to dissolve the sugar.
- Return the mixture to a full rolling boil that cannot be stirred down. Boil hard for exactly 1 minute, stirring constantly.
- Remove from heat immediately. Skim off any foam from the surface.
- Ladle the hot jelly into sterilized canning jars, leaving 1/4 inch headspace. Wipe rims clean.
- Process jars in a boiling water bath canner for 10 minutes, adjusting for altitude. Remove jars and let cool undisturbed until sealed.
Notes
- For the best flavor and color, use only the yellow petals. The green parts can make the jelly bitter.
- If you prefer a softer set, slightly reduce the sugar, but this may affect the final texture.
- This jelly pairs well with toasted sourdough, brioche, or ricotta toast for a gourmet toast topping.
- If you do not want to can, store the jelly in the refrigerator and use within three weeks.
Nutrition
- Serving Size: 2 tablespoons
- Calories: 100
- Sugar: 25
- Sodium: 1
- Fat: 0
- Saturated Fat: 0
- Unsaturated Fat: 0
- Trans Fat: 0
- Carbohydrates: 26
- Fiber: 0
- Protein: 0
- Cholesterol: 0