
If you’ve ever looked out at your garden overflowing with crisp green cabbage and thought, “How do I save all this deliciousness?”, you are speaking my language! Back in Ohio, preserving the summer bounty was just part of life, and that feeling of connecting generations through food is what drives me every day here at Mia’s Meals. That’s why I had to share what I truly believe is the Best Fermented Cabbage Recipe—simple, trustworthy, and packed with benefits. Forget those complicated store-bought jars; making your own classic sauerkraut, or using this Fermented Cabbage base, is surprisingly easy. This method guarantees success for beginners, and it brings that delicious, tangy flavor that makes every meal feel a little more connected.
I promise, this is the recipe you’ll come back to again and again. You can learn more about my philosophy of simple cooking for a happy home over at my story page.
- Why This Fermented Cabbage Recipe Works for Your Home
- Gathering Ingredients for Your Fermented Cabbage
- How to Make Sauerkraut at Home: The Simple Cabbage Fermentation Guide
- Tips for Success with Your Fermented Cabbage
- Storage and Long Term Vegetable Preservation of Fermented Cabbage
- Serving Suggestions: What to Eat with Homemade Sauerkraut
- Understanding the Nutrition in Fermented Cabbage
- Frequently Asked Questions About Fermented Cabbage
- Share Your Best Fermented Cabbage Results
Why This Fermented Cabbage Recipe Works for Your Home
I know you’re looking for dependable results without fuss, and that’s exactly what this recipe delivers. We stick to the old ways because they work! This is truly the go-to blueprint for DIY Homemade Sauerkraut that always comes out crisp and tastes exactly right. It lets the natural magic happen!
Here’s why you can trust this process to be safe and delicious:
- It’s a Natural Probiotic Food made purely from cabbage and salt.
- It requires zero weird ingredients—no vinegar, no commercial yeast, just pure vegetables!
Reliable Lacto Fermentation Tutorial
We are using simple lacto fermentation here, which means we encourage the good guys—the Lactobacillus bacteria naturally present on cabbage—to do all the heavy lifting. They create that wonderful tang and fizz while keeping bad bacteria out. Safety first, always!
Quick Cabbage Pickle Timeline
You don’t need to wait forever for a reward, either. If you need a fast topping for hot dogs next weekend, 7 days is usually perfect for a fantastic, tangy flavor. For that deep, complex taste that really sings, let it go for three or even four weeks. It fits right into your busy life, I promise!
Gathering Ingredients for Your Fermented Cabbage
Okay, getting ready is the fun part! For this recipe, precision with your salt matters way more than the exact ounce of cabbage, but honestly, 5 pounds is the sweet spot for a standard half-gallon jar. We only need three simple things to start the magic of Fermented Cabbage.
Essential Ingredients for Fermented Cabbage
When you grab your salt, listen to me: skip the iodized stuff! Iodine can actually stop those happy little bacteria from doing their job. You must use non-iodized salt—kosher or sea salt are my favorites here.
- 5 lbs green cabbage (just standard heads, nothing fancy!)
- 3 tablespoons non-iodized salt (sea salt or kosher salt works best)
Flavor Variations for Your Fermented Cabbage
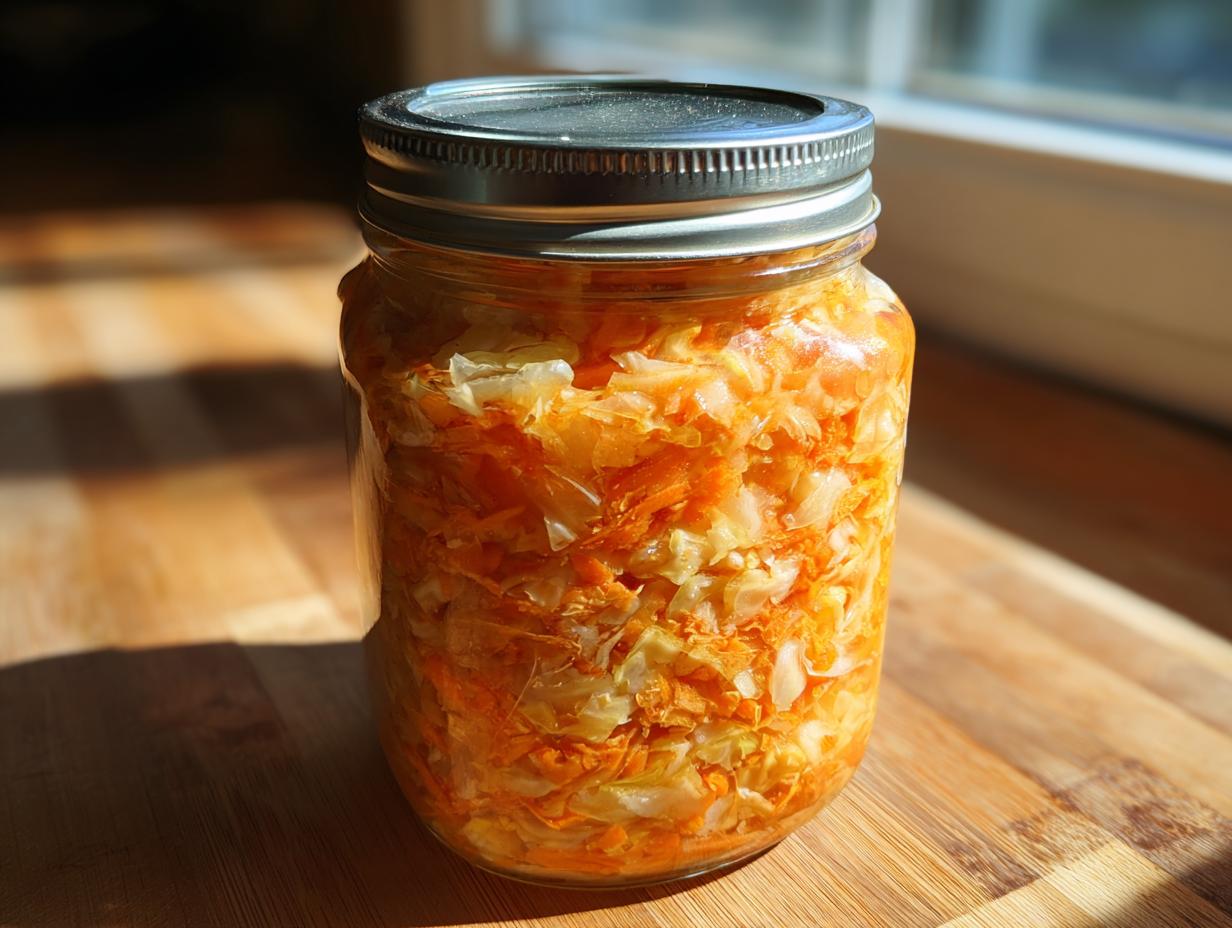
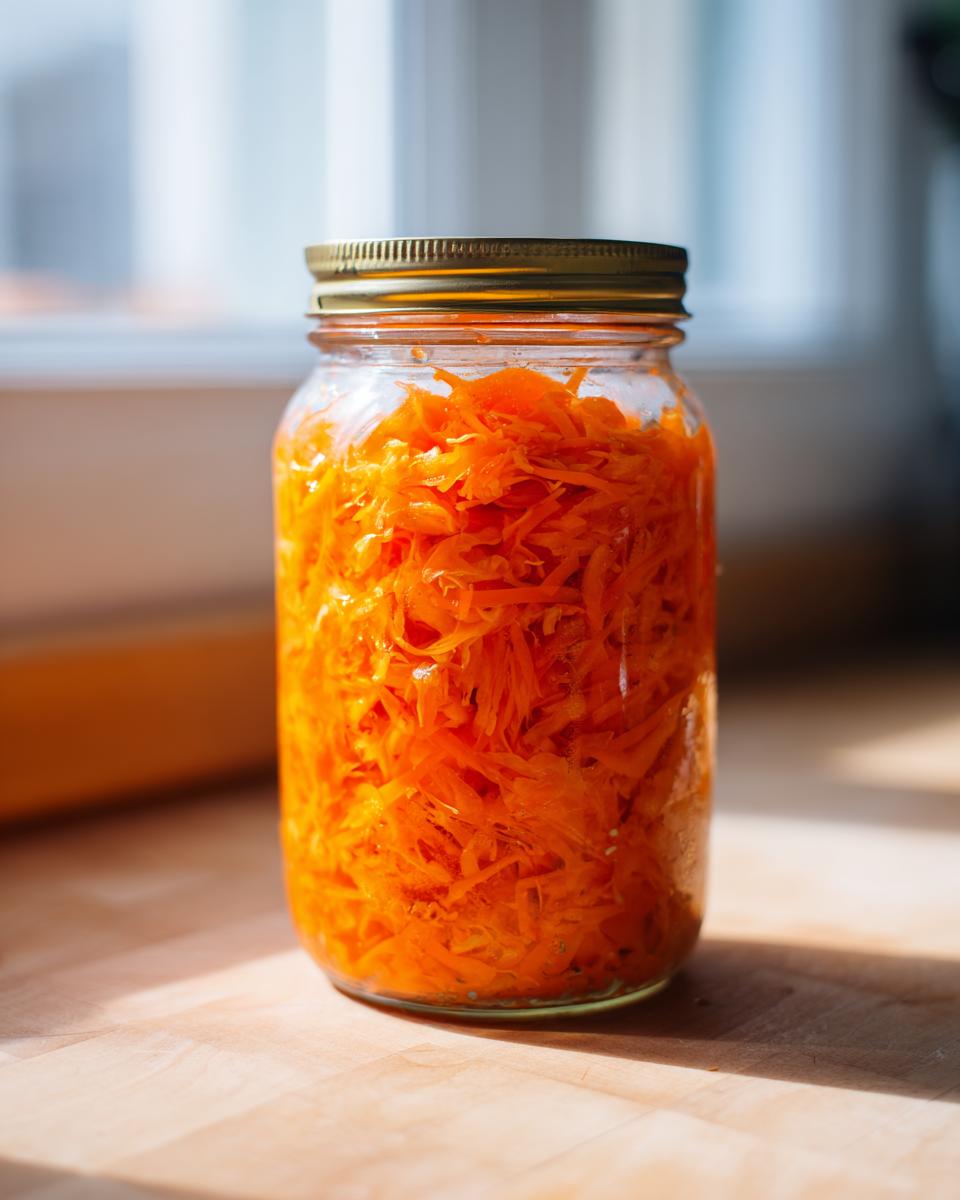
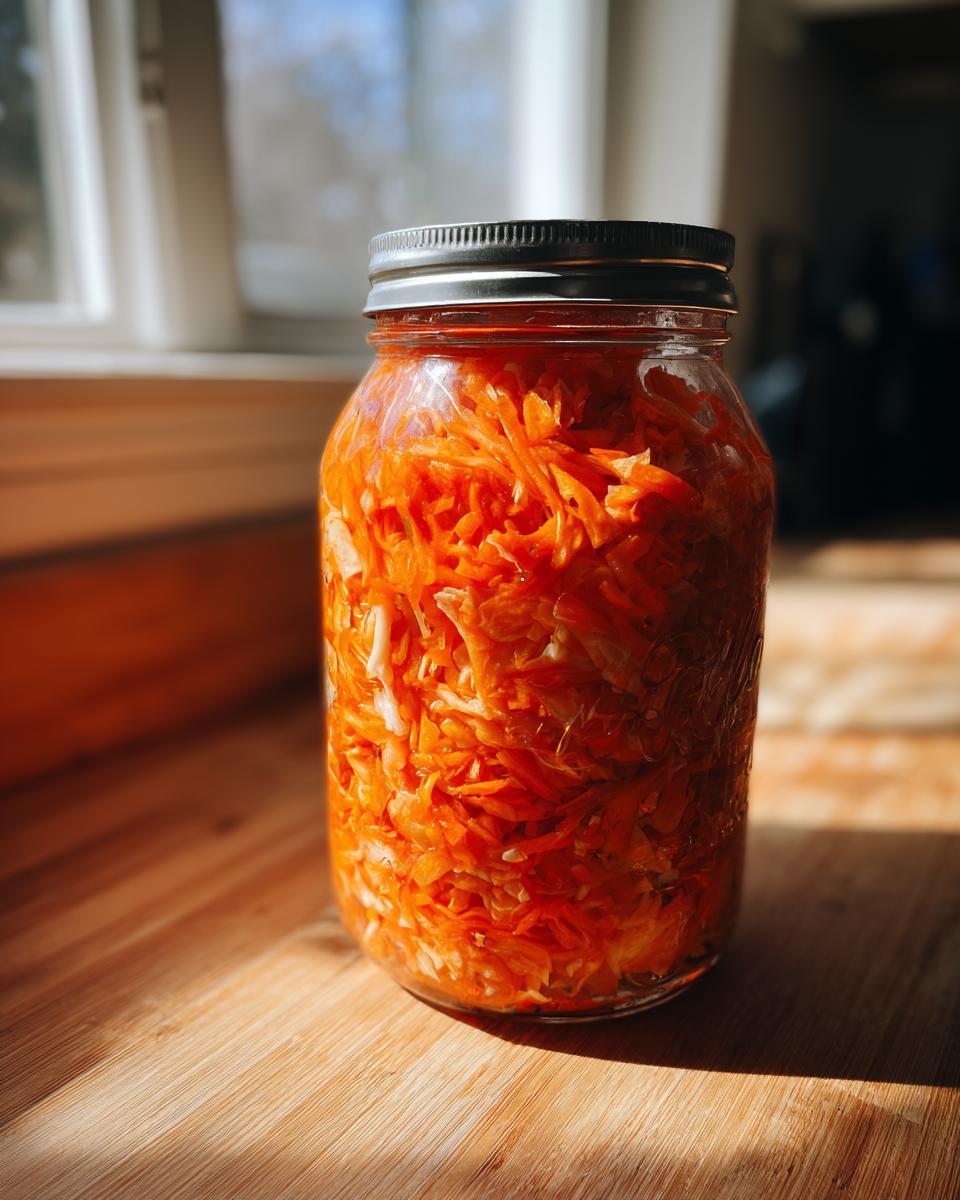
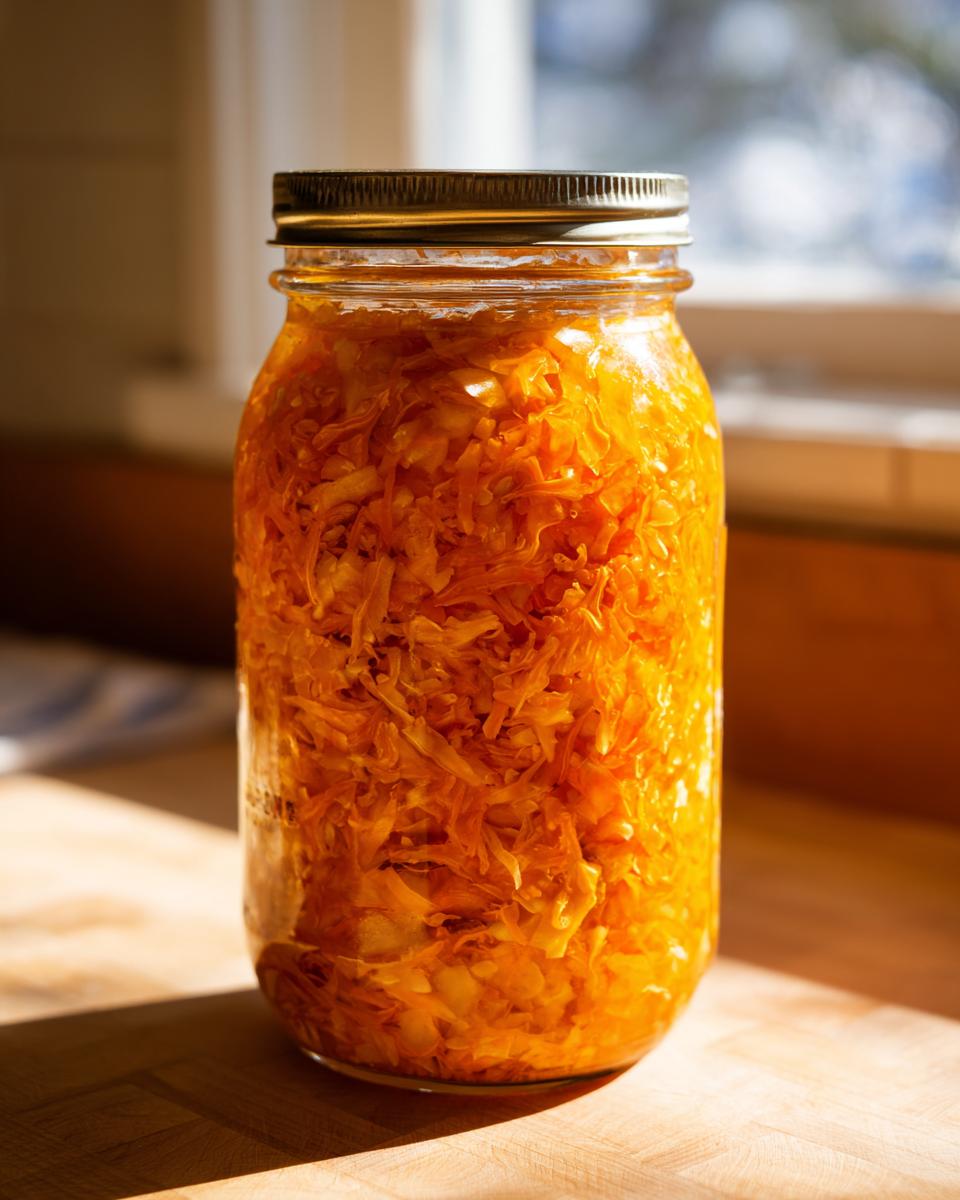
If you want to jazz things up—and you absolutely should try it sometime!—I love adding a little something extra right here with the salt. Caraway seeds give it that classic deli tang, while juniper berries add a wonderfully earthy depth. Just slice up a carrot or two thinly and throw it in as well for a nice pop of color!
- Optional: 1 teaspoon caraway seeds
- Optional: 1/2 teaspoon juniper berries
How to Make Sauerkraut at Home: The Simple Cabbage Fermentation Guide
This whole process takes about 30 minutes of active work, which is fantastic for such an ancient preservation method! Once you’re done chopping and packing, the hard work is done, and nature takes over. We move through three simple stages to create the best Fermented Cabbage you’ve ever tasted.
Preparing the Cabbage and Salting
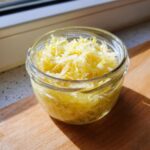
First things first: we need to clean up those heads. Peel off any ugly, beat-up outer leaves—but save one or two whole ones! You’ll thank me later for keeping those aside. Cut your cabbage quarters and get rid of that tough core. Now, slice everything thinly. I use my food processor’s shredding disk sometimes, but a sharp knife works just as well if you take your time. Uniform shreds mean even fermentation, so try to keep those pieces similar in size.
Toss all those shreds into your biggest bowl and sprinkle that non-iodized salt evenly over the top. Now, get your hands in there!
Massaging and Packing for Fermented Cabbage
This is the most important part for getting that beautiful, natural brine! You have to really massage the salt into the cabbage for a good 5 to 10 minutes. It feels silly at first, but the cabbage will soften, wilt down, and start weeping liquid. Once it looks juicy, mix in those optional caraway seeds if you’re using them.
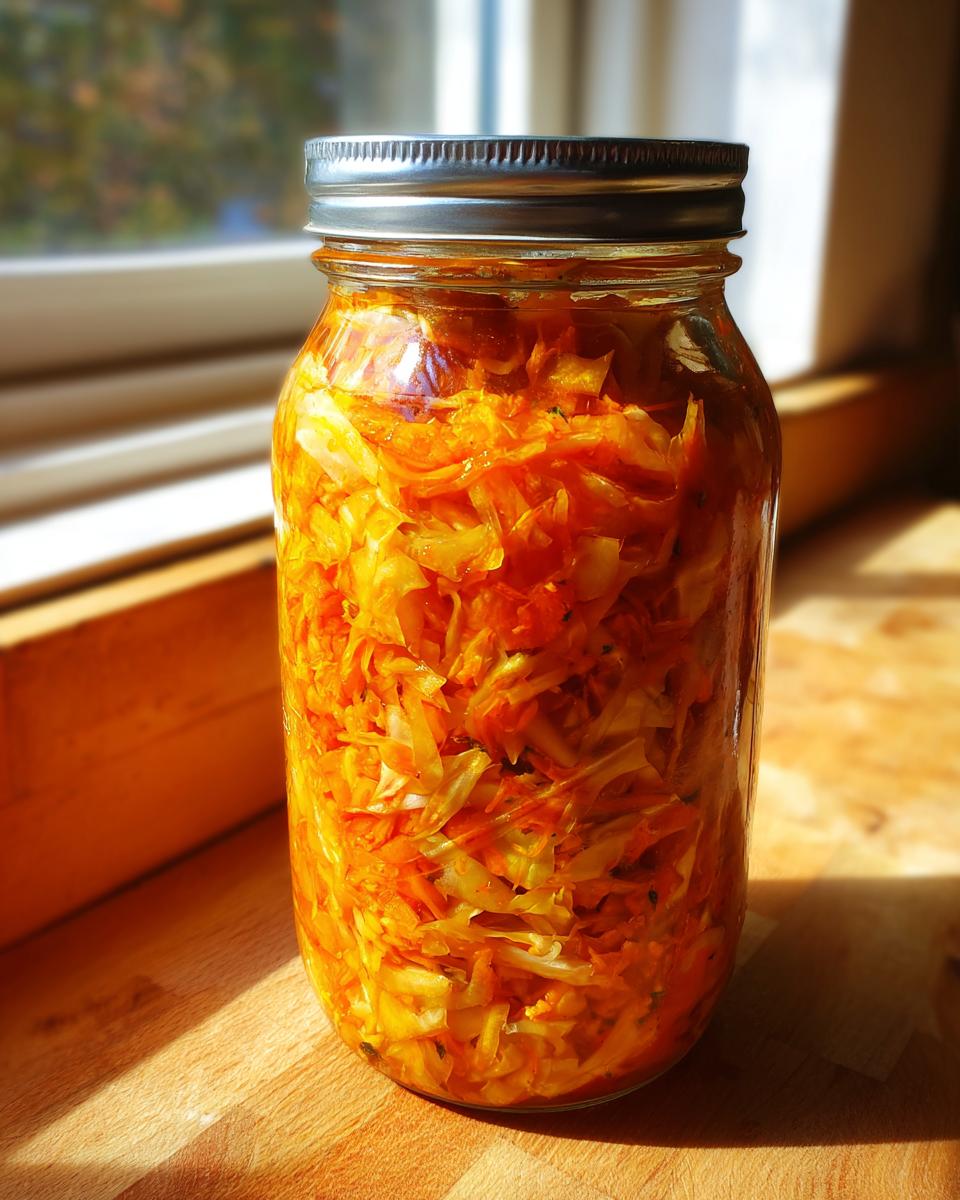
Pack that salted cabbage tightly into your clean glass jar. You need to press it down firmly until that liquid—your brine—rises up completely over the top of the shreds. If you don’t have enough, use one of those reserved outer leaves to weigh everything down. Seriously, everything must stay submerged! If you absolutely need more liquid, mix up a small bit of extra brine (one teaspoon of salt per cup of filtered water) and top it up until you have at least an inch of liquid covering the cabbage. Don’t forget to check out this sauce recipe while you wait for the brine to form!
The Fermentation Process for Your Fermented Cabbage
Lid time! You don’t want a tight seal—you want gases to escape, so screw the lid on loosely or use a proper airlock lid if you have one. Find a cool, dark spot in your pantry or basement, ideally between 60 and 70°F. Check it every day for the first week. You’ll see bubbles forming, which is how you know your Fermented Cabbage is happily bubbling away. Taste it after 7 days; if you like it mild, it’s done! If you want it sharper, let those bubbles keep going for up to four weeks before you seal the jar and pop it in the fridge.
Tips for Success with Your Fermented Cabbage
Now that you have your cabbage packed, let’s talk about what happens next. Don’t panic if things look a little weird! Dealing with vegetable ferments feels like a mysterious science project sometimes, but with a few pointers on Troubleshooting Fermented Vegetables, you’ll be fine. Confidence is key when you’re making your own natural probiotic food.
Salt Purity and Brine Management
I have to mention the salt again because it’s that crucial for this lacto fermentation tutorial. Absolutely stick to non-iodized salt. If you use regular table salt, you risk stopping the good bacteria from taking over. If you taste your jar after a week and realize your cabbage just isn’t submerged enough—whoops!—it’s easy to fix.
Just mix up a small bit of extra brine: dissolve one teaspoon of your good salt into one cup of filtered water. Pour just enough of this solution over your cabbage to make sure every single shred is swimming beneath the surface. Easy peasy!
Identifying Good vs. Bad Fermented Cabbage
This is where most beginners get nervous, but it’s often fine! If you see a thin, white, powdery film forming on the surface of the brine, that’s usually just Kahm yeast. It’s harmless, so you can just gently skim it off with a clean spoon. No big deal!
However, if you see anything fuzzy—black, green, or pink mold—you must throw that batch out. If you see that fuzzy stuff, clean your jars meticulously and start over. Safety is always my number one concern when you’re preserving food at home.
Storage and Long Term Vegetable Preservation of Fermented Cabbage
When your Fermented Cabbage finally tastes exactly how you dreamed it would—that perfect balance of sour and crisp—it’s time to hit the pause button! That’s easy to do: just seal that jar up tight, no more airlocks needed, and move it straight into the refrigerator. Those cold temperatures slow down the good bacteria almost completely, locking in that delicious flavor you worked hard to achieve. This is how we manage long term vegetable preservation here in my kitchen.
Once refrigerated, your sauerkraut can last for months! You’ll want to check on it every now and then, especially if you keep it a long time. If the brine starts looking cloudy or you notice any strange smells that aren’t pleasantly sour, it’s probably past its prime. But honestly, it tastes so good you’ll usually eat it up long before that happens!
Serving Suggestions: What to Eat with Homemade Sauerkraut
Now that you’ve got this incredible, tangy crunch ready to go, you might be wondering what to eat with homemade sauerkraut! Let me tell you, this stuff is an instant upgrade to almost any plate. It brings that bright, sour punch that cuts right through rich foods. It’s an absolute must-have when you’re serving up comfort food.
My favorite way to use it is piled high on a classic hot dog or alongside a big slice of my famous meatloaf, which you can find the recipe for right here: Classic Juicy Meatloaf Recipe. It’s also amazing with roasted potatoes or even just mixed into scrambled eggs. The texture and acidity wake everything up!
Don’t be afraid to experiment! It adds fantastic complexity to Reubens or even just layered on a simple grilled cheese sandwich. It’s such a versatile healthy gut food recipe.
Understanding the Nutrition in Fermented Cabbage
I always get asked if making my own sauerkraut means losing out on the good stuff, and I can happily tell you, that’s just not true! Since we are just using cabbage and salt, the nutritional profile stays really clean. Remember, these numbers are just estimates because every batch might be slightly different depending on the size of the cabbage head you start with. But I wanted to give you a quick snapshot!
For a small serving size of about 1/4 cup, you’re looking at roughly 25 calories. It’s naturally low in sugar (only about 1 gram!) and has barely any fat, which is great if you’re watching those things.
What really shines here, though, is that this is a wonderful healthy gut food recipe. Because we’re using active lacto fermentation, you are getting those beneficial probiotics that are so good for digestion, even if the numbers don’t scream ‘superfood’ on paper. It’s about the live cultures, honey!
Frequently Asked Questions About Fermented Cabbage
It’s so common to have questions crop up when you start dabbling in vegetable preservation! I get it; you want to make sure you’re doing this right and keeping things safe. Don’t worry, a few quick answers usually clear everything up so you can feel confident moving forward. If you are looking for quick meal ideas to use this up once it’s ready, check out my guide on quick weeknight dinners!
How long does it take for my Fermented Cabbage to start bubbling?
Usually, you should see some signs of life—nice little bubbles rising to the surface—within one to three days, depending on how warm your kitchen is. If you hit Day 5 and things look totally still, check two things right away: 1) Is the brine covering everything? and 2) Is your room temperature warm enough? If it’s too cold, the good bacteria just take their sweet time getting started!
Can I use table salt instead of non-iodized salt for this recipe?
Oh, please don’t! This is a big one for any lacto fermentation tutorial. You really must use non-iodized salt—Kosher or sea salt is best. Regular table salt has iodine and anti-caking agents added to it, and those extra ingredients can actually stop your beneficial bacteria from multiplying the way we need them to for perfect Fermented Cabbage.
What is the difference between this and Kimchi?
That’s a great question, since both are amazing fermented vegetables! This recipe is for traditional, classic sauerkraut, which is fundamentally just cabbage and salt treated a certain way. Kimchi, on the other hand, is a Korean staple that usually involves way more flavor components, specifically Korean chili paste (gochugaru) and often fish sauce or other seasonings. They are cousins, but they definitely have different flavor profiles!
Share Your Best Fermented Cabbage Results
Now that you’ve tasted homemade goodness, I would absolutely love to hear about it! Did you go for the quick 7-day pickle, or did you let yours ferment for the full month? Please leave a comment below and let me know how it turned out and how long you let your delicious Fermented Cabbage go. Rating the recipe tells me what’s working best for your home!
If you want to keep getting simple, tried-and-true recipes just like this one, make sure you follow Mia’s Meals for more ways to bring connection back to your dinner table. And if you ever have a tricky question, feel free to reach out via my contact page!
PrintClassic Sauerkraut Recipe: Easy Fermented Cabbage for a Happy Home
Learn how to make DIY homemade sauerkraut using simple lacto fermentation. This traditional recipe yields natural probiotic food perfect for your busy life.
- Prep Time: 30 min
- Cook Time: 0 min
- Total Time: 30 min (plus 1-4 weeks fermentation)
- Yield: About 2 quarts 1x
- Category: Side Dish
- Method: Lacto Fermentation
- Cuisine: American
- Diet: Vegan
Ingredients
- 5 lbs green cabbage
- 3 tablespoons non-iodized salt (sea salt or kosher salt)
- Optional: 1 teaspoon caraway seeds
- Optional: 1/2 teaspoon juniper berries
Instructions
- Remove the outer, damaged leaves from the cabbage heads. Reserve one or two whole outer leaves.
- Cut the cabbage into quarters and remove the core from each quarter.
- Shred the cabbage finely using a sharp knife or a food processor with a shredding disc.
- Place the shredded cabbage in a very large bowl. Sprinkle the salt evenly over the cabbage.
- Massage the salt into the cabbage using clean hands for 5 to 10 minutes. The cabbage will begin to release liquid and soften significantly.
- If using, add caraway seeds or juniper berries now and mix well.
- Pack the salted cabbage tightly into a clean, wide-mouth glass jar (a half-gallon or gallon jar works well). Press down firmly to force the brine (liquid) to rise above the cabbage. The brine must cover the cabbage completely.
- If the brine does not cover the cabbage, use a piece of the reserved outer leaf to press the shredded cabbage down. If needed, mix a small amount of extra salt brine (1 teaspoon salt dissolved in 1 cup of filtered water) and pour enough over the top to cover everything by at least one inch.
- Place an airlock fermentation lid or a standard lid loosely on top of the jar to allow gases to escape.
- Place the jar in a cool, dark place (ideally 60-70°F or 15-21°C) away from direct sunlight.
- Check the jar daily for the first week. Press the cabbage down if necessary to keep it submerged. You should see bubbles forming, indicating active fermentation.
- Ferment for 1 to 4 weeks. Taste it after 7 days. If you prefer a milder flavor, let it ferment longer. For a quick cabbage pickle, 7 days may be enough.
- Once the flavor is to your liking, seal the jar tightly and move it to the refrigerator for long term vegetable preservation. This stops the fermentation process.
Notes
- Use only non-iodized salt; iodine can inhibit the beneficial bacteria growth needed for lacto fermentation.
- If you see white film (kahm yeast) on the surface, you can usually skim it off without issue, provided the liquid remains clear and there is no fuzzy mold.
- If you see fuzzy, colored mold (black, pink, or green), discard the batch and clean your equipment thoroughly before starting again.
- Homemade sauerkraut is a healthy gut food recipe that pairs well with sausages, potatoes, or sandwiches.
Nutrition
- Serving Size: 1/4 cup
- Calories: 25
- Sugar: 1
- Sodium: 300
- Fat: 0
- Saturated Fat: 0
- Unsaturated Fat: 0
- Trans Fat: 0
- Carbohydrates: 5
- Fiber: 2
- Protein: 1
- Cholesterol: 0