
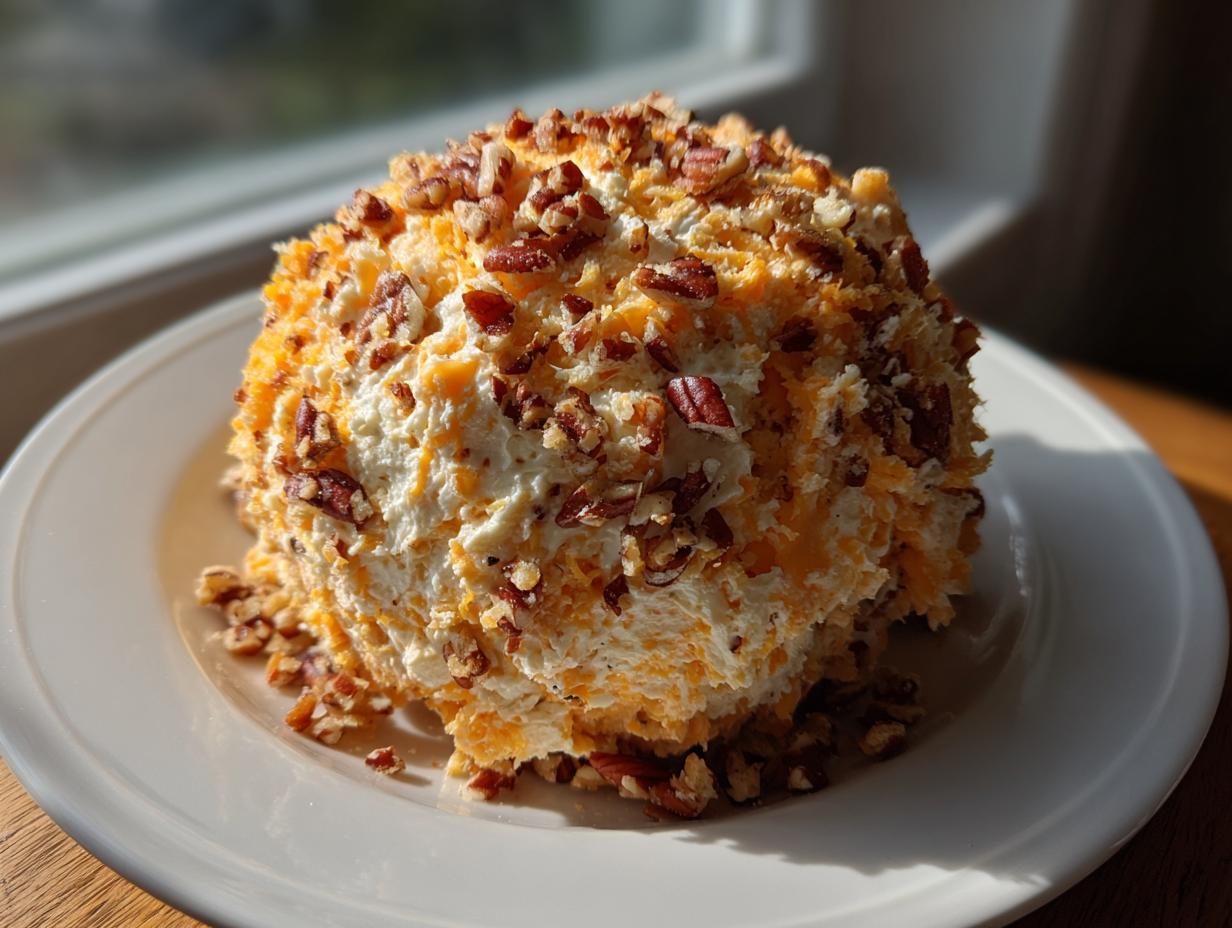
You know how it is when the invitations start rolling in—suddenly you need a party centerpiece that looks gourmet but doesn’t steal the entire day! Back home in Ohio, my mother always said the best holiday cheese ball recipe wasn’t fancy; it was just reliably delicious and brought everyone together. Well, I’m here to tell you that this cheese ball recipe is the one that always wins. It’s the ultimate classic party food because it’s so easy, requires zero oven time, and tastes incredible. This is my absolute best version, guaranteed to be the hit of your next get-together, whether it’s Christmas Eve or a big football Sunday! This simple approach proves that connected food doesn’t need complicated steps, just good ingredients.
- Why This is the Best Cheese Ball Recipe for Any Gathering
- Gathering Ingredients for Your Classic Cheese Ball Recipe
- How to Make a Cheese Ball: Step-by-Step Instructions
- Expert Tips for the Perfect Cheese Ball Recipe
- Holiday Cheese Ball Ideas and Flavor Variations
- Serving Suggestions for Your Recipe for Cheese Ball and Crackers
- Make Ahead Appetizer Storage for Your Cheese Ball Recipe
- Frequently Asked Questions About This Cheese Ball Recipe
- Estimated Nutritional Data for This Simple Cheese Spread
- Estimated Nutritional Data for This Simple Cheese Spread
Why This is the Best Cheese Ball Recipe for Any Gathering
When I put this cheese ball recipe down in front of guests, I know I won’t have to worry about it. It’s just the best classic party food because it always delivers big flavor without any stress on my end. Trust me, this is the secret weapon for anyone hosting!
- It’s lightning fast! You seriously only spend about 15 minutes actively working on it before it chills.
- The texture is unbeatable—smooth, rich, and totally addicting.
- Everyone loves something they can dip! Grab your favorite simple appetizers or snacks and you’re set for the whole crowd.
Quick Prep: The Ultimate No Bake Appetizer
The best part about this classic? It’s entirely a no bake appetizer. We mix, we shape, and we chill. That means your oven stays free for the main course, or better yet, you can just sit down and relax! Seriously, 15 minutes of mixing, and you’re done!
Perfect Creamy Cheese Spread Texture
If you’ve had a cheese ball that felt stiff or crumbly, you know the disappointment! That’s why I obsess over the softening time. Achieving that perfect creamy cheese spread texture is non-negotiable here. It needs to be slightly soft right out of the mixing bowl so that when it chills, it sets up beautifully but still spreads easily with a cracker.
Gathering Ingredients for Your Classic Cheese Ball Recipe
Okay, ingredient prep! Even though this is a simple savory cheese spread, the quality and preparation of the cheese really make or break this cheese ball recipe. I like to think of this as setting the foundation, so let’s make sure everything is ready to go before we start mixing. Don’t just grab things out of the fridge; a little attention here goes a long way toward that perfect, smooth result.
Essential Cheese Base Ingredients
You absolutely must start with eight ounces of cream cheese, and listen close—it has to be fully softened. I mean, room temperature soft! Then, you need eight ounces of sharp cheddar, and please, shred that yourself! Pre-shredded cheese melts weirdly, and we want the best consistency. If you want to level up, grab about a quarter cup of crumbled blue cheese. That little bit of funk adds such complexity to the flavor profile.
Flavor Boosters and Coating for the Cheese Ball Recipe
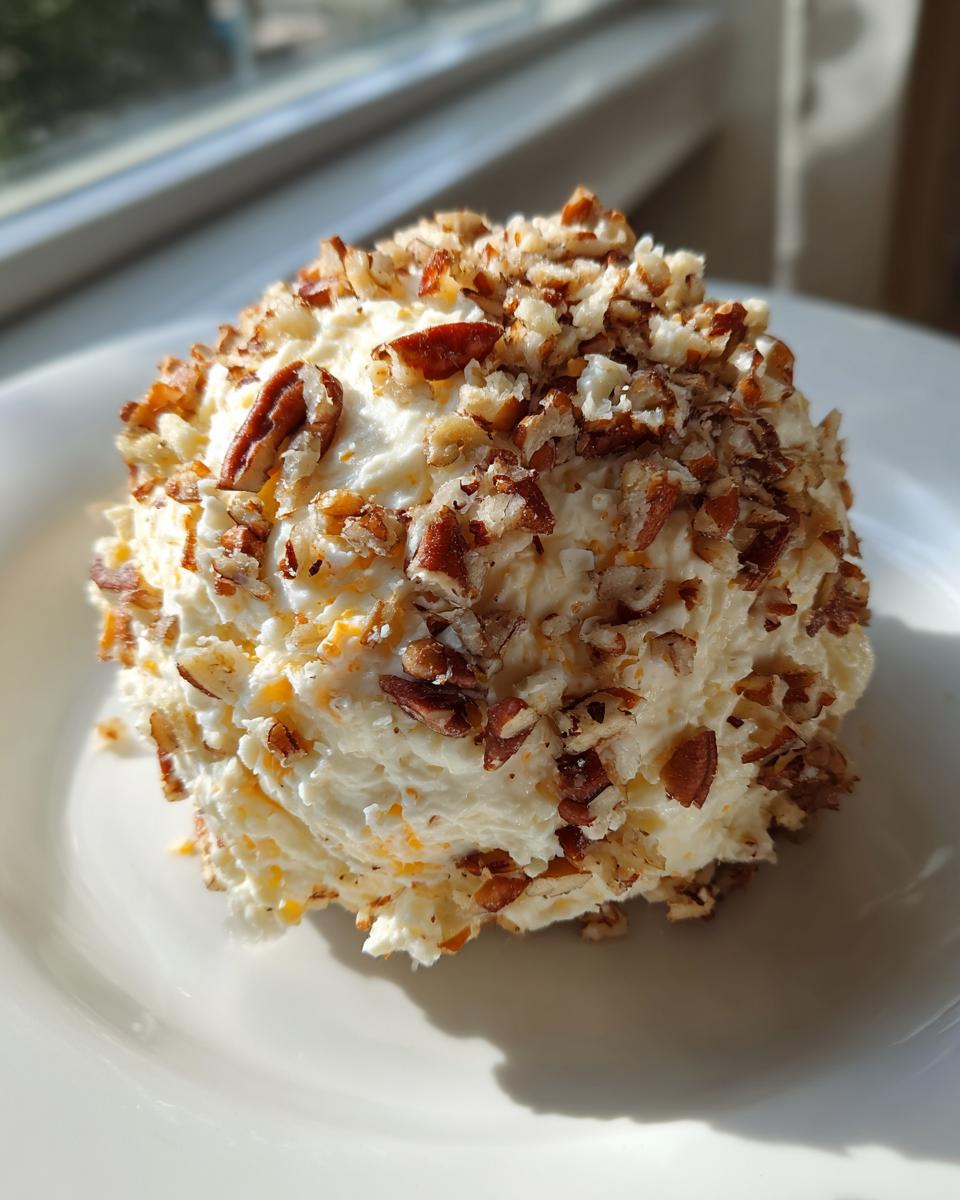
For the savory punch, you’ll need one tablespoon of Worcestershire sauce. That’s essential for bringing out the cheesy depth! Then, we season simply: one teaspoon of onion powder, half a teaspoon of garlic powder, and a quarter teaspoon each of salt and pepper. Now for the exterior—spread out one cup of nuts on a plate for rolling. I usually go for finely chopped pecans or walnuts, never anything else for this classic party food!
How to Make a Cheese Ball: Step-by-Step Instructions
Okay, now that we have our ingredients warmed up and ready, let’s talk technique! This is where we transform simple dairy into the ultimate cheese ball recipe. Don’t rush the chilling part, though; that’s vital for making this a great make ahead appetizer!
Mixing the Creamy Cheese Spread Base
Start by grabbing that softened cream cheese in a bowl. Now, you can use an electric mixer here, and honestly, I often do because I want it buttery smooth! But if you just want to use a really sturdy spoon, that works too, like how my grandma did it. Beat that cream cheese until it’s perfect, then add everything else—all that cheddar, the Worcestershire, the seasonings. You need to mix until it’s completely uniform. Seriously, scrape the bowl and make sure there are absolutely no white streaks left of plain cream cheese. We want one single, delicious base!
Shaping and Chilling the Cheese Ball Recipe
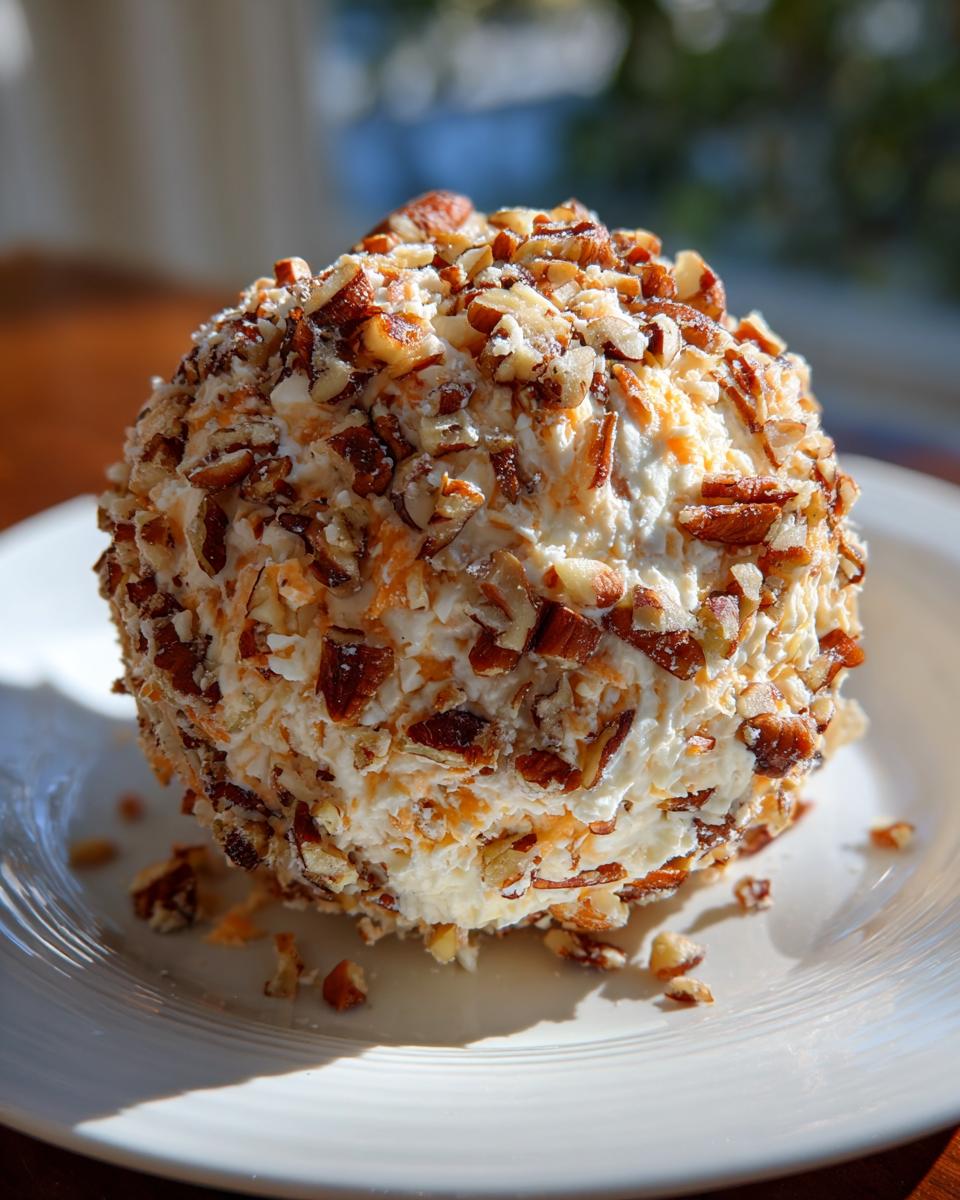
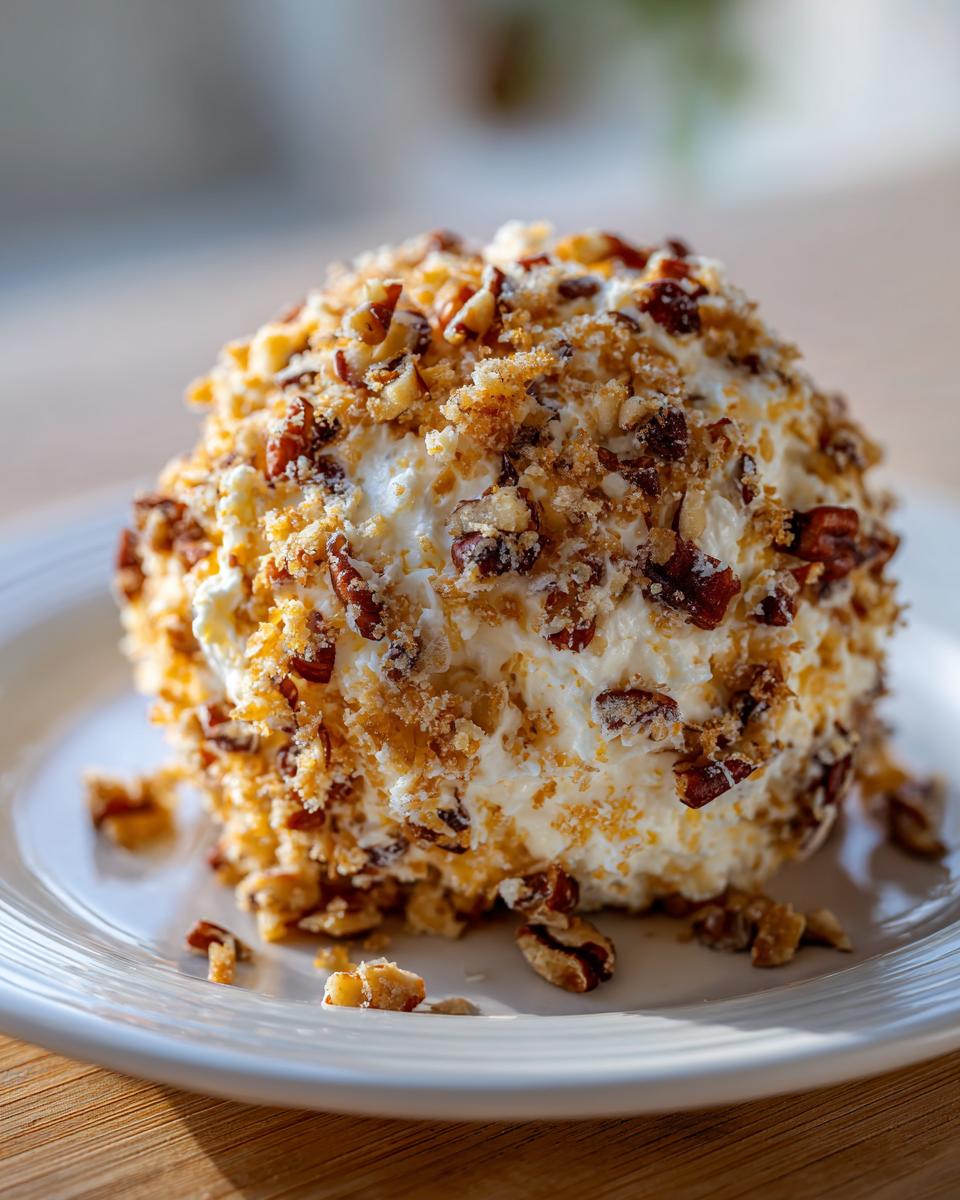
Once it’s all incorporated, put the mixture right onto a sheet of plastic wrap. This is my favorite trick for getting a beautiful, tight shape! Gather the plastic up around the cheese mixture and roll—tuck the edges in tight—until you have a nice, round ball. Then, roll that ball through your chopped pecans on a plate until it’s totally coated. Now for the hard part: you have to wait! Wrap it back up tight and stick it in the fridge for at least two hours. This chilling step is crucial; it firms everything up so your final cheese ball recipe isn’t a sloppy mess when people start dipping. For great ideas on what to serve it with, check out this helpful guide on how to make a cheese ball!
Expert Tips for the Perfect Cheese Ball Recipe
Look, every cheese ball recipe has a few little secrets that turn it from “fine” to “Oh my gosh, who made this?” I learned these tricks watching my mom rush to get appetizers out the door for community potlucks. If you nail these two things, your final product will be fantastic, whether you’re trying the Ranch variation or keeping it wholly classic party food. For more crowd-pleasing dips and spreads, check out this guide on the classic cheese ball recipe!
Achieving Maximum Creaminess Before Shaping
I cannot stress this enough: the cream cheese needs to be truly soft. If it’s cold, you end up beating air into it, sure, but you also end up getting lumps of cheese in your final product. Cold cream cheese resists mixing with the savory seasonings and that sharp cheddar. This is Mia’s promise to you: let it sit on the counter for at least 30 minutes until it’s spreadable, and your base will be one gorgeous, lump-free creamy cheese spread.
Serving Temperature for Your Appetizer for Guests
This seems counterintuitive since we chill it for hours, but right out of the fridge, this appetizer for guests can be too stiff to spread easily, which is frustrating when people are trying to dip! My simple fix is to pull the finished, nutty goodness out about fifteen minutes before I want to serve it. It softens just enough so it scoops beautifully off the serving knife but stays firm enough not to melt into a puddle. Don’t forget to check out ideas for whipped dips here, like my whipped ricotta recipe, if you need another easy option!
Holiday Cheese Ball Ideas and Flavor Variations
While this cheese ball recipe is fantastic as the ultra-classic version, I know everyone loves putting their own spin on things, especially when it comes to holiday cheese ball ideas! I’ve played around with this base recipe more times than I can count, and I’ve solidified a couple of variations that never fail to impress my family during the busy season. Honestly, the beauty of this simple base is how easily it accepts robust flavors.
Creating a Cheddar Ranch Cheese Ball Variation
If you want that creamy, herby flavor that everyone associates with game day but dressed up for the holidays, you need the Cheddar Ranch version. It’s unbelievably easy! When you are mixing your cheese base together—right before you’d normally stop mixing and start shaping—just toss in about two tablespoons of dry ranch seasoning mix. That’s it! You get that fantastic flavor profile instantly, and it makes for a really wonderful, savory holiday appetizer.
Spicy Jalapeno Cheese Ball Addition
For those of you who like a little kick, you have to try turning this into a jalapeno cheese ball. The sharp cheddar handles the heat so nicely! I take about two tablespoons of pickled jalapenos—and make sure they are diced super finely—and mix them right in with the Worcestershire sauce and seasonings. The pickling brine actually brightens up the overall cheesy flavor. If you want a recipe to follow for a different take, I saw a great one over at Cheddar Ranch Cheeseball that you might enjoy customizing!
Serving Suggestions for Your Recipe for Cheese Ball and Crackers
We’ve got the perfect, firm cheese ball recipe, but what are we going to scoop it up with? Presentation really matters when this is your main appetizer for guests! While a classic platter of crackers—like butter crackers or good sourdough rounds—is always a winner, I usually broaden the dipping selection just a bit.
I always add a big bowl of crisp veggies like celery sticks and colorful bell pepper slices. If you’re serving this for game day, you absolutely need salty pretzel chips or mini pretzel rods! They hold up well against that rich, creamy cheese spread. Want another great game day snack idea? You have to try my homemade pretzel dogs recipe next time!
Make Ahead Appetizer Storage for Your Cheese Ball Recipe
One of the biggest reasons this is my go-to cheese ball recipe is because it’s the ultimate make ahead appetizer. When you’re hosting, the day-of chaos is real, right? Being able to prep something savory ahead of time and just take it out of the fridge makes you look like a total pro without the last-minute scrambling.
You can mix this cheese base up to two days in advance, which is fantastic! After you’ve shaped it into a ball and rolled it in those yummy pecans, you have to wrap it super tight. Don’t skimp on the plastic wrap here. Make sure there are absolutely no gaps where air can get in, because air is the enemy of freshness!
Wrap it once, and then maybe wrap it a second time, or pop that tightly wrapped ball into a zip-top bag. When you’re ready to serve it, just remember my little trick: pull it out of the fridge about fifteen minutes before you plan to set it out on the table. That little bit of warmth brings the flavor right back to life. Seriously, this reliable nature is why I use this recipe for everything from casual Sunday meals to huge holiday parties. For other great make-ahead ideas that save you time, check out my easy no-bake chocolate eclair cake recipe!
Frequently Asked Questions About This Cheese Ball Recipe
You know, I get asked the same handful of questions every time I bring this famous cheese ball recipe to a gathering. It’s totally normal! People want to make sure their classic party food turns out perfectly, so let’s clear up any confusion right here. I’ve pulled some of the most common things folks ask when trying to master the best cheese ball recipe.
Can I skip the nuts on the outside of the cheese ball recipe?
Oh, yes, you absolutely can! Nuts are traditional because they give such a lovely crunch and visual appeal to the finished product, but if you have allergies or someone who just doesn’t love pecans, skipping them is totally fine. If you skip the nuts, you need something else to coat it so the plastic wrap doesn’t stick to the cheese! Try rolling the chilled ball in finely chopped fresh parsley or chives for a beautiful, herby look. Or, if you want an extra savory punch, finely crushed bacon bits work wonders too. It’s still going to be a delicious creamy cheese spread underneath!
What is the best cheese to use for a creamy cheese spread?
That’s where the magic is! You cannot just use one type of cheese here; balance is key to nailing that amazing texture. The cream cheese is for the softness and tang, of course. But you need a good, firm cheese for structure and flavor contrast—that’s why I call for sharp cheddar. The combination of the soft ingredient and the grated, firm ingredient ensures the finished product isn’t too floppy but maintains that wonderful, spreadable consistency. If you want a slightly different flavor profile, feel free to check out this great guide on how to make a cheese ball for inspiration!
How long can I keep this classic party food refrigerated?
This is such a great question for anyone planning a big event. Since this is a make ahead appetizer, you want reliability! You can safely keep your finished, plastic-wrapped cheese ball refrigerated for up to two full days. Two days! Just make sure it’s wrapped super tightly to keep that moisture in. My main piece of advice, which I mentioned before, is that you must pull it out of the fridge about fifteen minutes before your guests arrive. That slight warmth is the secret trick to making sure it’s perfectly scoopable and easy to serve with your appetizer for guests.
Estimated Nutritional Data for This Simple Cheese Spread
Since you asked about how to make this simple cheese spread, I wanted to give you a rough idea nutritionally so you know what you’re bringing to the party. Remember, this is just an estimate based on the core ingredients listed above, using the cheddar and the optional blue cheese. If you load up on the nuts coating, that will certainly bump up the numbers!
- Serving Size: 1/12 of ball
- Calories: 150
- Fat: 14g (with 8g saturated)
- Carbohydrates: 2g
- Protein: 7g
- Sodium: 250mg
Estimated Nutritional Data for This Simple Cheese Spread
Since you asked about how to make this simple cheese spread, I wanted to give you a rough idea nutritionally so you know what you’re bringing to the party. Remember, this is just an estimate based on the core ingredients listed above, using the cheddar and the optional blue cheese. If you load up on the nuts coating, that will certainly bump up the aversges!
- Serving Size: 1/12 of ball
- Calories: 150
- Fat: 14g (with 8g saturated)
- Carbohydrates: 2g
- Protein: 7g
- Sodium: 250mg
The BEST Classic Cheese Ball Recipe for Parties
Make this easy, no-bake cheese ball recipe for your next gathering. It is a classic party food that comes together quickly and always pleases a crowd.
- Prep Time: 15 min
- Cook Time: 0 min
- Total Time: 15 min
- Yield: 12 servings 1x
- Category: Appetizer
- Method: No Bake
- Cuisine: American
- Diet: Vegetarian
Ingredients
- 8 ounces cream cheese, softened
- 8 ounces sharp cheddar cheese, shredded
- 1/4 cup crumbled blue cheese (optional for flavor)
- 1 tablespoon Worcestershire sauce
- 1 teaspoon onion powder
- 1/2 teaspoon garlic powder
- 1/4 teaspoon salt
- 1/4 teaspoon black pepper
- 1 cup finely chopped pecans or walnuts (for coating)
- Crackers, pretzels, or vegetable sticks for serving
Instructions
- Place the softened cream cheese in a medium bowl. Let it sit at room temperature for about 30 minutes to ensure it mixes smoothly.
- Add the shredded cheddar cheese, blue cheese (if using), Worcestershire sauce, onion powder, garlic powder, salt, and pepper to the bowl with the cream cheese.
- Use an electric mixer or a sturdy spoon to combine all ingredients until they are fully incorporated and smooth. Mix until no streaks of plain cream cheese remain.
- Spread the chopped nuts onto a shallow plate or piece of parchment paper.
- Scoop the cheese mixture onto a sheet of plastic wrap. Use the wrap to shape the mixture into a tight ball, about 3 to 4 inches in diameter.
- Roll the cheese ball gently in the chopped nuts until it is completely coated.
- Wrap the cheese ball tightly in plastic wrap and refrigerate for at least 2 hours, or up to 2 days, to allow it to firm up. This step is crucial for the best texture.
- Before serving, let the cheese ball sit at room temperature for about 15 minutes. Serve with your favorite crackers or vegetables for dipping.
Notes
- For a Cheddar Ranch cheese ball variation, mix 2 tablespoons of dry ranch seasoning mix into the cheese base before chilling.
- If you want a spicy jalapeno cheese ball, add 2 tablespoons of finely minced pickled jalapenos to the mixture.
- You can make this a make-ahead appetizer; it keeps well wrapped tightly in the refrigerator.
- For a gourmet cheese ball look, press fresh herbs like parsley or chives into the nut coating.
Nutrition
- Serving Size: 1/12 of ball
- Calories: 150
- Sugar: 1
- Sodium: 250
- Fat: 14
- Saturated Fat: 8
- Unsaturated Fat: 6
- Trans Fat: 0
- Carbohydrates: 2
- Fiber: 0
- Protein: 7
- Cholesterol: 40