
If I could bottle one smell that instantly means ‘home’ and ‘holiday,’ it would be the scent of perfectly seasoned bread mingling with melting butter. You know what I’m talking about—that incredible aroma that drifts from the oven when the classic Thanksgiving stuffing is just about done. Forget complicated casseroles; this is comfort food at its best, and I promise you, this is the Best Stuffing Recipe Ever. Growing up in the Midwest, Mia always taught us that a true Traditional Thanksgiving Side shouldn’t be fussy, it should just taste like love. This savory bread stuffing strips away the fuss and delivers deep, satisfying flavor using simple steps. It’s exactly how we learned to make it, ensuring everyone leaves the table happy!
- Why This Homemade Stuffing Recipe is a Holiday Must-Have
- Ingredients for Classic Stuffing From Scratch
- Step-by-Step Instructions for Oven Baked Stuffing
- Expert Tips for Next-Level Stuffing Success
- Serving Suggestions for this Classic Thanksgiving Stuffing
- Storage and Reheating Instructions for Leftover Stuffing
- Frequently Asked Questions About Homemade Stuffing Recipe
- Estimated Nutritional Data for This Stuffing
- Share Your Best Stuffing Creations
Why This Homemade Stuffing Recipe is a Holiday Must-Have
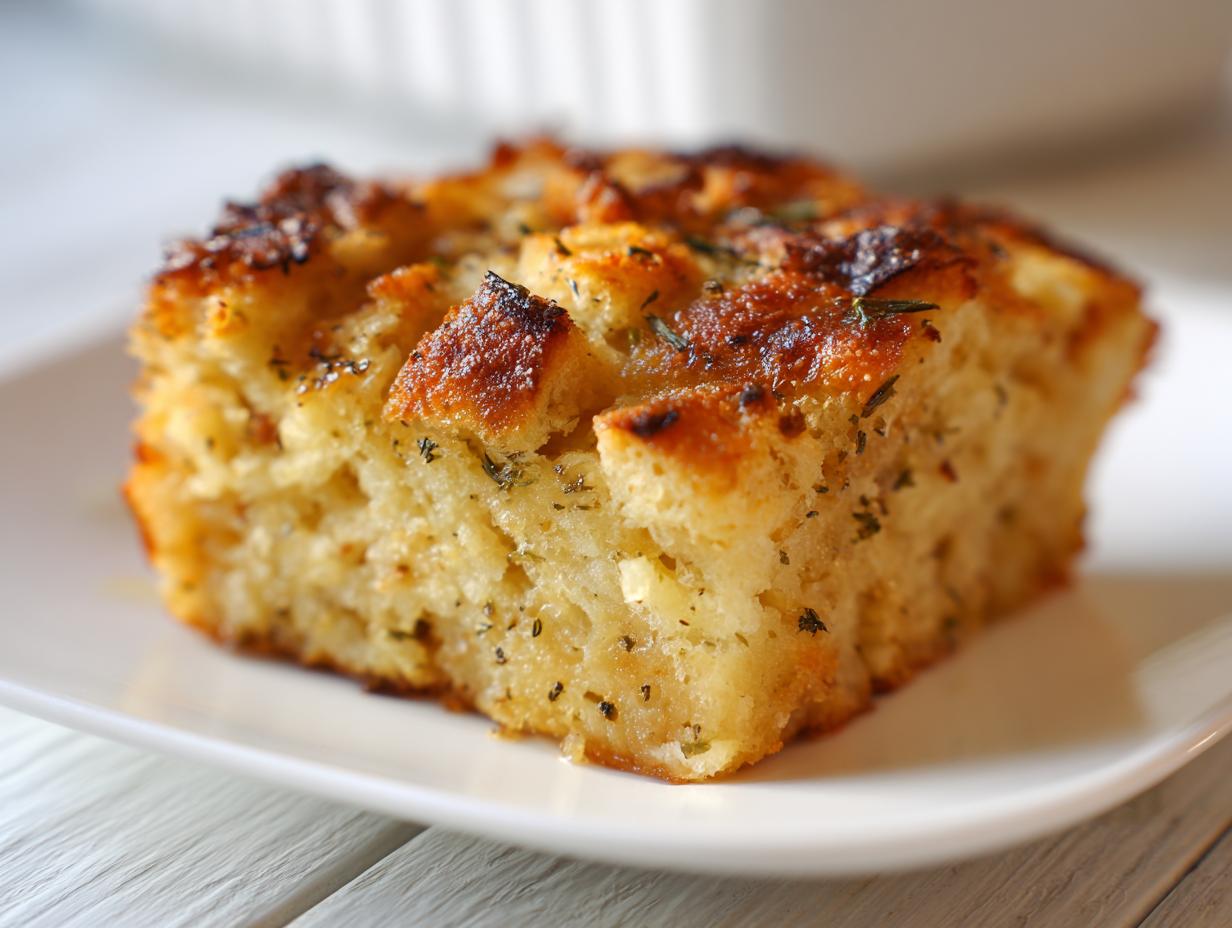
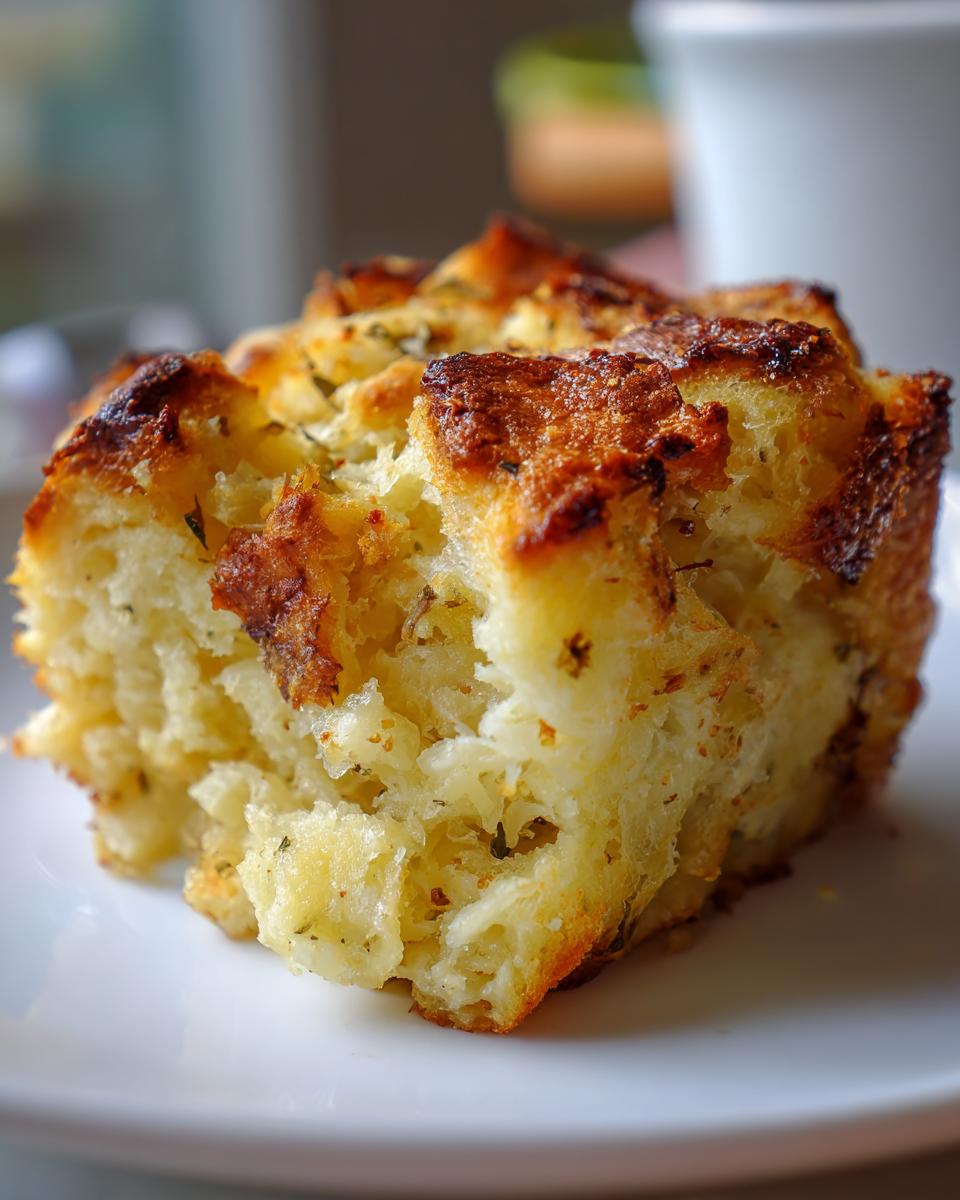
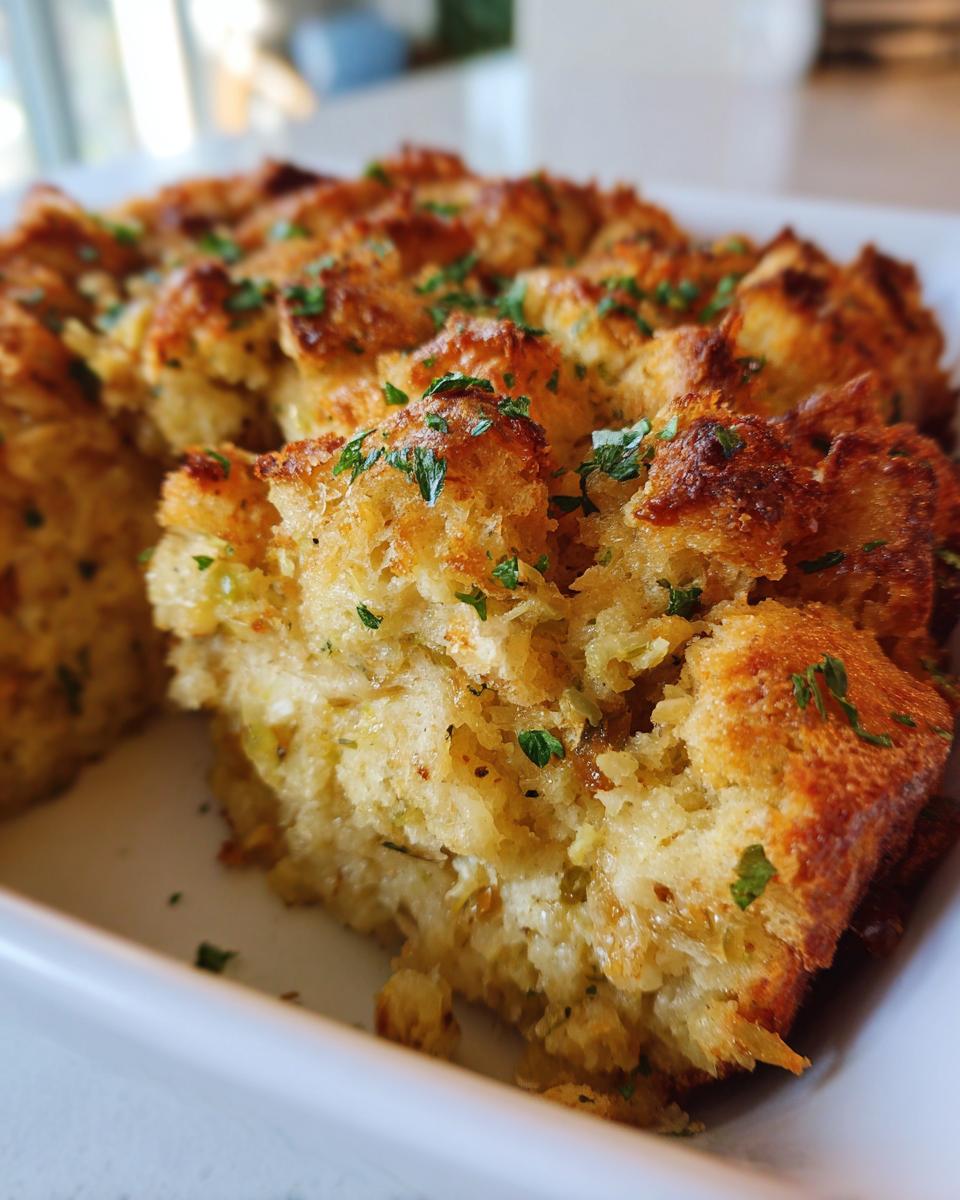
What makes this our go-to recipe year after year? It’s all about texture, friend. We aim for the holy grail of holiday sides: soft, decadent insides cradled by crunchy, golden edges. This isn’t just any stuffing; it’s a truly Buttery Herb Stuffing that uses fresh sage and rosemary, making your kitchen smell like the coziest winter evening. It’s the perfect contrast of flavors and textures that earns it the title of Moist and Crispy Stuffing.
The biggest secret, honestly, is respecting the bread. Mia always said that if you skip this one tiny step, the whole thing falls apart. It’s about precision where it counts, so you get a result that’s rich and flavorful but never gummy.
Achieving the Best Stuffing Recipe Ever Texture
To nail that perfect texture, you absolutely must start with dry, stale bread cubes. If your bread isn’t quite stiff, give it a quick toast in a 350-degree oven until it’s slightly shrunken. This dryness is the key because it allows the bread to absorb the butter and broth without turning into mush. Remember, you want the mixture to be *moistened*, not soaked! We stop adding broth the second everything looks evenly damp.
Ingredients for Classic Stuffing From Scratch
Okay, let’s talk about what actually goes into making this incredible Stuffing From Scratch. Honestly, the list looks simple, but it’s the *quality* of these few ingredients that makes the magic happen, especially those fresh herbs. Ditch the dried stuff when you can, because these fresh ingredients give you that robust, savory flavor that defines a great Holiday Dressing Recipe.
If you want the ultimate Stuffing with Fresh Herbs, you need to gather these babies up:
- 1 pound stale bread cubes (about 12 cups—don’t skimp here!)
- 1 cup unsalted butter (You can definitely play with swapping some butter for sausage drippings, but start pure if you want that classic taste!)
- 2 cups chopped celery
- 2 cups chopped yellow onion
- 1 tablespoon fresh sage, chopped (This is crucial; the fresh scent is unmatched!)
- 1 teaspoon dried thyme
- 1 teaspoon dried rosemary
- 1 teaspoon salt
- 1/2 teaspoon black pepper
- 2 large eggs, lightly beaten
- 3 to 4 cups chicken or vegetable broth (Heat this up slightly before using it—trust me on this one.)
See? Nothing weird! Just pure, wholesome ingredients ready to be turned into the best stuffing you’ve ever had. Make sure your herbs are fragrant; that’s how you know they’re ready to shine.
Step-by-Step Instructions for Oven Baked Stuffing
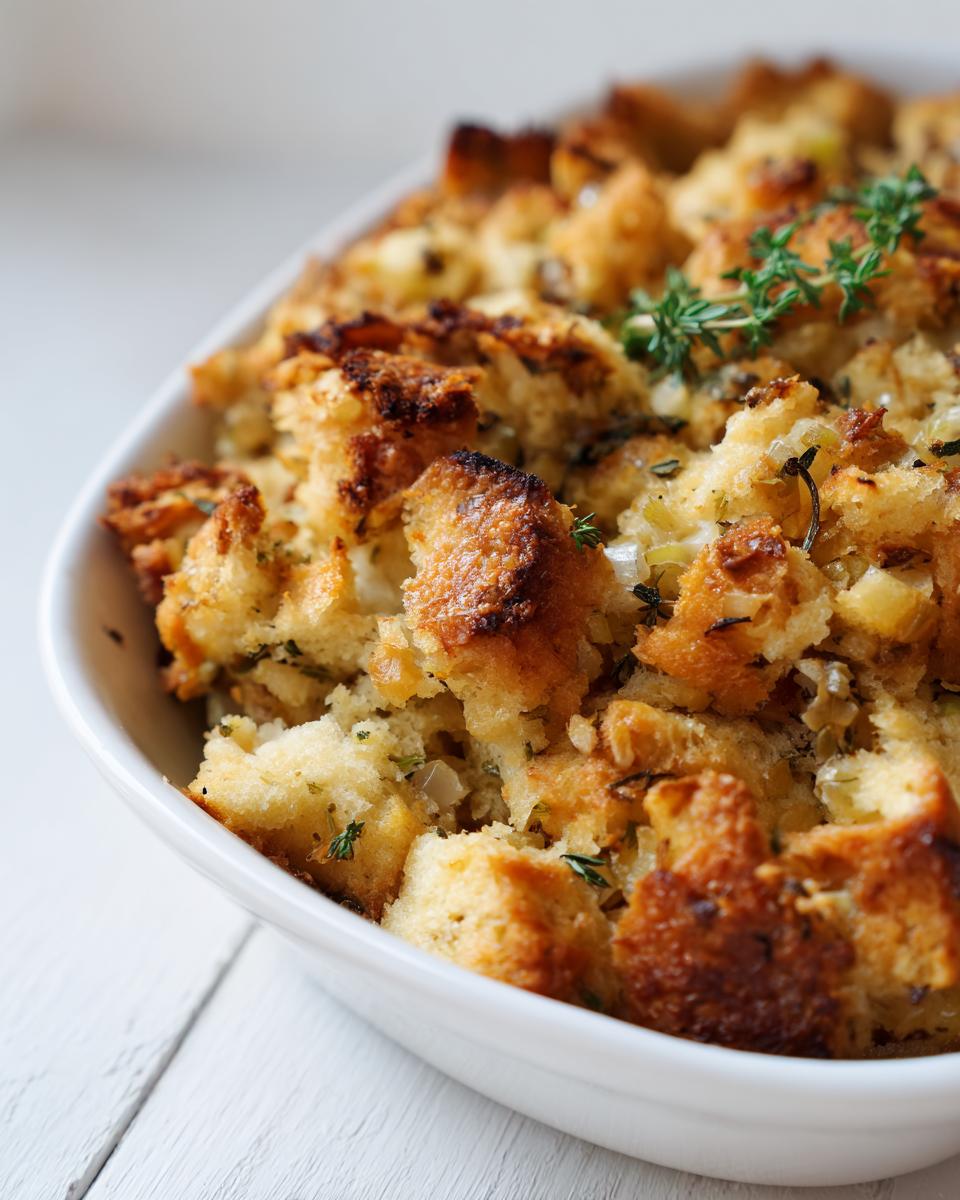
Alright, let’s get cooking! This is where the blending happens, transforming simple components into that perfectly seasoned, savory goodness we’re aiming for. Remember, we preheated our ovens to 350°F (175°C) already, and that baking dish is greased and ready to go. We want everything to slide right out later! These steps ensure we get that fantastic, classic stuffing texture from the moment it hits the oven.
Preparing the Bread Base for Perfect Stuffing
First things first: if your bread isn’t oven-ready dry, you need to dry it! Spreading those cubes out on a baking sheet for about 10 to 15 minutes is non-negotiable. They just need to lose that fresh-baked squishiness, not brown up like croutons. Once that’s done, grab your biggest skillet—we need room to toss everything without spraying butter everywhere!
Melt that whole cup of butter over medium heat—yes, a full cup, because this is comfort food! Toss in your chopped celery and onion. You want them to hang out in that butter until they get wonderfully soft, about 8 to 10 minutes. They should be smelling sweet, not sizzling aggressively. Now, the aroma explosion: stir in your fresh sage, thyme, rosemary, salt, and pepper. Let those herbs cook for just one quick minute until your kitchen officially smells like Thanksgiving morning. That’s your cue to shut off the heat!
Mixing and Baking Your Savory Bread Stuffing
Time to combine! Dump your dried bread cubes into a super large bowl—seriously, use the biggest one you have. Pour the cooked onion/butter/herb mixture right over the top and toss it gently. We’re mixing, but not mashing! We need those dry bread pieces to just get coated.
Now for the liquid. In a smaller bowl, whisk those two eggs with just 3 cups of your broth. Pour that egg-broth mixture over the bread and toss lightly again. This is the moment of truth! Are you using too much liquid? You want the bread to be damp, like it just rained lightly, NOT swimming in liquid. If it still looks a little dusty after tossing, add that final cup of broth bit by bit. Less is always more here for a great Easy Stuffing Side Dish.
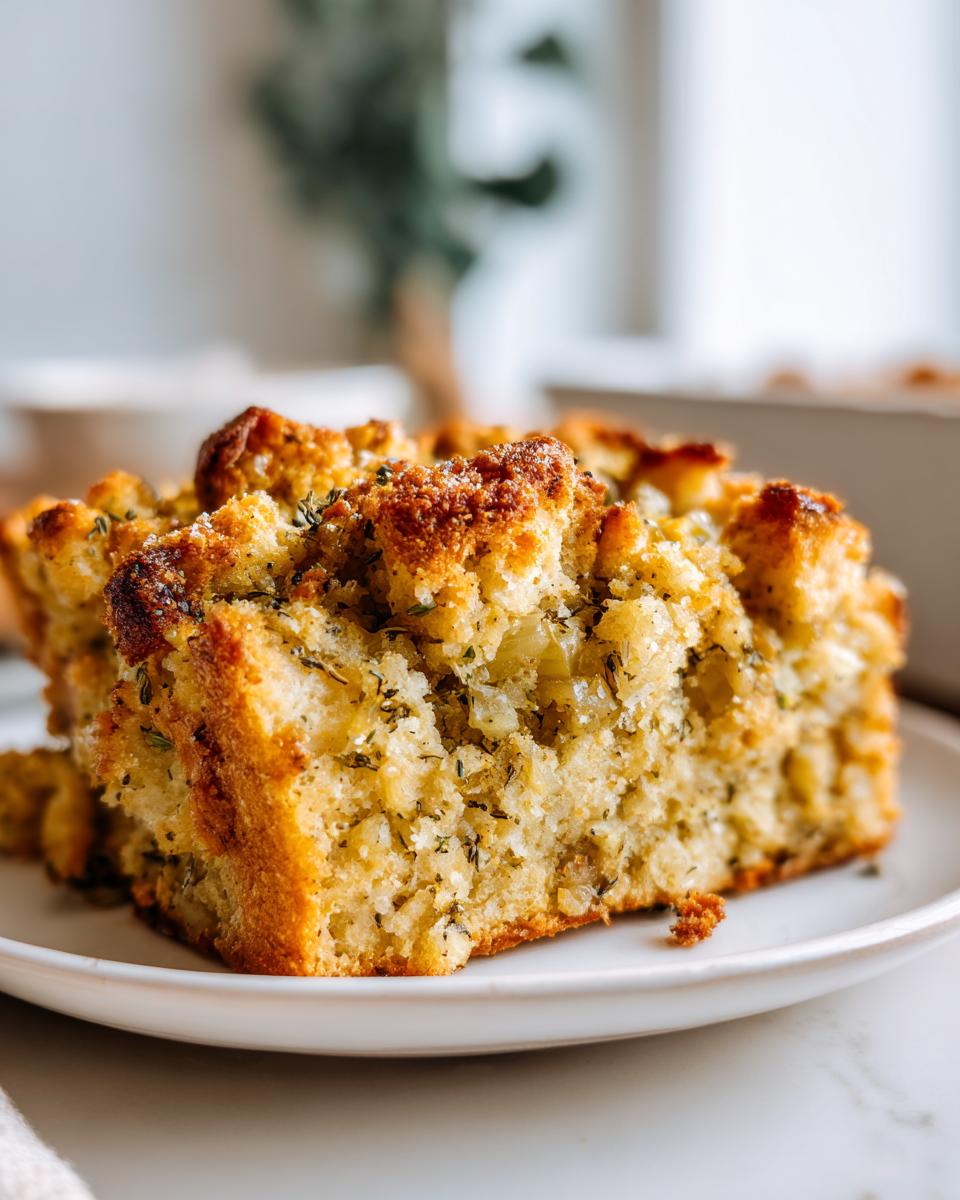
Transfer everything carefully into your prepared 9×13 dish. Pop it into that 350°F oven for around 35 to 45 minutes. You’re looking for a lovely golden-brown top, and when you poke the center, it should feel hot all the way through. Let it sit for five minutes—that resting time is essential!
Expert Tips for Next-Level Stuffing Success
Even though this is a classic and straightforward stuffing recipe, there are a few little tricks I’ve picked up over the years that take it from ‘good’ to ‘I need this recipe immediately!’ These adjustments make prepping for those big holiday meals so much less stressful, letting you focus on getting that perfect turkey crispy.
For instance, if you really want to kick up the savory depth, turning this into a phenomenal Sausage Stuffing Recipe is the way to go. Just cook up about half a pound of your favorite crumbled sausage—maybe some spicy Italian if you like a little kick—and add it right in with the onions and celery. Make sure you drain off most of the grease, but leave enough behind to mingle with that butter. It adds such a hearty flavor to the final Stuffing with Fresh Herbs!
Also, don’t underestimate the power of the broth. I mentioned heating it slightly before pouring it in? That’s because cold broth can actually ‘shock’ the bread cubes and make them clump up weirdly instead of absorbing evenly. Give it a quick warm-up in the microwave or a small saucepan first. Every little bit of care results in a better texture!
Make Ahead Stuffing Instructions
Who has oven space on Thanksgiving Day? Not me! Being able to prep your stuffing ahead of time is a lifesaver, and this recipe handles it beautifully. You can complete every single step right up until it goes into the baking dish—sautéing, mixing the liquid, everything. Then, just cover that big bowl tightly with plastic wrap and tuck it into the fridge for up to 24 hours. Keep it cool!
Here’s the crucial part for your Make Ahead Stuffing, though: when you pull it out of the fridge on the big day, it’s going to be colder and drier than when you put it in. Don’t forget to stir in an extra half cup of warm broth *before* you spread it into your greased dish and bake it. That reassures everything is perfectly moistened and ready to bake up golden and delicious!
When you bake the refrigerated mixture, you might need to add about 5 to 10 minutes onto the total baking time to ensure the center is piping hot, but the top crust should still come out lovely and crisp. Honestly, having this step done the day before is the secret to keeping my sanity in November!
If you’re looking for a fantastic sausage version that people always rave about, check out some other great inspiration right here: Sausage & Herb Stuffing Recipe.
Serving Suggestions for this Classic Thanksgiving Stuffing
Once you pull this beautiful, fragrant stuffing out of the oven, the next challenge is deciding what to serve it with! Because this Comfort Food Side Dish is so rich and perfectly seasoned with butter and herbs, it really sings alongside traditional mains. You absolutely cannot go wrong serving it alongside a beautifully roasted turkey—it soaks up all those amazing drippings, which is basically like having a bonus round of savory flavor.
But don’t stop there! Make sure you have a big pitcher of rich, homemade gravy ready to drizzle generously over the top. That little bit of extra liquid helps marry the crispy bits with the soft center perfectly. Mashed potatoes are a mandatory companion, as they create the ultimate mound for soaking up gravy and bits of delicious stuffing.
For greens, something bright and maybe a tiny bit tart helps cut through all that richness, like cranberry sauce or maybe some simple roasted Brussels sprouts with a squeeze of lemon. Honestly, though, if you serve this with gravy and turkey, you’ve already won the holiday table!
Storage and Reheating Instructions for Leftover Stuffing
First off, if you have any leftovers, count yourself lucky! Holiday meals can be over the top, but having perfect stuffing for lunch the next day? That’s the real prize. The goal when storing and reheating is keeping that lovely texture—we want to preserve the Moist and Crispy Stuffing contrast we worked so hard for.
As soon as the dish cools down a bit, you need to get that leftover stuffing into an airtight container. Never let it sit out on the counter for more than two hours, especially if you had sausage in there. Food safety first, always! Once it’s chilled in the fridge, it should be great for about three to four days.
Now, for reheating, you cannot just microwave the whole batch and call it a day, or you’ll end up with sad, steamy mush. That crispy top layer will disappear instantly! The secret is low and slow, usually in the oven again. Transfer the leftovers back into a baking dish, sprinkle just a tiny splash of extra broth (maybe a tablespoon or two per serving) over the top to reintroduce a little steam, and cover it tightly with aluminum foil. Pop it into a 325°F oven for about 15 to 20 minutes. This gently warms it through.
If you want that crispy top back, pull the foil off for the last five minutes of reheating. If you’re just reheating a small amount, a skillet over low heat with a pat of butter works wonders too! Just keep the heat very low so you warm it up without drying out the center. Enjoy those leftovers!
Frequently Asked Questions About Homemade Stuffing Recipe
I get so many questions flooding in after the holidays, and honestly, they’re usually about small tweaks to this Homemade Stuffing Recipe. It’s natural! We all have different ovens, different bread preferences, and different tastes. I’ve collected the most common things people ask me about making this stuffing, so let’s clear those up right now!
Can I make this stuffing vegetarian?
Absolutely, you can! This is one of the easiest Vegetarian Stuffing Ideas to adapt. If you skip the sausage variation we talked about, you just need one simple swap: use high-quality vegetable broth instead of chicken broth. That’s truly all there is to it! The depth of flavor in this recipe comes mostly from the butter, onions, celery, and fresh herbs like sage and rosemary, so you don’t lose much flavor by swapping the broth. It will still be incredibly savory and delicious!
What is the difference between dressing and stuffing?
Oh, this is a classic kitchen debate! It really comes down to tradition, but technically, the difference is where you cook it. If you put the bread mixture *inside* the turkey cavity to bake while the bird roasts, you call it stuffing. If you bake the exact same mixture in a separate casserole dish on the side, it’s called dressing. That’s why you sometimes see recipes called ‘Holiday Dressing Recipe’—they baked it separately! Mia always preferred baking it in a dish so it gets that maximum crispy top layer, but either way, it tastes fantastic!
Do I have to use stale bread?
Yes, yes, and YES! I cannot stress this enough if you want that phenomenal texture that makes this the Best Stuffing Recipe Ever. Fresh bread has too much moisture locked away. When you pour the broth over it, the bread won’t soak it up properly; it just gets gummy and collapses into itself. Stale bread—whether it’s naturally dried out a day or two, or quickly toasted in the oven—is porous and ready to absorb the flavorful liquids, which is how you achieve that mix of moist center and crispy edges.
Can I add apples or dried cranberries?
You certainly can introduce new flavors, but remember, this recipe is built around that pure, savory, **Buttery Herb Stuffing** profile. If you want to add things like crisp apples or tart cranberries, treat them like an add-in to the sausage—they should be mixed in gently at the very end with the bread. I’d suggest soaking dried cranberries in a bit of warm water or even sherry first so they don’t pull moisture from your actual stuffing mixture while baking. Start small, maybe a half cup total, until you find your favorite balance!
Estimated Nutritional Data for This Stuffing
Now, I know some folks skip this part, but if you’re counting things out for your big holiday meal, it’s good to have a ballpark idea of what’s in our favorite stuffing. Remember, this is **Stuffing From Scratch**, so the exact numbers change based on the brand of bread or how much sausage you sneak into the mix. But generally speaking, here is a good snapshot of what you are getting in a single serving cup based on the original recipe ingredients.
Don’t stress too much, folks; a holiday meal is about joy and connection, not obsessing over macros! But for reference, here are the estimates derived from the recipe ingredients:
- Serving Size: 1 cup
- Calories: 280
- Fat: 16g (with 9g Saturated Fat)
- Carbohydrates: 30g
- Protein: 6g
- Sodium: 450mg
- Sugar: 3g
- Fiber: 2g
- Cholesterol: 65mg
Just a quick note: these figures are calculated based on dividing the total recipe yield (10 servings) and don’t account for any extra drippings or heavy gravy you might pour over your portion! If you add sausage, for example, those fat and protein numbers will naturally climb up a notch. But really, this Classic Thanksgiving Stuffing is meant to be enjoyed fully, so worry about that rich flavor instead of the fine print!
Share Your Best Stuffing Creations
Now that you’ve mastered this Homemade Stuffing Recipe and brought that incredible aroma into your own kitchen, I truly want to know how it went! Seriously, there is nothing better than hearing that you made a dish that tasted just like a family tradition—that’s the whole reason Mia’s Meals exists!
If you made this savory bread stuffing for your table—maybe you even tossed in some sausage or stuck with the pure herbs, just like the classic version—please stop by the comments section below and tell me all about it! A rating helps other home cooks trust this recipe, and sharing your success stories keeps the joy spreading (plus, it helps me know what recipes to prioritize next!).
And if you snapped a picture of your beautifully golden, incredible-smelling dish, I would absolutely love to see it on social media! Tag me so I can admire your handiwork. Connecting over good, simple food really is the best part of my day. If you have any burning questions about adjustments or substitutions, you can always reach out directly through the contact page—I read every single message!
Thank you for inviting this recipe into your home. Happy cooking, and I hope this becomes your new favorite Grandma’s Stuffing Recipe for years to come!
PrintClassic Homemade Thanksgiving Stuffing
Make a savory bread stuffing with fresh herbs and butter. This recipe yields a moist interior and crispy top, perfect for your holiday table.
- Prep Time: 20 min
- Cook Time: 45 min
- Total Time: 65 min
- Yield: 10 servings 1x
- Category: Side Dish
- Method: Baking
- Cuisine: American
- Diet: Vegetarian
Ingredients
- 1 pound stale bread cubes (about 12 cups)
- 1 cup unsalted butter
- 2 cups chopped celery
- 2 cups chopped yellow onion
- 1 tablespoon fresh sage, chopped
- 1 teaspoon dried thyme
- 1 teaspoon dried rosemary
- 1 teaspoon salt
- 1/2 teaspoon black pepper
- 2 large eggs, lightly beaten
- 3 to 4 cups chicken or vegetable broth
Instructions
- Preheat your oven to 350°F (175°C). Lightly grease a 9×13 inch baking dish.
- If your bread is not stale, spread the cubes on a baking sheet and bake for 10 to 15 minutes until dry but not browned. Set aside.
- Melt the butter in a large skillet over medium heat. Add the celery and onion. Cook until softened, about 8 to 10 minutes.
- Stir in the fresh sage, thyme, rosemary, salt, and pepper. Cook for 1 minute until fragrant.
- In a very large bowl, combine the dried bread cubes and the cooked vegetable mixture. Toss gently to combine.
- In a separate small bowl, whisk together the eggs and 3 cups of broth. Pour this mixture over the bread mixture. Toss lightly until the bread is just moistened. Add the remaining broth only if the mixture seems too dry. You want it damp, not soggy.
- Transfer the stuffing mixture to the prepared baking dish.
- Bake for 35 to 45 minutes, or until the top is golden brown and the center is heated through.
- Let the stuffing rest for 5 minutes before serving.
Notes
- For a richer flavor, substitute half the butter with 1/2 pound of cooked, crumbled sausage. Add the cooked sausage with the celery and onion mixture.
- If you prefer a crispier top, uncover the dish for the last 10 minutes of baking.
- You can prepare the entire mixture (up to the baking step) a day ahead. Cover and refrigerate. Add 1/2 cup extra broth before baking if refrigerated.
Nutrition
- Serving Size: 1 cup
- Calories: 280
- Sugar: 3
- Sodium: 450
- Fat: 16
- Saturated Fat: 9
- Unsaturated Fat: 7
- Trans Fat: 0.5
- Carbohydrates: 30
- Fiber: 2
- Protein: 6
- Cholesterol: 65