
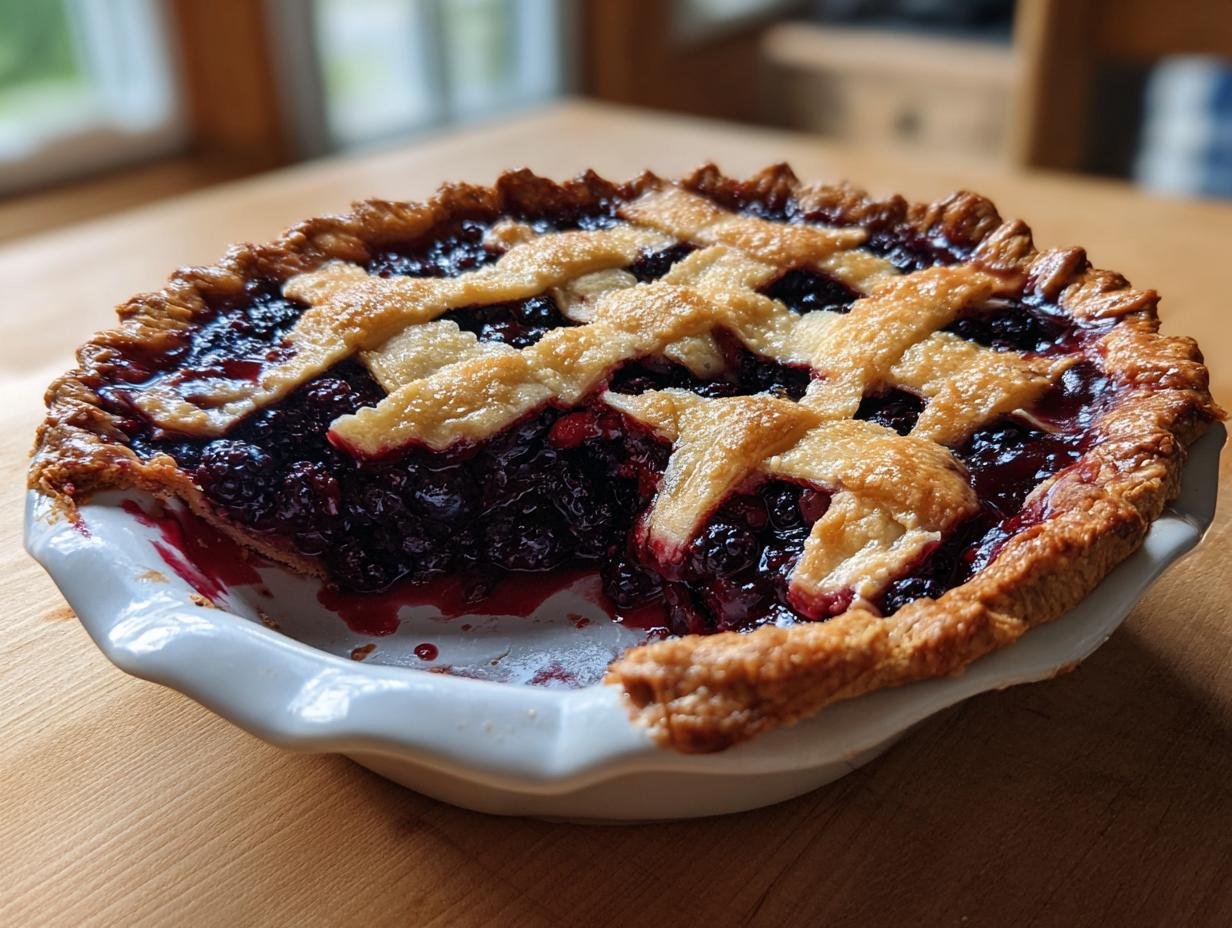
When summer finally hits and those baskets of dark, juicy blackberries start appearing, you know exactly what needs to happen next: an honest-to-goodness, old-fashioned blackberry pie has to grace the table! I remember growing up, the best part of any gathering was seeing that shimmering fruit under a golden crust. Here at Mia’s Meals, my whole mission is to take those comforting classics we love and strip away the stress, making them work for our busy modern lives. Trust me, this guide to the Best blackberry pie, featuring the kind of amazing flaky crust that just melts in your mouth, proves that you don’t need hours of fuss to make something truly memorable.
- Why This Classic Homemade Blackberry Pie Recipe Works
- Ingredients for the Best Blackberry Pie
- How to Make Blackberry Pie from Scratch: Step-by-Step
- Tips for a Perfect Blackberry Pie Every Time
- Ingredient Notes and Substitutions for Your Blackberry Pie
- Serving Suggestions for Your Blackberry Pie
- Storing and Reheating Your Blackberry Pie
- Frequently Asked Questions About Blackberry Pie
- Estimated Nutrition for This Blackberry Pie Recipe
- Share Your Homemade Blackberry Pie Experience
Why This Classic Homemade Blackberry Pie Recipe Works
I know so many of you worry about making a fruit pie from scratch. Will the bottom get all watery? Will the crust be tough? Don’t you fret! That’s exactly why I spent so much time simplifying this recipe. This isn’t just some random recipe; it’s built to give you that beautiful, Old Fashioned Pie taste we all crave, but without the usual drama. When you follow along, you’re guaranteed real results!
- We build in guarantees against the dreaded “soggy bottom”—seriously, that’s my favorite part!
- The filling hits that perfect spot between sweet and tart; it’s just bursting with berry flavor.
- We stick to simple, honest ingredients, just like my mom taught me, proving good flavor doesn’t need fuss.
- It ends up looking like a showstopper dessert, especially with that lovely lattice, but it’s much easier than it looks!
Achieving the Ultimate Flaky Pie Crust
If you ask me, a great Blackberry Pie Recipe lives or dies by its pastry. I want that shatteringly flaky pie crust every single time! The secret, which comes straight from my Midwest roots, is keeping everything stone cold. I’m talking ice water and butter straight from the deep freeze. We keep handling minimal because the less you work that dough, the better those little butter chunks are preserved. Those chunks steam in the oven and create the layers for the perfect buttery pie shell. It’s simple magic, really!
Perfecting the Sweet Tart Blackberry Filling
Blackberries can be wildly tart, right? Nobody wants a mouth-puckering dessert! That’s where the sugar and the cornstarch come in as our secret helpers. The sugar softens the edges of the tartness, and the cornstarch steps up to thicken those beautiful juices so you get a jammy, luscious sweet tart berry filling, not soup. And hey, if you’re using those lovely ones from the freezer bag this winter, don’t thaw them! Just toss them in frozen. The cornstarch handles the extra moisture like a champ.
Ingredients for the Best Blackberry Pie
To make the Best Blackberry Pie, you need to make sure everything is ready to go before you start mixing. I’ve broken the list down so you know exactly what goes where. Remember, keeping that butter for the crust ultra-cold is the key to success here!
For the Ultimate Flaky Pie Crust:
- 2 1/2 cups all-purpose flour
- 1 teaspoon salt
- 1 cup (2 sticks) unsalted butter, very cold and cubed
- 1/2 cup ice water (plus more if needed)
For the Sweet Tart Blackberry Filling:
- 6 cups fresh or frozen blackberries
- 1 1/2 cups granulated sugar (you might adjust this depending on how sweet your berries are!)
- 1/4 cup cornstarch – this is our secret for a nice thick set!
- 1 tablespoon lemon juice
- 1 teaspoon lemon zest
- 1/4 teaspoon ground cinnamon
For the Finish:
- 1 large egg, beaten with 1 tablespoon milk (for egg wash)
- 1 tablespoon coarse sugar for sprinkling
If you want to dive deeper into handling cold butter in recipes—it really matters for that flaky pie crust—you should check out my tips on blueberry scones; the cold butter technique is the same!
How to Make Blackberry Pie from Scratch: Step-by-Step
Okay, deep breath! We’re moving into construction mode, but I promise this is the fun part. Making a Homemade Blackberry Pie isn’t hard; it just requires paying attention to temperatures and textures. I break it down into four main phases so you never feel overwhelmed, even when weaving that beautiful top crust. Don’t try to rush the chilling time—that’s where the flakiness hides!
Preparing the Flaky Double Crust Dough
First up, the crust! Whisk your dry stuff—that’s the flour and salt—in a big bowl. Now, grab that super-cold, cubed butter. You need to work it into the flour until you see what looks like coarse crumbs, but crucially, make sure you still have some bits of butter left that look like small peas. Those are your flavor pockets! Next, slowly trickle in the ice water, maybe a tablespoon at a time, just folding it until the dough starts clinging together. Seriously, stop mixing then! Divide it in two, wrap them up tight, and make them chill out in the fridge for at least an hour. That resting time is vital for that perfect flaky pie crust.
Mixing the Sweet Tart Blackberry Filling
While the dough is getting cold, let’s tackle the gooey center. In a totally separate bowl, gently toss your blackberries—and hey, if you’re using the frozen kind, keep ’em frozen! Don’t wait for them to thaw out. Mix them with the sugar, the cornstarch (our thickening secret weapon!), the lemon juice, zest, and that hint of cinnamon. You just want everything lightly coated. We’re trying not to crush the berries here; we want them whole in the pie!
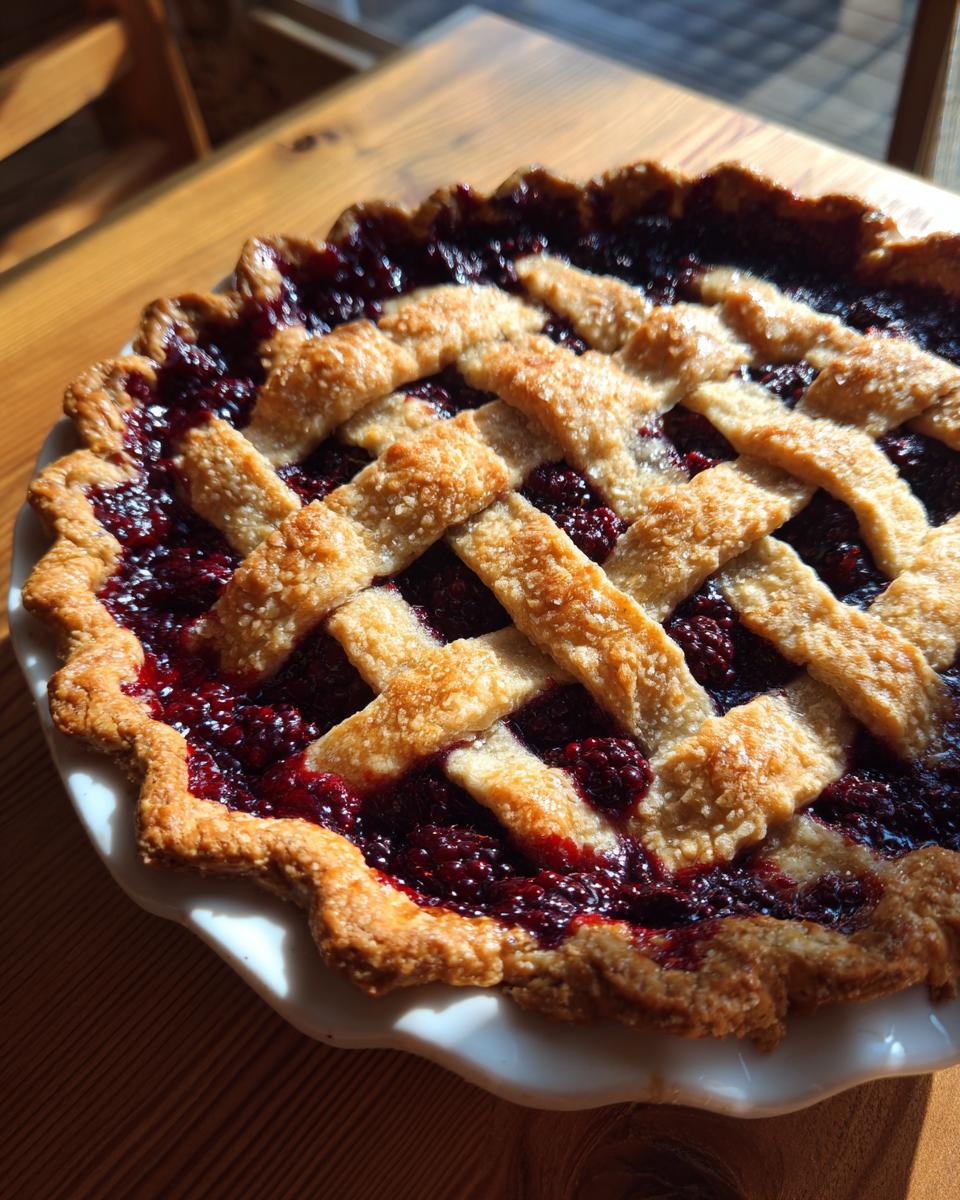
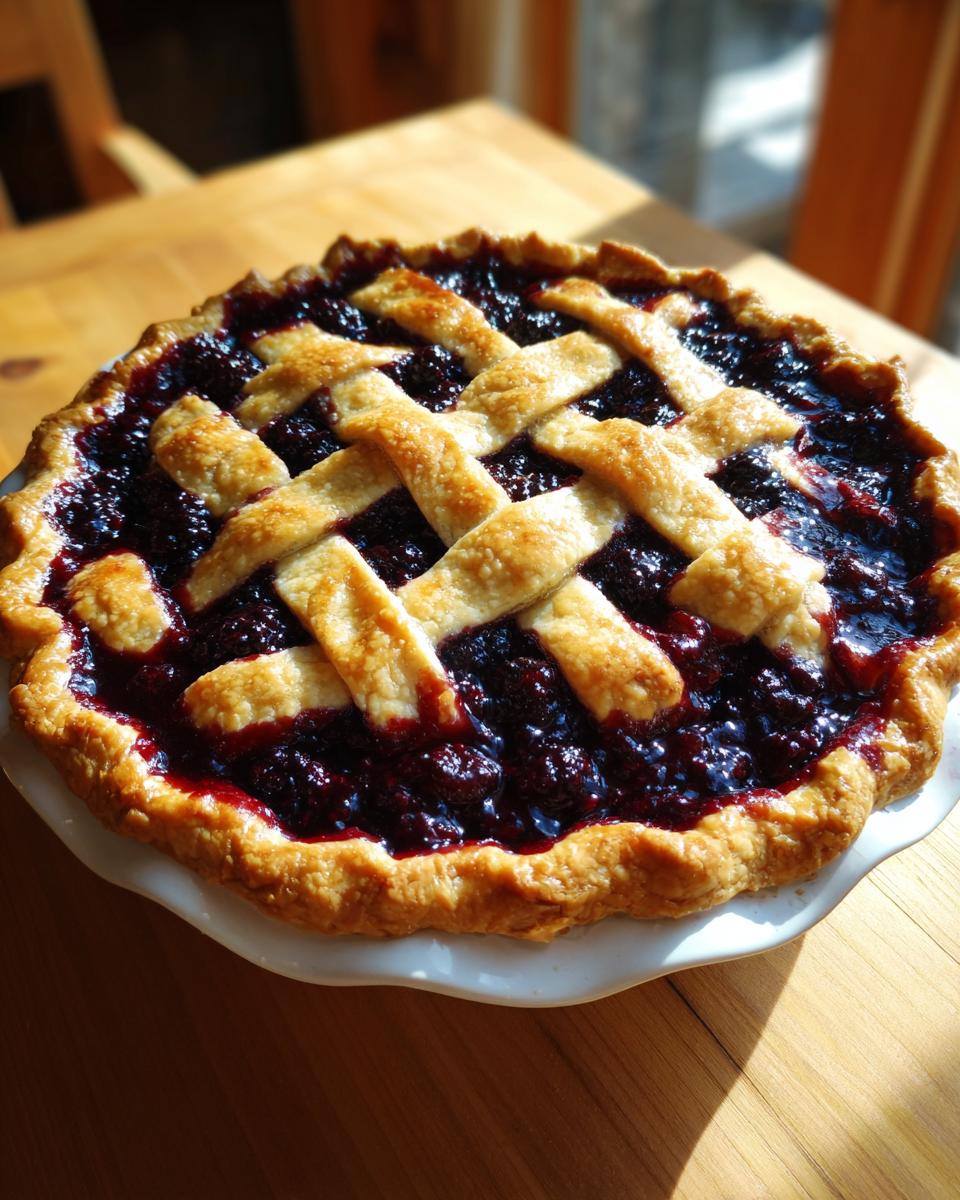
Assembling the Blackberry Pie with Lattice Pie Topping
Time to roll out the first disk into about a 12-inch circle and carefully drape it into your 9-inch pie plate. Trim it so you have about an inch hanging over the edge, then stick the whole thing back in the fridge. While it chills again, roll out your second dough disk and cut it into even strips—about three-quarters of an inch wide works perfectly for a nice, rustic lattice pie topping. Now, weave! Lay half your strips parallel across the filling; then layer the other half over them, going under and over the first set like you’re braiding. Once you’re happy with the look, trim those ends and really press the top and bottom edges together, crimping them nicely to seal everything in. This is what stops leakage!
Baking and Setting the Blackberry Pie
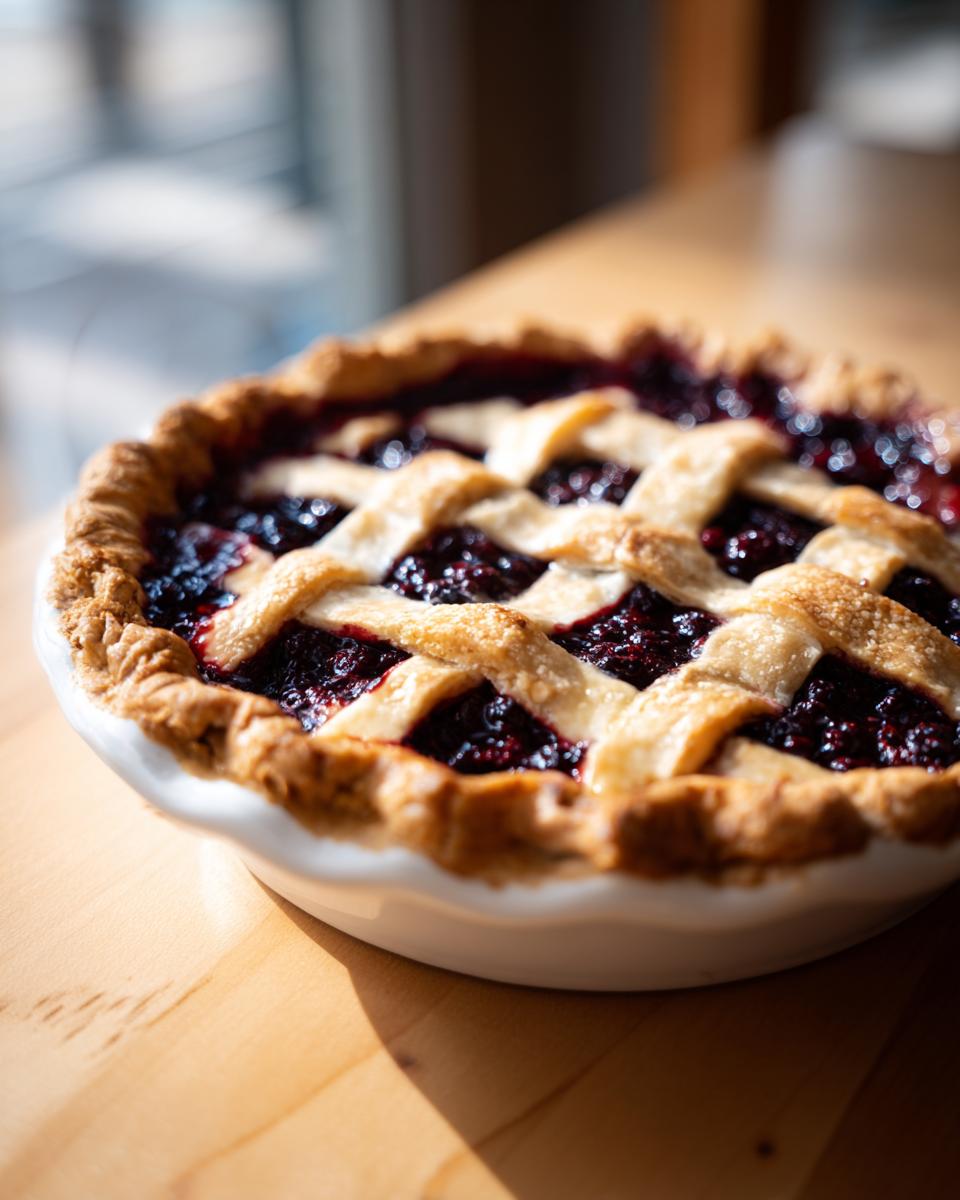
This is where the temperature trick comes in. Brush the entire lattice top with your egg wash and sprinkle that coarse sugar all over it; it makes it sparkle! Then, pop the whole pie dish into the freezer for a solid 15 minutes. Yes, the freezer! This step helps firm up the bottom crust, fighting off sogginess on the way to the oven. Bake it hot first—400°F (200°C) for 20 minutes until you hear it sizzling, then immediately drop the heat down to 375°F (190°C) and bake for another 35 to 45 minutes until that crust is gorgeous golden brown and the filling is thick and bubbling in the center. Visit The Duvall Homestead for how they handle their old-fashioned bake if you need extra advice!
Now, the hardest part: Step 8 requires patience! You absolutely must let this gorgeous blackberry pie cool on a wire rack for at least three or four hours. If you cut it early, the hot juices will just run out. We need that time for the cornstarch to fully set up that perfect, juicy filling. You can do it!
Tips for a Perfect Blackberry Pie Every Time
Even with the best recipe, baking has little quirks, doesn’t it? I’ve learned a few things over the years to turn a good Blackberry Pie into an absolute showstopper. First off, if you notice your filling threatening to bubble over too vigorously while baking—which happens when oven temps are too high—just loosely tent that whole dish with foil. You want it baking, not burning!
Also, just a heads-up about the lattice topping: if you’re worried about raw dough peeking through, brush those top strips of pastry well with the egg wash, maybe even twice! That ensures everything browns beautifully together. If you want more great tips on getting that professional look on your crust, check out Amy’s guide!
Remember, the temperature of your ingredients is half the battle, especially that butter. Keep everything cool, keep the oven steady, and you won’t have to worry about anything other than finding enough vanilla ice cream to go with it. That’s the secret to reliably baking with berries!
Ingredient Notes and Substitutions for Your Blackberry Pie
I get asked all the time about swapping out ingredients, especially in a classic like this Blackberry Pie Recipe. Let’s talk butter first. For that signature flaky pie crust, you absolutely must stick to real, unsalted butter. Margarine or spreads just don’t provide that necessary fat structure. Seriously, don’t skimp here; it’s worth it!
Also, taste your berries before you bake! If your blackberries are super sweet from a hot summer day, you can pull back on that granulated sugar a little bit—maybe use 1 1/4 cups instead of the full 1 1/2 cups. This ensures you keep that perfect sweet and tart balance we love in this Old Fashioned Pie. It’s all about intuition in the kitchen, even when you’re following a solid recipe!
Serving Suggestions for Your Blackberry Pie
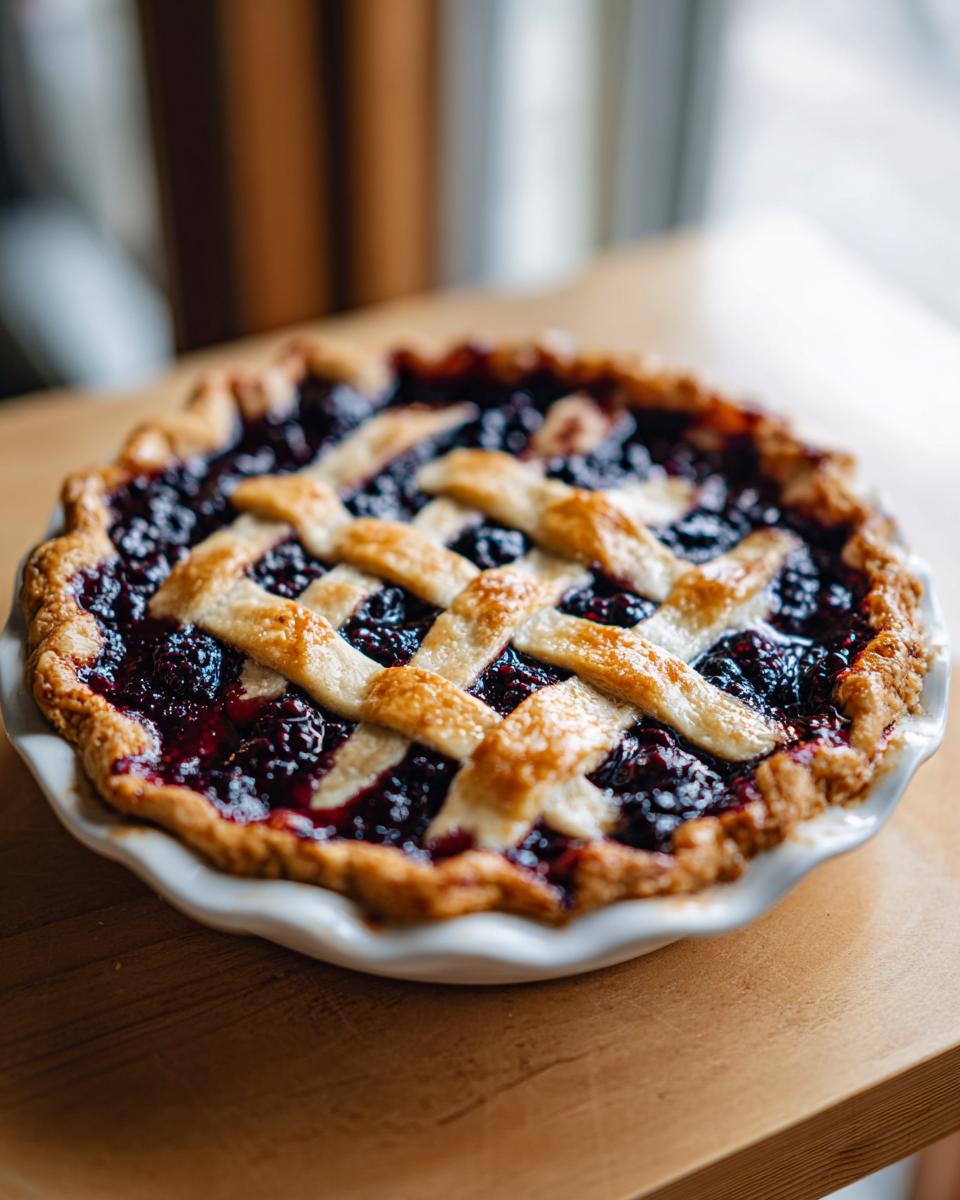
You’ve done the hard work! You’ve got that beautiful, set filling and that golden, flaky lattice. Now comes the best part: deciding how to serve this masterpiece! Honestly, an Old Fashioned Blackberry Pie is satisfying all on its own, but a little something extra just kicks it up to a true showstopper dessert.
The classic route is definitely the best, in my opinion. You absolutely must try a slice warm—not hot, remember, it needs to set!—topped with a huge dollop of fresh, lightly sweetened whipped cream. The cream cuts through the tartness beautifully. Or, if you’re like my husband, you need a big scoop of good vanilla ice cream melting right down the side. It’s the perfect ending to any of our favorite summer dessert recipes. For more ideas on why these pairings work so well, you might want to check out what the folks at Our Zesty Life suggests!
Storing and Reheating Your Blackberry Pie
So many questions come up once the pie is finally cooling down! You need to know how to keep that flaky crust happy until the next day. Since this is a fruit pie, if you can keep it on your counter, that’s usually best for the first day or two. Just cover it loosely—don’t wrap it tightly, or the moisture will ruin the crust!
If you have leftovers after two days, or if it’s really warm in your house, put that gorgeous blackberry pie in the fridge. Don’t worry about refrigeration making the crust tough; we have a fix!
To reheat a slice for that “fresh-out-of-the-oven” taste, just wrap the slice in foil and pop it into a 350°F oven for about 10 to 15 minutes. That gentle heat sets the crust up perfectly again. Avoid the microwave unless you really love chewy pastry!
Frequently Asked Questions About Blackberry Pie
When you’re deep into baking mode, sometimes silly little questions pop up that you just need quick answers for. I’ve gathered up the ones I hear most often about this Homemade Blackberry Pie. Hopefully, these help you sail smoothly to the finish line!
What if my blackberry filling is too runny after baking?
Oh gosh, that’s the saddest sight! If you cut into your pie after it cools and the juices run everywhere, it usually means the starches didn’t get enough time to activate, or maybe the berries were extra juicy. Don’t worry, you can save it! Take that slice (or the whole pie!), put it back in the oven at 375°F (190°C) uncovered for another 10 minutes. If that doesn’t work, you can carefully scoop the runny filling out of a slice, mix in a teaspoon of cornstarch with a tiny bit of cold water, stir it into the warm filling, and heat it back up on the stovetop until it thickens. It takes a little extra work, but it saves the pie!
How do I stop the crust from shrinking when I bake it?
This usually happens when the dough gets too warm before it even hits the oven, causing the fats to loosen up, or if you stretch the dough when fitting it into the pan. Remember that crucial chilling time in the recipe? Stick to that! But for the bottom shell, after you press it into the plate, stick that whole assembly back in the fridge for 20 minutes before filling it. Also, the 15-minute freeze right before baking is your best friend for a stable, non-shrinking flaky pie crust. It sets everything firmly in place.
Can I skip the top crust and just make a single-crust blackberry pie?
You certainly can, but you need to adjust a few things. Since you’re skipping the lattice pie topping, you lose some structure, and the fruit juices will evaporate faster, which can lead to a thinner filling. If you use a single bottom crust, make sure you increase the cornstarch just a touch—maybe add one extra tablespoon to that filling mixture. Also, make sure to crimp the edges of your bottom crust really well and place it on a baking sheet because you’ll still get some bubbling juices. We want to avoid spills on the bottom of your oven, especially when you’re making quick weeknight dinners later!
Is this recipe okay if I only have fresh blackberries?
Absolutely! This recipe is designed to handle both. If you picked your own berries fresh today, that’s wonderful! Just use them as directed. If you are using frozen berries, please, please, please do not thaw them first. Keep them frozen solid when you mix in the dry ingredients. That way, you get that beautiful, thick, jammy filling texture without everything turning to soup before the crust cooks through. Both fresh and frozen berries produce an amazing result for this classic American dessert.
Estimated Nutrition for This Blackberry Pie Recipe
Now, let’s talk fuel! When you’re making a rich, decadent treat like this homemade blackberry pie, you really want to know what you’re diving into—even if we’re only eating one slice! Knowing the numbers helps when you decide whether you’re serving this for a special occasion or just a Tuesday night dessert (we don’t judge here!).
Keep in mind these are just solid estimates based on standard measurements and the ingredients listed. Because we are using real butter and sugar in this crust, it definitely lands on the indulgent side, which is exactly how a perfect, old fashioned pie should be!
- Serving Size: 1 slice
- Calories: 450
- Sugar: 35g (That’s the lovely fruit and added sugar working together!)
- Fat: 25g
- Saturated Fat: 15g (Thank you, glorious cold butter!)
- Carbohydrates: 58g
- Protein: 5g
- Sodium: 210mg
- Cholesterol: 60mg
I always say if you’re going to bake a pie, bake the best pie! You can’t have this kind of texture and flavor without a little indulgence in the crust. Just pair it with a cup of black coffee, and you’re set!
Share Your Homemade Blackberry Pie Experience
Okay, now that you’ve conquered that flaky pie crust and baked up a stunning homemade blackberry pie, I desperately want to hear all about it! Seeing your creations is truly what keeps me going here at Mia’s Meals.
Did everything go smoothly when you were weaving that lattice pie topping? Were those peas of butter big enough to give you the flakiest pastry ever? Don’t be shy! Please take a moment to jump down to the comments section and leave a star rating—it helps other home bakers feel confident trying this recipe next.
Even better, snap a picture of your dazzling golden pie sitting on the counter! I love seeing your beautiful pies, especially when they’re just cooled enough to scoop that first slice. Tag us on social media so I can cheer you on! If you run into any snags or have questions about ingredient ratios, please use the contact page to reach out directly. Happy baking, everyone!
PrintClassic Homemade Blackberry Pie with Flaky Lattice Crust
Make an old-fashioned blackberry pie from scratch featuring a sweet-tart filling and a buttery, flaky double crust. This recipe works well with fresh or frozen berries.
- Prep Time: 45 min
- Cook Time: 65 min
- Total Time: 110 min
- Yield: 8 servings 1x
- Category: Dessert
- Method: Baking
- Cuisine: American
- Diet: Vegetarian
Ingredients
- 2 1/2 cups all-purpose flour
- 1 teaspoon salt
- 1 cup (2 sticks) unsalted butter, very cold and cubed
- 1/2 cup ice water (plus more if needed)
- 6 cups fresh or frozen blackberries
- 1 1/2 cups granulated sugar (adjust based on berry sweetness)
- 1/4 cup cornstarch
- 1 tablespoon lemon juice
- 1 teaspoon lemon zest
- 1/4 teaspoon ground cinnamon
- 1 large egg, beaten with 1 tablespoon milk (for egg wash)
- 1 tablespoon coarse sugar for sprinkling
Instructions
- Prepare the Pie Crust: In a large bowl, whisk together the flour and salt. Cut in the cold, cubed butter using a pastry blender or your fingers until the mixture resembles coarse crumbs with some pea-sized pieces of butter remaining.
- Gradually add the ice water, one tablespoon at a time, mixing until the dough just comes together. Do not overmix. Divide the dough in half, flatten each half into a disk, wrap in plastic, and chill for at least 1 hour.
- Prepare the Filling: In a separate bowl, gently combine the blackberries, granulated sugar, cornstarch, lemon juice, lemon zest, and cinnamon. Mix until the berries are evenly coated. If using frozen berries, do not thaw them first.
- Assemble the Bottom Crust: On a lightly floured surface, roll out one disk of dough into a 12-inch circle. Carefully transfer the dough to a 9-inch pie plate. Trim the edges, leaving a 1-inch overhang. Place the pie plate in the refrigerator while you prepare the top crust.
- Create the Lattice Top: Roll out the second disk of dough. Cut the dough into even strips (about 3/4 inch wide). Weave the strips over the filling to create a lattice pattern. Trim the strips and crimp the edges of the top and bottom crusts together to seal.
- Chill and Bake: Brush the lattice top with the egg wash mixture and sprinkle evenly with coarse sugar. Place the pie in the freezer for 15 minutes before baking to help prevent a soggy bottom.
- Bake the pie at 400°F (200°C) for 20 minutes. Reduce the oven temperature to 375°F (190°C) and continue baking for another 35 to 45 minutes, or until the crust is golden brown and the filling is bubbling thickly. If the edges brown too quickly, cover them loosely with foil.
- Cool Completely: Let the blackberry pie cool on a wire rack for at least 3 to 4 hours before slicing. This allows the filling to set properly.
Notes
- For the flakiest crust, keep all ingredients, especially the butter and water, very cold.
- If you notice the filling is not thickening enough after cooling, you can briefly return the pie to the oven for 5-10 minutes.
- Serve this classic American dessert warm with vanilla ice cream or fresh whipped cream.
Nutrition
- Serving Size: 1 slice
- Calories: 450
- Sugar: 35g
- Sodium: 210mg
- Fat: 25g
- Saturated Fat: 15g
- Unsaturated Fat: 10g
- Trans Fat: 0g
- Carbohydrates: 58g
- Fiber: 4g
- Protein: 5g
- Cholesterol: 60mg