
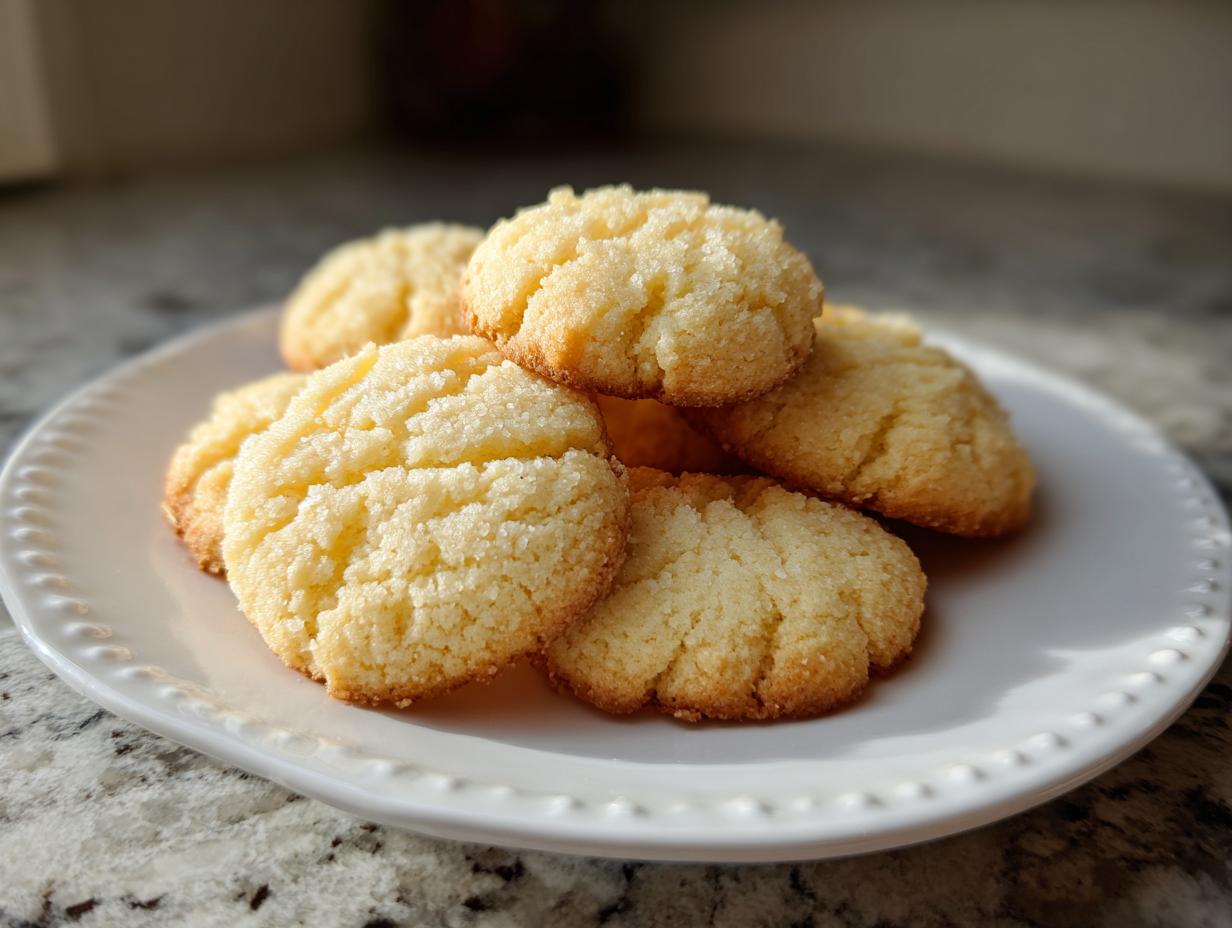
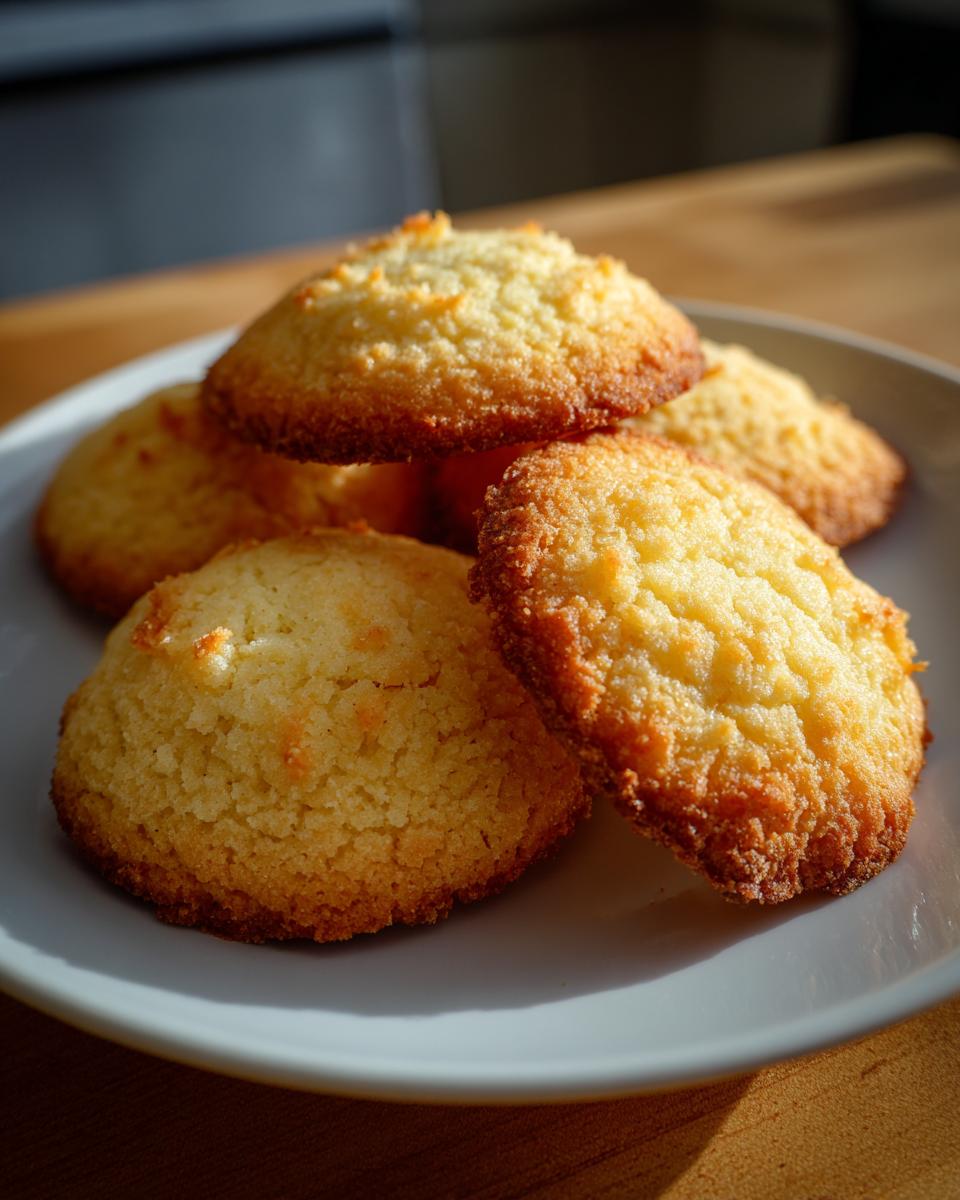
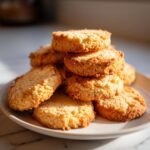
There’s truly nothing better than that first, perfect bite of a cookie that just dissolves on your tongue. I’m talking about the classic, melt-in-your-mouth feeling you get from a truly great butter cookie. This isn’t some fussy, complicated biscuit; this is the foundational recipe I always go back to. It came from those days in the Midwest kitchen, learning from Mom and Grandma that simplicity is flavor. If you’re looking for a dependable, rich cookie recipe that relies only on pantry staples, you’ve found the one. We’re going to make these cookies shiny and perfect for gifting!
- Why This Easy Butter Cookie Recipe Delivers Rich Cookie Baking Results
- Gathering Ingredients for Your Classic Butter Cookie
- Step-by-Step Instructions for Homemade Butter Cookies
- Expert Tips for Perfecting Your Butter Cookie Bake
- Storing and Serving Your Melt In Your Mouth Cookies
- Frequently Asked Questions About This Butter Cookie Recipe
- Estimated Nutrition for This Rich Cookie Baking Recipe
- Share Your Homemade Butter Cookies Creations
Why This Easy Butter Cookie Recipe Delivers Rich Cookie Baking Results
I love that this Easy Butter Cookie Recipe is so straightforward, but don’t let the simplicity fool you! The secret to achieving amazing Rich Cookie Baking results isn’t about using fancy things; it’s about technique and letting the butter shine. The chilling step is non-negotiable because it locks in that rich flavor while preventing the cookies from turning into flat puddles in the oven. Trust me, these steps are worth the few extra minutes!
Achieving That Melt In Your Mouth Cookies Texture
The reason these cookies are legendary for their texture is all down to fat content—lots and lots of butter! We use a high ratio of butter to flour, which is key. That single egg yolk we add instead of a whole egg makes a massive difference; it coats the flour just enough to give structure but keeps everything wonderfully tender.
This balance means we end up with a nearly No-Spread Butter Cookie. They stay proud, hold their cut shapes, and truly do vaporize the second they hit your mouth. Wow!
The Magic of Basic Pantry Ingredient Cookies
This is exactly the kind of recipe that embodies the Mia’s Meals philosophy: great food doesn’t need complexity. You don’t need to run to some gourmet store for this one. These are true Basic Pantry Ingredient Cookies.
If you have butter, sugar, flour, salt, and vanilla, you have everything required for a truly memorable treat. It proves you don’t need imported extracts or specialty flours when you start with high-quality butter and follow the right steps.
Gathering Ingredients for Your Classic Butter Cookie
Before we get to the mixing, we have to make sure our ingredients are ready to go. Since the flavor comes mostly from the butter itself, picking the right kind and setting it out to soften properly is step one! I’ve linked to a great resource on classic cookie recipes here if you want to see another take, but I promise you, this lineup is perfect.
When you gather these items, take a moment to make sure they match what I call for exactly. Over-measuring flour, for instance, ruins that melt-in-your-mouth quality we are chasing. Precision really matters when you are dealing with simple ratios like this!
Ingredient List for the Perfect Butter Cookie
You only need six things, but they have to be the right things! Make sure your butter is perfectly soft but not greasy or melted.
- 1 cup of unsalted butter, making sure it’s softened all the way to room temperature.
- 1/2 cup of regular granulated sugar—nothing fancy needed here!
- 1 large egg yolk only; leave the white aside for another project.
- 1 teaspoon of pure vanilla extract—use the good stuff!
- 2 1/2 cups of all-purpose flour, carefully measured out.
- 1/4 teaspoon of fine salt to make all that butter flavor really pop.
Step-by-Step Instructions for Homemade Butter Cookies
Okay, this is where the magic really happens when making Homemade Butter Cookies. Don’t rush through the mixing! We need to build structure gently so that the end result is tender and buttery, not tough. Remember, we’re aiming for that perfect snap followed by a melt. I’ve put together this straightforward method based on the steps I learned growing up, making sure we highlight when you need patience versus when you need speed.
Mixing the Dough: Creaming and Combining
First thing’s first: Beat that softened butter and sugar together until it looks genuinely fluffy—I mean, pale yellow and light! This is crucial for getting air into the dough. Next, mix in your vanilla and that single egg yolk until it just disappears; don’t go crazy here. Now, slowly add the flour and salt mixture, always on low speed. The second you don’t see flour streaks anymore, stop mixing! Seriously, overmixing is the quickest way to turn these delightful cookies into something hard.
Chilling and Shaping Your Butter Cookie Dough
Once that soft dough comes together, we move it into plastic wrap and into the chiller for at least 30 minutes. This step is essential! Chilling firms up the butter just enough so when you roll it out later, it won’t spread everywhere in the oven. That’s how we keep those sharp edges!
Once chilled, dust your surface lightly and roll it down to about a quarter-inch thick. Use your favorite cutters, pop them onto parchment-lined sheets, and get them ready for the oven. If you were instead aiming for those gorgeous swirls—you know, the ones you see in tins? You could skip the rolling and use a heavy-duty piping bag fitted with a star tip to create your own lovely Piped Butter Cookie Recipe shapes right onto the sheet. Either way, they bake fast at 350 degrees!
If you need a quick dipping sauce inspiration later—maybe for a different dessert adventure—check out my recipe for easy whipped ricotta dip!
Expert Tips for Perfecting Your Butter Cookie Bake
Now that you’ve mastered the mixing and chilling—that’s the hardest part worked out!—let’s talk about making these little gems even more extraordinary. These tips are what separate a good cookie from that truly unforgettable, buttery delight. I always rely on these small tweaks, especially when planning my big holiday baking schedule. You’ll want to try these when preparing your Simple Christmas Cookies!
I found this fantastic guide about butter cookies over here, but honestly, the flavor booster I love most is browning the butter first. It’s a game-changer for depth!
Variations: From Classic Cookie Recipes to Brown Butter Dessert Recipes
Don’t feel like you are stuck with just one flavor profile! If you want a deeper, almost nutty backbone to your cookie, try swapping out a quarter cup of your regular butter for browned butter. You’ll have to let that browned butter cool completely before creaming it with the sugar, which takes planning, obviously. When you do this, you might notice the final cookie has just a tiny bit more give; they lean toward being Soft Baked Butter Cookies but with an incredible, rich background note.
Making Danish Style Butter Cookies with a Piped Butter Cookie Recipe
If you want that gorgeous, swirled, classic look, you absolutely can use this dough for a Piped Butter Cookie Recipe. I mention this possibility in the main instructions, but let me elaborate! The dough needs to be soft enough to move through a piping bag easily, which means it shouldn’t be chilled as long. You might want to take it out of the fridge 15 minutes before you plan to pipe.
Fit your bag with a large star tip—that creates the ridges that catch the light. Pipe small rosettes directly onto parchment paper. These bake up just as tender and look so professional. It’s a wonderful way to elevate these Classic Cookie Recipes when you’re making them for a special tea party or holiday platter. Speaking of special treats, if you love rich desserts, you have to see my take on strawberry cheesecake cookies next!
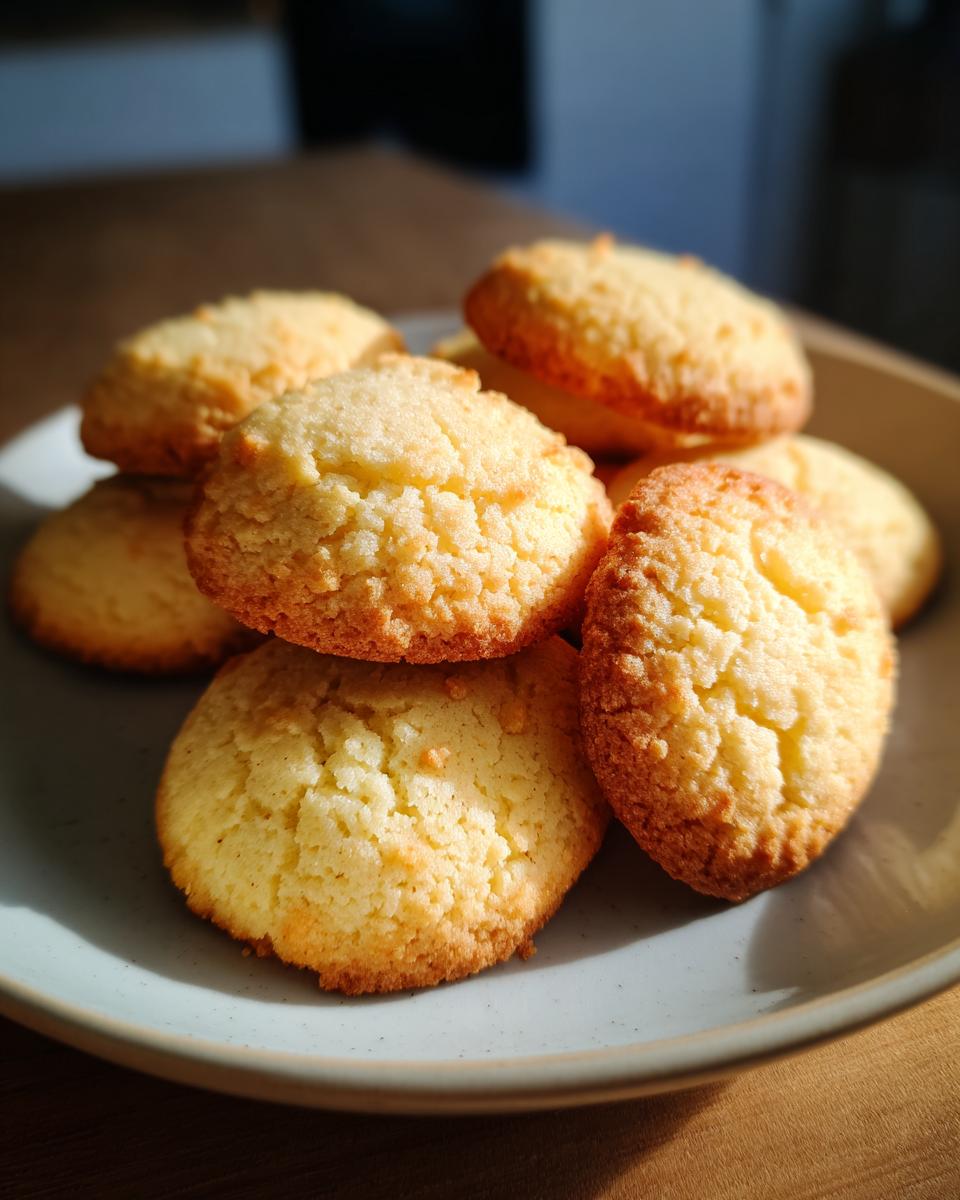
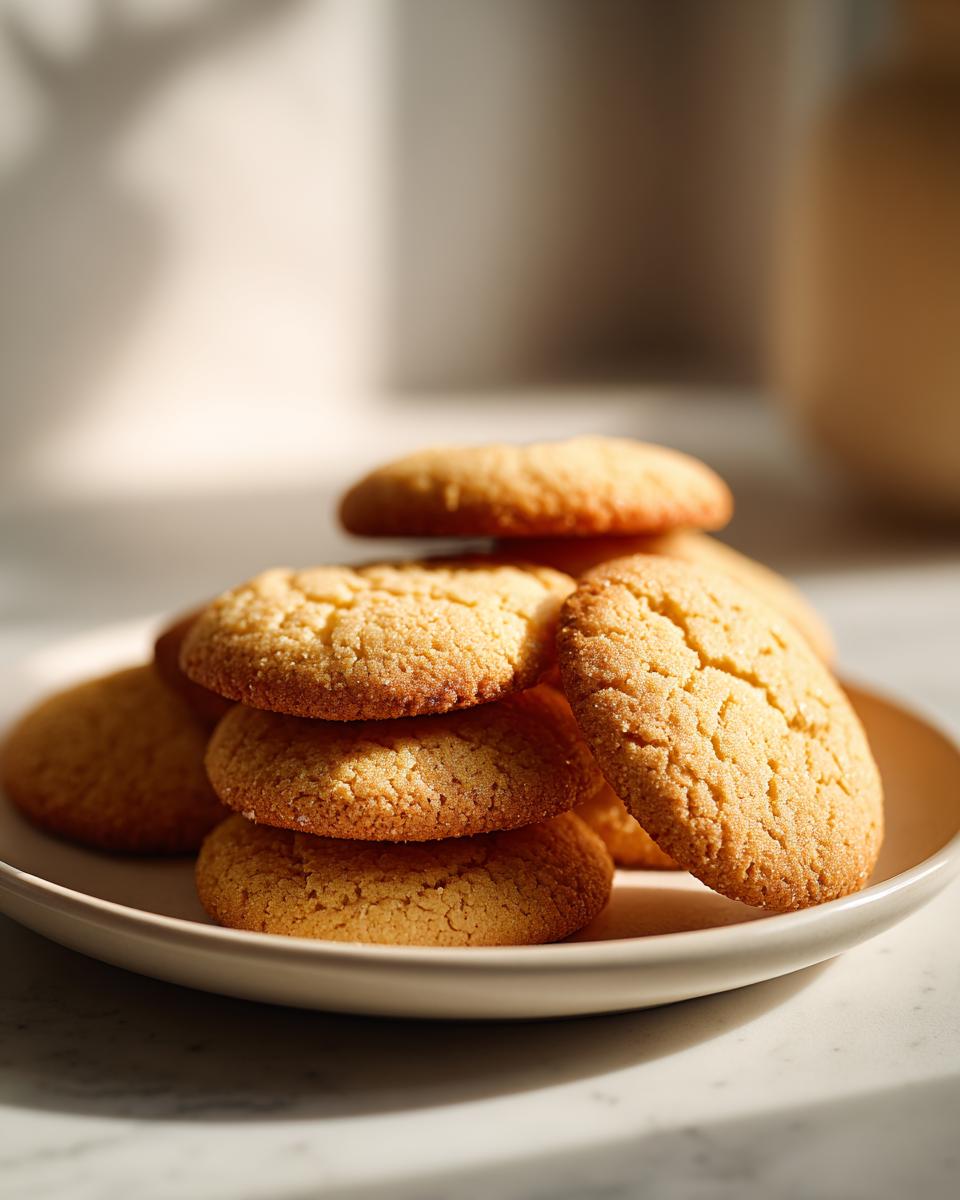
Storing and Serving Your Melt In Your Mouth Cookies
Once these beautiful Melt In Your Mouth Cookies have cooled completely—and I mean completely, or they’ll steam in the container—storage is easy. Just pop them into an airtight container at room temperature for up to a week. They seriously stay soft and buttery that long, which is fantastic for holiday baking prep!
They are perfect right alongside a hot cup of coffee, acting as the most delightful Tea Cookies Recipe accompaniment. If you’re looking for another delightful pairing for your afternoon break, you absolutely must try my cranberry orange scones!
Frequently Asked Questions About This Butter Cookie Recipe
You know I love hearing from you guys! Since launching this butter cookie recipe, you’ve asked some really great questions about substitutions and texture adjustments. It’s fantastic to see so many of you trying these out. Answering these FAQ helps us all become more confident bakers, which is what Mia’s Meals is all about. If you want to know more about my baking journey, you can always check out my About page!
Can I use salted butter in this butter cookie recipe?
That’s a question I get all the time! Yes, you absolutely can use salted butter if that’s what you have on hand. But here’s the deal: Because we only call for 1/4 teaspoon of salt, you should dial it back. I always suggest reducing the added salt to just 1/8 teaspoon, or even skipping it entirely if your salted butter seems particularly salty. We want to enhance the butter flavor, not punch you in the face with salt, right?
How do I make these cookies soft baked butter cookies instead of crisp?
Great question for those who prefer a chewier center! Crisp versus soft is really about timing in the oven. To lean into the Soft Baked Butter Cookies texture, you need to bake them for the absolute minimum time—aiming for just 10 minutes on the dot. Another trick is making sure your butter is slightly warmer than room temperature when you start the creaming process; this incorporates a touch more air, encouraging a softer result.
What is the best way to decorate these simple Christmas cookies?
These cookies are fantastic naked, but they truly shine when decorated for the holidays! If you want to decorate, you have to wait until they are totally, completely cool—no warmth allowed! Then, a simple royal icing or a thin powdered sugar glaze works wonders. The trick is to add any sparkling sugar or festive sprinkles immediately after you drizzle or brush on the icing; if you wait, they won’t stick.
Estimated Nutrition for This Rich Cookie Baking Recipe
Now, I want to be super clear about this part. When we talk about Rich Cookie Baking, we know there’s going to be some decadence involved! These numbers are just estimates based on the *exact* ingredient amounts in the recipe above, using standard calculations. They are a guide, not a promise, because the exact brand of butter or size of your egg yolk can shift things slightly.
But knowing what you’re eating is important, even when it’s a treat! This recipe yields about three dozen cookies, so these values are calculated per serving, which we are defining right here as one perfect little butter cookie. It’s good to know that even with all that butter, the sugar content is kept relatively low compared to modern store-bought versions!
- Serving Size: 1 cookie
- Calories: 120
- Fat: 8g (with 5g coming from Saturated Fat)
- Carbohydrates: 11g
- Sugar: 6g
- Protein: 1g
- Cholesterol: 30mg
See? A little treat that keeps things balanced! Enjoy that richness knowing it’s made with simple, real ingredients right in your own kitchen.
Share Your Homemade Butter Cookies Creations
Well, that’s it! You’ve dipped into the simple joy of making a true, classic butter cookie from scratch. I truly hope these turn out exactly how you dreamed—rich, buttery, and wonderfully tender. That feeling when you stack them up, knowing you made them all yourself? There’s nothing like it.
Now, I really, *really* want to see what you’ve been baking! Sharing our successes is such a huge part of the Mia’s Meals community. Please, after you’ve had a taste, come back and leave a rating—five stars if they melted in your mouth just like mine did! Don’t be shy about telling me if you added a little zest or used a special cutter!
If you snap a photo of your beautiful batch—whether they are perfectly shaped cutouts or lovely piped swirls—please tag me over on social media! Seeing your beautiful Homemade Butter Cookies warming up other kitchens is the best part of my day. If you ever run into a sticky spot while adjusting recipes or just want to say hello, you can always reach out via my contact page. Happy baking, friends!
PrintClassic Melt-in-Your-Mouth Butter Cookies
Make rich, buttery cookies that melt in your mouth using basic pantry ingredients. This easy recipe is perfect for holiday baking or gifting.
- Prep Time: 20 min
- Cook Time: 12 min
- Total Time: 32 min
- Yield: 3 dozen 1x
- Category: Dessert
- Method: Baking
- Cuisine: American
- Diet: Vegetarian
Ingredients
- 1 cup unsalted butter, softened
- 1/2 cup granulated sugar
- 1 large egg yolk
- 1 teaspoon vanilla extract
- 2 1/2 cups all-purpose flour
- 1/4 teaspoon salt
Instructions
- Beat the softened butter and granulated sugar together in a large bowl until the mixture is light and fluffy.
- Beat in the egg yolk and vanilla extract until just combined.
- In a separate bowl, whisk together the flour and salt. Gradually add the dry ingredients to the wet ingredients, mixing on low speed until a soft dough forms. Do not overmix.
- Shape the dough into a log, wrap it in plastic wrap, and chill in the refrigerator for at least 30 minutes. This helps prevent spreading.
- Preheat your oven to 350 degrees Fahrenheit (175 degrees Celsius). Line baking sheets with parchment paper.
- Roll the chilled dough out on a lightly floured surface to about 1/4 inch thickness. Cut the dough into desired shapes using cookie cutters.
- Place the cut cookies onto the prepared baking sheets, spacing them about 1 inch apart.
- Bake for 10 to 12 minutes, or until the edges are lightly golden brown.
- Let the cookies cool on the baking sheet for 5 minutes before transferring them to a wire rack to cool completely.
Notes
- For a richer flavor, substitute 1/4 cup of the butter with browned butter. Cool the browned butter before mixing it with the sugar.
- You can pipe this dough using a star tip for a classic Danish style look if you prefer not to roll and cut.
- Decorate cooled cookies with a simple glaze or sprinkles for Christmas cookies.
Nutrition
- Serving Size: 1 cookie
- Calories: 120
- Sugar: 6
- Sodium: 45
- Fat: 8
- Saturated Fat: 5
- Unsaturated Fat: 3
- Trans Fat: 0
- Carbohydrates: 11
- Fiber: 0
- Protein: 1
- Cholesterol: 30