
There’s just something magical about eating dessert outdoors, isn’t there? Whether it’s a simple blanket spread in the backyard or a long drive out to the park, that fresh air just makes everything taste better. But let’s be honest—most traditional cakes are simply not built for travel! You end up with leaning layers and ruined frosting. That’s where my mission at Mia’s Meals comes in: creating wonderful food that fits into our busy lives. That’s why I perfected these Sturdy Lemon Crumb Cake Bars. They are the secret weapon for the perfect Cake Picnic because they are robust, don’t need serious insulation, and taste completely homemade. You can whip these up, toss them in a container, and forget about fussy serving logistics! If you want to learn more about why I focus on these reliable, home-focused recipes, you can always check out my story over at Mia’s Meals.
I remember trying to bring my mom’s delicate sponge cake to a youth soccer event years ago—what a disaster! That mess inspired me to find desserts that are dependable. These bars are just that. They hold their shape beautifully, making them some of the best Portable Cake Recipes you’ll find. They are proof that you don’t need hours of fuss to have a beautiful, memorable dessert for your next outdoor gathering.
- Why This Sturdy Lemon Crumb Cake is the Ultimate Cake Picnic Dessert
- Gathering Ingredients for Your Cake Picnic Bars
- Step-by-Step Instructions for Easy Travel Cakes
- Tips for the Perfect Cake Picnic Presentation and Transport
- Ingredient Notes and Substitutions for Portable Cake Recipes
- Serving Suggestions for Your Cake Picnic Dessert Ideas
- Frequently Asked Questions About Making a Cake Picnic Successful
- Estimated Nutrition for This Cake Picnic Recipe
- Share Your Best Cake Picnic Moments
Why This Sturdy Lemon Crumb Cake is the Ultimate Cake Picnic Dessert
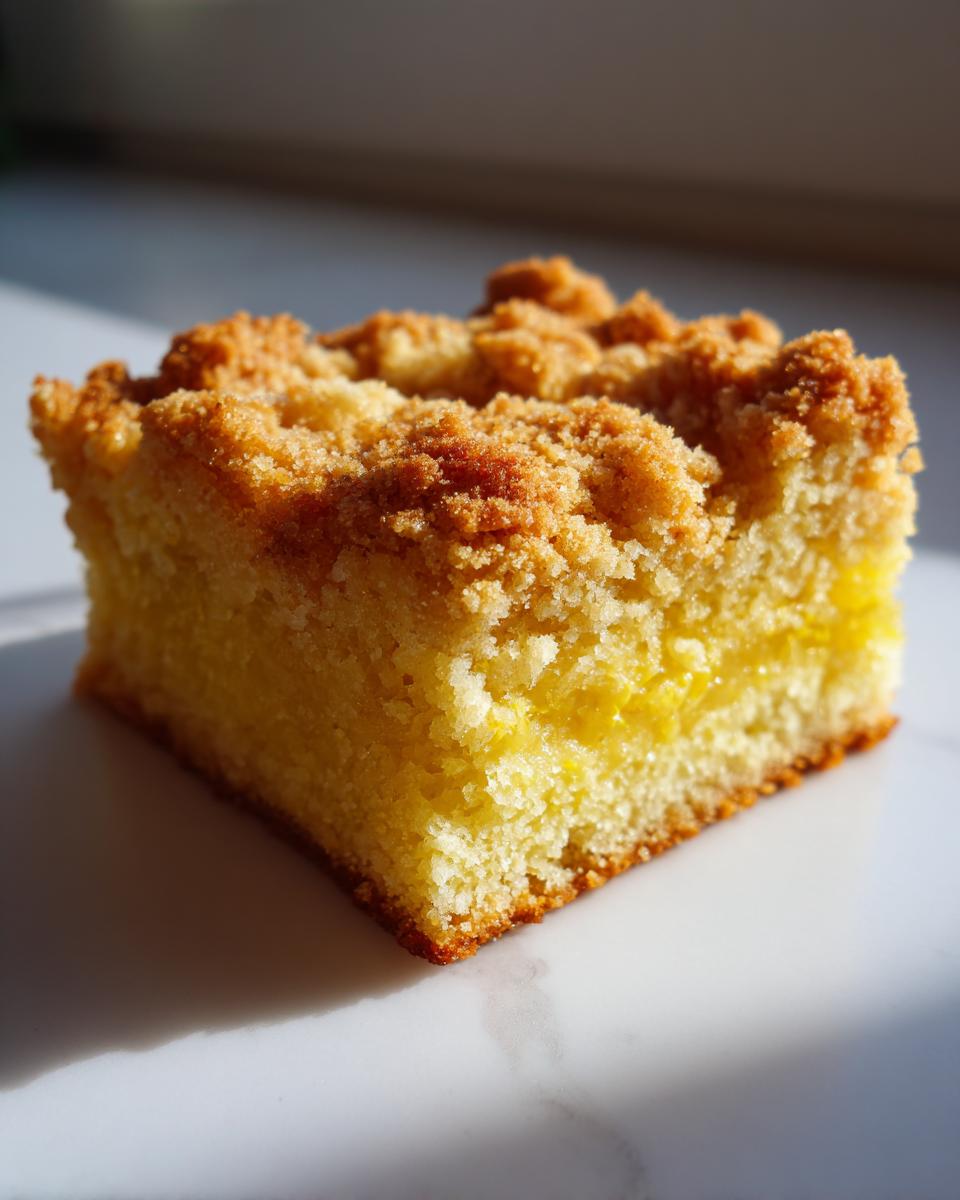
When you’re planning Picnic Dessert Ideas, the top concern is always transport—will it melt? Will it get squished? These bars solve that problem! Because they aren’t layered or covered in a soft, messy frosting, they stand up beautifully to being tucked into a container. They are truly one of my favorite Portable Cake Recipes because they just don’t complain when squished a little against the lemonade pitcher.
Plus, the lemon flavor is so bright and cheerful—perfect for summer, right? They keep beautifully at room temperature, which means they fall squarely into the category of No Refrigeration Desserts. No frantic searching for a cooler spot in the shade needed!
Perfect for Outdoor Entertaining Cakes: Portability First
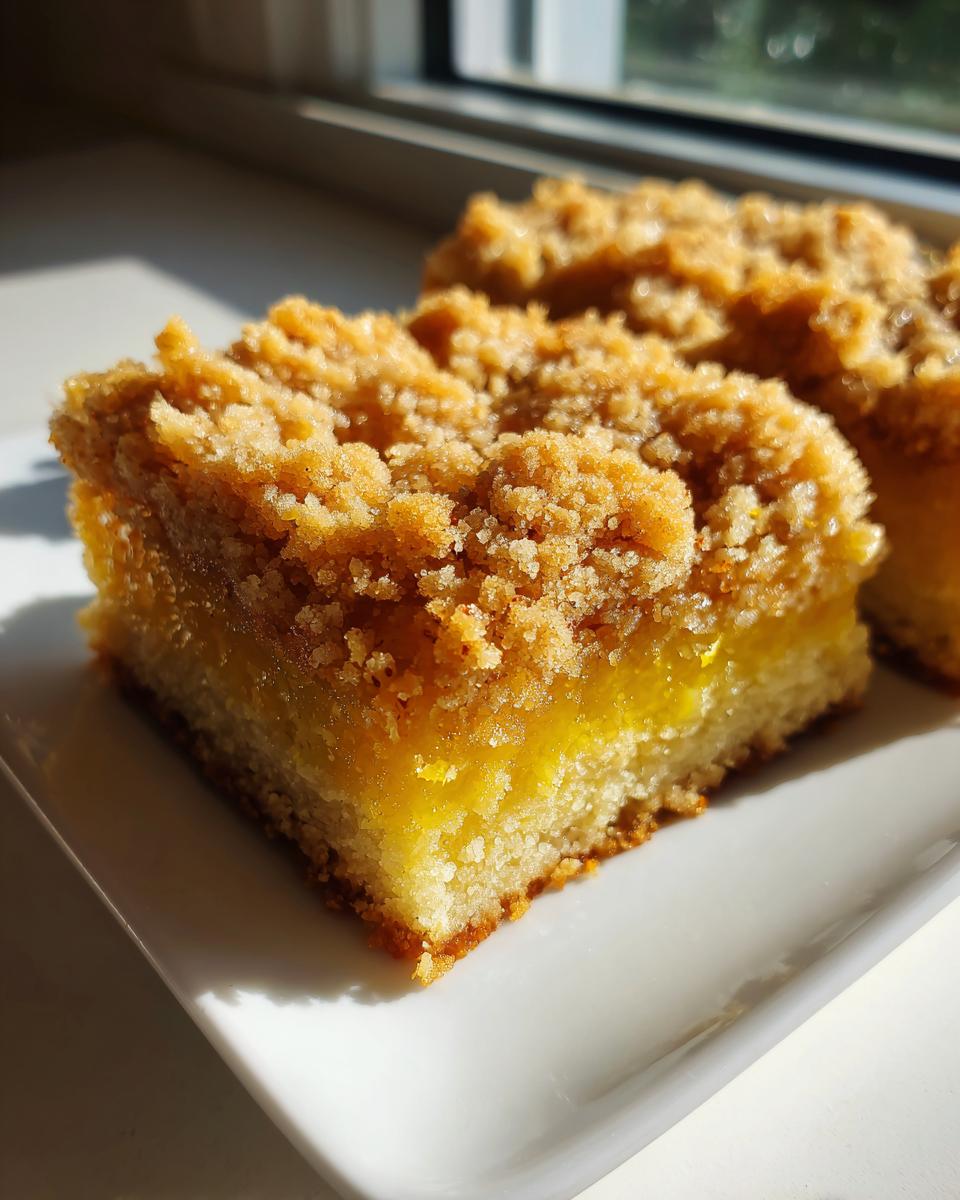
The bar format is your best friend here. You cut them into squares *before* you leave home, and trust me, that makes serving during your Outdoor Party Desserts effort so much easier. No knives needed! They hold their shape, and the crumb topping acts as a shield, keeping everything stable. They are fantastic Sturdy Cake Options, truly.
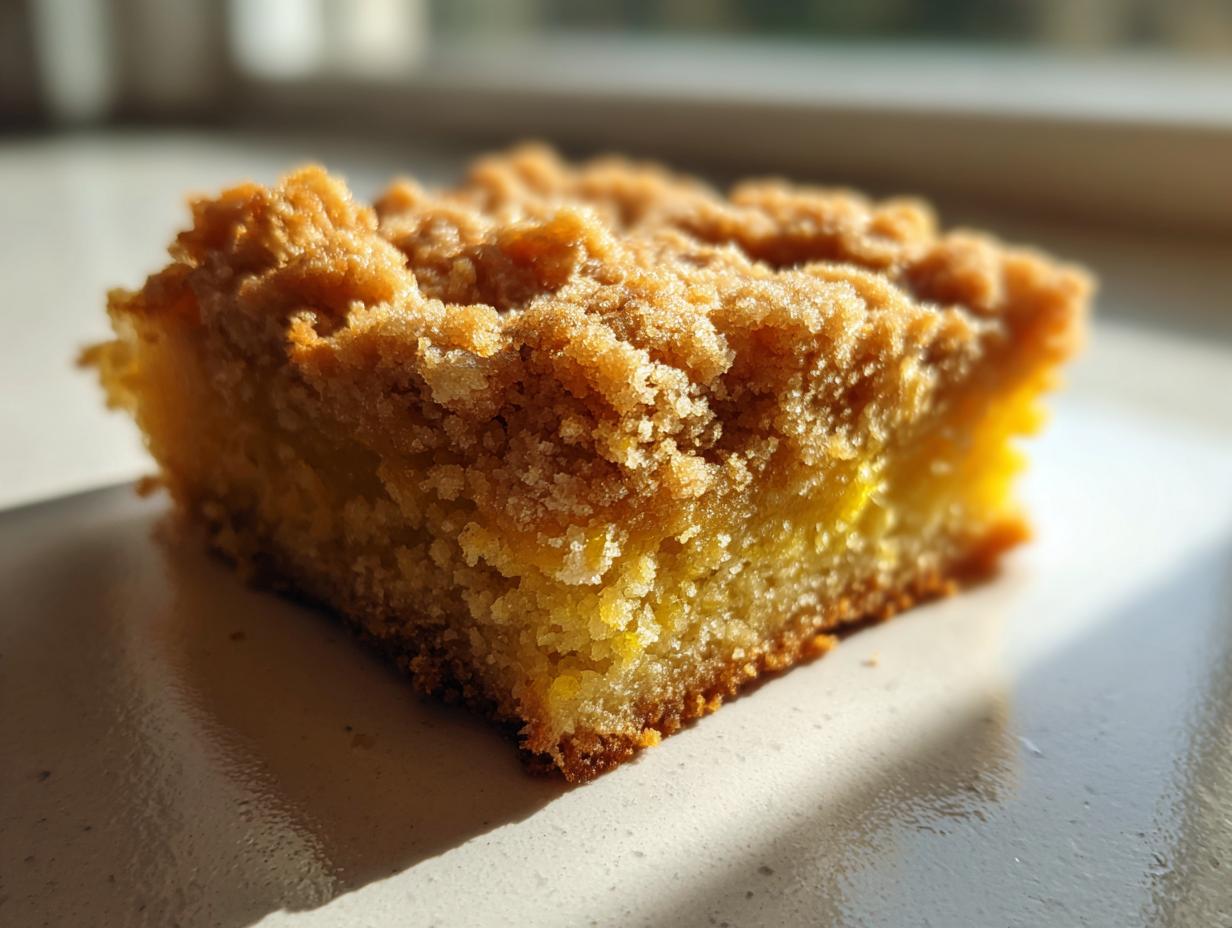
Flavor Profile: Bright Lemon for Your Summer Cake Picnic
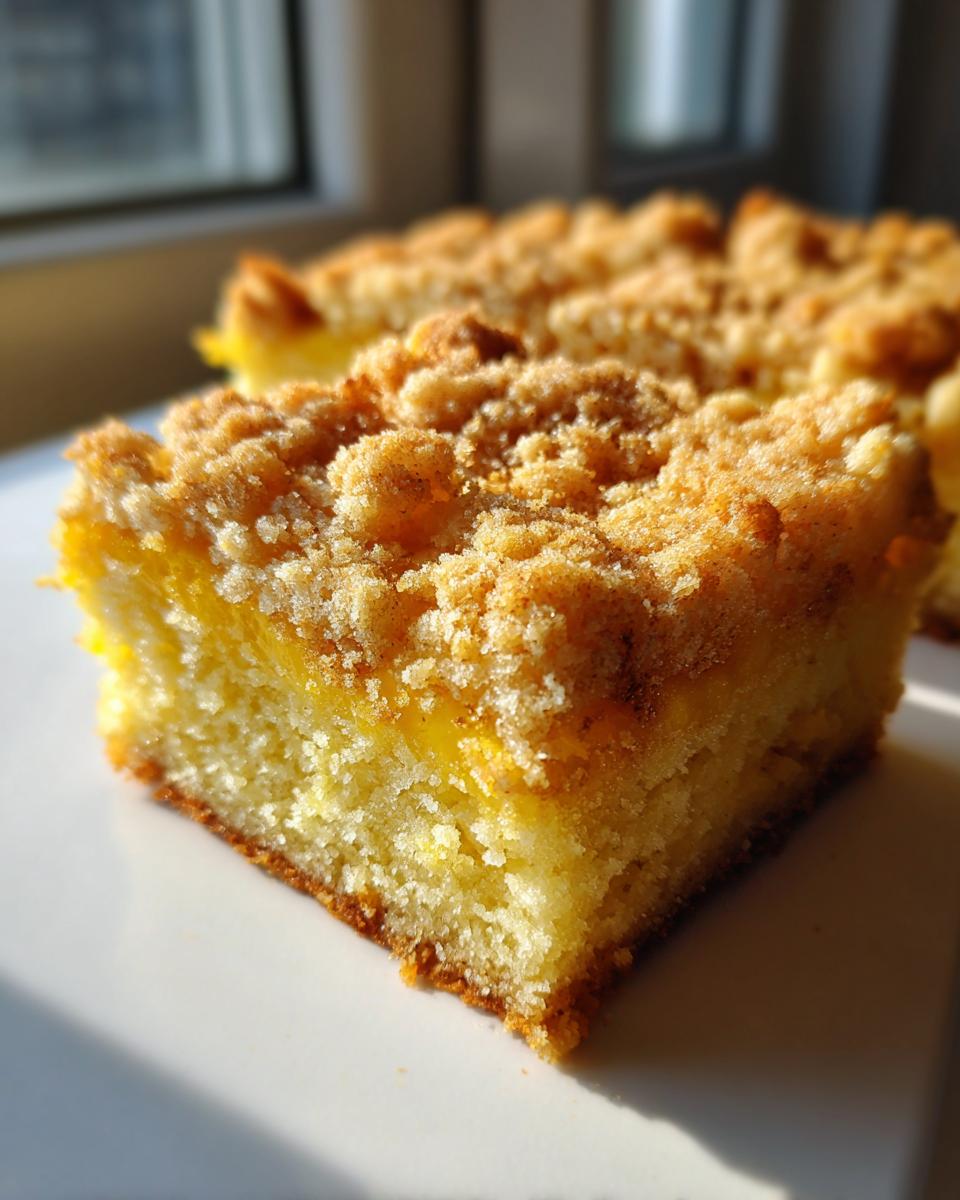
That tangy lemon zest really wakes up your tastebuds, especially on a hot day. It cuts right through the richness of the buttery cake base. The sugary, crunchy crumb topping is the perfect contrast to that tartness. Honestly, the smell alone makes me want to pack a basket immediately! This flavor blend is what makes it the star of any Cake Picnic outing. If you want more ideas on packing up food for adventures, check out my tips for easy transport desserts!
Gathering Ingredients for Your Cake Picnic Bars
Okay, time to grab what you need! Since these bars are meant to be totally reliable, make sure your ingredients are measured out before you start mixing—it saves so much panic later. Trust me on this one; having everything ready makes the whole process smooth sailing, which is exactly what we need for a fuss-free lemon scone recipe or this cake!
Here’s the rundown of what you’ll need for the cake base:
- 1 1/2 cups all-purpose flour
- 1 teaspoon baking powder
- 1/2 teaspoon salt
- 1/2 cup (1 stick) unsalted butter, softened
- 1 cup granulated sugar
- 2 large eggs
- 1/2 cup whole milk
- 1 tablespoon lemon zest
- 2 tablespoons fresh lemon juice
- 1 teaspoon vanilla extract
Now for the yummy, crunchy part—the crumb topping:
- 1/2 cup all-purpose flour
- 1/4 cup packed light brown sugar
- 1/4 teaspoon ground cinnamon
- 3 tablespoons cold unsalted butter, cut into small pieces
If you decide to go fancy, here’s what you need for that optional glaze:
- 1/2 cup powdered sugar
- 1 tablespoon fresh lemon juice
Step-by-Step Instructions for Easy Travel Cakes
Alright, let’s get down to business. This is where we turn those lovely ingredients into something truly road-ready. Remember, for Easy Travel Cakes, technique matters way more than frosting! First things first: get that oven preheated to 350°F. And please, please, line that 8×8 inch pan with parchment paper, making sure those edges hang over the sides. That overhang is your lifesaver for getting the whole thing out in one piece later!
You can check out my favorite make-ahead tips for picnics over here—getting started early always helps! Make Ahead Picnic Treats are my specialty!
Preparing the Batter and Crumb Topping for Your Cake Picnic
Start by whisking your dry ingredients—that’s the flour, baking powder, and salt. Set that aside. Now for the batter base: cream your softened butter and the granulated sugar until it looks pale and fluffy. This step really matters for texture! Then, add your eggs one at a time, making sure each one is fully incorporated before you add the next. Don’t rush it; we want air in there!
Mix in your milk, zest, juice, and vanilla just until they combine. Then, on low speed, slowly mix in those dry ingredients. Stop mixing the second the streaks disappear! Overmixing is the death of a tender cake, especially one that needs to be sturdy.
For the topping, you need that cold butter cut into small pieces. Rub the flour and brown sugar mixture with that cold butter using just your fingertips until it looks like coarse sand or tiny pebbles. This ‘cutting in’ is what gives you that amazing, crumbly texture later on!
Assembly, Baking, and Cooling the Sturdy Cake Options
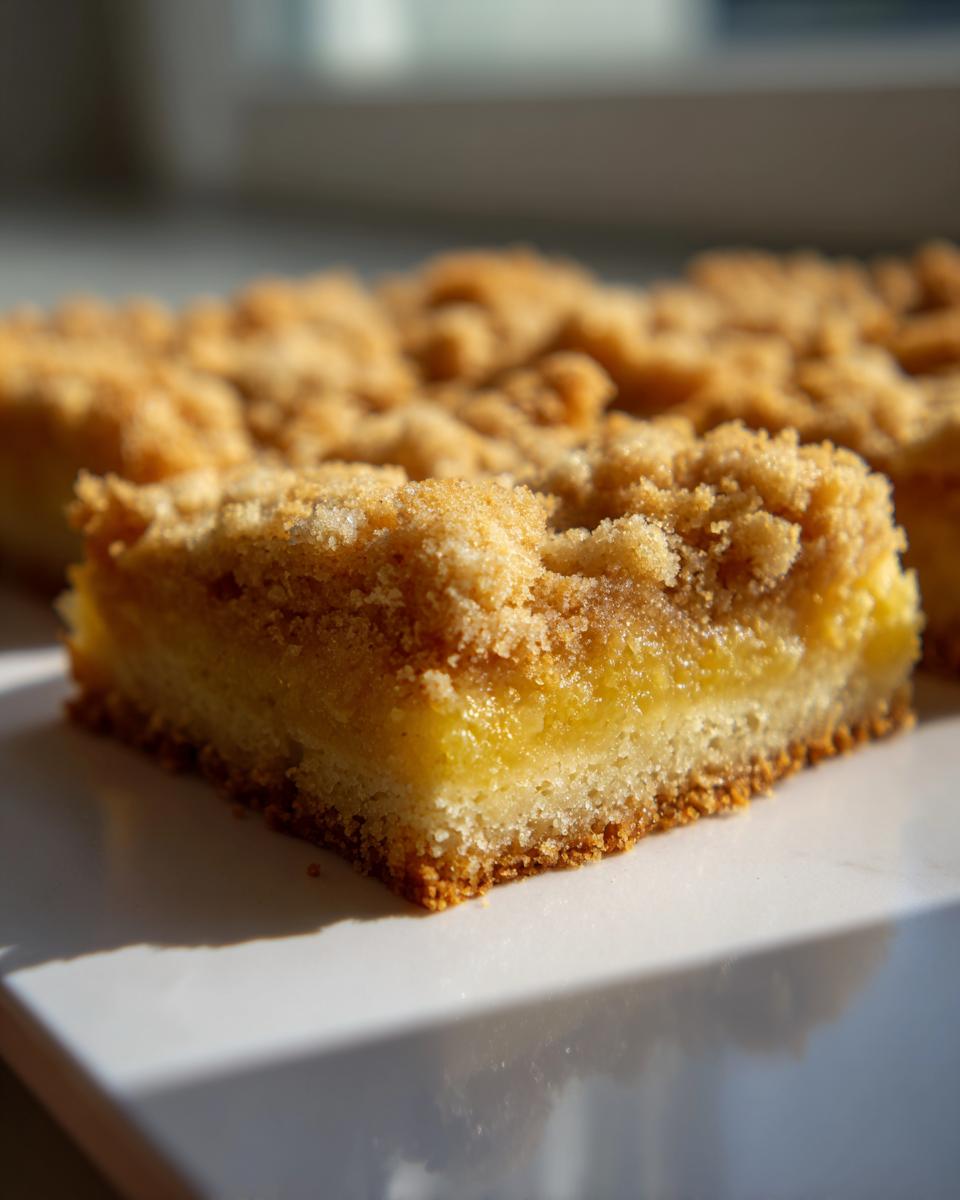
Time to layer! Spread half the batter into your prepared pan. Sprinkle exactly half of that crumb topping over the top. Now, gently spread the rest of the batter over that crumb layer—yes, you’re sandwiching the crumbs! Top it all off with what’s left of the crunchy topping. This layering ensures you get crumb in every bite without it all sinking to the bottom.
Bake for about 35 to 40 minutes. You’re aiming for a wooden pick to come out clean. But here’s the secret to clean slicing: You MUST let this cool completely, maybe even for two hours, before you even *think* about lifting it out using those parchment handles. If it’s warm when you cut it, it will crumble, and that ruins the point of these robust Sturdy Cake Options for your trip!
Tips for the Perfect Cake Picnic Presentation and Transport
I know we talked about how sturdy these bars are, but a little extra care before you pack them goes a long way towards making them the Best Cakes for Outdoors. The most important thing, which I cannot stress enough, is letting them cool completely. I mean stone cold! If they are even slightly warm when you slice them, they will definitely stick to the parchment or crumble when you try to lift them.
Once they are totally cooled, use those parchment overhangs to lift the whole thing out onto a cutting board. Cut them into your 16 neat squares. Now, the packaging:
- Use an airtight container. This keeps dust and little bugs away, which is always a win outdoors!
- Layer them carefully. Don’t just pile them in! Use sheets of parchment paper or wax paper between the layers. This stops the crumb topping from sticking to the square above it.
- Resist the urge to glaze them too early! If you use the glaze, make sure it’s totally set—hardened, not just tacky—before you seal the container.
Since these are great No Refrigeration Desserts, just keep them in the container away from direct sunlight in your picnic basket, and they’ll be perfect for serving later. If you need some easy things to pair them with, check out my thoughts on simple appetizers and snacks that also travel well!
Ingredient Notes and Substitutions for Portable Cake Recipes
I always encourage people to look at the ingredients list not just as chores, but as opportunities. For these bars, a few key items really make or break their traveling ability. Freshness is vital, especially with citrus! I highly recommend using freshly squeezed lemon juice and zest. Bottled juice just doesn’t have that vibrant, clean punch that makes these bars so refreshing for your Outdoor Party Desserts.
What about the milk? We call for whole milk, but if you only have 2% or even buttermilk (gasp!), it will work just fine. Buttermilk adds a little extra tang, which I secretly love, so feel free to swap that in if you have it hanging around.
Can I make these without butter? A substitution talk
This is a tough one. Since these rely on that perfect crumb structure to be successful Easy Travel Cakes, butter is really the best answer because of the specific way it incorporates fat and helps with structure when creamed. However, I know sometimes we run out!
If you absolutely must substitute in the main cake batter—and only the batter, not the crumb topping where you need cold pieces—you could try using a neutral oil like canola or vegetable oil. Use about 3/4 cup of oil for every 1 cup of butter the recipe calls for. But here’s my honest warning: if you use oil, these will bake up much softer and maybe even look a little more like a dense pudding cake rather than a sturdy bar. They’ll still taste lovely, but they won’t travel quite as well. If you want a pie suggestion that works beautifully with lemon, you should check out my recipe for a creamy lemon pie!
For the crumb topping, stick strictly to cold butter pieces. If you use softened butter there, it will mix in like flour instead of creating those distinct sandy crumbs, and that would ruin the texture balance we worked so hard for!
Serving Suggestions for Your Cake Picnic Dessert Ideas
Since these lemon bars are fantastic Individual Serving Cakes, they really don’t need a lot of fuss alongside them! They are perfect finger food desserts for your picnic all on their own. But if you want to round out that basket, I always suggest something super simple that travels easily too.
Think fresh fruit! A container of mixed berries—strawberries, blueberries, raspberries—is the perfect, cool counterpoint to the sweet, lemony bar. It adds color and a little extra freshness to your spread. Also, these bars pair brilliantly with a nice, cold beverage. I always pack my favorite watermelon smoothie recipe when we head out, as it’s just so hydrating and light!
You can find all the details on making that refresher over here at my watermelon smoothie recipe page. Enjoy!
Frequently Asked Questions About Making a Cake Picnic Successful
I always love hearing what you all are wondering about when getting ready for an outing! Making something like this work for a big group outdoors can bring up specific worries. Here are a few things people ask me most often about getting these bars ready for a wonderful Cake Picnic adventure!
Are these the best cakes for outdoors if I skip the optional glaze?
Oh, absolutely! If you ask me, skipping the glaze is often the smarter choice for an Outdoor Party Dessert. The glaze is lovely and tart, but it adds a surface layer that can get sticky or smudge if the weather warms up. When you skip the glaze, these become the ultimate No Refrigeration Desserts because they are perfectly delicious with just that crunchy crumb topping. You can actually hide the bars in the container better without dealing with a sticky coating!
What is the best way to cut these bars for easy transport?
This brings us back to the most important rule for any bar recipe destined for travel—patience! You must let these bars cool completely, and I mean all the way to room temperature, before you attempt to cut them. Warm cake bars are soft and messy; cold ones are stiff and manageable. Once totally cool, lift the whole slab out using that parchment paper overhang, and then use a sharp knife to cut them into your desired Summer Dessert Bars. Clean cuts equal neat transport!
If you’re looking for more tried-and-true recipes that travel well, you’ll find tons of inspiration in my collection of delicious dessert recipes!
Can I bake this as one big sheet cake instead of cutting it into bars?
You totally can, but it changes what makes it the perfect travel treat! If you bake this in a 9×13 inch pan, it becomes a regular sheet cake. While it’s still sturdy, you’ll need a spatula and plates to serve slices, which defeats the purpose of easy, hand-held food. For the best results as Individual Serving Cakes, stick to the 8×8 inch pan and cut into squares. That’s the sweet spot for packing!
How long will these remain fresh if I make them the day before my picnic?
These are excellent Make Ahead Picnic Treats! Since they don’t have cream cheese or whipped cream, they are wonderfully stable. Stored tightly covered in an airtight container at room temperature, they will taste just as fresh the next day, maybe even better as the lemon and cinnamon flavors really meld. I’ve kept mine perfectly good for three days just sitting on the counter!
Estimated Nutrition for This Cake Picnic Recipe
Knowing what’s in your food is just part of good home cooking, isn’t it? Plus, it helps if you’re tracking things for your family. Here are the estimated nutrition facts for one of these superb Sturdy Cake Options. Remember, these numbers are based on my recipe using standard pantry items, so yours might shift just a tiny bit depending on exactly what brand of butter or sugar you use.
- Serving Size: 1 bar
- Calories: 220
- Fat: 11g
- Carbohydrates: 29g
- Sugar: 18g
- Protein: 3g
These are just estimates, of course, but they show you this is a wonderfully satisfying treat for your next Cake Picnic without being over the top!
Share Your Best Cake Picnic Moments
My very favorite part of sharing these recipes isn’t seeing you all cook them—it’s seeing where these meals take you! I genuinely hope these Sturdy Lemon Crumb Cake Bars make your next outdoor adventure just a little bit sweeter and a lot less stressful. These are the kind of Make Ahead Picnic Treats that deserve a spotlight!
When you make a batch, please come back here and drop a star rating for me! It helps other home cooks see just how dependable these Easy Travel Cakes are. And if you snap a photo of these bars enjoying the sunshine—maybe near a lake or under a big oak tree—please share it on social media and tag me! I absolutely love following along and seeing the happy connections my food helps create.
If you have any lingering questions about adapting recipes for travel or need to get in touch for any other reason, you can always reach out through my contact page. Happy picnicking, everyone!
PrintSturdy Lemon Crumb Cake Bars for Picnics
Make this sturdy lemon crumb cake perfect for your next outdoor gathering. These bars travel well and do not require refrigeration, making them ideal picnic dessert ideas.
- Prep Time: 20 min
- Cook Time: 40 min
- Total Time: 60 min
- Yield: 16 bars 1x
- Category: Dessert
- Method: Baking
- Cuisine: American
- Diet: Vegetarian
Ingredients
- 1 1/2 cups all-purpose flour
- 1 teaspoon baking powder
- 1/2 teaspoon salt
- 1/2 cup (1 stick) unsalted butter, softened
- 1 cup granulated sugar
- 2 large eggs
- 1/2 cup whole milk
- 1 tablespoon lemon zest
- 2 tablespoons fresh lemon juice
- 1 teaspoon vanilla extract
- For the Crumb Topping:
- 1/2 cup all-purpose flour
- 1/4 cup packed light brown sugar
- 1/4 teaspoon ground cinnamon
- 3 tablespoons cold unsalted butter, cut into small pieces
- For the Glaze (Optional):
- 1/2 cup powdered sugar
- 1 tablespoon fresh lemon juice
Instructions
- Preheat your oven to 350 degrees Fahrenheit. Grease and line an 8×8 inch baking pan with parchment paper, leaving an overhang for easy removal.
- In a medium bowl, whisk together the 1 1/2 cups flour, baking powder, and salt. Set aside.
- In a large bowl, cream the softened butter and granulated sugar together until light and fluffy. Beat in the eggs one at a time, mixing well after each addition.
- Mix in the milk, lemon zest, lemon juice, and vanilla extract until just combined.
- Gradually add the dry ingredients to the wet ingredients, mixing on low speed until the batter is smooth. Do not overmix.
- Prepare the crumb topping: In a separate small bowl, combine the 1/2 cup flour, brown sugar, and cinnamon. Cut in the cold butter using your fingers or a pastry blender until the mixture resembles coarse crumbs.
- Spread half of the cake batter evenly into the prepared pan. Sprinkle half of the crumb topping over the batter. Gently spread the remaining batter over the crumbs. Top with the remaining crumb mixture.
- Bake for 35 to 40 minutes, or until a wooden pick inserted into the center comes out clean.
- Let the cake cool completely in the pan on a wire rack.
- Once cool, use the parchment overhang to lift the cake out. Cut into 16 squares or bars. These are excellent easy travel cakes.
- If using the glaze, whisk together the powdered sugar and lemon juice until smooth. Drizzle over the cooled bars. Allow the glaze to set before packing.
Notes
- For best results when packing for a picnic, let the bars cool completely before cutting. Store them in an airtight container layered with parchment paper.
- These bars are stable at room temperature for several hours, making them great no refrigeration desserts.
- If you prefer a simpler presentation, skip the glaze entirely; the crumb topping provides enough sweetness for outdoor entertaining cakes.
Nutrition
- Serving Size: 1 bar
- Calories: 220
- Sugar: 18g
- Sodium: 110mg
- Fat: 11g
- Saturated Fat: 6g
- Unsaturated Fat: 5g
- Trans Fat: 0g
- Carbohydrates: 29g
- Fiber: 1g
- Protein: 3g
- Cholesterol: 45mg