

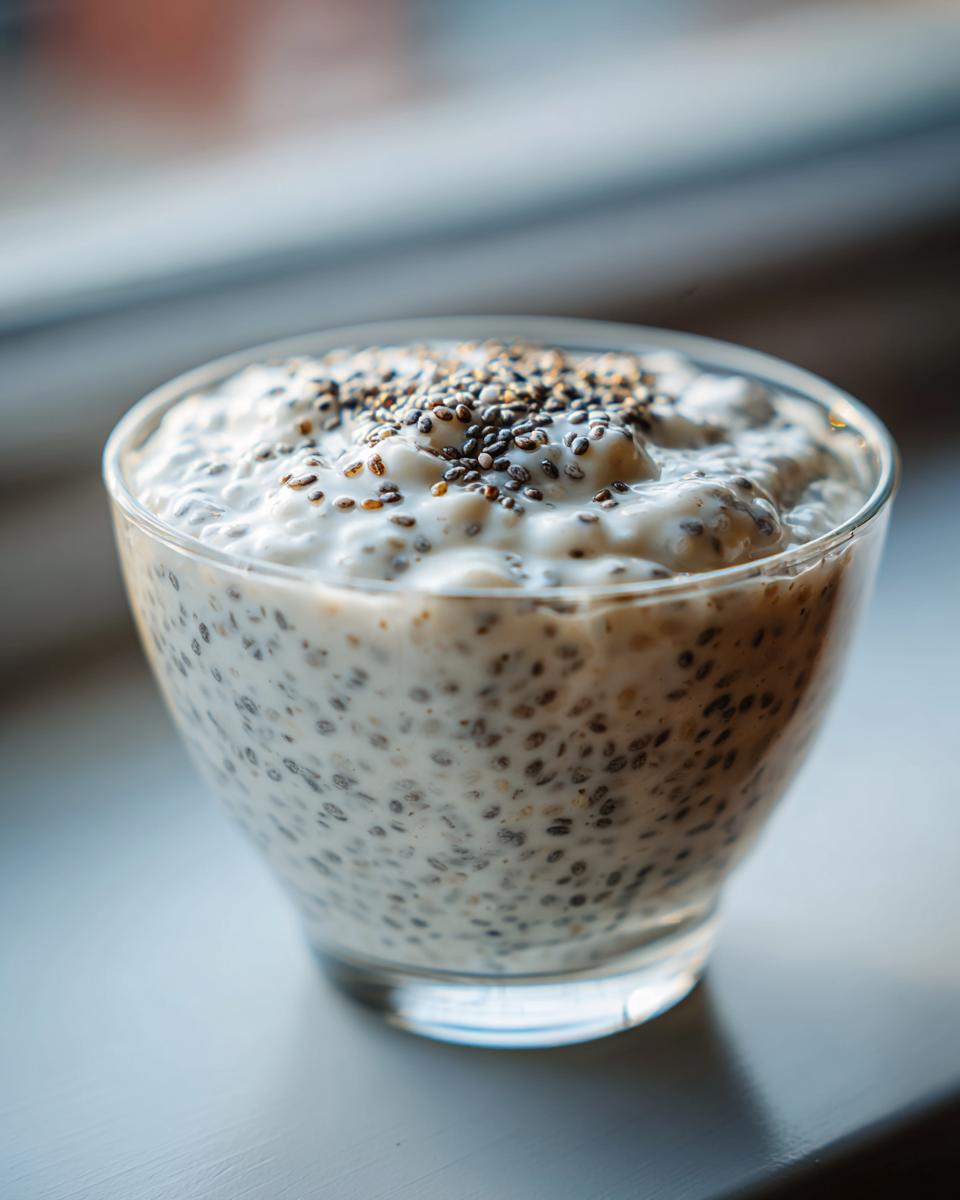
Mornings around here are just as hectic as they are in your house, I promise! My mission at Mia’s Meals has always been to take those gorgeous, wholesome ideas—like a wonderfully healthy breakfast—and strip away all the unnecessary fuss. That’s why I became obsessed with this chia seed pudding recipe. Seriously, we are talking just four simple ingredients here!
This basic vanilla recipe is the absolute foundation for everything good in the chia world. It sets up perfectly overnight, meaning you have a delicious, fiber-packed bowl ready to go when you pull it out of the fridge. It’s one of my favorite go-to make ahead breakfast ideas because it gives me back precious minutes on busy weekdays. Life is complicated enough; making breakfast shouldn’t be!
If you’re looking for ways to simplify your routine without sacrificing nutrition, you are in the absolute right place. Check out my collection of other easy breakfast ideas if you need more wins like this one!
- Why This Creamy Chia Seed Pudding Recipe Works for Everyone
- Ingredients for the Simple Vanilla Chia Seed Pudding Recipe
- How to Make Chia Seed Pudding: Step-by-Step Instructions
- Variations: From Vanilla Chia Seed Pudding to High Protein Chia Pudding
- Topping Your Chia Seed Pudding for Flavor and Crunch
- Storage and Reheating Instructions for Your Chia Seed Pudding
- Frequently Asked Questions About Chia Seed Pudding
- Nutritional Snapshot of This Fiber Rich Breakfast
- Share Your Simple Chia Seed Recipe Success
Why This Creamy Chia Seed Pudding Recipe Works for Everyone
When I set out to create the recipes for Mia’s Meals, I wanted things that just *worked*. This simple chia seed recipe is foolproof, and that’s the absolute truth. It packs a nutritional punch without requiring any morning guesswork.
- It’s an incredibly easy way to get substantial fiber in your day—a true fiber rich breakfast powerhouse.
- It requires zero cooking time whatsoever, which is a huge win for busy schedules!
- It’s naturally gluten-free and highly adaptable for vegan or dairy-free diets.
Perfect for the Beginner Chia Pudding Cook
If you’ve ever been scared to try chia pudding because you heard it turns into a chunky, gelatinous mess, stop right there! This recipe is your gentle introduction. We keep the ingredients minimal so you can focus purely on technique. The secret truly lies in the double-stir method, which guarantees you achieve that glorious, smooth, creamy chia pudding texture every single time. No lumps allowed in my kitchen!
The Ultimate Make Ahead Breakfast Ideas
This is where this recipe really shines for parents and busy professionals. Once you mix it up, you are done. Slide it into the fridge, and it transforms into a perfect grab-and-go meal for the next day or even the next few days. It’s one of the best meal prep breakfast components you can build for a stress-free week. Literally, the hardest part is remembering to put it away before bed!
Ingredients for the Simple Vanilla Chia Seed Pudding Recipe
Okay, let’s talk about what goes into this magic trick. You asked for simple, and I delivered! This base vanilla chia seed pudding recipe truly only needs four components. That’s it. You probably have three of them in your pantry right now, which is why I love it so much as a quick go-to.
Here is exactly what you’ll need for one perfect serving. Make sure you scale this up in a larger jar if you’re prepping for the week!
- 1/4 cup chia seeds
- 1 cup milk (dairy or unsweetened almond milk recommended for dairy free)
- 1 tablespoon maple syrup or preferred liquid sweetener
- 1 teaspoon pure vanilla extract
Ingredient Notes and Dairy Free Pudding Substitutions
While the list is short, the quality of those few ingredients really matters, especially when you aren’t hiding flavor behind spices or heavy sugars. For the vanilla, please, use the real stuff—pure extract, not that imitation vanilla flavoring. It truly makes the subtle flavor pop!
When it comes to the milk, this is where you customize your base. If you want a fantastic dairy free pudding, I swear by an unsweetened almond milk. It’s creamy enough when thickened but keeps the flavor light. Coconut milk works too, but it does change the flavor profile a bit; it becomes richer, almost tropical. You want your maple syrup, but if you’re watching sugar intake, feel free to swap it out for a few drops of stevia or monk fruit sweetener—just stir slowly as you add it!
How to Make Chia Seed Pudding: Step-by-Step Instructions
Making the chia seed pudding is genuinely the easiest part of the entire process, but timing the stirring is what turns it from okay to amazing. This recipe is designed to be non-fussy, following the same simple path whether you are making one serving or a whole week’s worth of healthy snacks for meal prep!
First things first: Grab your seeds, your milk, your sweetener, and that vanilla. Get them all into one jar or container that has a tight lid—this is important! Stir everything aggressively for a solid minute. You need to make sure those little seeds aren’t just sitting in a clump at the bottom, waiting to turn into a giant, unmixable blob later. Don’t fret if it still looks a little watery; that’s normal right now. You can look up more easy breakfast ideas if you need more quick wins like this, but for now, trust the timing!
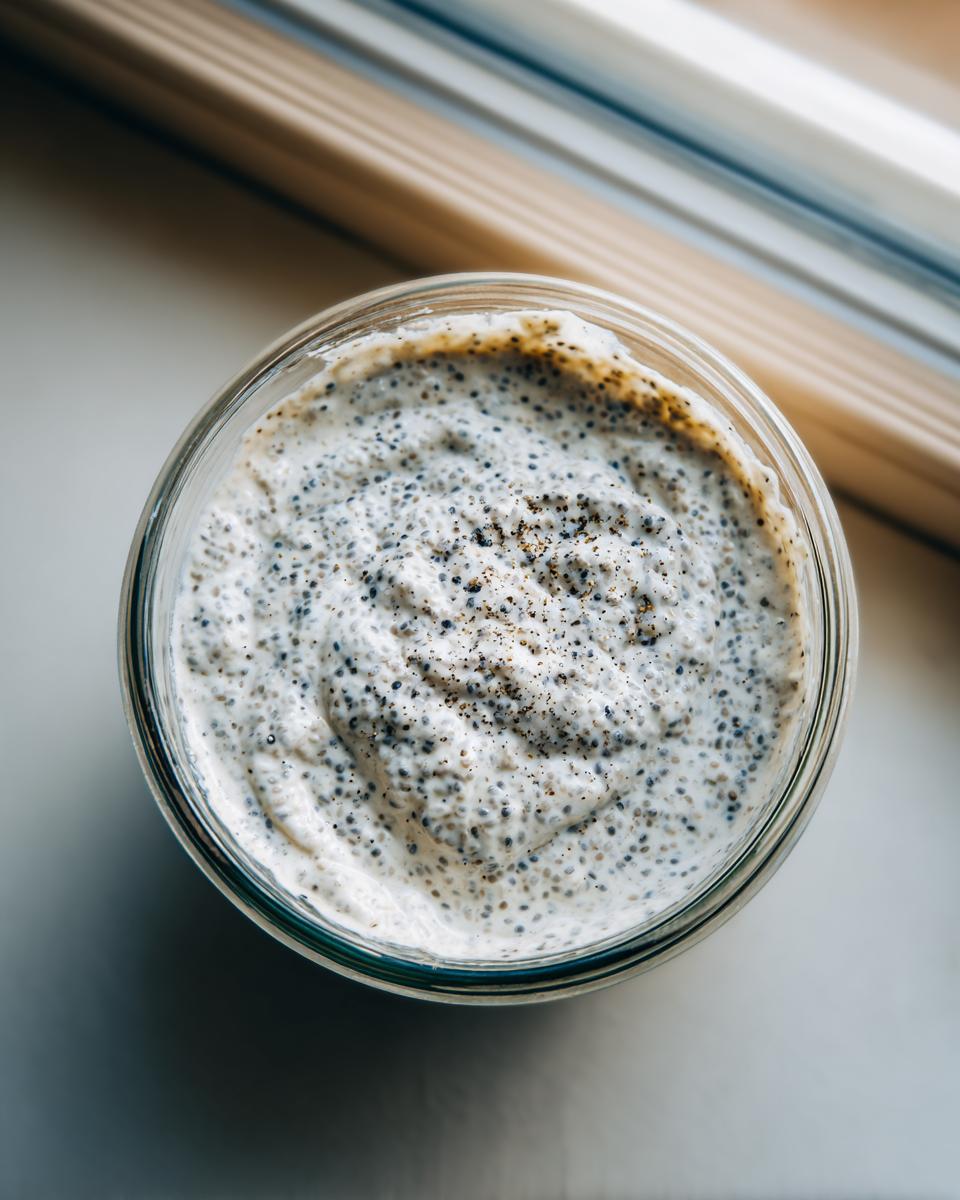
Achieving Creamy Chia Pudding Texture with the Double Stir
Okay, listen closely; this is the step that separates the pros from the beginners when trying to avoid a thick chia pudding consistency that’s just… lumpy. After that first minute of mixing, set the jar on the counter and walk away for precisely five minutes. Seriously, set a timer! When the timer dings, give it one final, energetic stir. This second mix redistributes the seeds that have started absorbing the liquid, ensuring they swell evenly. This double-stir technique guarantees that beautiful, smooth mouthfeel we are chasing.
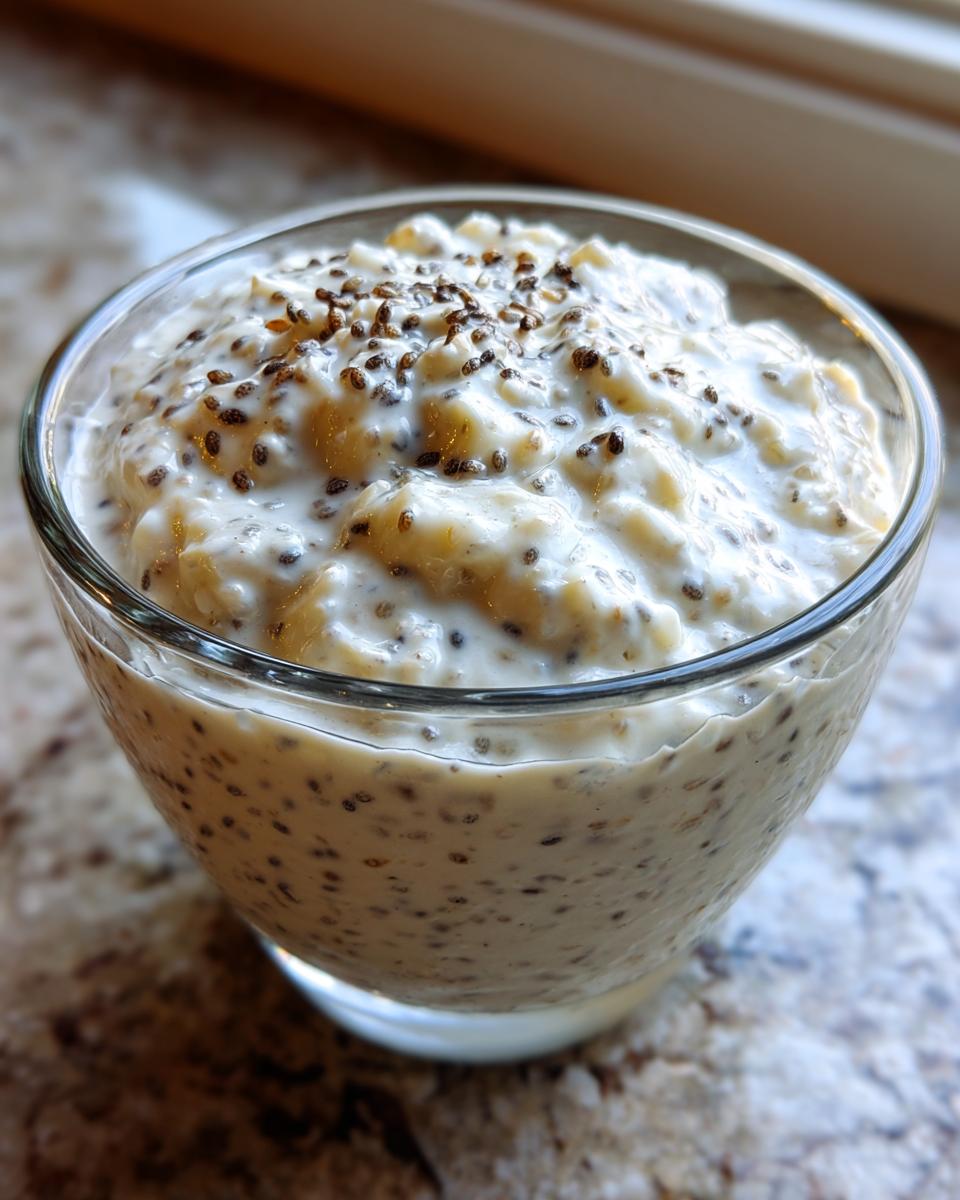
Setting Your Overnight Chia Pudding
Once you’ve given it that crucial second stir, cover your container tightly! This is a no-bake magic trick, meaning zero stove time, obviously. Pop it into the refrigerator. While four hours is the minimum amount of time required for them to hydrate enough to form a pudding, I truly won’t touch mine until the next morning. Overnight setting allows the flavor to deepen and the consistency to become perfectly set and scoopable. It’s the key to a successful overnight chia pudding!
Variations: From Vanilla Chia Seed Pudding to High Protein Chia Pudding
Now that you’ve mastered the basic vanilla chia seed pudding recipe—the easiest place to jump in—you might be wondering how else we can tweak this glorious base. Trust me, customizing this is half the fun! The wonderful thing is, you don’t need a whole new recipe; you just need a few smart additions to achieve that decadent best chocolate chia pudding or to boost your morning macros.
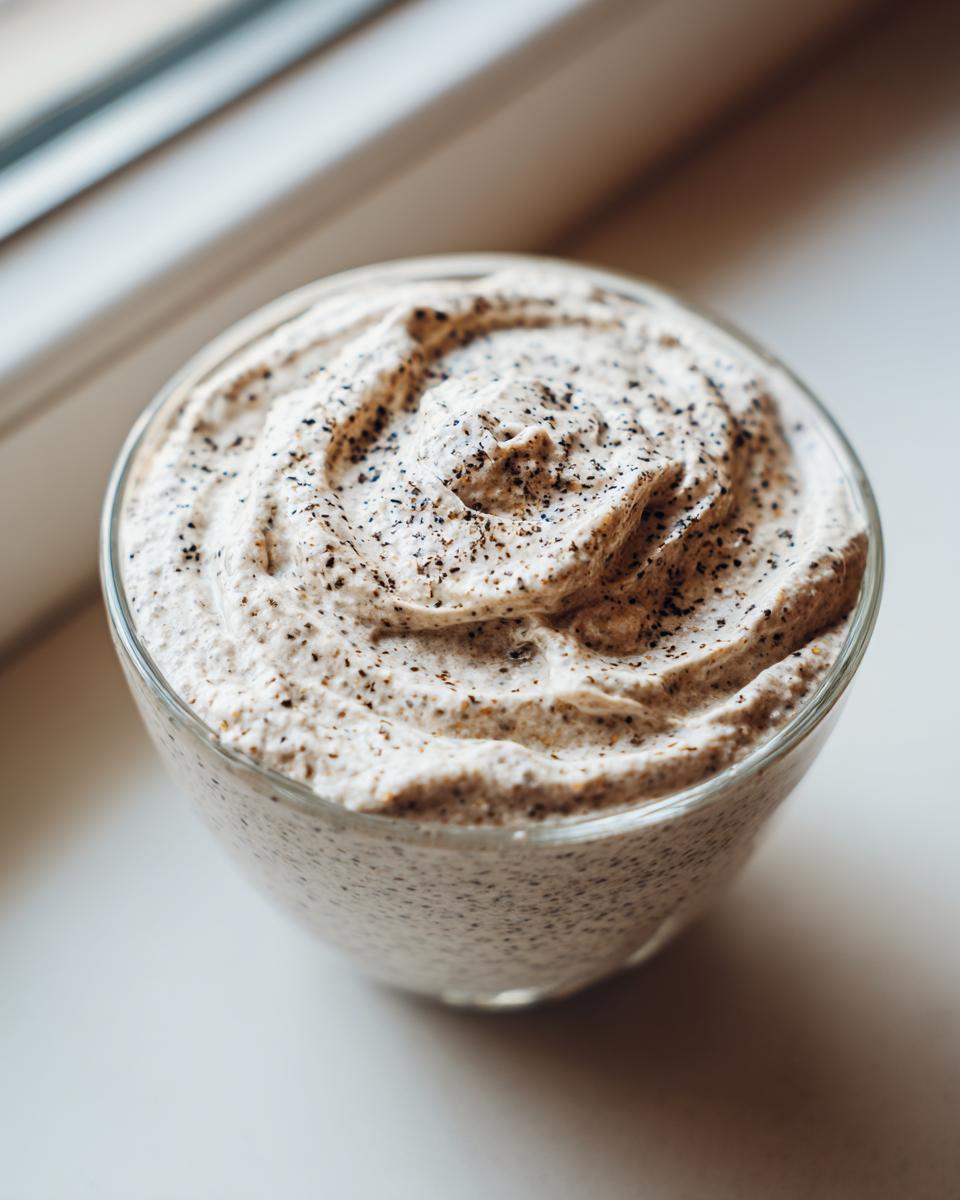
Making the Best Chocolate Chia Pudding
If you’re craving something that tastes like a healthy chocolate pudding cup from your childhood, this variation is incredibly simple. After you mix your chia seeds, milk, and sweetener (vanilla totally optional here), you just need to introduce the cocoa magic.
I add about 1 to 2 tablespoons of good quality, unsweetened cocoa powder right in with the liquid and seeds. You need to stir that batch *extra* well during the first stir because cocoa powder can clump up fast, and nobody wants a hard chunk of dry chocolate powder in their smooth snack! Once you do that and let it sit for the 5 minutes, stir it again, and you’re good to go. If you use a thick milk like canned coconut milk, you might need a tiny splash of extra water to keep it from getting rock-solid.
Creating High Protein Chia Pudding with Yogurt
This is my absolute favorite way to turn this into super satisfying fuel, especially on days when I know I’m going to be running around nonstop. We’re aiming for that amazing high protein chia pudding everyone talks about!
The trick here, as mentioned in the notes, is swapping out half of your milk for plain Greek yogurt. If you are using a standard 1 cup of liquid, use 1/2 cup milk and 1/2 cup Greek yogurt. Make sure you use the plain kind so you can control the sweetness! When you mix this combination, the yogurt is naturally thicker than milk, so you might notice immediately that you have a much thicker consistency right away. If it looks too dense after you add the yogurt, just pour in an extra splash of your favorite milk until the mixture looks slightly runny. It will thicken up perfectly overnight, giving you a wonderfully rich result.
If you want some inspiration on how to make other high-protein treats that keep you feeling full, I’ve got some simple protein muffin recipes that hit the spot too!
Topping Your Chia Seed Pudding for Flavor and Crunch
Once your pudding is perfectly set, we get to the fun part: dressing it up! This is where you turn a simple, healthy snack into something that feels incredibly indulgent. Don’t just stick to fruit, although fresh berries are always welcome! You need texture contrast!
When thinking about chia pudding toppings ideas, go for something crunchy mixed with something chewy. I adore sprinkling on toasted coconut flakes for that tropical crunch, or maybe some toasted pecans if I want a warmer flavor profile. If you’re making this for dessert, try layering it with a handful of my famous maple brown sugar cookie crumbles—shhh, don’t tell anyone how easy they are to make!
Storage and Reheating Instructions for Your Chia Seed Pudding
One of the biggest wins for this recipe in my book is how exceptionally well it stores. Remember how I said this is a top choice for your healthy snacks for meal prep? That’s because you can absolutely make a big batch on Sunday night and have grab-and-go breakfasts ready all the way through Wednesday, sometimes longer!
You can keep your delicious chia seed pudding sealed up tight in the refrigerator for up to four full days. I usually use mason jars because they are sturdy and travel well, but any airtight container works just fine. Make sure those lids are firmly screwed on to keep things fresh!
Now, here’s the essential tip for the last day or two: Chia seeds are moisture sponges, bless their hearts! If you let it sit for four days, it might get a *little* too thick for your liking—like eating thick oatmeal, perhaps. Don’t panic if it looks stiff when you open the fridge!
If you find the consistency is too much like a solid block when you serve it, all you need to do is stir in a tiny splash or two of cold milk. Just almond milk, regular milk, water—whatever you used originally. Stir it vigorously, and you’ll see it instantly loosen back up into that luxurious, smooth texture you loved on day one. It really brings it right back to life without any actual cooking or reheating required!
Frequently Asked Questions About Chia Seed Pudding
I know, I know, sometimes after following a recipe, a few little things still pop into your head. That’s totally normal when you’re trying something new, especially when trying to nail that perfect texture! I’ve pulled together the questions I get asked most often about making this basic chia seed pudding. Hopefully, these answers help you feel super confident!
What ratio of liquid to chia seeds is best for thick chia pudding consistency?
This is the million-dollar question for texture control! The ratio I use in the main recipe, which gives you that perfect, scoopable, almost mousse-like texture, is a 1:4 ratio by volume—that’s 1 part chia seeds to 4 parts liquid (so 1/4 cup seeds to 1 cup milk). If you like it much looser, aim for 1 part seeds to 5 parts liquid. If you, like my husband, prefer it super thick—almost needing a spoon to carve it out—try 1 part seeds to 3.5 parts liquid. Just remember, if you go too thick, you can always thin it back out later with a splash of milk!
Can I use water instead of milk for this simple chia seed recipe?
Oh, you certainly *can*, but I really wouldn’t recommend it if you want something delicious! Water works technically—the seeds will still gelatinize and thicken up—but you’ll miss out on all the creaminess and depth of flavor that milk provides. Since this is such a simple chia seed recipe, the milk is doing a lot of the heavy lifting flavor-wise. If you need to keep it strictly plant-based or avoid dairy, please stick with unsweetened almond, soy, or even oat milk. If you’re in a pinch and only have water, try adding a tiny bit more vanilla extract and maybe a pinch of salt to try and wake up the flavor a bit!
Is this vanilla chia pudding recipe naturally low carb?
That’s a great question, especially if you are watching your sugar! As written—using maple syrup—it’s definitely not what I’d call low carb chia pudding. Maple syrup, while delicious and natural, is still straight sugar. For those days when I’m aiming for lower carbs, I swap the tablespoon of maple syrup for about 10-12 drops of liquid stevia or monk fruit sweetener. If you make that swap, suddenly, yes! It absolutely fits into a low-carb or keto-friendly diet plan, and it still gives you all that great fiber and healthy fat. You can find more tips on optimizing your macros over on my contact page if you ever have specific diet questions!
Nutritional Snapshot of This Fiber Rich Breakfast
I always try to keep things transparent here at Mia’s Meals, because knowing what you’re putting into your body is the first step to feeling great! Because this recipe is so versatile—you might use almond milk, or maybe you use whole dairy milk, or perhaps you swap maple syrup for stevia—these numbers are just a snapshot. They are based on using unsweetened almond milk and the standard tablespoon of maple syrup.
Always remember that if you go for a high protein chia pudding variation by adding yogurt, or switch to a sweeter milk, these values will certainly change! But for the basic, delicious vanilla base, here’s what you’re looking at per serving:
- Serving Size: 1 serving
- Calories: 250
- Sugar: 10g
- Sodium: 50mg
- Fat: 12g
- Saturated Fat: 1g
- Unsaturated Fat: 11g
- Trans Fat: 0g
- Carbohydrates: 30g
- Fiber: 18g (Yes, 18 grams! That’s why it’s such a great fiber rich breakfast!)
- Protein: 8g
- Cholesterol: 0mg
The best part about those numbers is that massive 18 grams of fiber. That’s the power of the chia seed doing the work, helping keep you full and happy all morning long. Enjoy this delicious start to your day guilt-free!
Share Your Simple Chia Seed Recipe Success
That’s it! You’ve officially mastered the easiest, creamiest, most reliable chia seed pudding recipe out there. I truly hope this becomes a staple in your rotation the way it has in mine—it’s just too good to keep secret!
Now that you’ve made your first batch, I would absolutely love to hear about it! Did you stick strictly to the simple vanilla? Did you try the chocolate version? Maybe you went wild with the toppings!
Please take a moment to scroll down and leave a rating using the stars provided. That’s the best way you can tell me if this recipe is helping you simplify your mornings!
If you have any questions at all, or if an experiment didn’t turn out quite the way you hoped (or even if it did!), snap a picture and send it my way through the contact page. I always love seeing your creations and cheering you on in the kitchen. Happy eating!
PrintSimple Vanilla Chia Seed Pudding: The Creamy Make-Ahead Breakfast

Learn how to make creamy vanilla chia seed pudding using just four simple ingredients. This recipe is perfect for beginner cooks, works well for meal prep, and sets up perfectly overnight.
- Prep Time: 5 min
- Cook Time: 0 min
- Total Time: 4 hr 5 min
- Yield: 1 serving 1x
- Category: Breakfast
- Method: No Bake/Refrigeration
- Cuisine: American
- Diet: Vegan
Ingredients
- 1/4 cup chia seeds
- 1 cup milk (dairy or unsweetened almond milk recommended for dairy free)
- 1 tablespoon maple syrup or preferred liquid sweetener
- 1 teaspoon pure vanilla extract
Instructions
- Combine the chia seeds, milk, maple syrup, and vanilla extract in a jar or container with a lid.
- Stir the mixture well for about one minute to prevent the seeds from clumping at the bottom.
- Let the mixture sit on the counter for 5 minutes, then stir again thoroughly. This second stir is key for a creamy texture.
- Cover the container and place it in the refrigerator to set for at least 4 hours, or preferably overnight.
- When ready to eat, stir the pudding to check the consistency. If it is too thick, add a splash more milk until you reach your desired creamy texture.
- Serve cold with your favorite toppings.
Notes
- For a high protein chia pudding, substitute half of the milk with plain Greek yogurt before mixing.
- To make this a chocolate chia pudding, add 1 to 2 tablespoons of unsweetened cocoa powder with the dry ingredients.
- This recipe is naturally gluten free and dairy free when using plant-based milk.
- Chia pudding stores well in the refrigerator for up to 4 days, making it an excellent meal prep breakfast idea.
Nutrition
- Serving Size: 1 serving
- Calories: 250
- Sugar: 10
- Sodium: 50
- Fat: 12
- Saturated Fat: 1
- Unsaturated Fat: 11
- Trans Fat: 0
- Carbohydrates: 30
- Fiber: 18
- Protein: 8
- Cholesterol: 0