

If your dessert routine is starting to feel a little…beige, I totally get it! Sometimes you just need a show-stopping, exotic dessert that feels like a mini-vacation, right? That’s exactly why I’m so excited to share this Chocolate haupia pie with you. This isn’t your standard layer cake; this is pure island magic, blending deep, rich chocolate with that unmistakable creamy coconut pudding, haupia.
When I bring this layered pie out, people immediately ask where I flew to get the recipe! But honestly, I perfected this right here in my Ohio kitchen, keeping my mission in mind: simple, dependable recipes that let the flavor shine. You don’t need a plane ticket to enjoy authentic Hawaiian dessert recipes. Trust me, this pie is worth carving out a little time for!
- Why This Chocolate Haupia Pie is a Must-Try Island Style Food
- Gathering Ingredients for Your Chocolate Haupia Pie
- Step-by-Step Instructions for the Layered Pie
- Tips for Success When Making Your Chocolate Haupia Pie
- Ingredient Notes and Substitutions for Coconut Chocolate Pie
- Serving Suggestions for This Hawaiian Dessert Recipe
- Storage and Reheating Instructions for Chocolate Haupia Pie
- Frequently Asked Questions About Chocolate Haupia Pie
- Enjoying Your Homemade Chocolate Haupia Pie
Why This Chocolate Haupia Pie is a Must-Try Island Style Food
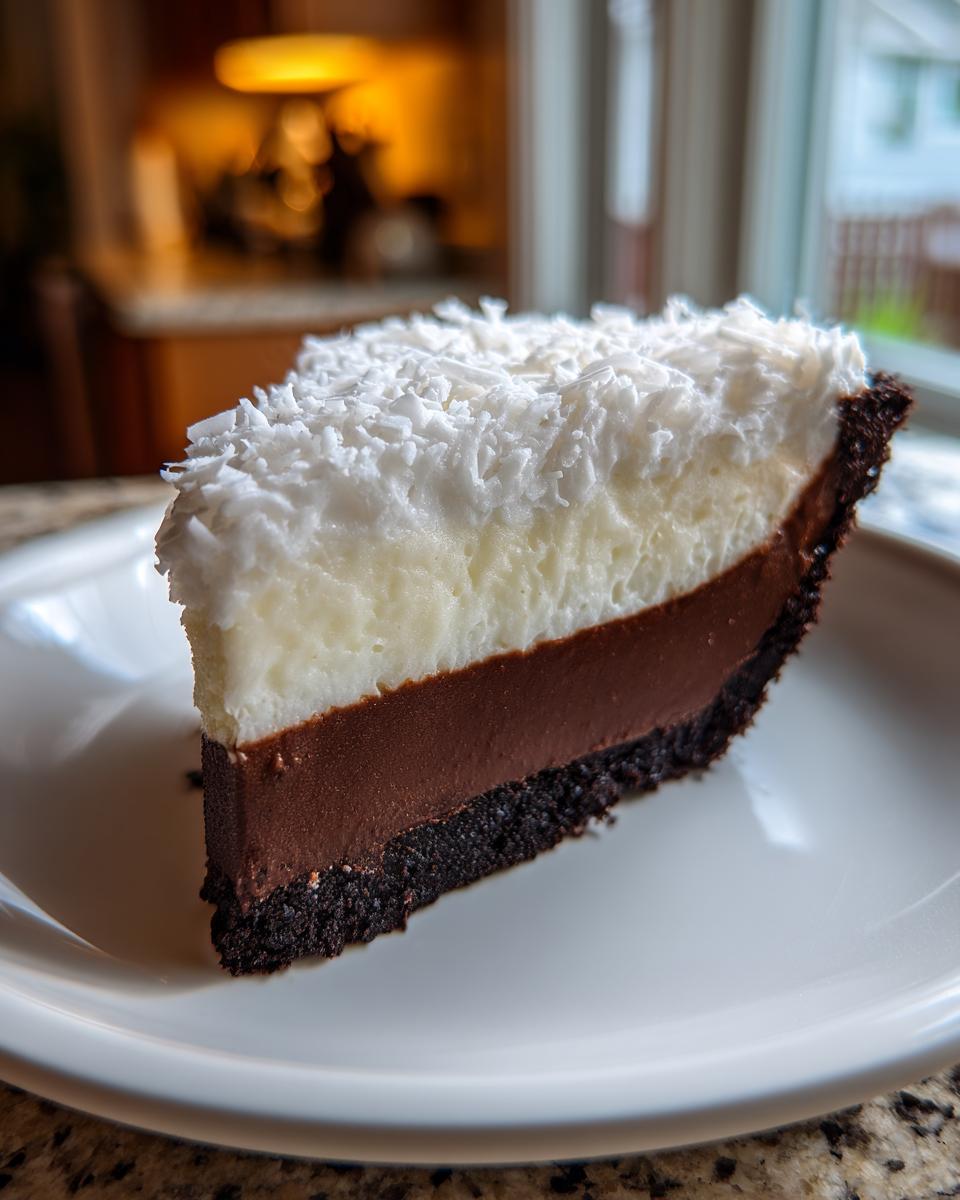
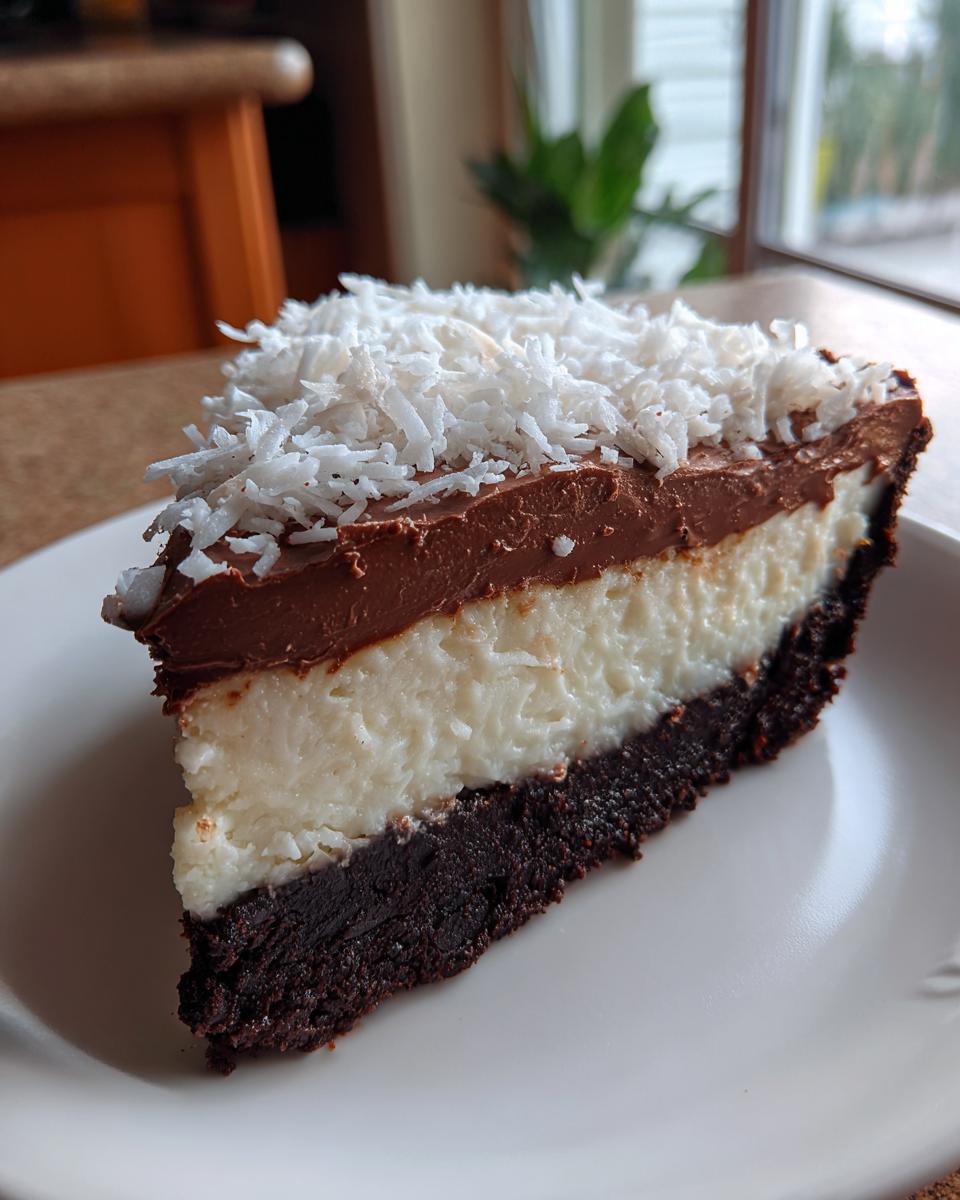
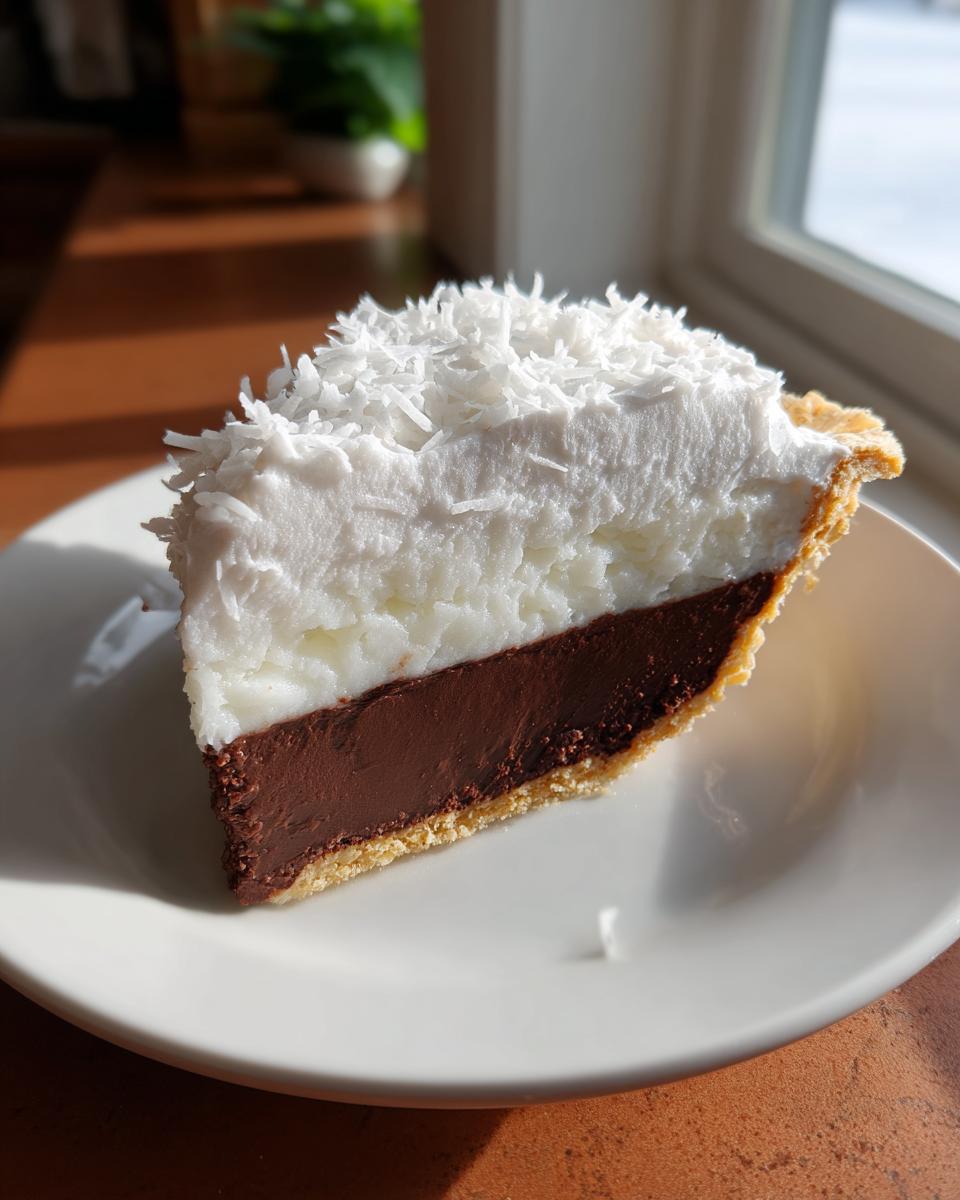
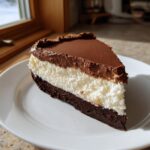
What sets this chocolate haupia pie apart from every other dessert in my collection? It’s all about those gorgeous, clean layers! You get the dark, intense hit of melted chocolate on the bottom, followed by that unbelievably smooth, quivering haupia layer on top. It’s such a sophisticated texture contrast, far beyond what you usually expect from a basic custard.
If you’re looking to step outside the usual mainland sweets, this is your ticket! It’s definitely one of my favorite exotic desserts because it genuinely transports you. Seriously, every bite tastes like sunshine, making it the perfect addition to your collection of island style food. It’s the definition of a unique pie recipe!
Gathering Ingredients for Your Chocolate Haupia Pie
You know I preach about quality ingredients, and with a layered beauty like this, you really need the best! Since we’re making two separate pudding-like fillings, we need two sets of slightly different things, but don’t panic—it uses mostly the same pantry staples twice. For the best texture for your haupia recipe, make sure you use full-fat coconut milk; those low-fat versions just won’t set correctly for us.
For the Unbaked Pie Crust
- 1 (9 inch) unbaked pie crust
For the Rich Chocolate Layer of the Chocolate Haupia Pie
This is where that deep flavor comes from. Don’t skimp on the chocolate here!
- 1 cup granulated sugar
- 1/4 cup cornstarch
- 1/4 teaspoon salt
- 1 1/2 cups cold water
- 3 large egg yolks, lightly beaten
- 2 tablespoons unsalted butter
- 1 teaspoon vanilla extract
- 4 ounces bittersweet chocolate, chopped
For the Creamy Haupia Layer
This is the classic coconut pudding layer that makes this pie so distinctly traditional Hawaiian food. It’s simple, but it needs to be perfect!
- 1 (13.5 ounce) can full-fat coconut milk
- 1/2 cup granulated sugar
- 1/4 cup cornstarch
- 1/4 teaspoon salt
- 2 large egg yolks, lightly beaten
- 1 teaspoon vanilla extract
Step-by-Step Instructions for the Layered Pie
Okay, this is where the magic happens, and the most important thing I can tell you is to work methodically. Since we are dealing with two cooked fillings that need to go into the same crust, you can’t rush the setting process between layers. This method ensures you get those gorgeous, clean lines when you slice into that layered pie!
Making the First Layer: The Chocolate Haupia Pie Base
First, let’s get that dark chocolate base going. In your saucepan, whisk the sugar, cornstarch, and salt—make sure there are no dry clumps! Gradually add the cold water until it’s perfectly smooth. Heat this over medium heat, stirring constantly until it starts to bubble and thicken up. Once it boils for one minute, take it off the heat immediately.
Now, the crucial tempering step: Whisk those three egg yolks in a separate bowl. Slowly pour about half a cup of that hot chocolate mixture into the yolks while whisking like crazy—this stops them from scrambling! Then, pour that tempered yolk mixture right back into the saucepan. Return it to the heat just long enough to thicken and boil for another minute. Remove it, stir in your butter, vanilla, and that beautiful chopped bittersweet chocolate until everything melts right into a glossy custard. Pour this whole mixture right into your unbaked pie crust and set it aside while you tackle the next layer.
Preparing the Haupia Filling and Assembling the Layered Pie
Time for the coconut layer! Rinse out that same saucepan—no need to scrub it spotless. We repeat the thickening process using the coconut milk, sugar, cornstarch, and salt. Heat this until it boils for a minute, then carefully temper your remaining two egg yolks just like you did before. Cook it again briefly until it’s thick.
Once it’s silky smooth, stir in the vanilla. This is the moment of assembly! You must let the chocolate layer cool down slightly so it’s mostly set—maybe 15 minutes. Then, take a large spoon and gently spoon the hot haupia filling right over the cooled chocolate. Be slow and gentle! If you pour too fast, it’ll mix right into the bottom layer. Smooth the top, and you’re almost done!
Chilling and Setting the Chocolate Haupia Pie
This pie needs time to firm up, so patience is key here. Cover the pie loosely with plastic wrap, but here’s my pro tip from my days studying Asian baking techniques: press that plastic wrap directly onto the surface of the haupia layer. If you don’t, you’ll get a weird, rubbery skin forming, and we certainly don’t want that.
Pop the whole thing in the fridge for a minimum of four hours. Honestly, overnight is even better because it ensures those distinct layers are perfectly firm and sliceable. You’ll know it’s ready when you gently touch the top and it feels springy and solid!
Tips for Success When Making Your Chocolate Haupia Pie
Getting those two layers distinct and perfect takes a little finesse, but I promise it’s easier than it looks! My number one tip is mastering the temperature difference between the layers before combining them. Never pour the hot haupia straight onto the chocolate; give that chocolate layer a good 15 minutes on the counter to firm up just enough so it doesn’t melt when the coconut goes on top.
Also, when you’re cooking the pudding bases, keep stirring right up until the boil. Cornstarch mixtures can settle quickly, leading to grainy pudding—and we want silky smooth textures here! For the best haupia recipe results, make sure your egg yolks are fully tempered before they go back into the heat. That careful stirring is what builds trust in your pie!
Ingredient Notes and Substitutions for Coconut Chocolate Pie
When you’re making something a little out of the ordinary, people always have questions about ingredients. That’s totally normal! I want you to feel confident jumping into this tropical dessert, so let’s talk substitutions.
First up: that coconut milk. You simply have to use the full-fat canned variety. The stuff you drink, the cartons of milk? Nope, that won’t work here; it just doesn’t have the necessary fat content to set up into that creamy haupia texture we are looking for. If you only have light coconut milk, add a tablespoon of cornstarch to try and compensate, but I really warn against it!
For the chocolate layer, I specified bittersweet because I love that slight edge it gives against the sweet haupia, but you certainly have options depending on your family’s taste. If your kids aren’t fans of deep, dark chocolate, you can use semi-sweet chocolate instead. It will make the bottom layer sweeter, so maybe just dial back the granulated sugar in that chocolate layer by two tablespoons. It’s all about finding your perfect balance!
Serving Suggestions for This Hawaiian Dessert Recipe
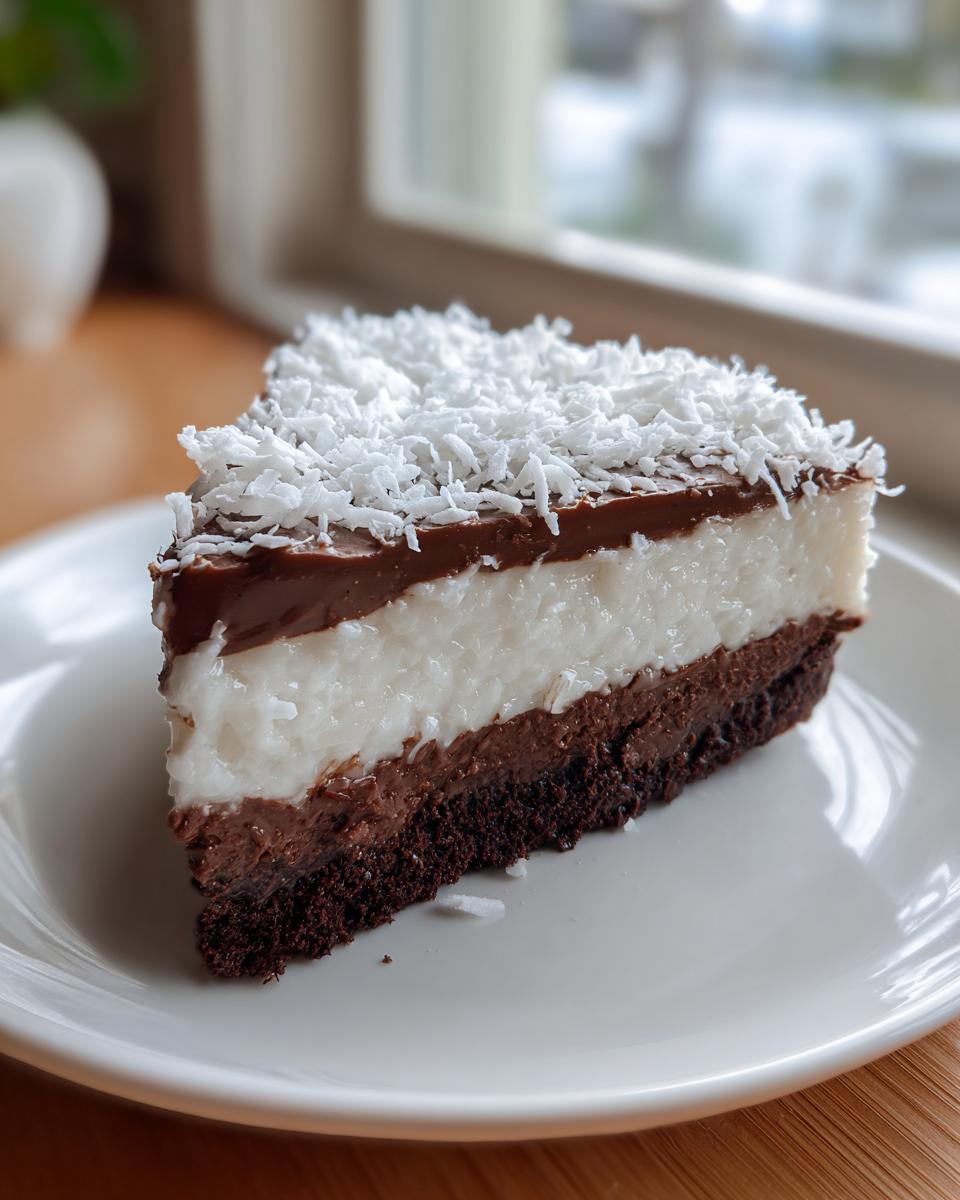
Once this stunning pie has chilled completely, the fun part—serving it up—begins! To really complete that Polynesian vibe, I highly recommend finishing it with toasted coconut flakes right before you slice it. Toasting them brings out such a warm, nutty aroma that complements the coconut perfectly. This really elevates the whole presentation of this Hawaiian dessert recipe.
On the side, I usually skip heavy toppings. Maybe just a small dollop of fresh, unsweetened whipped cream if you want a little contrast to the sweetness. This pie is complex enough on its own, shining beautifully as the star of any gathering!
Storage and Reheating Instructions for Chocolate Haupia Pie
This is a pudding-based pie, so we have to treat it nicely in the fridge! Once your pie is fully set—and I mean *set*—you need to keep it refrigerated at all times. Don’t leave it sitting out on the counter hoping people will grab a slice during the party; custard pies don’t like warm temperatures for too long.
Cover it loosely with plastic wrap or foil before sticking it in the fridge. Because of that haupia layer, this pie holds up really well. You can easily make this the day before you plan on serving it, which is a lifesaver when you’re juggling multiple dishes for a big gathering. It will stay perfectly fresh and firm for up to three days in the refrigerator.
Reheating? Oh, honey, absolutely not! This pie is designed to be eaten cold and firm. Trying to warm up custard or pudding pie filling just turns it into a slightly sad, soupy mess. So, keep it chilled, slice it cold, and enjoy that perfect tropical texture!
Frequently Asked Questions About Chocolate Haupia Pie
I know when you try an unfamiliar recipe, especially one representing traditional hawaiian food, questions pop up! That’s why I put together this little Q&A section to smooth out any bumps before you even start mixing. Getting the pudding textures right is the key to this whole amazing pie.
Can I make the Chocolate Haupia Pie ahead of time?
Oh yes, you absolutely should! My rule for this layered pie is always to make it the day before you need it. It needs that minimum of four hours chilling time, but honestly, letting it sit overnight solidifies everything beautifully. It ensures those layers are clean when you cut into it.
What is the key difference between this and a standard coconut chocolate pie?
The big difference is the texture of the coconut half! A standard pie might use a heavy egg custard or even just whipped cream folded with coconut. But here, we make authentic haupia! It’s a pudding made with coconut milk and cornstarch that sets up firm but remains silky, almost like a very tender block of smooth coconut pudding. It’s divine!
Is this a good recipe for spring baking?
It’s perfection for spring baking, especially as we warm up toward summer! It involves stovetop cooking, but once it’s chilled, it’s a cool, refreshing dessert that balances that rich chocolate flavor so well. It’s much lighter than a heavy fall pie.
Enjoying Your Homemade Chocolate Haupia Pie
Now that you’ve created this incredible tropical treasure, I really hope you take a minute to just enjoy that first slice! The firm layers of the chocolate haupia pie hitting that fork are pure satisfaction. Tell me in the comments below how it turned out for you!
Did you try the toasted coconut topping? I love hearing from you, so drop a rating and let me know when you plan on making this unique treat next. I’m always looking for more ways to share the bounty of island style food!
PrintChocolate Haupia Pie: Layered Island Delight
Make this unique layered pie featuring rich dark chocolate and creamy coconut haupia pudding. It brings a taste of the islands to your table.
- Prep Time: 25 min
- Cook Time: 20 min
- Total Time: 4 hr 45 min
- Yield: 8 servings 1x
- Category: Dessert
- Method: Stovetop and Chilling
- Cuisine: Hawaiian
- Diet: Vegetarian
Ingredients
- 1 (9 inch) unbaked pie crust
- 1 cup granulated sugar
- 1/4 cup cornstarch
- 1/4 teaspoon salt
- 1 1/2 cups cold water
- 3 large egg yolks, lightly beaten
- 2 tablespoons unsalted butter
- 1 teaspoon vanilla extract
- 4 ounces bittersweet chocolate, chopped
- 1 (13.5 ounce) can full-fat coconut milk
- 1/2 cup granulated sugar
- 1/4 cup cornstarch
- 1/4 teaspoon salt
- 2 large egg yolks, lightly beaten
- 1 teaspoon vanilla extract
Instructions
- Prepare the chocolate layer: In a medium saucepan, whisk together 1 cup sugar, 1/4 cup cornstarch, and 1/4 teaspoon salt. Gradually whisk in the cold water until smooth.
- Cook the chocolate mixture: Heat the mixture over medium heat, stirring constantly until it thickens and comes to a boil. Boil for 1 minute, stirring constantly. Remove from heat.
- Temper the egg yolks: In a small bowl, whisk the 3 egg yolks. Slowly pour about 1/2 cup of the hot chocolate mixture into the yolks while whisking constantly. Pour the tempered yolk mixture back into the saucepan.
- Finish the chocolate layer: Return the pan to medium heat and cook, stirring constantly, until the mixture thickens again and boils for 1 minute. Remove from heat. Stir in the butter, vanilla extract, and chopped bittersweet chocolate until smooth.
- Pour the chocolate filling into the unbaked pie crust. Set aside while you prepare the haupia layer.
- Prepare the haupia layer: In a clean saucepan, whisk together 1/2 cup sugar, 1/4 cup cornstarch, and 1/4 teaspoon salt. Whisk in the coconut milk until smooth.
- Cook the haupia mixture: Heat over medium heat, stirring constantly until the mixture thickens and boils. Boil for 1 minute, stirring constantly. Remove from heat.
- Temper the haupia yolks: In a small bowl, whisk the 2 egg yolks. Slowly pour about 1/2 cup of the hot haupia mixture into the yolks while whisking constantly. Pour the tempered yolk mixture back into the saucepan.
- Finish the haupia layer: Return the pan to medium heat and cook, stirring constantly, until the mixture thickens and boils for 1 minute. Remove from heat. Stir in the vanilla extract.
- Gently spoon the haupia filling over the set chocolate layer in the pie crust. Smooth the top.
- Chill the pie: Cover the pie loosely with plastic wrap, pressing it gently onto the surface of the haupia layer to prevent a skin from forming. Refrigerate for at least 4 hours, or until completely firm.
Notes
- For a traditional presentation, you can top the chilled pie with toasted coconut flakes before serving.
- This recipe makes a wonderful spring baking project or an exotic dessert for any gathering.
Nutrition
- Serving Size: 1 slice
- Calories: 410
- Sugar: 45g
- Sodium: 180mg
- Fat: 20g
- Saturated Fat: 14g
- Unsaturated Fat: 6g
- Trans Fat: 0g
- Carbohydrates: 58g
- Fiber: 2g
- Protein: 5g
- Cholesterol: 65mg