
Okay, let’s talk holiday stress. Doesn’t it feel like every year the dessert table needs to be gorgeous *and* you’re running around like a maniac on Christmas morning? I remember those chaotic mornings back in my Ohio kitchen, trying to keep bread warm and get the fancy stuff done! I learned early on that the real connection comes from the food, not the frantic fuss, which is why I built my whole philosophy around finding the simple path to delicious over at our story.
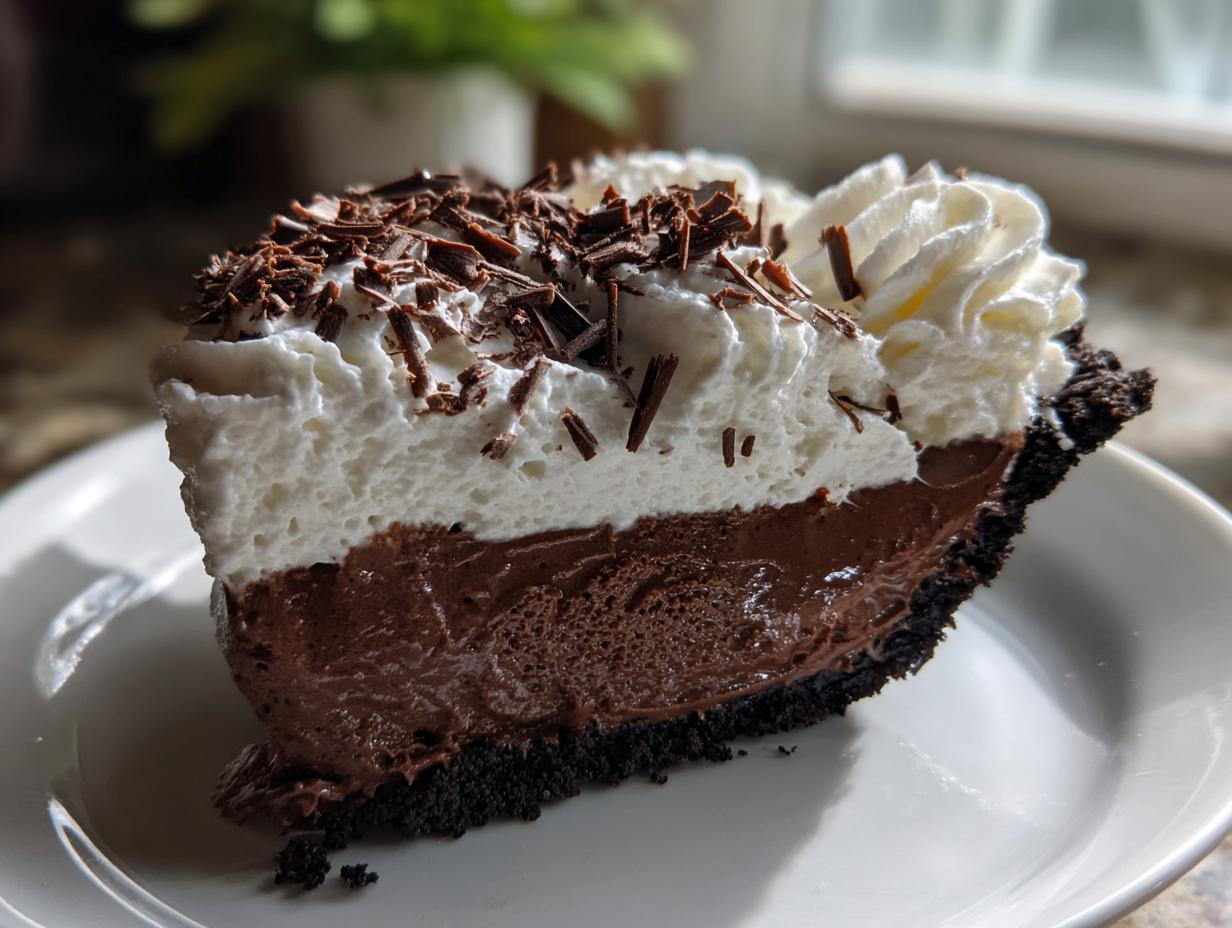
Well, I’ve got the secret weapon to slash your stress: this amazingly rich, melt-in-your-mouth Christmas chocolate cream pie. Forget frantic baking on Christmas Eve; this recipe is totally designed as a make ahead Christmas dessert. You mix it, you chill it, and boom—you’ve got a showstopper ready whenever the guests arrive. Trust me, this one is the shortcut that tastes like you spent all day slaving away!
- Why This Christmas Chocolate Cream Pie is Your New Holiday Favorite
- Gathering Ingredients for Your Oreo Crust Chocolate Cream Pie
- Expert Tips for a Perfect Christmas Chocolate Cream Pie Crust
- Step-by-Step Instructions for the Holiday Chocolate Pie Recipe
- Assembling and Decorating Your Festive Christmas Dessert Ideas
- Ingredient Notes and Substitutions for Easy Holiday Pie Recipes
- Storage and Serving Instructions for Your Christmas Chocolate Cream Pie
- Frequently Asked Questions About This Holiday Chocolate Pie Recipe
- Estimated Nutritional Data for This Christmas Chocolate Cream Pie
- Share Your Festive Christmas Dessert Ideas
Why This Christmas Chocolate Cream Pie is Your New Holiday Favorite
Look, hosting during the holidays is wonderful, but the pressure to produce fancy food is real! I get it. That’s why this recipe solves all the biggest holiday headaches. You need something that looks incredible but doesn’t demand oven space when you’re roasting the main course.
- Perfect Make Ahead Christmas Desserts: This beauty needs time in the fridge to set up properly, which means you make it the day before! It’s one of my favorite make ahead Christmas desserts because it just waits patiently for you.
- The No Fail Chocolate Cream Pie Experience: We are using instant pudding mixes here for guaranteed texture. Seriously, this is a no fail chocolate cream pie. You mix it, chill it, and it sets perfectly smooth every single time. No tempering eggs needed, promise!
Gathering Ingredients for Your Oreo Crust Chocolate Cream Pie
Okay, before we even think about mixing, we need to gather our cast of characters. Since this is a no-bake treat, the quality of what you put in really matters, especially for that rich chocolate layer. Don’t try to skimp here—we want the absolute best flavor possible for our Oreo crust chocolate cream pie!
You’ll notice we’re using two flavors of instant pudding mix. That’s my secret handshake for making this filling extra lush and creamy without cooking anything on the stovetop.
Ingredients for the Oreo Crust Chocolate Cream Pie
For the base, you need about 1 and a half cups of crushed Oreos—that’s usually around 25 cookies—and 6 tablespoons of good melted butter to hold it all together beautifully. For the thick, gorgeous filling, grab one 3.9-ounce package of instant chocolate pudding and one package of instant vanilla or white chocolate pudding mix. Then, you’ll need 3 full cups of *cold* milk, whole milk works best if you have it! We finish the filling with just 1 teaspoon of vanilla extract.
And finally, the crowning glory: the whipped cream topping needs 2 cups of heavy whipping cream, a quarter cup of powdered sugar for sweetness, and another teaspoon of vanilla to make it sing. Oh, and have some chocolate curls or your favorite holiday sprinkles ready for decorating!
Expert Tips for a Perfect Christmas Chocolate Cream Pie Crust
This Oreo crust is truly the perfect foundation for our pie—no fuss, just pure chocolatey crunch! When you mix those crushed Oreos with the melted butter, make sure everything is moistened evenly. Seriously, don’t leave any dry pockets lurking in the bottom of your bowl!
Press that mixture firmly into your 9-inch pie plate. I mean *firmly*. Use the bottom of a drinking glass or a measuring cup; you want the crust to be sturdy enough to hold the heavy chocolate filling without crumbling when you slice it.
This crust needs a good, solid chill session—at least 30 minutes in the fridge before filling. That time lets the butter solidify and lock everything into place. If you happen to have a tart pan with a removable bottom, you can use that instead of a standard pie plate; it makes getting those perfect wedges out so much easier!
Step-by-Step Instructions for the Holiday Chocolate Pie Recipe
You’ve got your chilled crust waiting, which is half the battle won! Now for the really satisfying part: making that incredible chocolate filling for your holiday chocolate pie recipe. We are keeping this simple but emphasizing technique just enough so it comes out perfect.
Mixing the Rich Chocolate Filling
Grab the biggest bowl you’ve got! In that bowl, whisk together both the instant chocolate pudding mix and the instant vanilla or white chocolate pudding mix. You have to whisk these dry powders together thoroughly *before* you pour the milk in, otherwise, you’ll end up with lovely white streaks later on! Once dry, slowly pour in the 3 cups of super cold milk while whisking constantly. Keep whisking—it feels like it takes forever, but stick with it! It thickens up fast, usually in about two minutes total, and you want it seriously thick before you stir in that teaspoon of vanilla extract.
Creating the Whipped Cream Chocolate Pie Topping
While your chocolate layer is chilling firm—and remember, this needs at least four hours, or better yet, overnight!—you can get the topping ready. For the best structure for your whipped cream chocolate pie, make sure your heavy whipping cream and your mixing bowl are ice cold. Pour in the 2 cups of heavy cream, the powdered sugar, and the second teaspoon of vanilla.
Beat this mixture, starting slow and ramping up speed, until you see stiff peaks forming. That means when you pull the beaters out, the cream holds its shape right up there. If you can stick a dollop upside down on the pie and it stays put, you nailed it! Don’t overbeat it, though, because nobody wants butter!
Assembling and Decorating Your Festive Christmas Dessert Ideas
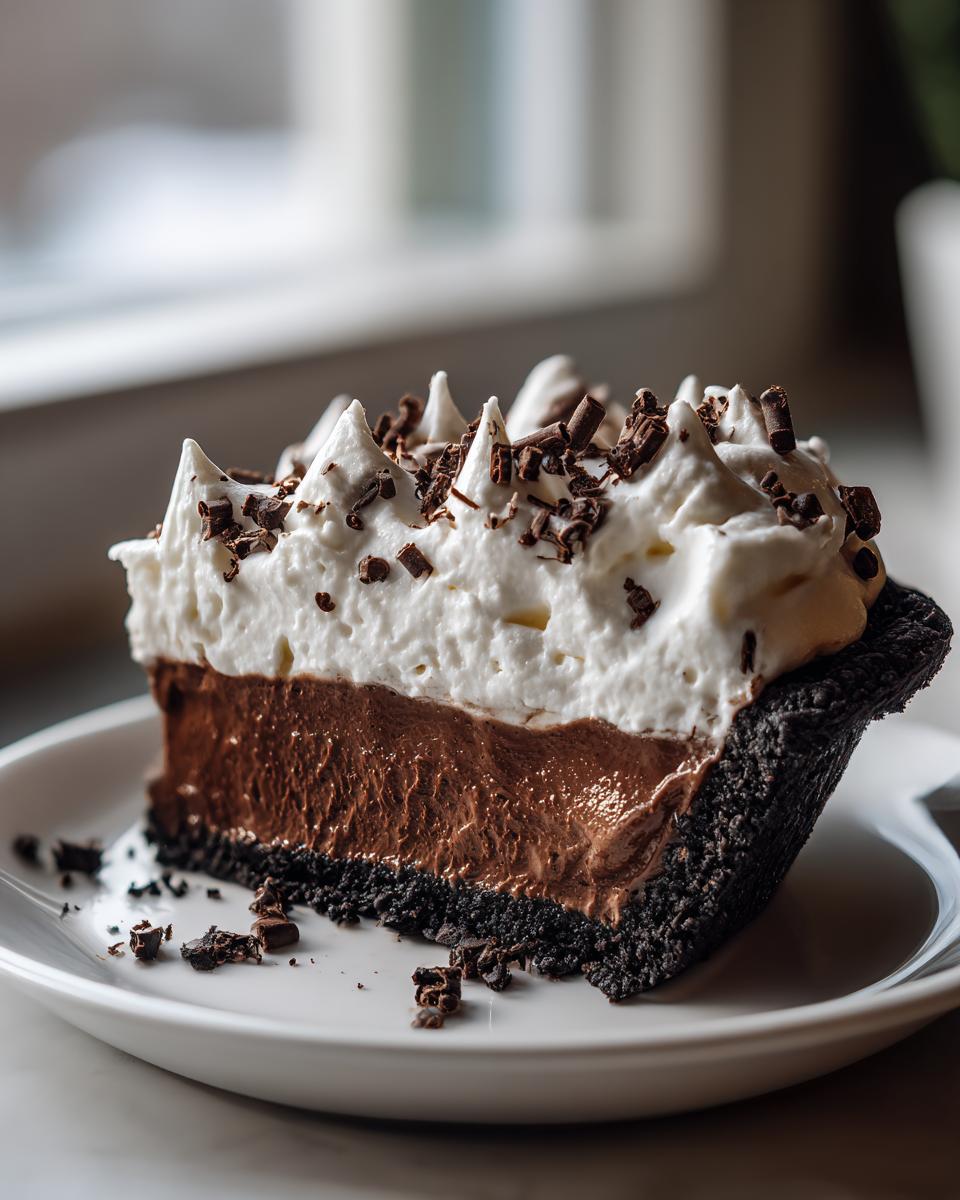
This is the moment of truth! You’ve got your deeply chilled, firm chocolate layer sitting in that crunchy Oreo crust. Now we turn this dependable dessert into one of those show-stopping festive Christmas dessert ideas. The key here is being gentle, since we want that smooth chocolate surface to stay picture-perfect.
First things first: take the plastic wrap *off* the chilled pie. Next, grab that beautiful bowl of stiff whipped cream you made—it should be cold and light. Dollop the cream right into the center of the pie, and then spread it outwards toward the edges with a nice offset spatula. Try your best not to swirl it too much, which can sometimes pull up the chocolate filling underneath. I like to create soft peaks or maybe even make a little decorative swirl pattern on top, just to make it look fancy.
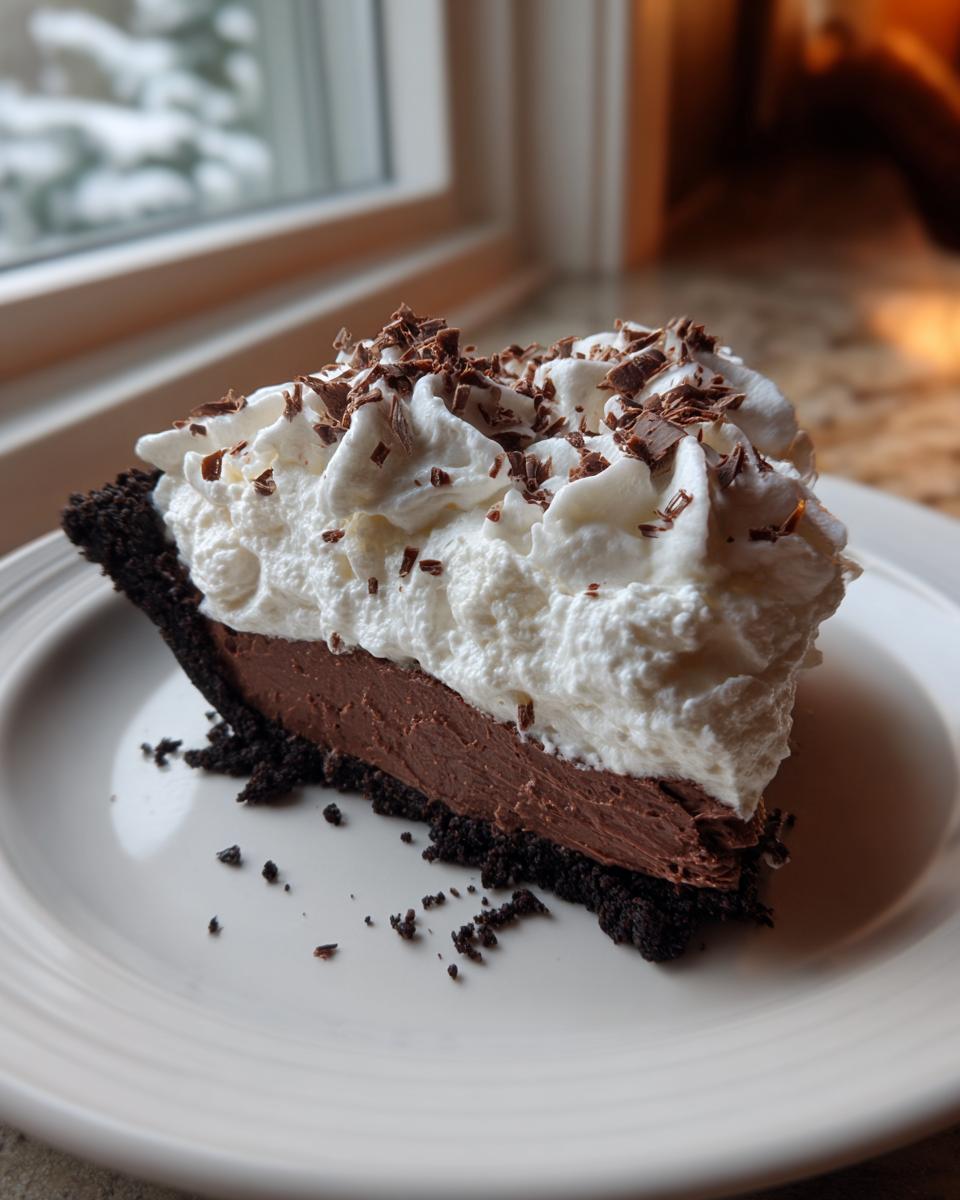
Now for the fun part, the holiday sparkle! Since this is my famous Christmas chocolate cream pie, I always go for colors. Toss on some beautiful chocolate curls—they look rich against the white cream—or get festive with some red and green holiday sprinkles. A light dusting of cocoa powder before the sprinkles also gives it a great dimension. Once it’s decorated, pop it right back into the fridge until serving time!
Ingredient Notes and Substitutions for Easy Holiday Pie Recipes
I always get questions about tweaking recipes, which is totally fair! When you’re putting together your shopping list for these easy holiday pie recipes, sometimes you have to work with what you have on hand. That’s fine, but just know that a couple of ingredients here are super important for that no-fail texture.
First off, let’s talk crust again. If you happen to be out of Oreos, no sweat! You can absolutely use graham cracker crumbs instead. Just treat them the same way: mix ’em well with the melted butter and press them in tight. It gives a slightly different, warmer flavor, but it’s just as sturdy.
Now, about the milk. I always recommend whole milk because that higher fat content helps everything set up beautifully and makes the pudding taste richer, which you want in a holiday pie. But if you only have 2%, it will work! It might just be a little softer, so make sure you give it that full four hours of chilling, or even six.
Deepening That Chocolate Flavor
The original recipe calls for one chocolate mix and one vanilla mix—that gives us that beautiful, lighter creaminess that pairs perfectly with the whipped topping. But here’s a trick if you want your pie to taste like it came straight from a fancy chocolate shop:
You can choose to omit the vanilla pudding mix entirely. If you do that, you actually need to increase the milk just a touch, maybe use 3 and a half cups total. This gives you a much richer, darker chocolate base. I love doing this for grown-up parties—it makes the chocolate flavor really sing!
Storage and Serving Instructions for Your Christmas Chocolate Cream Pie
Alright, you’ve made this gorgeous pie ahead of time—high five! Now we need to treat it right so it’s perfect when it’s time to wow everyone for your festive Christmas dessert ideas spread. The chiller, the better, honestly. Since this is a cream pie held together by pudding magic, it loves the cold.
The best news is that this pie keeps wonderfully. You can absolutely make it the day before Christmas, cover it loosely with plastic wrap (make sure that wrap isn’t actually touching the whipped cream unless you put a toothpick tower in place!), and leave it tucked away in the fridge. It will stay perfectly lovely for up to two days. I tend to find the flavor is best right around the 12-hour mark after full setup.
Now for serving, because slicing a cream pie can sometimes turn into a messy disaster if you aren’t prepared. Here is an old kitchen trick I use every time for clean slices:
- First, make sure the pie is very cold when you start slicing.
- Grab your sharpest chef’s knife—don’t use a flimsy butter knife!
- Dip that sharp knife into a tall glass of very hot water for about 30 seconds to heat the blade up.
- Wipe the hot blade completely dry with a clean towel.
- Make your cut cleanly down through the crust and filling.
- Wipe the blade clean again under hot water, dry it, and then make your next slice.
It sounds fussy, but running that hot, clean knife through the chocolate and the whipped cream ensures you get beautiful, sharp wedges that hold their shape on the plate. No one wants a leaning tower of pie! Use this make-ahead convenience to your advantage so you just pull it out, slice it hot-knifed, and enjoy the party!
Frequently Asked Questions About This Holiday Chocolate Pie Recipe
I always get emails after the holidays asking the same few things about this wonderfully easy pie, so I figured I’d put the answers right here for everyone! It’s so important that your holiday chocolate pie recipe comes out perfectly so you can focus on relaxing. You can read more about why we focus on dependable recipes like this over at our privacy policy page, if you are curious!
Can I use a traditional baked pie crust instead of the Oreo crust chocolate cream pie base?
You absolutely can! If you aren’t a fan of the chocolate cookie crunch, you can certainly use a store-bought press-in graham cracker crust or even blind-bake your own favorite pastry crust. Just remember the golden rule: whatever crust you use, it MUST be fully cooled—I mean stone cold—before you even dream about pouring in that rich chocolate pudding. If the crust is warm at all, your filling will melt right into it, and we don’t want a soupy mess!
How long can I keep the finished Christmas chocolate cream pie refrigerated?
Because this pie relies on instant pudding and chilling time to set, it holds up really well! You can safely store your finished, whipped-cream-topped Christmas chocolate cream pie in the fridge for up to two full days. I tend to find the flavor is best right around the 12-hour mark after full setup, but it definitely stays firm and delicious for 48 hours.
What if my instant pudding does not thicken for my no fail chocolate cream pie?
Oh, trust me, I’ve been there when the pudding just refuses to cooperate! If you’ve whisked for a solid minute or two and it’s still looking like flavored milk, go back to basics: was your milk ice cold? That’s usually the culprit! If it’s still runny, stop whisking wildly and try this: take about half a cup of your mixture, pour it into a small saucepan, and whisk in a teaspoon of cornstarch. Heat that tiny bit up until it thickens rapidly, then stir that hot, thick slurry back into the main cold bowl. That usually shocks the rest of the pudding into action and saves your no fail chocolate cream pie!
Estimated Nutritional Data for This Christmas Chocolate Cream Pie
Now, I know some of you are tracking things, and while this pie is meant to be enjoyed fully, I always like to give a ballpark idea of what you’re digging into! Remember, these numbers are just estimates, because honestly, the exact value depends on which brand of Oreos you use or exactly how much sugar sneaks off the spoon while you’re beating the cream!
But based on the recipe ratios, here’s a sneak peek at one slice, assuming you get 8 beautiful servings out of the whole dish. This is rich dessert territory, folks, so grab the small plate!
- Calories: About 450 per slice. Pretty standard for a decadent holiday treat!
- Fat: Around 28 grams, with about 15 grams coming from saturated fat, mostly from all that wonderful heavy cream and butter in the crust.
- Carbohydrates: Expect about 48 grams, which includes the sugar from the cookies, the pudding, and the topping.
- Sugar: Roughly 40 grams. That’s the sweet spot for a proper make ahead Christmas dessert!
- Protein: We get about 6 grams per slice.
This data is here just for guidance, based strictly on the ingredients listed. If you swap to graham crackers or use skim milk, those numbers will shift! For more general information about how we use data on the site, you can always check out our terms of use information.
Share Your Festive Christmas Dessert Ideas
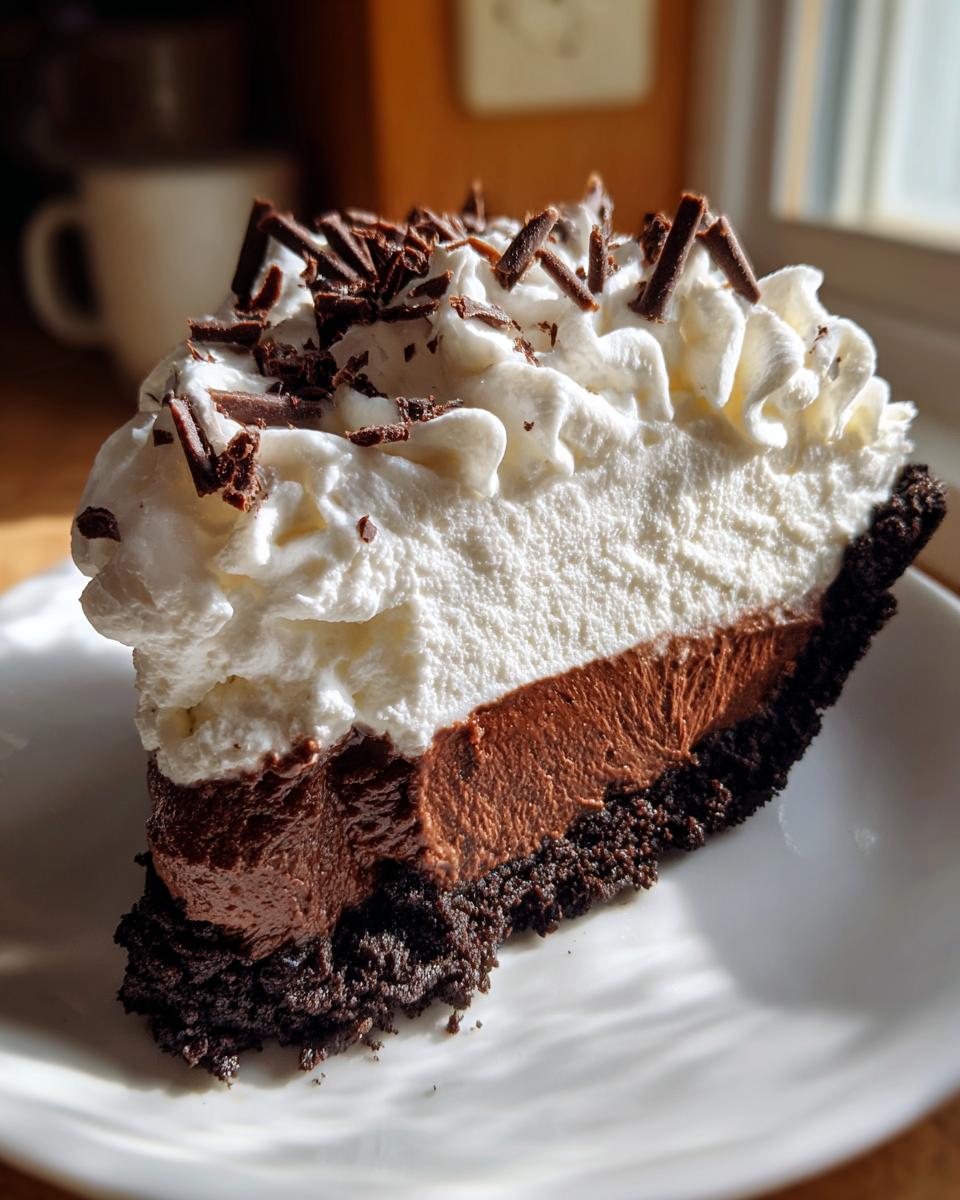
Well, that’s it! You now have the keys to one of the most reliable, stress-free, and delicious desserts you can serve this holiday season! That rich chocolate layer nestled in that buttery Oreo crust, topped with fluffy whipped cream—it just screams happy gathering, exactly what Mia’s Meals is all about.
I truly hope this Christmas chocolate cream pie helps you reclaim some calm this year. If you make this for your Christmas dinner or a holiday party, I absolutely, positively want to see what you do with the decorations! Did you go full gold sparkles, or stick to simple, elegant chocolate curls?
The best part of sharing these family-style recipes is seeing all your beautiful interpretations! If you loved how easy this pie was, please head over and leave a recipe rating right on the page—it helps other busy cooks find the shortcuts! And don’t forget to tag me on social media when you post pictures of your masterpiece. Seeing that gorgeous slice shared among your own family and friends is why I do all this work!
If you have any last-minute questions or just want to share a holiday success story, you can always reach out to us directly through the contact page! Happy baking… or rather, happy *not* baking!
PrintMake-Ahead Christmas Chocolate Cream Pie

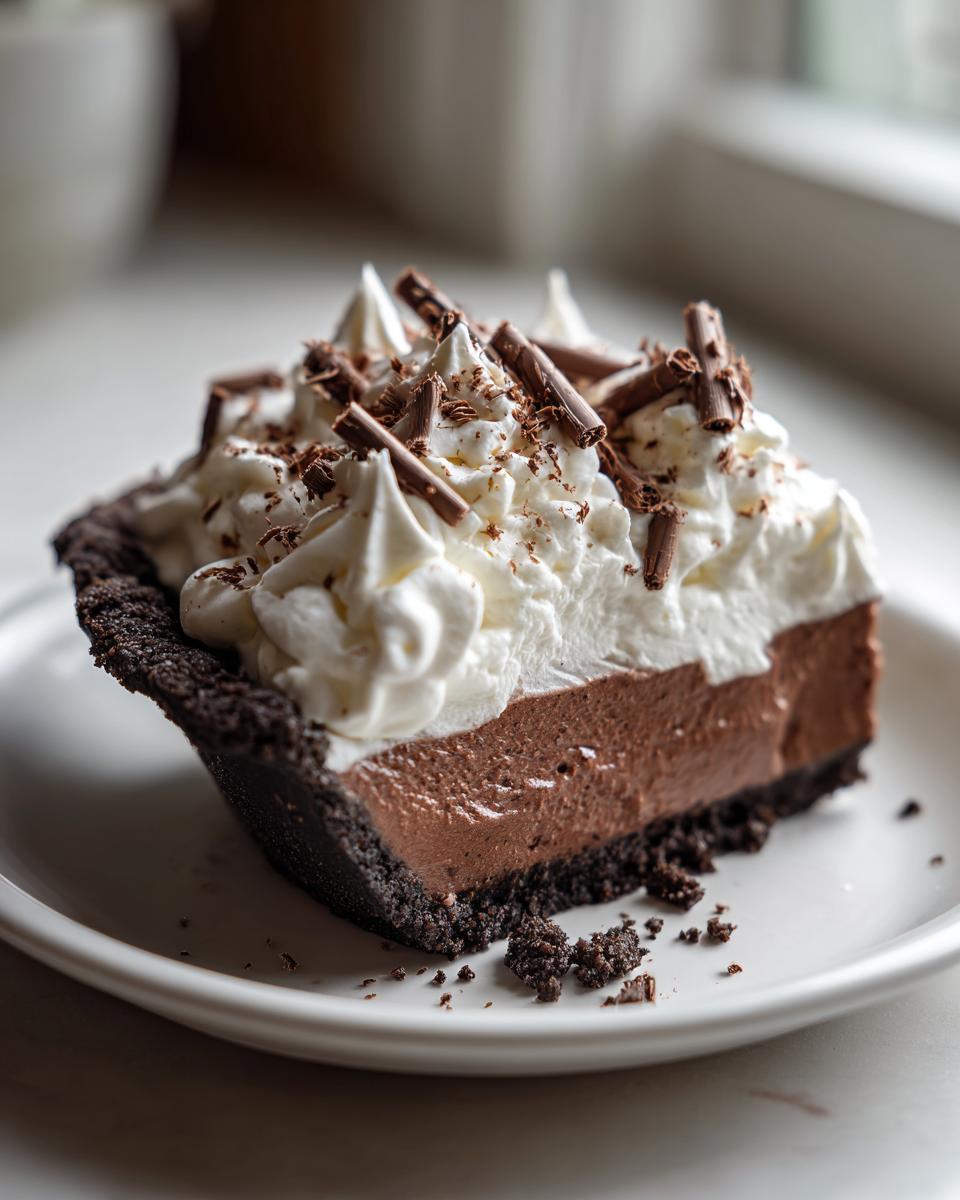
A rich, no-fail chocolate cream pie with an Oreo crust, perfect for a festive holiday dessert that you can prepare in advance.
- Prep Time: 20 min
- Cook Time: 0 min
- Total Time: 4 hr 20 min
- Yield: 8 servings 1x
- Category: Dessert
- Method: No Bake
- Cuisine: American
- Diet: Vegetarian
Ingredients
- 1 1/2 cups crushed Oreo cookies (about 25 cookies)
- 6 tablespoons unsalted butter, melted
- 1 package (3.9 ounces) instant chocolate pudding mix
- 1 package (3.9 ounces) instant vanilla or white chocolate pudding mix
- 3 cups cold milk (whole milk recommended)
- 1 teaspoon vanilla extract
- 2 cups heavy whipping cream
- 1/4 cup powdered sugar
- 1 teaspoon vanilla extract (for whipped cream)
- Chocolate curls or holiday sprinkles for garnish
Instructions
- Prepare the crust: Mix the crushed Oreo cookies and melted butter in a bowl until evenly moistened. Press the mixture firmly into the bottom and up the sides of a 9-inch pie plate. Chill the crust for at least 30 minutes while you prepare the filling.
- Make the chocolate filling: In a large bowl, whisk together the instant chocolate pudding mix and instant vanilla pudding mix. Gradually whisk in the 3 cups of cold milk until the mixture thickens, about 2 minutes. Stir in 1 teaspoon of vanilla extract.
- Fill the crust: Pour the chocolate filling into the chilled Oreo crust and spread evenly. Cover the pie loosely with plastic wrap, making sure the wrap does not touch the surface of the filling. Refrigerate for at least 4 hours, or until completely set.
- Prepare the topping: In a separate bowl, beat the heavy whipping cream, powdered sugar, and 1 teaspoon of vanilla extract with an electric mixer until stiff peaks form.
- Assemble the pie: Once the chocolate filling is firm, spread the whipped cream evenly over the top of the pie.
- Decorate and chill: Garnish the top with chocolate curls or holiday sprinkles. Return the pie to the refrigerator until ready to serve. This pie is best served within 2 days.
Notes
- You can substitute graham cracker crumbs for the Oreos if you prefer a different crust flavor.
- For a deeper chocolate flavor, use only chocolate pudding mix and omit the vanilla pudding mix; use 3 1/2 cups of milk instead of 3 cups.
- Make this pie a day ahead of your holiday gathering for easy serving.
Nutrition
- Serving Size: 1 slice
- Calories: 450
- Sugar: 40g
- Sodium: 350mg
- Fat: 28g
- Saturated Fat: 15g
- Unsaturated Fat: 13g
- Trans Fat: 0.5g
- Carbohydrates: 48g
- Fiber: 2g
- Protein: 6g
- Cholesterol: 55mg