
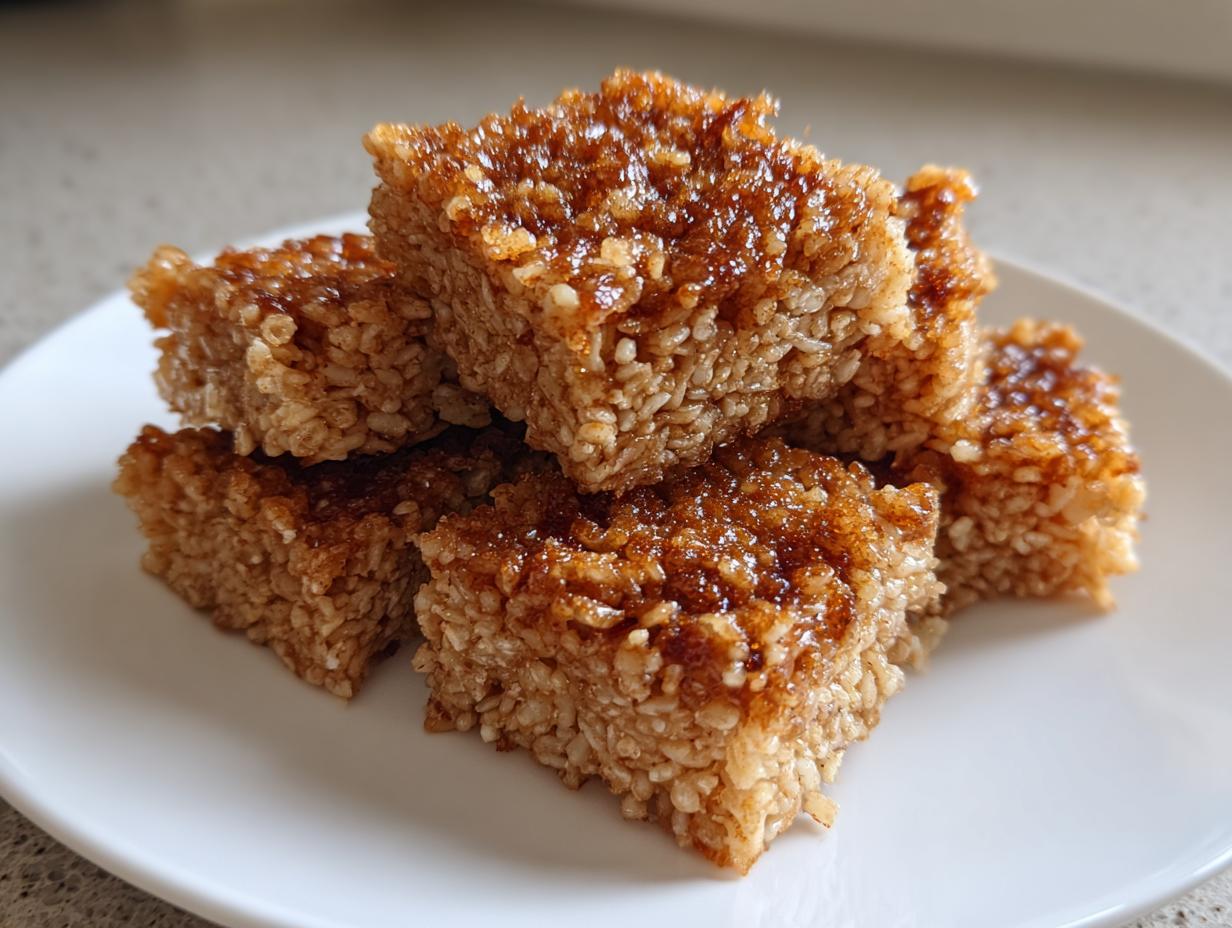
Oh, that sound! You know the one—that satisfying, almost aggressive *crunch* that stops you mid-sentence when you bite into something perfectly cooked? That’s what we’re chasing today. If you’ve watched everyone online making that amazing, trending food, you know what I mean! We’re tackling the Viral Oven Baked Crispy Rice Recipe, and trust me, this is the simplest way to get that incredible texture. My whole mission here at Mia’s Meals, which you can read more about on our About Page, is simplifying flavor to create memorable moments, and this easy crispy rice appetizer base proves you don’t need a deep fryer to achieve crunchy perfection.
I streamlined the method so you can get that golden brown rice snack tray ready with minimal fuss. Forget complicated steps; we’re using the oven, and the results speak for themselves. It’s sturdy enough for toppings and chewy where it needs to be soft!
- Why This Oven Baked Crispy Rice Recipe Delivers the Ultimate Crunch
- Gathering Ingredients for Perfect Crispy Rice
- How to Make Crispy Rice Using the Oven Baked Method
- Tips for Perfect Crispy Rice Every Time
- Serving Suggestions for Your Crispy Rice Appetizer Ideas
- Storage and Reheating Crispy Rice
- Frequently Asked Questions About Crispy Rice
- Estimated Nutritional Data for Homemade Crispy Rice
- Share Your Viral Crispy Rice Creations
Why This Oven Baked Crispy Rice Recipe Delivers the Ultimate Crunch
Listen, I know there are a million ways to get a crunchy rice base out there—people pan-fry it, deep-fry it—but honestly, who wants that mess every time you want a snack? That’s why I landed on this oven-baked approach. It’s the secret sauce behind how to make crispy rice that rivals anything you’ve seen trending online, or honestly, even what those fancy chefs are doing! We focus less on the topping (though we’ll get to that later!) and more on technique.
Key Benefits of Our Crispy Rice Technique
- It’s truly hands-off baking, meaning no standing over a hot skillet—perfect for a beginner!
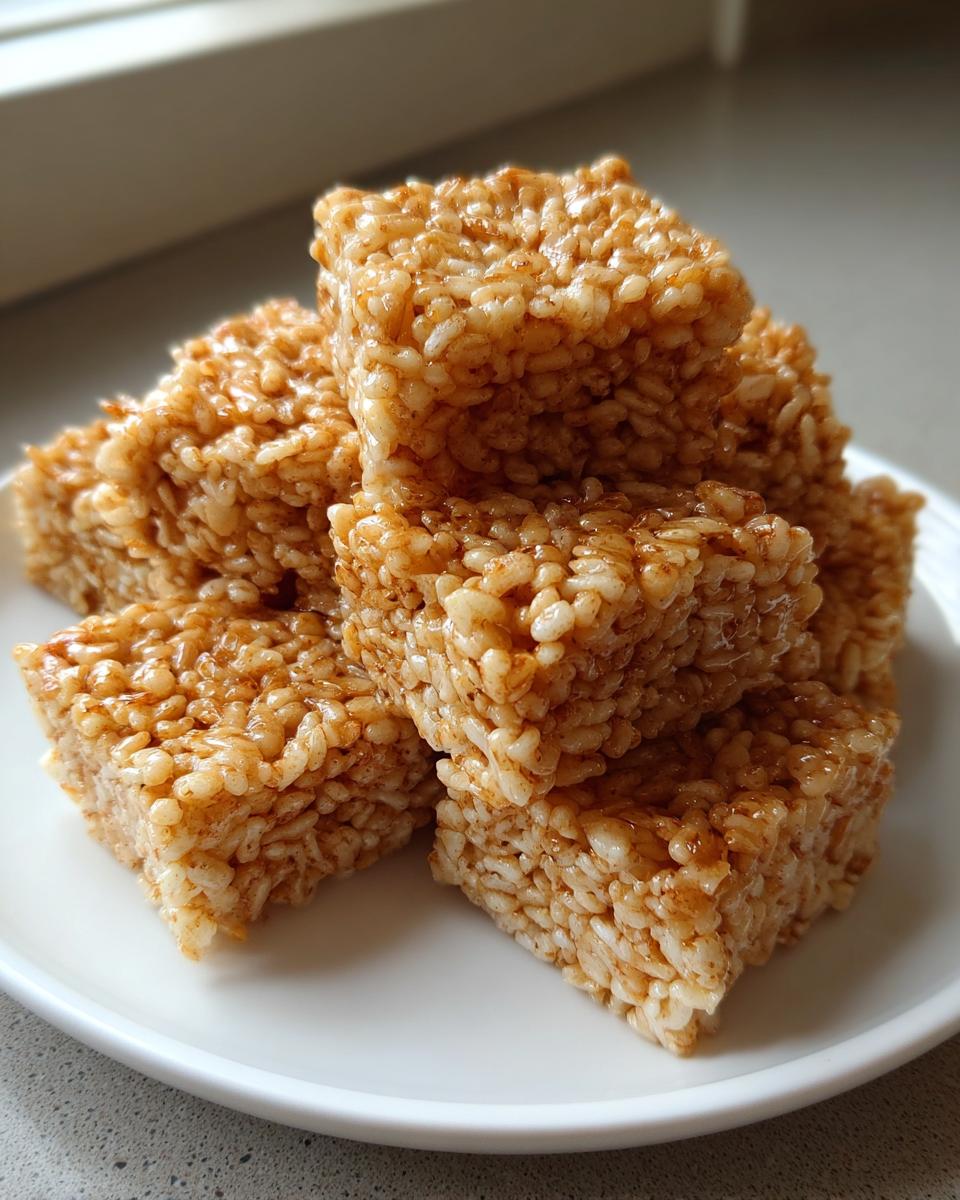
- The texture is supreme: intensely crunchy on the outside, wonderfully soft inside, and never oily.
- This method yields a perfect, uniform block that slices easily into neat, impressive squares or patties.
- It’s your best crispy rice technique for making that appetizer base ahead of time.
Gathering Ingredients for Perfect Crispy Rice
Alright, let’s talk about what you need to make this stunning crispy rice base. Because we are baking, not frying, ingredient quality matters big time! You absolutely must use short-grain rice—it holds its shape better, which is key for our baking success. Everything needs precise preparation; the rice should be perfectly cooled, and those two eggs need to be just lightly beaten together. This sets the stage for that wonderful, sturdy block we are aiming for. You can check out some of my other simple staples that make cooking easier, too!
Ingredient Notes and Substitutions for Crunchy Rice
My biggest secret for the ultimate crunchy rice here is using day-old, refrigerated rice. Seriously, day-old rice is drier and crisps up so much better than anything fresh from the pot. If you absolutely must skip the soy sauce because of dietary needs, Tamari is your perfect swap—it gives that salty, umami depth without any gluten getting involved. Don’t skimp on the sesame oil; that little bit of flavor really punches through the oven!
How to Make Crispy Rice Using the Oven Baked Method
This is where the magic happens, and honestly, this oven flipping technique is something you’ll want to bookmark. I promise you, once you see how easily you can get that beautiful brown base without having to babysit a frying pan, you’ll make this crispy rice appetizer constantly. Before we even touch the oven, you need to prepare your pan properly. Preheat that oven up to 400°F (200°C). I find lining the dish with parchment paper and then giving it a good spray of cooking oil saves my sanity later! If you’re looking for more simple meals for busy nights, check out my quick weeknight dinners section.
Preparing the Rice Base for Baking
In a big bowl, toss the cooled rice with those lightly beaten eggs, soy sauce, sesame oil, salt, and pepper. The key here is gentle mixing—don’t mash it! We want the binding agents to coat everything, but we don’t want to turn sweet rice into mush. Once it’s coated, dump it into your prepared dish. Now, this next step is huge: press it down! Use the back of a spatula or a second piece of parchment paper and compact that rice mixture like you mean it. A tight pack equals a strong foundation when we have to flip it later.
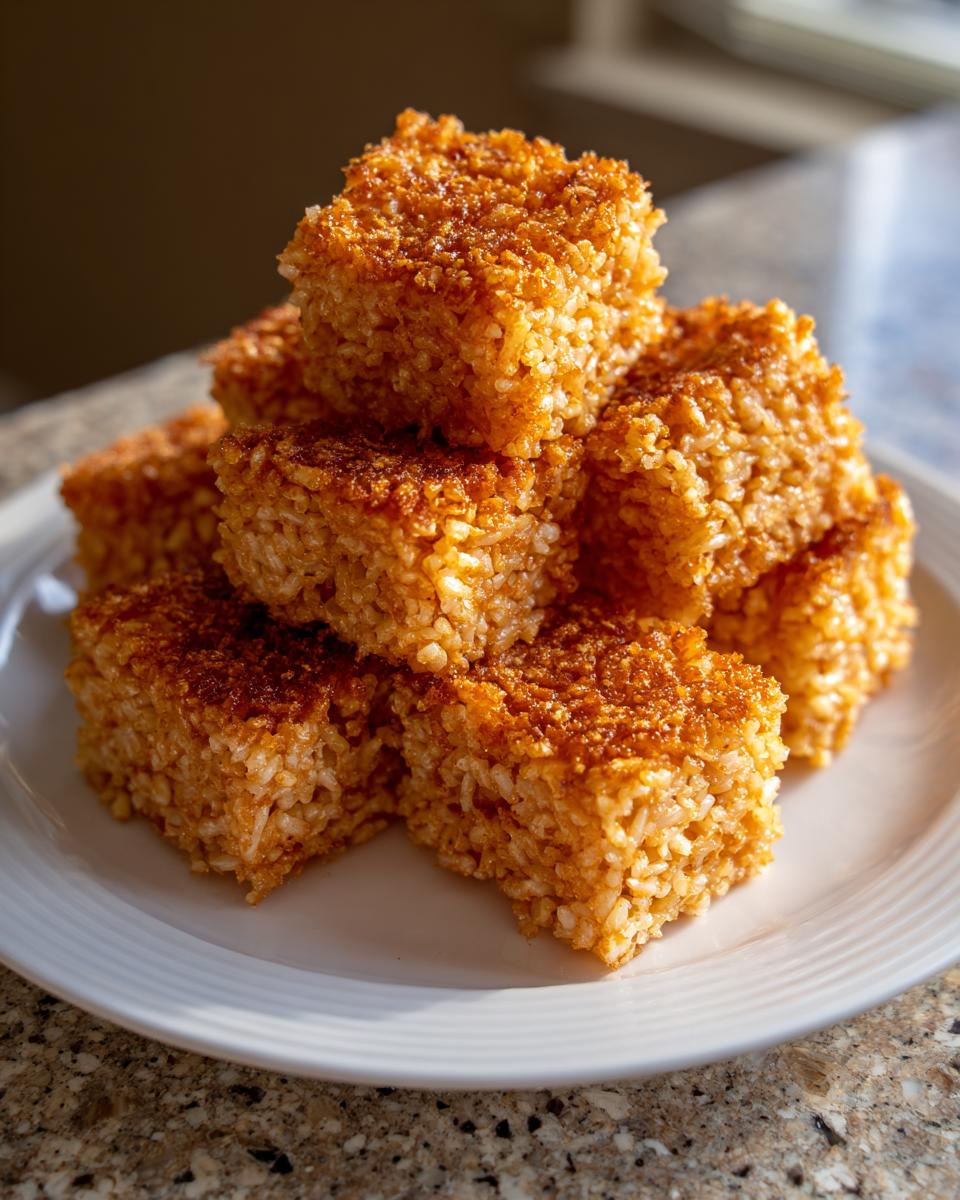
The Double Bake for Golden Brown Rice
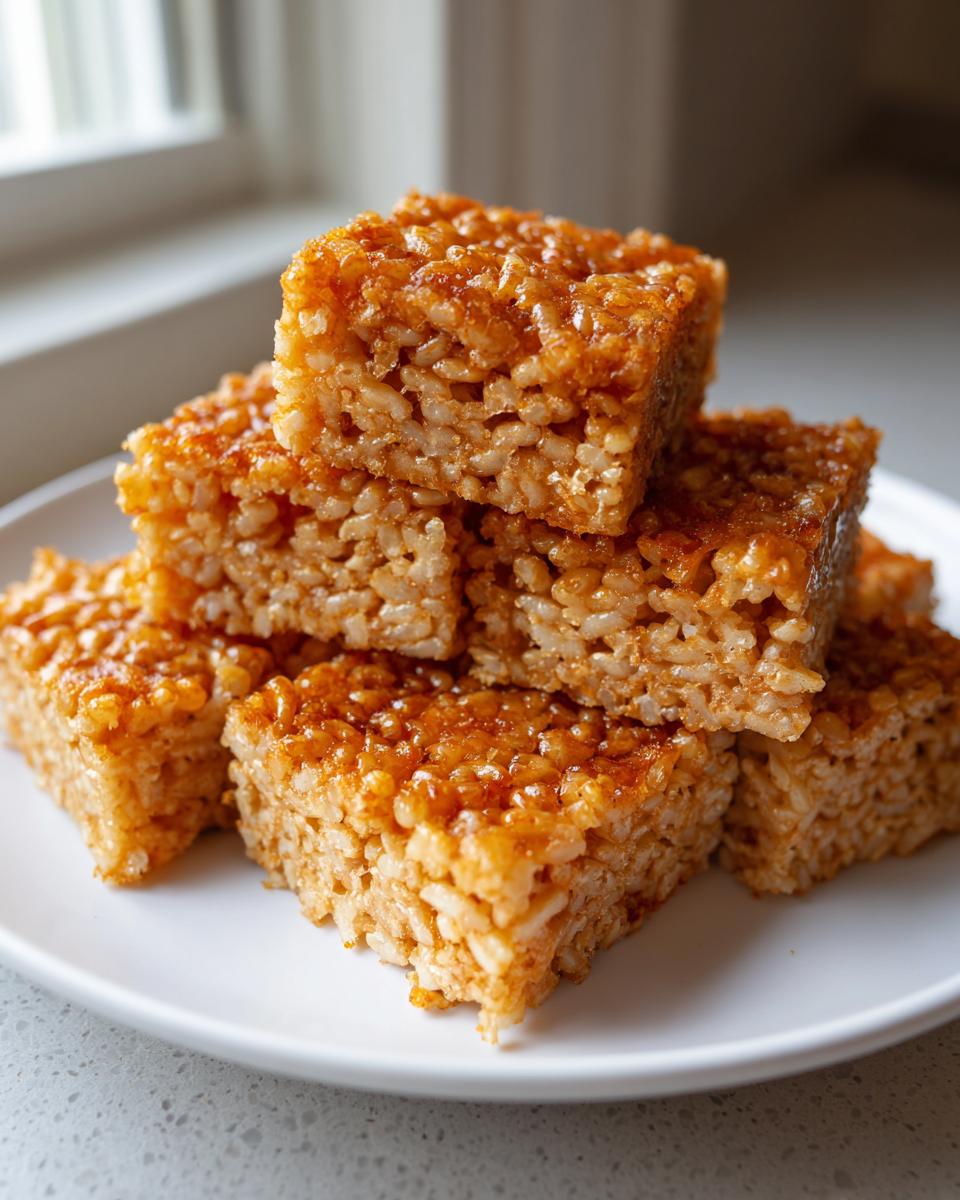
Your first trip into the oven should be for 30 minutes straight. This sets the bottom layer nice and firm. Now, take a deep breath, grab some oven mitts, and carefully flip that rice block out onto your cutting board or another parchment-lined sheet. Give that top exposed side a quick little spray of oil—this is what helps achieve that beautiful golden brown rice look! Pop it back in the oven, but crank the heat up to 425°F (220°C) for another 15 to 20 minutes until that second side is deeply crunchy. Let it cool just a little bit before you slice your perfect crispy rice squares!
Tips for Perfect Crispy Rice Every Time
You’ve turned the heat up and you’ve flipped the block—that’s the hard part done! But if you want this crispy rice to be the best version you’ve ever made, Mia has a few extra tricks up her sleeve to help you avoid that dreaded mushy middle. A lot of people think great results just come from following the steps, but it’s really about listening to the ingredients. I’ve ruined a few batches trying to rush the cooling process in the past, so trust me on these small adjustments!
Achieving the Best Crispy Rice Technique
The single most important thing I learned about getting that perfect crunch is respecting the rice grain itself. You absolutely must use short-grain rice, like sushi rice. Those sticky starches are what glue everything together in the oven. Medium or long-grain rice just won’t compact enough; it ends up crumbly, not solid!
Temperature control is the next big secret to mastering the best crispy rice technique. If your rice is even slightly warm when you mix it with the egg, you are essentially scrambling the edges before they even hit heat. Always, always use rice that has chilled completely in the fridge, ideally overnight. This dry, cold base is your best friend for that satisfying crispness when it comes out of the oven. If you’re interested in checking out some other recipes where temperature control is key, you might enjoy my apple strudel recipe!
Serving Suggestions for Your Crispy Rice Appetizer Ideas
Okay, now you have this amazing, golden, perfectly crunchy base—what in the world do you do with it? This is where my philosophy of simple food that brings people together really shines! This crispy rice block isn’t just for one purpose; it’s your new favorite canvas. You can serve these squares right out of the oven as the easiest appetizer ideas with rice you’ve ever made. Just add a little extra drizzle of soy or a spicy mayo drizzle, and you are good to go!
But if you want to really use this technique for a fantastic lunch, think about topping it with something fresh. I often use my leftover chicken or some flaked salmon on these savory rice bites. You can find some great inspiration for light eats on my simple appetizer page, and for heartier work lunches, check out the healthy lunch recipes section.
Elevating Crispy Rice Salad Recipe Ideas
If you’ve seen rice used in salads online, it’s usually because people crave that texture contrast. That’s where our new base shines! You can take these squares, cool them completely, and toss them right into a big bowl of greens. They replace croutons entirely and give you that satisfying *crunchy topping for salads* that we all love. Think about a big salad loaded with fresh cucumbers, avocado, and maybe a creamy ginger dressing—our base holds up beautifully to that moisture!
Storage and Reheating Crispy Rice
Naturally, you might not eat all of these gorgeous crispy rice squares right away! Don’t sweat it. If you have leftovers, just let them cool completely, and then store them in an airtight container on the counter. Do not refrigerate the entire batch, because that moisture steals the crunch right away!
The best way to bring that golden crunch back to life is totally low-tech. Pop the cooled squares directly onto a baking sheet and heat them in a 350°F oven for about 5 to 8 minutes. This quickly dries them out again and snaps that texture right back into place. It works way better than the microwave, I promise!
Frequently Asked Questions About Crispy Rice
I get so many messages after people try this recipe, which is the best part! It seems like everyone has a quick question about customization or technique, especially when making savory rice bites for the first time. Here are a few things I hear most often about getting that perfect texture.
Can I skip the eggs? Honestly, don’t try it if you want that true crispy rice structure! The eggs are the essential binder here; without them, you just get baked rice that falls apart, sort of like a granola bar that won’t hold its shape.
What about pan-frying instead of baking? You absolutely can, but you’ll need a good inch of high smoke-point oil in that pan and a lot more attention! Frying gets you a great texture fast, but the oven method is much easier to handle and results in less grease.
If you want to see how another great recipe developer handles their squares, check this out: Takes Two Eggs Crispy Rice.
Can I make crispy rice patties instead of squares?
Yes, you totally can jump ship from squares if you’re feeling ambitious! If you are planning on making crispy rice patties—which are perfect for little dipping events—you should wait until *after* the first bake to cut them. Once the block is set firm from the initial 30 minutes, pull it out gently. Use a large cookie cutter or a sharp knife to cut out your desired shapes. Make sure you spray or brush oil on the sides of the patties before that final, hotter bake. They hold their shape much better this way!
Estimated Nutritional Data for Homemade Crispy Rice
I always want to be transparent about what we’re putting into our bodies, even when making something fun like these savory rice bites! The nutritional information below is just an estimate based on the simple ingredients listed in the recipe above. Please remember, if you load this base up with spicy tuna or lots of dressing for a salad, those numbers will definitely change! This is truly just for the rice and egg base itself. It’s good to know if you’re counting macros!
- Serving Size: 1 square
- Calories: 180
- Fat: 4g
- Carbohydrates: 32g
- Protein: 5g
- Sugar: 0.5g
- Sodium: 350mg
Consider these figures guidance rather than gospel, okay? My focus is always on flavor first, but I like knowing these basics too!
Share Your Viral Crispy Rice Creations
Now that you know exactly *how to make crispy rice* using my favorite trending method, I absolutely want to see your results! Did you serve yours as little crispy rice patties or big squares? Drop a rating below and tell me what toppings you went for. If you took a gorgeous photo, feel free to upload it or tag me—I love seeing your home kitchens in action! If you ever need to reach me, you can always use the Contact Page. Happy crunching!
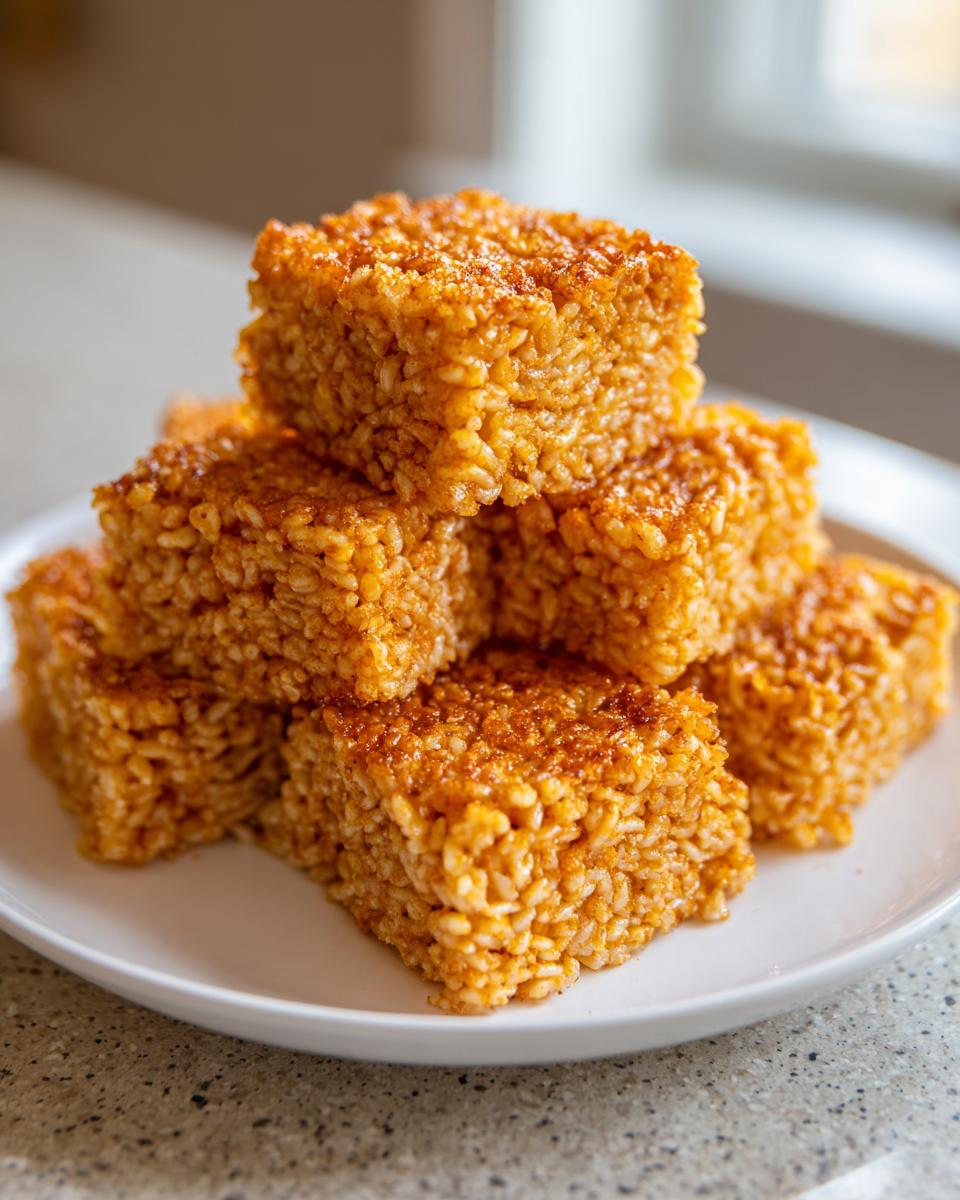
PrintViral Oven Baked Crispy Rice Recipe

Make perfectly crunchy, golden brown rice using this simple oven-baked method. This easy crispy rice appetizer base works well for salads or toppings.
- Prep Time: 10 min
- Cook Time: 50 min
- Total Time: 60 min
- Yield: 12 servings 1x
- Category: Appetizer
- Method: Baking
- Cuisine: Asian Inspired
- Diet: Vegetarian
Ingredients
- 4 cups cooked short-grain white rice, cooled
- 2 large eggs, lightly beaten
- 2 tablespoons soy sauce
- 1 tablespoon sesame oil
- 1 teaspoon salt
- 1/2 teaspoon black pepper
- Cooking spray or neutral oil for the pan
Instructions
- Preheat your oven to 400°F (200°C). Lightly grease a 9×13 inch baking dish or line it with parchment paper and lightly spray with cooking spray.
- In a large bowl, combine the cooled cooked rice, beaten eggs, soy sauce, sesame oil, salt, and pepper. Mix gently until the rice is evenly coated. Do not overmix, or the rice will become mushy.
- Press the rice mixture firmly and evenly into the prepared baking dish. Use the back of a spatula or a second piece of parchment paper to compact the rice layer tightly. A tight pack helps create a solid, crispy base.
- Bake for 30 minutes.
- Remove the dish from the oven. Increase the oven temperature to 425°F (220°C).
- Carefully flip the entire block of rice onto a cutting board or baking sheet lined with parchment paper.
- Spray the exposed side of the rice block lightly with cooking spray or brush with oil.
- Return the rice block to the oven (on the baking sheet or back in the dish) and bake for another 15 to 20 minutes, or until the top side is deeply golden brown and very crunchy.
- Remove from the oven and let it cool slightly before cutting it into desired shapes, such as squares, rectangles, or small patties.
Notes
- Use day-old, cold rice for the best texture; warm or freshly cooked rice will not crisp as well.
- For a spicy tuna crispy rice topping, mix 1/2 cup canned tuna (drained) with 2 tablespoons mayonnaise and 1 tablespoon sriracha. Top the warm crispy rice squares with this mixture before serving.
- If you prefer a thicker, more defined patty shape, press the rice into a smaller pan or use a cookie cutter after the initial bake, then continue baking.
Nutrition
- Serving Size: 1 square
- Calories: 180
- Sugar: 0.5
- Sodium: 350
- Fat: 4
- Saturated Fat: 1
- Unsaturated Fat: 3
- Trans Fat: 0
- Carbohydrates: 32
- Fiber: 1
- Protein: 5
- Cholesterol: 55