
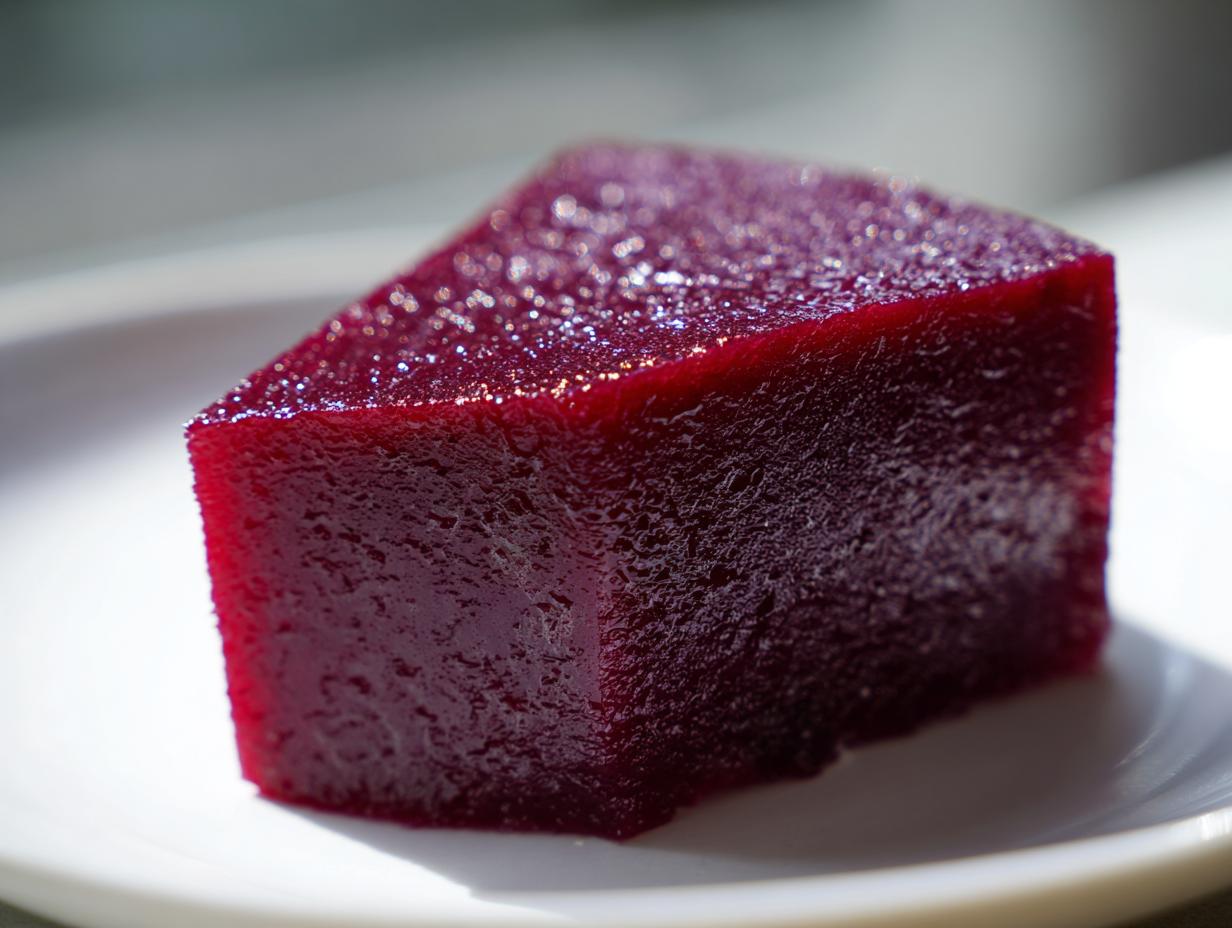
Oh, when I first discovered the world of traditional Japanese sweets, I was completely captivated. There’s this incredible beauty in their simplicity, right? Everything is intentional. When I talk about making authentic treats here at Mia’s Meals, I mean exactly that—keeping things pure and focused, which is where this recipe for homemade Yokan comes in. You only need four basic things! As I share in the story of Mia’s Meals, the best connection comes from the simplest effort. This dense, deep red bean jelly embodies that idea perfectly. It’s the ultimate flavor delivery system, proving you don’t need complicated steps to achieve something truly special and memorable in your kitchen.
- What is Yokan? History and Types of This Japanese Dessert Recipe
- Essential Ingredients for Authentic Neri Yokan
- How to Make Yokan: Step-by-Step Traditional Wagashi Instructions
- Tips for Success with Your Homemade Red Bean Jelly
- Serving Suggestions for Classic Yokan
- Storing and Reheating Your Yokan Block Dessert
- Yokan Variations and Flavors
- Frequently Asked Questions About Making Yokan
- Estimated Nutritional Data for This Minimal Ingredient Dessert
What is Yokan? History and Types of This Japanese Dessert Recipe
Isn’t it fascinating how flavor can be concentrated into something so elegant? Yokan is one of the oldest and most respected kinds of traditional wagashi—it’s essentially a firm, dense sweet made from red bean paste, sugar, and kanten. The history goes way back, originating in China before it really took off here in Japan centuries ago. It was originally even thicker and contained no agar, but modern sweet making relies on that wonderful gelling agent we use today. Trust me, once you try this, you’ll feel connected to generations of Japanese confectioners.
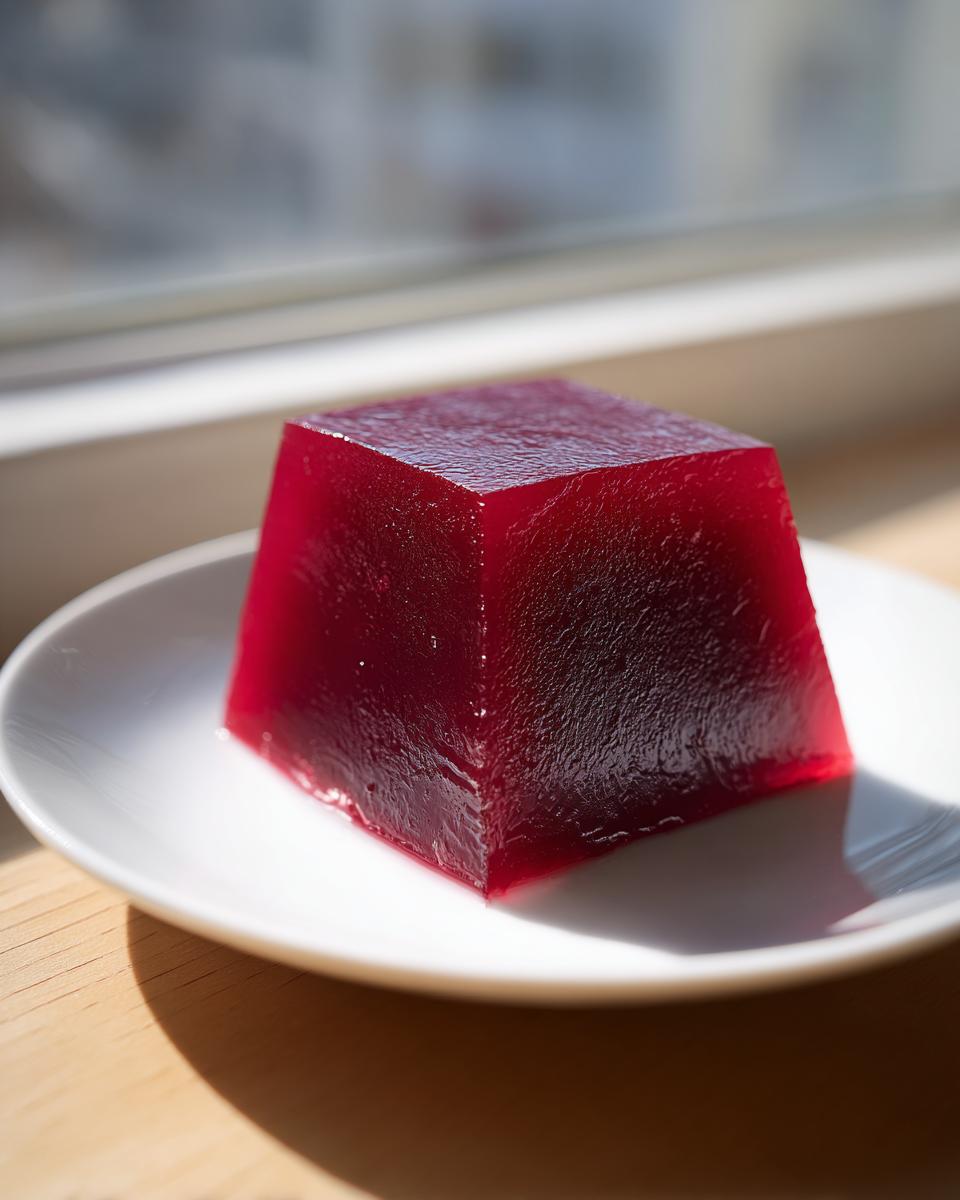
We are making a Neri Yokan here, which means ‘kneaded jelly.’ It’s the firmer, more shelf-stable version, the one that keeps its shape beautifully when you slice it. That’s different from Mizu Yokan, which is its lighter, more delicate cousin. The key difference in neri yokan vs mizu yokan comes down to hydration and the amount of agar used. Mizu Yokan has way more water, making it perfect for a cooling summer treat, whereas Neri Yokan is dense enough to be served year-round!
Understanding Kanten: The Key to Perfect Yokan Texture
You absolutely cannot skip the kanten! Kanten is what the Japanese call agar-agar, and it’s derived from seaweed—totally different from standard animal-based gelatin. This is crucial for the agar agar dessert preparation because kanten sets up much firmer and, importantly, it remains stable at room temperature, unlike gelatin which starts to weep when it warms up. That plant-based power is exactly what gives our finished Yokan that perfect, clean slice.
Essential Ingredients for Authentic Neri Yokan
The beauty of making high-quality Yokan is how few ingredients you actually need. When you use quality components, the flavor just sings! I’ve written down the amounts here based on what works perfectly for that firm, traditional set. Everything needs to be measured carefully—this isn’t the time to eyeball things, trust me on this one!
- 200 g smooth anko (sweet red bean paste)
- 10 g agar-agar powder (kanten)
- 300 ml water
- 200 g granulated sugar
Sourcing Anko Bean Paste Sweets
Finding the right anko is probably the only part that requires a little planning. You need smooth anko—we call this koshian—for that super silky mouthfeel that defines premium anko bean paste sweets. If you buy it pre-made, check the label to make sure it’s the smooth variety, not the chunky kind. If you can’t find it, don’t panic! You can always make your own by boiling adzuki beans until they fall apart and rubbing them through a very fine sieve. That takes time, but the reward is incredible!
How to Make Yokan: Step-by-Step Traditional Wagashi Instructions
Okay, getting this Yokan set up is where the magic happens, but honestly, it’s very fast once you start heating things up. Since we aren’t using a quick-setting gelatin, we have to treat the agar just right. It’s all about patience during the heating phase so the texture is perfect later. Grab a medium saucepan; we are working fast once we get going!
- First, you’ve got to whisk that kanten powder into the cold water super well—you want zero clumps. Seriously, make sure there are no dry pockets hiding at the bottom!
- Next, turn the heat to medium and stir constantly until it comes up to a boil. This is really important.
- Once it’s boiling, keep it moving and let it bubble away for exactly two full minutes. That activation time is key for a firm block later.
- Now, drop the heat down low—we’re talking barely simmering. Gently stir in your sugar until it melts completely into that liquid base.
- When the sugar is gone, whisk in your smooth anko paste until you have one beautiful, uniform, deep reddish-brown liquid.
- Pour the entire mixture into your prepared mold right away. You’ll need to move quickly here! If you’re looking for inspiration on speedy weeknight cooking while this sets, check out my quick dinner ideas, though this process itself is delightfully swift!
- Let it sit on the counter for just 30 minutes to cool off a bit before it heads to the fridge for its long nap—at least 3 hours to set solid.
Activating the Kanten for Firm Yokan
Remember that two-minute boil after the liquid starts bubbling? Don’t overthink it, but don’t rush it either. That precise time activates the gelling power of the kanten so your final Yokan doesn’t end up sloppy or watery. If you under-boil it, it might never set properly, even after hours in the cold. We need that plant-based structure to hold up for slicing!
Achieving Smoothness When Adding Anko
When you finally add the anko, make sure your heat is way down low. If it’s too hot, the sugars in the bean paste can scorch on the bottom, giving you burnt bits in your otherwise lovely dessert. Keep stirring gently but consistently until that paste disappears entirely into the liquid. That’s how you master how to make yokan without any streaks or lumps—just pure, elegant smoothness.
Tips for Success with Your Homemade Red Bean Jelly
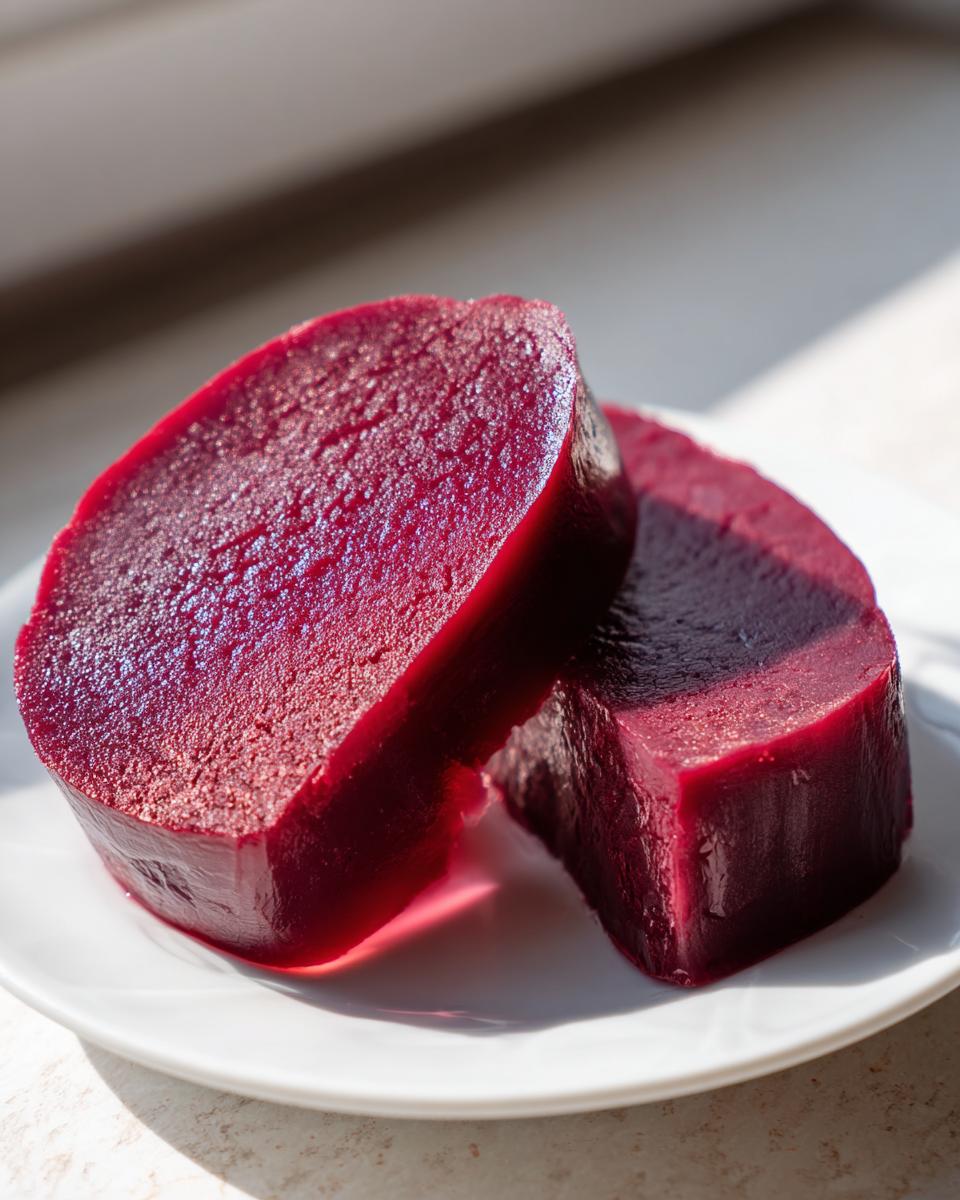
Now that you’ve got your beautiful block cooling down, let’s talk about making sure the final presentation of your homemade red bean jelly is absolutely professional. Getting that perfect texture and those clean cuts is honestly so satisfying. It shows you respected the process, even though it was so simple!
My mom always warned me that the final cut can make or break the impression. When you go to slice your chilled Yokan, don’t just hack at it! Dip a long, thin knife into a glass of hot water, wipe it totally dry—and I mean bone dry—then make your first cut. Repeat that cleaning process between every single slice. Trust me, warming and wiping the knife prevents the sticky sugar from dragging the cut surface and keeps those edges looking pristine and sharp.
Adjusting Texture: From Firm Yokan to Soft Mizu Yokan
One of the best parts about using kanten is how easily you can tweak the final structure just by changing the water content. If you followed the main recipe, you have that lovely firm Neri Yokan, perfect for eating slowly. But if you want something lighter and more refreshing—especially when summer hits—you can easily convert it into Mizu Yokan.
The note covered this perfectly! To make the softer, summer-style treat, just reduce your agar-agar by a little bit—go down to 7 grams instead of 10 grams—and bump your water up to 350 ml. That little shift in hydration makes the resulting jelly softer, more delicate, and perfect for cooling down on a hot afternoon. It’s such a versatile base for your Japanese sweet making!
Serving Suggestions for Classic Yokan
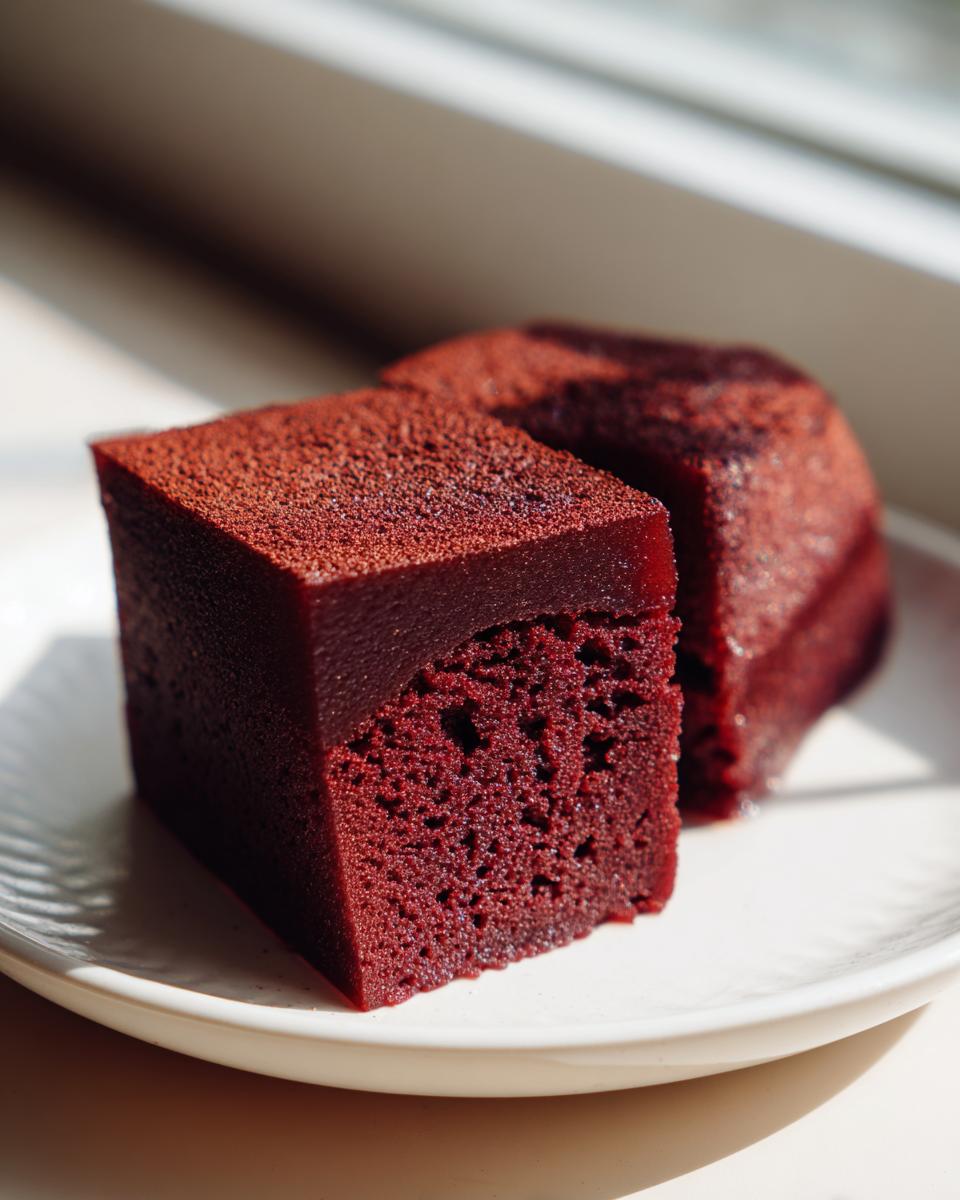
Once you’ve achieved that perfect, clean slice of your traditional wagashi, the real moment of enjoyment begins! This beautiful block of homemade red bean jelly is meant to be savored slowly, not scarfed down. I find that the rich, earthy sweetness of the anko pairs absolutely perfectly with a simple, slightly bitter cup of hot green tea—maybe a nice sencha or even some roasted hojicha.
Presentation matters even in simple home settings. I usually cut the slices into small, bite-sized squares or neat rectangles—think about two small bites per piece. Serve them chilled on a small, square dish, maybe with a single, vibrant garnish like a tiny shiso leaf if you’re feeling fancy, but honestly, just the deep color of the Yokan itself is enough drama! If you’re looking for other easy but elegant sweets, check out my collection of delicious dessert recipes for what to pair it with.
Storing and Reheating Your Yokan Block Dessert
Since we used kanten instead of regular gelatin, this beautiful block of Yokan actually has a wonderful shelf life! Store it right in the refrigerator, covered tightly so it doesn’t dry out or pick up any fridge smells. It usually stays perfect for about a week, sometimes even longer if your kitchen is cool and dry.
The trick is bringing it back to the perfect temperature before serving. Take the Yokan out about 15 minutes before you plan to eat it. This lets it warm up just slightly so the flavor blooms beautifully, but it won’t get soft. And please, avoid trying to reheat it on the stove! You only need that time on the counter for it to be its absolute best.
Yokan Variations and Flavors
While I absolutely adore the pure, deep flavor of classic red bean, one of the most fun things about mastering the basic technique is knowing you can swap in other delicious things! Once you truly understand the relationship between the anko, sugar, and kanten, you open the door to endless creativity in your Japanese sweet making. It’s all about using that smooth base to showcase seasonal ingredients.
This is where things get really fun. You can introduce beautiful fall flavors by swapping out part of the anko for pureed sweet potato or even chestnuts—the resulting yokan variations and flavors are just heavenly and rich. In the spring, a light addition of matcha powder creates this gorgeous speckled green color that is just stunning. Or, if you want something a little tangy, some recipes even incorporate tiny pieces of candied citrus peel!
If you want other ideas for simple, heartfelt baking that uses fresh, seasonal touches, I have a wonderful recipe for soft persimmon cookies that I think you’ll really enjoy over on my main recipe page. You can find it here: soft persimmon cookies. But for now, just know your Yokan block can be anything you dream up!
Frequently Asked Questions About Making Yokan
I know when you try a new technique, especially one rooted in tradition like this Yokan, you’re going to have a few questions pop up! Don’t worry about it; that’s why I’m here. We want your results to be perfect right out of the gate. Most of the issues people run into here revolve around the kanten or the quality of the anko, but once you know the drill, it’s smooth sailing. If you’re looking for other simple ideas, maybe check out my easy breakfast ideas while you wait for your Yokan to chill!
Can I use gelatin instead of agar-agar for this Yokan recipe?
That’s a really common question when people jump into traditional wagashi! The short answer is technically yes, you *can*, but I strongly advise against it if you want true Yokan. Standard gelatin sets softer and, more importantly, it’s sensitive to heat. Gelatin will start to melt or slump around body temperature, so your beautiful block will get soft and slightly weep in a warm room. Kanten (agar) sets stronger and holds its shape beautifully at room temperature, giving you that wonderful firm texture we are aiming for.
Why is my homemade red bean jelly grainy?
Don’t be discouraged if your first attempt at homemade red bean jelly is a little grainy! That usually happens for one of two reasons, and both are fixable next time. First, if you didn’t let the kanten boil for those full two minutes, it might not have activated properly, leading to an uneven set and slight grittiness. The second reason is often tied to the quality of the anko itself—if you bought a very coarse or low-grade sweet bean paste, you won’t get that signature silky mouthfeel. Make sure you use smooth koshian!
Estimated Nutritional Data for This Minimal Ingredient Dessert
I always tell people that because this Yokan recipe relies on such straightforward components—beans, sugar, and water—the nutrition is pretty predictable! It’s certainly a sweet treat, not a health food, but because we’re using pure anko and kanten, you aren’t dealing with a ton of weird fillers or artificial fats, which I love.
Keep in mind that this is just an estimate based on the exact measurements in our recipe, and your actual totals might shift slightly depending on the exact sugar content of the anko you buy. But here is a good ballpark idea of what you’re looking at per slice:
- Serving Size: 1 slice
- Calories: 220
- Sugar: 35g
- Fat: 0.5g
- Protein: 4g
- Carbohydrates: 53g
- Cholesterol: 0mg
See? Minimal ingredients, clean nutrition breakdown! Enjoy every bite of your beautiful Japanese dessert recipe.
PrintTraditional Neri Yokan: Simple Homemade Red Bean Jelly

Make authentic Neri Yokan, a firm, traditional Japanese confection using only a few simple ingredients. This recipe delivers a smooth, dense red bean jelly perfect for serving as a classic wagashi.
- Prep Time: 10 min
- Cook Time: 15 min
- Total Time: 3 hr 25 min
- Yield: 8 servings 1x
- Category: Dessert
- Method: Stovetop Cooking
- Cuisine: Japanese
- Diet: Vegetarian
Ingredients
- 200 g smooth anko (sweet red bean paste)
- 10 g agar-agar powder (kanten)
- 300 ml water
- 200 g granulated sugar
Instructions
- In a small saucepan, combine the water and agar-agar powder. Whisk well to dissolve the powder completely.
- Place the saucepan over medium heat and bring the mixture to a boil, stirring constantly. Boil for 2 minutes to activate the kanten.
- Reduce the heat to low. Add the sugar and stir until it is fully dissolved into the liquid.
- Add the anko (red bean paste) to the saucepan. Stir continuously until the mixture is completely smooth and uniform in color.
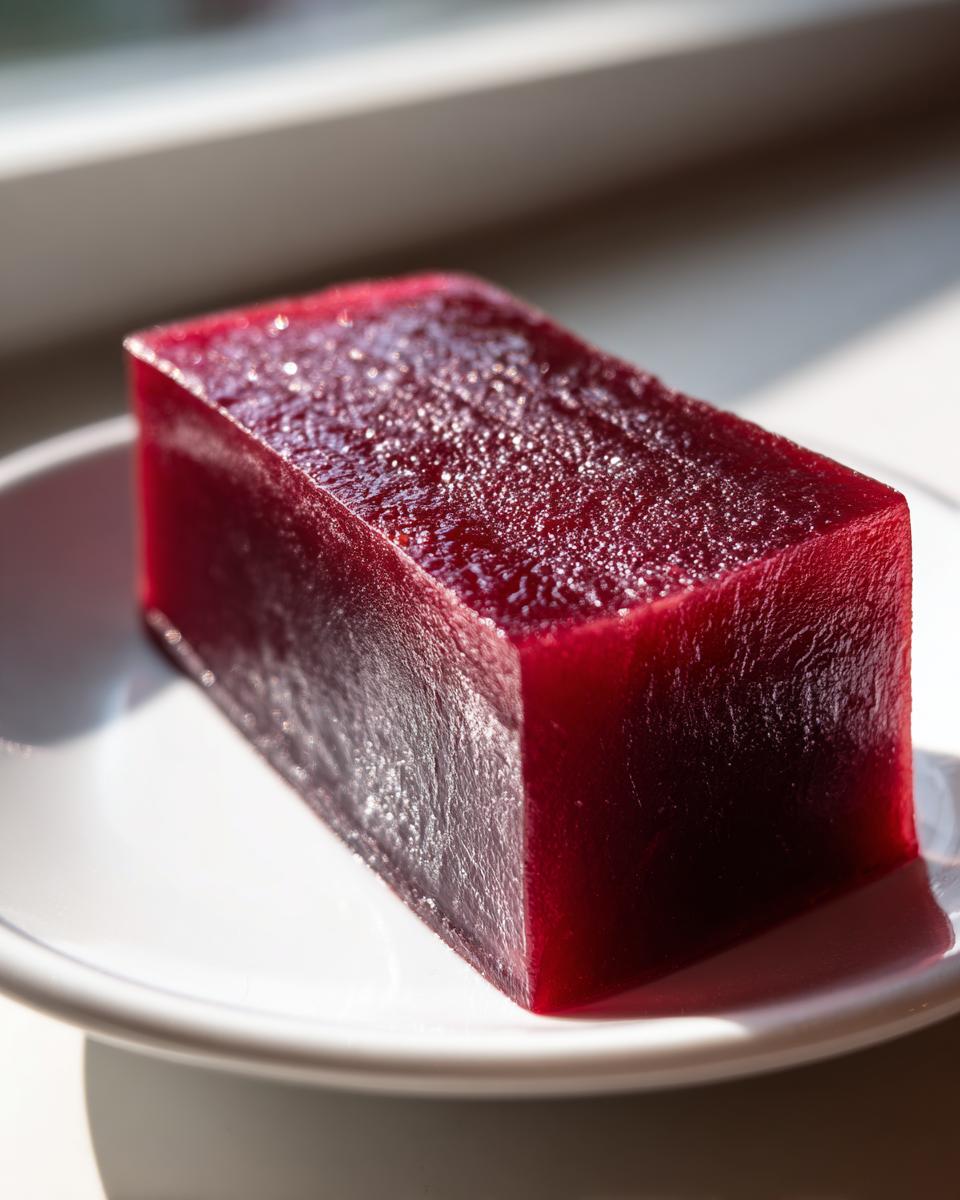
- Pour the hot yokan mixture into a mold (a loaf pan or square dish works well). The mold should be lightly oiled or lined with plastic wrap for easy removal.
- Let the yokan cool at room temperature for about 30 minutes.
- Transfer the mold to the refrigerator and chill for at least 3 hours, or until completely firm.
- Once set, remove the yokan from the mold and cut it into small, uniform slices for serving.
Notes
- For a firmer texture, use slightly more agar-agar. For a softer, summer-style Mizu Yokan, reduce the agar-agar to 7g and increase the water to 350ml.
- If you cannot find pre-made anko, you can make your own by boiling adzuki beans until soft and mashing them with sugar.
- Wipe the knife clean between each cut to achieve neat, professional-looking slices of your homemade red bean jelly.
Nutrition
- Serving Size: 1 slice
- Calories: 220
- Sugar: 35
- Sodium: 5
- Fat: 0.5
- Saturated Fat: 0.1
- Unsaturated Fat: 0.4
- Trans Fat: 0
- Carbohydrates: 53
- Fiber: 3
- Protein: 4
- Cholesterol: 0