
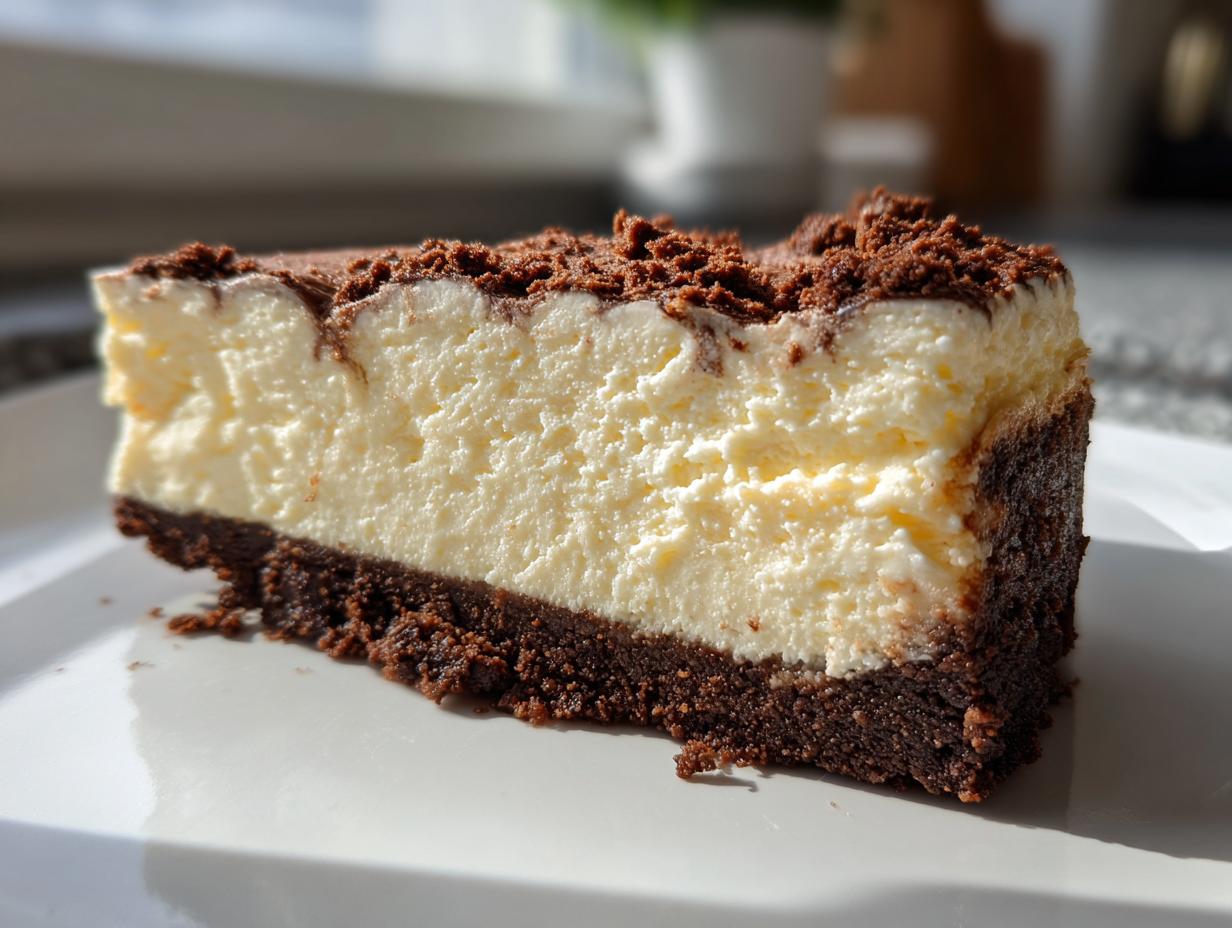
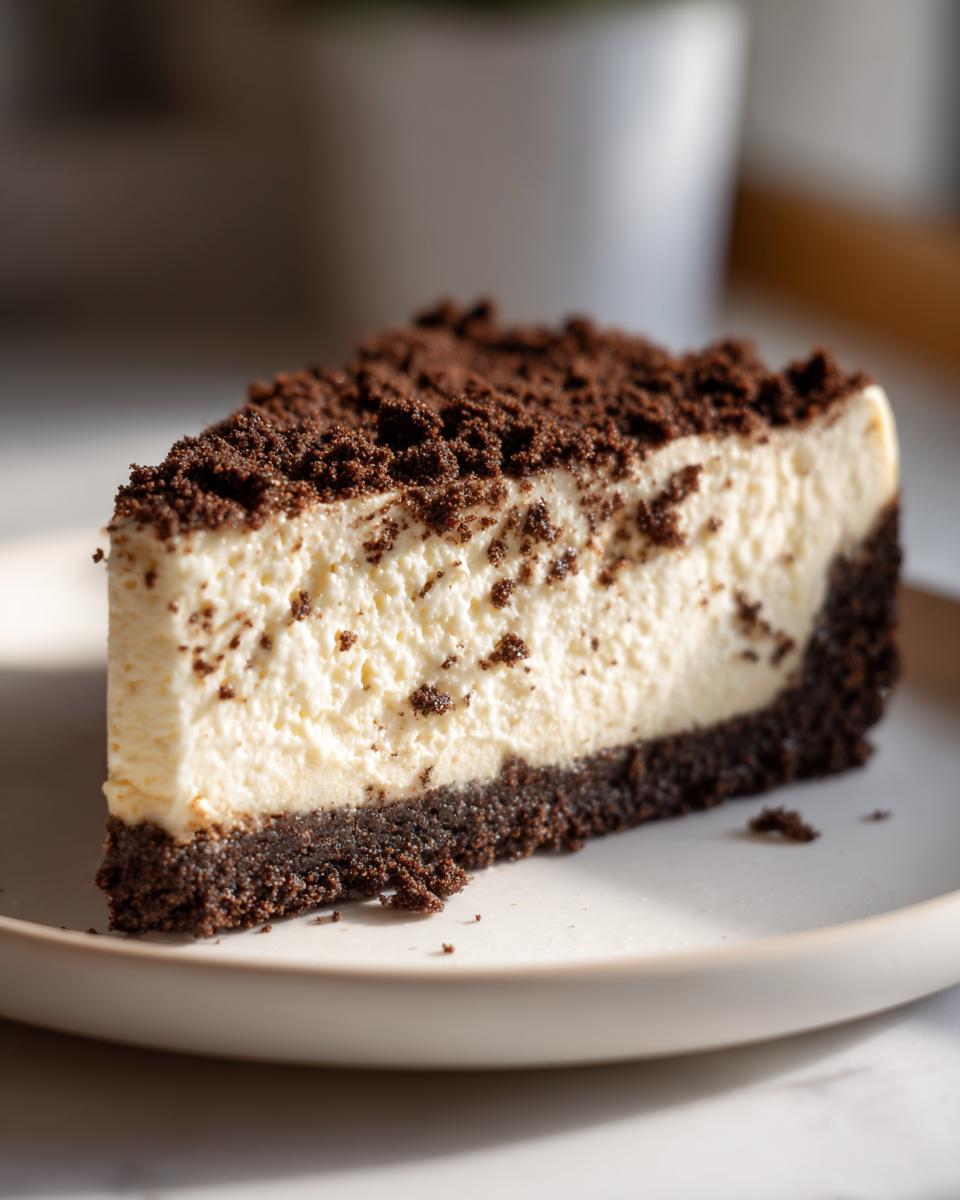
Oh tell me, are you as tired of heating up the kitchen as I am during the long summer months? I just want a rich, tangy dessert without wrestling with a fussy water bath or panicking about cracks! That’s exactly why this no bake cheesecake has become my go-to recipe. It’s unbelievably creamy and satisfying, and the best part is I can whip it up in about twenty minutes, which is practically charity work for a dessert this good. It brings that classic, comforting flavor profile we all love, just in a much simpler, fridge-set package. If you’re looking for simple recipes that deliver big on flavor with zero oven time, you’ve hit the jackpot here. I learned long ago, just like we talk about over on our About Page, that the best memories are made when cooking isn’t a chore!
- Why This No Bake Cheesecake Is Your New Favorite Summer Cream Cheese Dessert
- Gathering Ingredients for Your Gelatin-Set Cheesecake
- Step-by-Step Instructions for the Perfect No Bake Cheesecake
- Tips for Success with Your No Bake Cheesecake
- Serving Suggestions for Your No Bake Cheesecake
- Storing and Keeping Your Simple Dessert Fresh
- Frequently Asked Questions About No Bake Cheesecake
- Estimated Nutritional Profile for This No Bake Cheesecake
- Share Your Simple Dessert Creations
Why This No Bake Cheesecake Is Your New Favorite Summer Cream Cheese Dessert
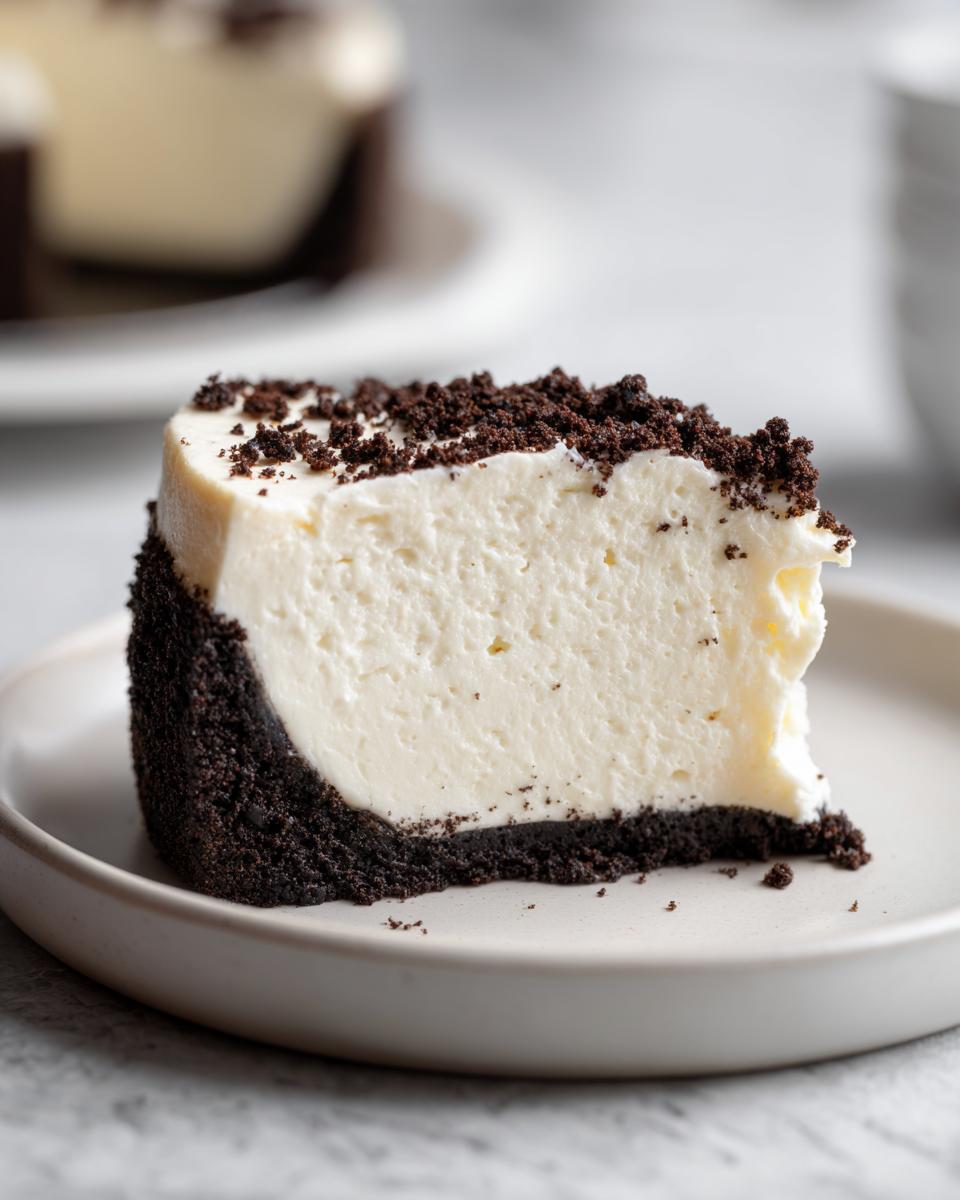
Honestly, this recipe is a lifesaver when the heat index climbs! I love that I can completely skip turning on the oven. That means more time socializing on the porch and less time sweating over a hot stove. It delivers that beautiful, dense cream cheese experience we crave, but with a light, mousse-like texture that just melts in your mouth once it’s chilled.
- No oven, no fuss, and absolutely no risk of cracking!
- It sets up perfectly firm in the fridge—ideal for picnics and potlucks.
- The tangy flavor profile is bright and refreshing, making it the ultimate summer cream cheese dessert sensation.
Effortless Preparation for the Easiest No Bake Cheesecake
When I talk about simple recipes, this is what I mean. You are looking at about 20 minutes of active mixing time, tops. If you’ve got kids helping or just need a quick dessert after work, this easy no-bake cheesecake is where it’s at. It proves that you don’t need complicated techniques to create something truly special for your family.
Gathering Ingredients for Your Gelatin-Set Cheesecake
Okay, let’s talk about what you’ll need! Honestly, the best part about this recipe is that the ingredient list looks really fancy, but it’s just straight-up pantry stuff. No weird specialty items, promise. We rely on a few key players to give us that perfect, melt-in-your-mouth texture. For this gelatin-set cheesecake to come together beautifully, you absolutely need your cream cheese to be fully softened—otherwise, you’ll end up with lumps, and nobody wants a lumpy dessert! Also, make sure your heavy whipping cream is straight out of the cold part of the fridge; that’s how we get those gorgeous stiff peaks later on.
Crust Components and Preparation
First up is the base, and we want this thing sturdy enough to hold all that creamy goodness. You’ll need:
- One and a half cups of graham cracker crumbs
- A quarter cup of plain granulated sugar (just regular sugar, nothing fancy here)
- Six tablespoons of unsalted butter, all melted up
Mix those three things together until everything is just moistened, like wet sand, you know? Then, press that mixture down—and I mean press it firmly—into the bottom and just slightly up the sides of your 9-inch pie plate. Don’t be shy! If you don’t have graham crackers on hand, don’t sweat it! My notes say vanilla wafers or even shortbread cookies work wonderfully as a substitute for a slightly different flavor profile.
Creating the Creamy No Bake Cheesecake Filling
This is where the magic really happens for our refrigerator cheesecake pie. These are the heavy lifters for the filling:
- Two full 8-ounce packages of cream cheese, softened (remember that tip!)
- One cup of powdered sugar
- One teaspoon of vanilla extract
- A quarter cup of fresh-squeezed lemon juice – use real lemons if you can; that fresh tang really cuts through the richness!
- One cup of very cold heavy whipping cream
- And the structural secret: one packet of unflavored gelatin mixed with a quarter cup of cold water.
That gelatin is your best friend here. It’s what allows this dessert to set up reliably in the fridge without needing any heat. Without it, you’d just have a soupy, delicious cream cheese dip, and we need a proper slice!
Step-by-Step Instructions for the Perfect No Bake Cheesecake
Alright, here is where we put it all together! Don’t let the steps look long; they are all super simple actions. The real key here is taking things in order, especially with the gelatin and the whipped cream. If you rush, you lose that beautiful mousse texture we’re aiming for in this no bake cheesecake. Trust me, taking your time on the gentle folding parts makes all the difference between a dense brick and a cloud-like slice.
Preparing the Crust and Chilling
First things first—we need that foundation locked in place. After you mix your crumbs, butter, and sugar until it looks perfectly bound, you press it into your 9-inch pie plate. Remember what I said? Really push it down firmly. You want a strong base so that when you finally cut into this beautiful dessert, the crust doesn’t crumble apart on the serving plate. Once it’s pressed nicely, tuck that crust right into the freezer while you start mixing the filling. Chilling it hard for while we work makes sure it stays put later.
Mixing the Cream Cheese Base
Now for the main event! Grab your softened cream cheese and beat it first. I mean it—beat it until it looks satiny smooth before you even think about adding the powdered sugar. If you have any lumps here, they will only get worse later! Once it’s perfectly creamy, slowly beat in the powdered sugar and that little bit of vanilla. Then, mix in your fresh lemon juice. Keep mixing on medium speed until everything is homogenous and beautifully combined. This smooth base is what gives the final product its rich mouthfeel.
Incorporating Gelatin and Whipped Cream for Stability
This is the most important sequence! Remember to sprinkle that plain gelatin over the cold water first; let it sit for five minutes so it can bloom—it swells up like little sponges. Then, gently warm that mixture, maybe 10 seconds in the microwave, just until it’s totally clear liquid again. Don’t let it boil! Slowly drizzle that liquid gelatin into your cream cheese mixture while the mixer is on low—just enough to combine. Then, ditch the mixer! Take your stiffly whipped heavy cream and gently fold it in using a rubber spatula. You want to fold until you don’t quite see any white streaks left. Be patient and use a cutting motion to keep all that lovely air you just whipped into it. That air is what keeps our refrigerator cheesecake pie light!
Tips for Success with Your No Bake Cheesecake
Even though this is a “no-bake” recipe, there are definitely steps you can take to ensure that creamy texture comes out perfectly every single time. When you skip the oven variables, you have to pay extra attention to your ingredients and cooling process. I’ve made this mistake before—thinking “it’s no-bake, whatever”—and ended up with a filling that was too soft. Here are the two big secrets I learned that make this into a truly satisfying slice.
Ingredient Temperature Matters for No Bake Cheesecake
This is where people often trip up when making this easy no-bake cheesecake. You must have two very different temperatures working for you! First, your cream cheese? It needs to be totally softened. I mean, room temperature soft. If it’s even slightly chilled, it won’t beat smooth, and you’ll have those dreaded cream cheese pebbles throughout your filling. You shouldn’t have to struggle to press a spoon into it!
On the flip side, that heavy whipping cream? It needs to be ice cold. Like, I just pulled it out of the back of the fridge cold. If it’s even a little warm, it simply won’t whip up properly to the stiff peaks we need. Those stiff peaks are what give our filling the structure it needs to hold up when we fold in the other ingredients. It’s a balancing act, but worth the few extra minutes of planning!
Achieving the Right Set in Your Refrigerator Cheesecake Pie
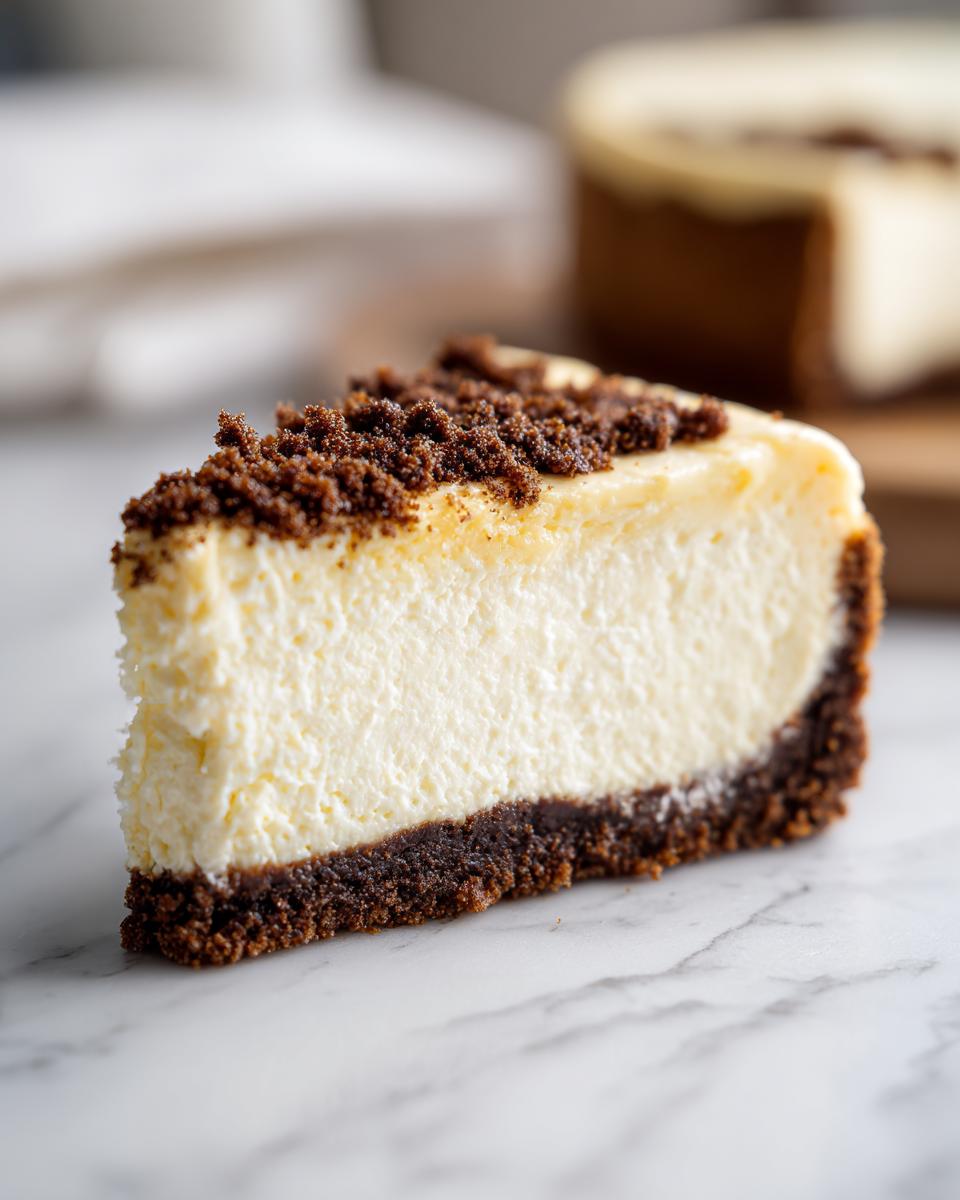
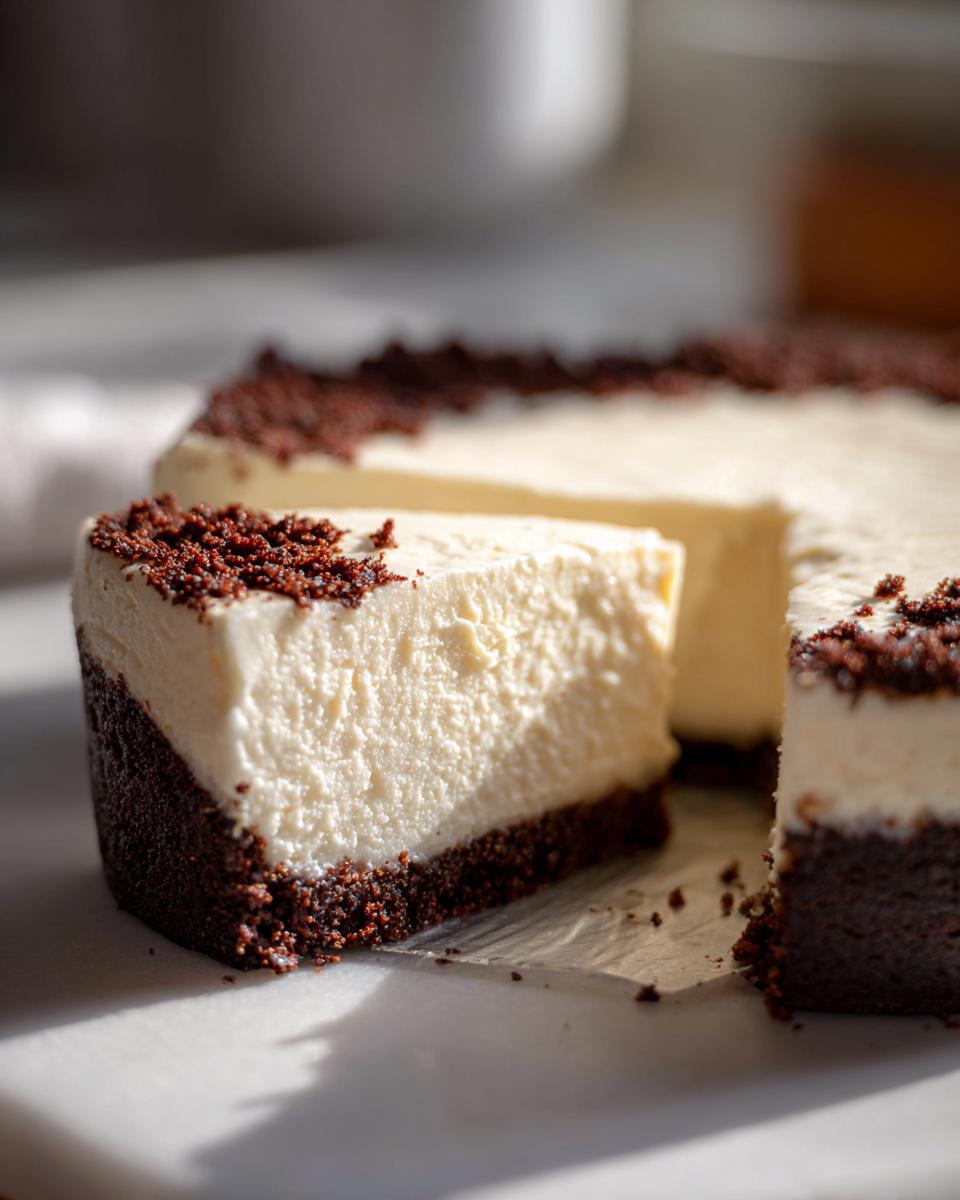
Patience is a requirement for this recipe, even though we skip baking! The absolute minimum chill time for this refrigerator cheesecake pie is six hours. I really, truly advise letting it chill overnight. The gelatin needs time to fully hydrate and bond everything together into that perfect sliceable structure. If you try cutting it at four hours, I guarantee you it will slump onto your plate.
Now, if you followed my tips and decided to add that splash of sweetened condensed milk along with the powdered sugar—which is a great trick for an extra-rich flavor—you might find it sets up even firmer than usual! That extra dairy helps lock everything down, so you can sometimes shave an hour off the chilling time if you’re in a huge rush. However, for the best overall consistency that still feels light and airy, overnight is always the way to go!
Serving Suggestions for Your No Bake Cheesecake
Once that beautiful no bake cheesecake finally firms up—and I mean it will be worth the wait—the final step is getting playful with toppings! Since the filling has that wonderful, bright tang from the lemon juice, we want toppings that complement that brightness rather than fighting it. I usually look for sweet-tart combinations, which really make the whole dessert sing.
My absolute favorite thing to do is grab a can of cherry pie filling—you know, the bright, glossy kind? Heat it up just slightly on the stove so it’s warm when you dollop it over the cold cheesecake. The contrast in temperature and flavor is just divine! It looks so impressive too, that vibrant color against the white filling—total potluck showstopper.
If you’re feeling more like a fresh approach, you can’t go wrong with berries. Make sure whatever you choose, you let the topping cool down a bit before putting it on, or at least use room temperature fruit. I love sprinkling fresh raspberries and blueberries right over the top just before serving. Sometimes, if I’m feeling extra fancy, I’ll add a tiny bit of finely grated lemon zest over the berries for extra pop. It really drives home that fresh, summery feel that makes this summer cream cheese dessert so irresistible!
Another simple trick I use, especially if I’m serving it straight from the pie plate, is just a very light drizzle of high-quality caramel sauce, maybe mixed with a touch of salt if you like that salted caramel vibe. It gives a deeper, richer flavor dimension without overwhelming the cream cheese base. See? You don’t need three layers of filling to make this dessert look and taste like you spent all day on it!
Storing and Keeping Your Simple Dessert Fresh
Since this is one of those wonderful desserts that doesn’t see any oven time, keeping it happy in the fridge is key to maintaining that perfect, slightly airy structure. Once your no bake cheesecake is totally set—and I mean *totally* set after that long chill—you need to handle it with care to keep it tasting fresh for days.
The most important thing is covering it up! You don’t want it absorbing any weird smells from savory leftovers in the back of the fridge. I usually take a sheet of plastic wrap and lightly lay it over the surface of the cheesecake. Don’t press the plastic right down onto the filling, though, especially if you put any soft toppings on it like whipped cream or fresh fruit! If you haven’t topped it yet, you can press the wrap right against the surface for the best protection. If you did add pie filling or fruit, just tent the plastic loosely over the top of the pie plate.
How long does this simple dessert last? Honestly, if you’ve kept it well-covered and it’s staying cold, it’s usually fantastic for three to four days. The gelatin holds up really well. If you notice the crust starting to get a tiny bit soft on day four, that’s totally normal—the moisture transfers. If you want it to look brand new on day three, take it out about 15 minutes before you slice it. It comes to the optimal consistency then: firm enough to hold its shape, but softly yielding when you cut into it. It doesn’t need any reheating at all, obviously, since it’s designed to be served ice cold. It’s just perfect that way!
Frequently Asked Questions About No Bake Cheesecake
It’s so natural to have a few questions when you’re diving into a recipe that doesn’t involve the oven! I know I did when I first started experimenting with creating that perfect fridge cheesecake. People often want to know how to swap ingredients around, but the main concern I hear is about that magical setting agent. Don’t hesitate to reach out if I missed anything—you can always send a message over through our contact page!
Can I make this no bake cheesecake without gelatin?
That’s a really common question when folks are trying to avoid a less common item! My honest answer is yes, you *can* try it, but you need to adjust your expectations for the final texture of your no bake cheesecake. If you skip the gelatin completely, you won’t get that reliably sliceable, classic structure. Instead, you’ll end up with something much softer—think thicker, luscious cream cheese dip or a very dense mousse that you probably’d need to serve with a spoon rather than a pie server.
The gelatin is absolutely crucial for turning this mixture into a sturdy gelatin-set cheesecake that holds its shape when sliced, which is what makes it such a great picnic dessert. If you absolutely must omit it, try adding a little extra cold heavy cream or even a small amount of softened white chocolate chips melted right into the cream cheese base—it might help firm things up slightly, but it won’t act exactly like the gelatin does.
How long does this easy no bake cheesecake last in the fridge?
Because this is a chilled dessert and uses fresh dairy, we can’t really let it sit out forever, but luckily, it stays quite nice in the refrigerator! If you’ve followed all the steps correctly and kept it covered tightly, this easy no-bake cheesecake usually holds up beautifully for about three to four days. That’s plenty of time to enjoy leftovers! Make sure it’s stored somewhere consistently cold, and if you added fresh fruit on top, try to eat that section first, as fresh fruit tends to soften faster than the filling itself.
Estimated Nutritional Profile for This No Bake Cheesecake
Now, I always try to remember that dessert should be enjoyed! We focus here on wholesome ingredients that give us fantastic flavor, but I know some of you are still curious about the numbers. Keep in mind these are just estimates based on the standard measurements I use for this recipe when serving an 8-slice pie. If you cut smaller pieces, your numbers will look quite a bit better, trust me!
For one slice of this delicious, creamy treat, you’re looking at approximate numbers like this:
- Serving Size: 1 slice
- Calories: 350
- Sugar: 28g
- Sodium: 210mg
- Fat: 24g (with about 14g of that being saturated fat—hello, butter and cream cheese!)
- Carbohydrates: 30g
- Protein: 5g
Because we rely on simple dairy products and real graham crackers, the profile stays fairly classic. This isn’t a low-sugar dessert, obviously, but it’s made with high-quality primary flavors that taste genuinely good! Enjoying one of these perfectly set slices of no bake cheesecake is always worth it, especially when you know exactly what went into making it without all those strange stabilizers you find in store-bought versions.
Share Your Simple Dessert Creations
Well, that’s it! You’ve successfully navigated the waters of making a truly incredible, super-creamy no bake cheesecake without ever having to panic about opening the oven door. I really hope this recipe brings you some joy and helps you spend less time worrying in the kitchen and more time relaxing—that’s the whole point of Mia’s Meals, after all!
Now, I absolutely cannot wait to see what you do with your creation! Did you stick to the classic graham cracker base, or did you try out the vanilla wafers I mentioned? I love hearing about your twists! Please, if you made this easy no-bake cheesecake, head back here and drop a rating for me. Five stars if it set perfectly! If you put some awesome toppings on yours—maybe you went for a fresh mango salsa instead of standard pie filling—snap a picture and tag me on social media! Seeing your versions makes my day.
Don’t forget, as you continue using recipes from the site, you can always check out our Privacy Policy if you have any questions about how we handle things here. Happy chilling, everyone! Let me know how that lemon tang hits you!
PrintEasy No-Bake Cheesecake
Make a creamy, satisfying cheesecake without turning on your oven. This simple refrigerator cheesecake sets up quickly for a perfect summer dessert.
- Prep Time: 20 min
- Cook Time: 0 min
- Total Time: 6 hr 20 min
- Yield: 8 servings 1x
- Category: Dessert
- Method: No-Bake/Chilling
- Cuisine: American
- Diet: Vegetarian
Ingredients
- 1 1/2 cups graham cracker crumbs
- 1/4 cup granulated sugar (for crust)
- 6 tablespoons unsalted butter, melted
- 2 (8 ounce) packages cream cheese, softened
- 1 cup powdered sugar
- 1 teaspoon vanilla extract
- 1/4 cup lemon juice, fresh squeezed
- 1 cup heavy whipping cream, cold
- 1 packet (about 2 1/4 teaspoons) unflavored gelatin
- 1/4 cup cold water
Instructions
- Combine graham cracker crumbs and 1/4 cup granulated sugar in a bowl. Pour in melted butter and mix until the crumbs are evenly moistened.
- Press the crumb mixture firmly into the bottom and slightly up the sides of a 9-inch pie plate. Place the crust in the freezer while you prepare the filling.
- In a small bowl, sprinkle the gelatin over the cold water. Let it sit for 5 minutes to bloom.
- In a large bowl, beat the softened cream cheese until smooth. Gradually beat in the powdered sugar and vanilla extract until fully combined.
- Beat in the lemon juice.
- In a separate, clean bowl, whip the cold heavy whipping cream until stiff peaks form. Set aside.
- Gently heat the bloomed gelatin mixture in the microwave for about 10 seconds until it is completely liquid and clear. Do not boil.
- Slowly pour the liquid gelatin into the cream cheese mixture while mixing on low speed. Mix until just combined.
- Gently fold the whipped cream into the cream cheese mixture until no streaks remain.
- Pour the filling into the chilled crust. Smooth the top with a spatula.
- Cover the cheesecake loosely with plastic wrap and refrigerate for at least 6 hours, or preferably overnight, until firm.
- Before serving, top with fruit pie filling or fresh berries if desired.
Notes
- For a firmer set, you can add 1/4 cup of sweetened condensed milk along with the powdered sugar.
- If you do not have graham crackers, vanilla wafers or shortbread cookies work well for the crust.
- Chill time is necessary for the gelatin to set the filling properly.
Nutrition
- Serving Size: 1 slice
- Calories: 350
- Sugar: 28
- Sodium: 210
- Fat: 24
- Saturated Fat: 14
- Unsaturated Fat: 10
- Trans Fat: 0.5
- Carbohydrates: 30
- Fiber: 1
- Protein: 5
- Cholesterol: 75