
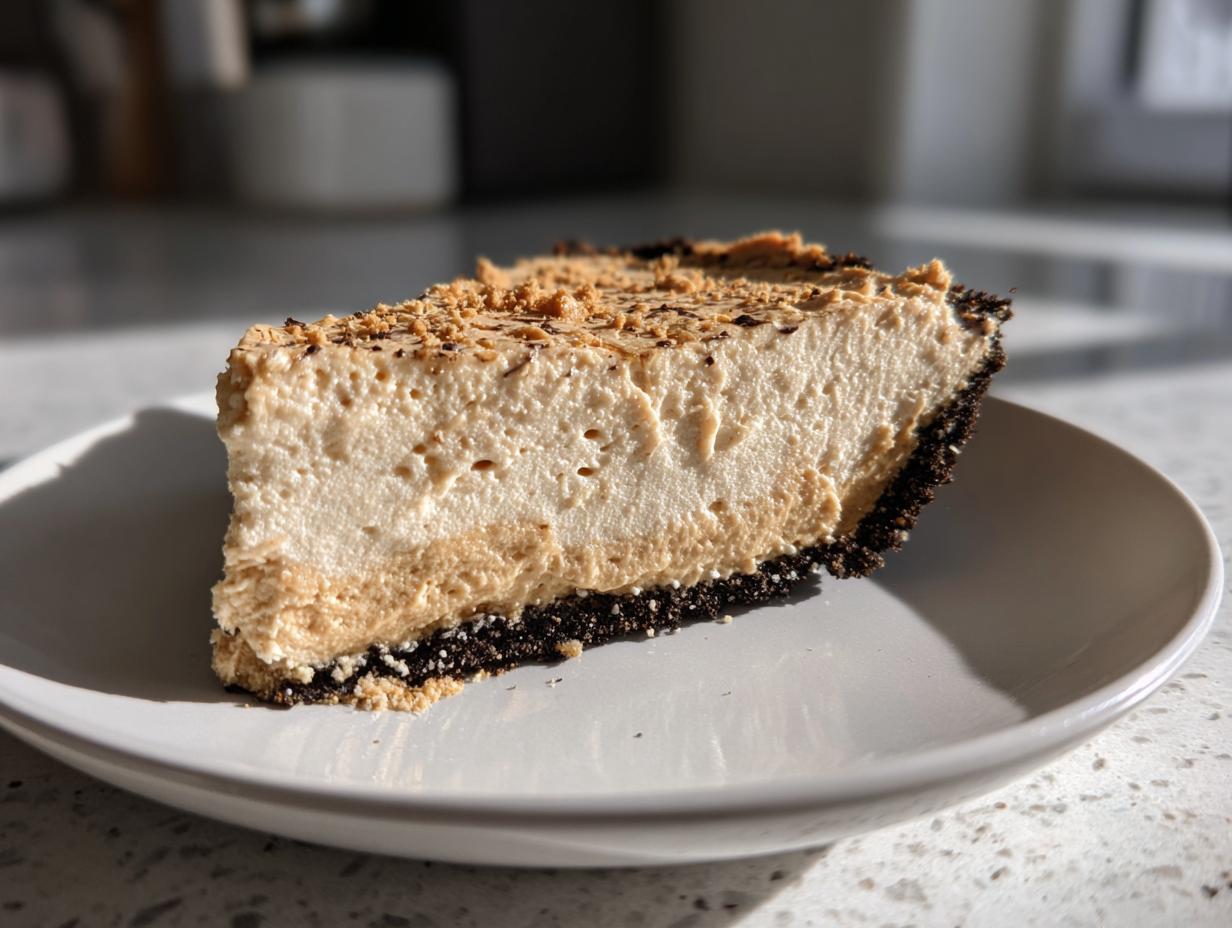
When the summer heat hits, or when you’re just staring down a busy weeknight and need a guaranteed crowd-pleaser, turning on the oven is simply not an option. That’s where my mission at Mia’s Meals really shines! I promised myself I would find the most straightforward paths to the comforting American classics we all love, without all the fuss. And trust me, this recipe delivers on that promise tenfold. Forget heavy, complicated desserts; today, we’re making what I honestly believe is The Best Fluffy No Bake Peanut Butter Pie you will ever serve. It’s creamy, it comes together in minutes, and it tastes like pure happiness. If you’re looking for gorgeous dessert recipes that don’t require a single minute of baking, you’ve found your new obsession.
- Why This No Bake Peanut Butter Pie Is Your New Favorite Easy Peanut Butter Pie
- Gathering Ingredients for Your Creamy Peanut Butter Filling
- Step-by-Step Instructions for the No Bake Peanut Butter Pie
- Tips for the Best No Bake Peanut Butter Pie Success
- Make Ahead Dessert and Storage for Your No Bake Peanut Butter Pie
- Serving Suggestions for This Indulgent Peanut Butter Treat
- Frequently Asked Questions About Making a No Bake Peanut Butter Pie
- Nutritional Estimates for This Fluffy Pie Recipe
- Share Your No Bake Peanut Butter Pie Creations
Why This No Bake Peanut Butter Pie Is Your New Favorite Easy Peanut Butter Pie
What I love most about this recipe is that it checks every single box for a busy home cook. It’s truly an Easy Peanut Butter Pie that you can whip up when company shows up unexpectedly. When I looked at what everyone is saving online, the key was speed and that incredible texture. This falls right into that sweet spot of Quick Summer Desserts because honestly, who wants to fire up the oven when it’s 90 degrees out?
As I developed this for Mia’s Meals, reliability was huge. I tested this filling repeatedly to make sure it sets perfectly every single time, so you can count on it for game days or holiday prep without a hitch. It’s the definition of dependable comfort food.
Fluffy Pie Recipe Texture Guaranteed
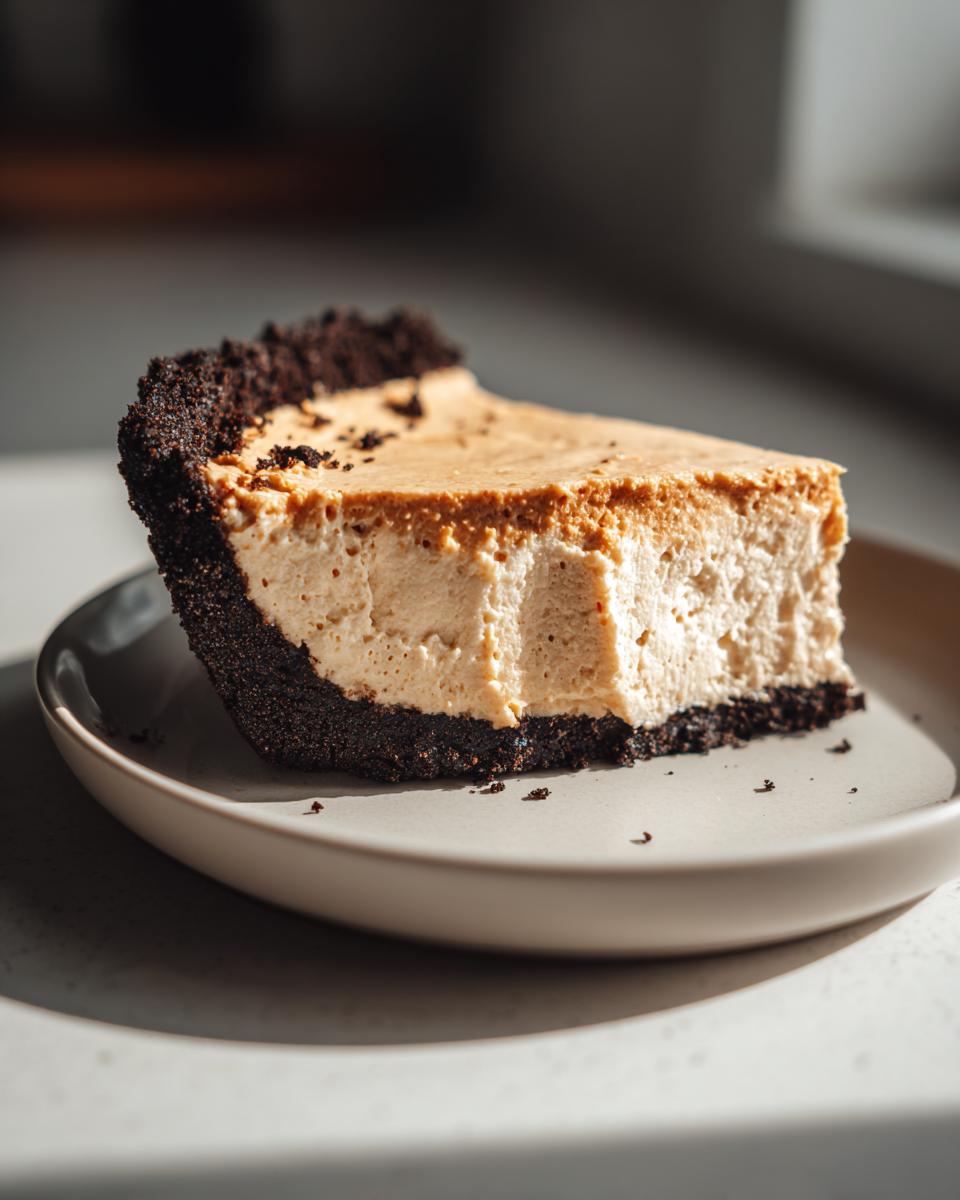
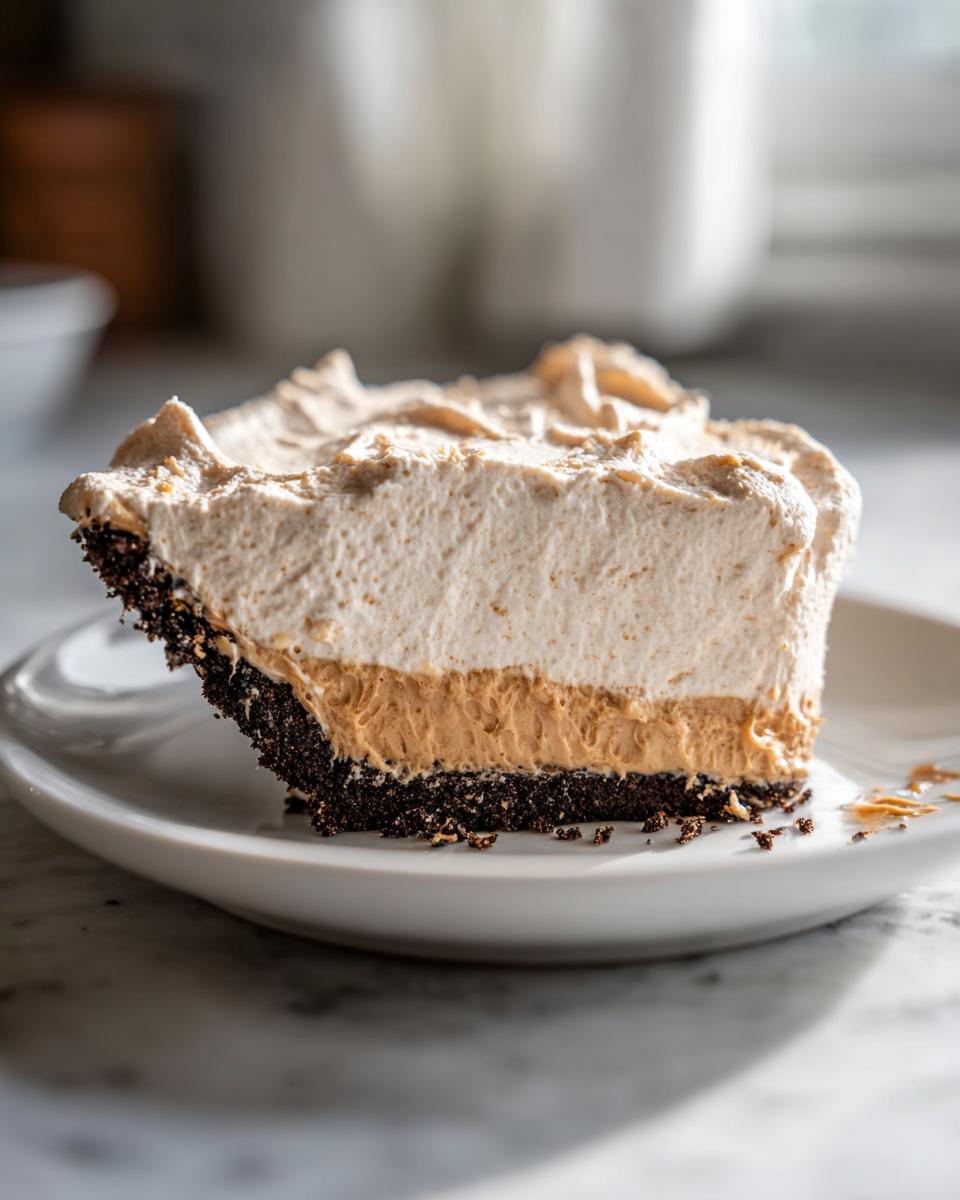
We aren’t going for dense here—we want velvety and light! The secret sauce, which I show in detail below, involves whipping the heavy cream separately and treating it like spun gold. You gently fold it into the cream cheese base. This technique traps all that air, giving you that wonderful, melt-in-your-mouth fluffiness that everyone raves about. Heavy fillings are fine sometimes, but for a pure peanut butter dream, fluffy is the way to go.
Customizable Crust Options for Your No Bake Peanut Butter Pie
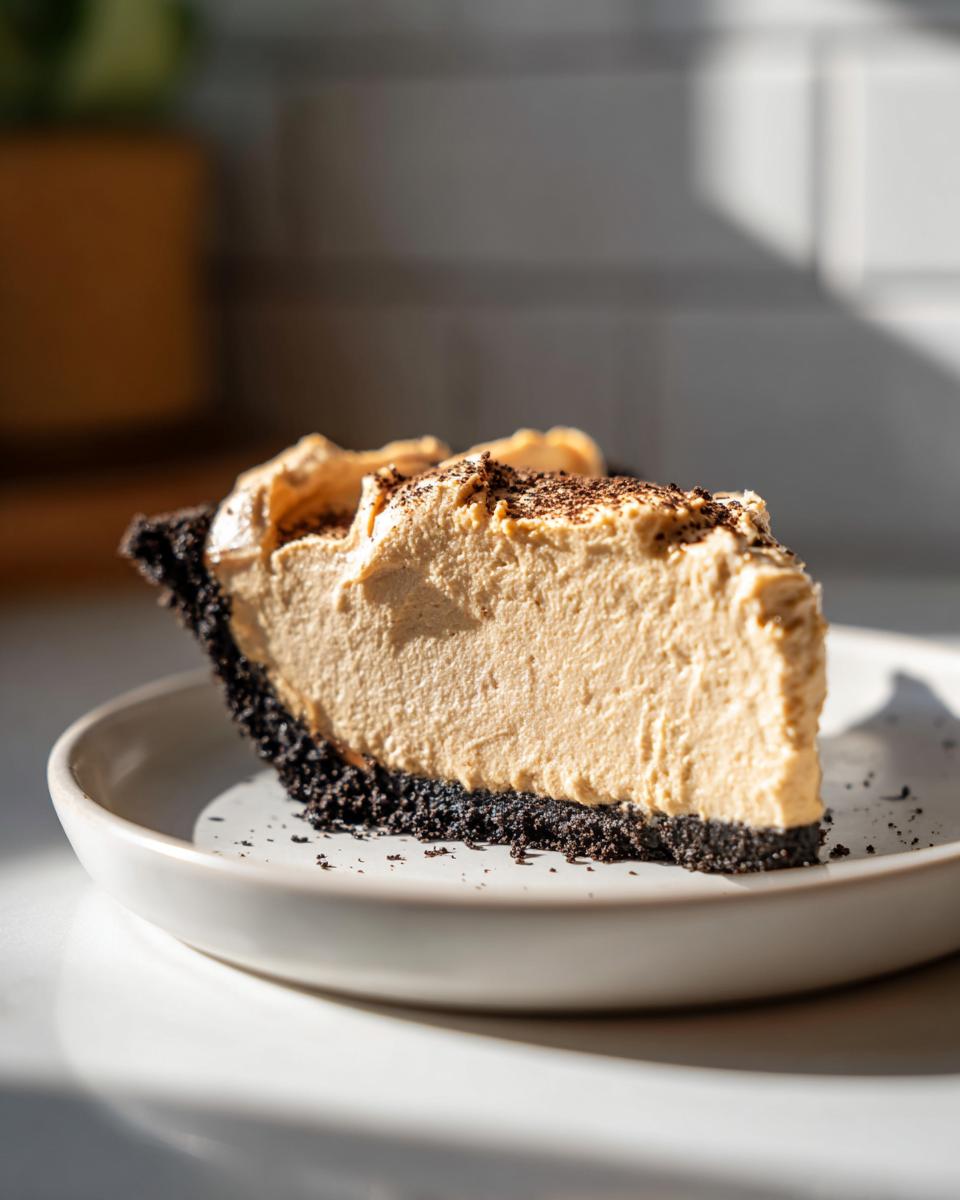
This is where you get to customize this amazing pie! Whether you are a die-hard chocolate fan or a classic purist, this recipe works. You can easily make an Oreo Crust Pie—and who doesn’t love that rich chocolate crunch? Or, stick to the traditional Graham Cracker Crust Pie. It takes two minutes either way, and the filling stays exactly the same. It’s the perfect base for your next impromptu dessert!
Gathering Ingredients for Your Creamy Peanut Butter Filling
Okay, let’s talk about what you need! Because it’s a no bake peanut butter pie, we’re keeping this list short and sweet. No weird specialty store items here—just pantry staples that make magic happen. This whole filling comes together so quickly, but there’s one tiny critical thing you need to remember: the cream cheese has to be soft! If it’s cold, you’re going to get lumps, and we want that beautiful Creamy Peanut Butter Filling, not chunky peanut butter filling, right?
For the best results in your filling, make sure your heavy whipping cream is ice-cold right out of the fridge. You can check out my favorite quick savory snacks while you wait for your ingredients to come to temp if you need something to nibble on!
Here is exactly what we need:
- 1 1/2 cups crushed graham crackers OR 24 Oreo cookies (about 2 cups crumbs)
- 1/2 cup (1 stick) unsalted butter, melted
- 1 cup creamy peanut butter
- 8 ounces cream cheese, softened
- 1 cup powdered sugar
- 1 teaspoon vanilla extract
- 1 1/2 cups heavy whipping cream, cold
- Optional Topping: Chocolate sauce or peanut butter cups
Step-by-Step Instructions for the No Bake Peanut Butter Pie
This is the fun part where we go from delicious ingredients to one heavenly no bake peanut butter pie! Remember, this entire process is oven-free, which keeps the kitchen cool—perfect for those quick summer desserts. As I set out to create my staple no bake chocolate eclair cake, I realized that simplicity is king, and that absolutely applies here too. I’ve broken this down into three simple phases so you don’t miss a beat. Pay close attention to the final fold in the filling; that’s what earns us that fluffy texture everyone saves this recipe for!
Preparing the Crust Base for Your No Bake Dessert Recipes
First up, the base! Whether you went with the graham crackers or crushed up those Oreos, combine your crumbs really well with the melted butter. You want it looking like nice, wet sand reminiscent of a good base for any of my favorite no bake dessert recipes. Press that mixture firmly into your 9-inch pie plate. I really push it up the sides—don’t be gentle! We need a sturdy shell for this rich filling. Once it’s all packed down tight, toss it straight into the freezer. You want that crust chilled and set hard while you work on the filling, so give it at least 15 minutes in there.
Creating the Fluffy Pie Recipe Filling
Now for the star! Grab your stand mixer or a big bowl. Beat the room-temperature cream cheese until it’s absolutely smooth—this is key for that velvety texture. Then, add your peanut butter, powdered sugar, and vanilla. Mix that until it’s just combined. Now, here’s where the magic happens for our fluffy pie recipe: In a totally separate, grease-free bowl, whip that cold heavy cream until stiff peaks form. Don’t stop early! Once that cream is ready, take about a third of it and stir it into your peanut butter base—just to lighten it up. Then, gently, I mean *gently*, fold in the rest of the whipped cream. Use a rubber spatula to fold over and turn the batter until no white streaks remain. Do NOT overmix, or you’ll deflate all that air!
Setting and Serving the No Bake Peanut Butter Pie
Carefully spoon that gorgeous, airy filling into your chilled crust. Smooth the top gently with your spatula. Now, this part requires patience, but it is essential for the best result. This pie needs to chill for a minimum of 4 hours in the refrigerator to fully set up that luscious filling. If you’re in a real rush, you can pop it into the freezer for about an hour to help it firm up faster. Right before you serve it—and this is when you decide if you want to be decadent—drizzle on some chocolate sauce or sprinkle on some chopped peanut butter cups. Slice it cold and watch it disappear!
Tips for the Best No Bake Peanut Butter Pie Success
Even though this is one of my simplest No Bake Dessert Recipes, a couple of little tricks I learned while perfecting this pie ensure it lands perfectly every time. I’ve tried every shortcut out there, and avoiding tiny errors saves so much heartache later! Remember, we want that melt-in-your-mouth experience, not a sad, soupy mess.
If you’re planning on chilling this for a while, keep it covered tightly in plastic wrap, but don’t press the wrap onto the filling, or it can stick. These little pointers are what turn a good dessert into a memorable one, especially when you’re making this for a potluck and want everyone asking for the recipe.
Achieving the Perfect Cream Cheese Peanut Butter Pie Base
Let’s talk temperature, because this is huge for that supremely smooth base you find in a great Cream Cheese Peanut Butter Pie. Your cream cheese absolutely must be softened—I mean, room temperature soft. If it’s cold, you’ll spend forever mixing, and you’ll end up with little cheese pockets. Also, use peanut butter that isn’t straight from the fridge. Room temperature peanut butter mixes seamlessly with the sugar and cheese. It truly makes all the difference in getting that rich, velvety mouthfeel we are aiming for here. If you want to see another incredibly smooth, no-fuss recipe, check out my thoughts on making easy chocolate mousse recipes!
Make Ahead Dessert and Storage for Your No Bake Peanut Butter Pie
This is why I love this recipe so much for planning ahead! It really is the ultimate Make Ahead Dessert. You are not fooling around when you plan your holiday baking or summer menus with this—it’s practically a game-changer for busy days. Since it’s a no bake peanut butter pie, refrigeration is mandatory, but honestly, a little time in the cold seems to deepen that salty-sweet flavor perfectly.
You absolutely must chill this for at least four hours; that’s non-negotiable for the filling to set up right. But here’s the great news: it keeps beautifully in the fridge for up to three days covered tightly. If you’re making it early for a big event or thinking of it as one of those fantastic Holiday Freezer Pies, you can freeze it too! Freeze it for about two hours to make it super firm—it cuts almost like ice cream. If you’re looking for more make-ahead genius, I use similar chilling techniques for my easy no-bake Oreo pie!
Serving Suggestions for This Indulgent Peanut Butter Treat
Now that you have this stunning, chilled wonder sitting in your fridge, how are you going to serve it? Since this is such a massive crowd-pleaser—truly one of the best Potluck Desserts you can bring because it travels so well—you want to make sure your presentation shows off that creamy texture.
The richness of peanut butter pairs wonderfully with a little acidity or a strong, dark flavor to cut through it. I often serve a small slice alongside a piping hot cup of black coffee. The bitterness just balances the sweetness so perfectly. If it’s a summer gathering, you can’t go wrong with a few fresh raspberries or some thinly sliced strawberries scattered around the plate. They add a beautiful pop of color too!
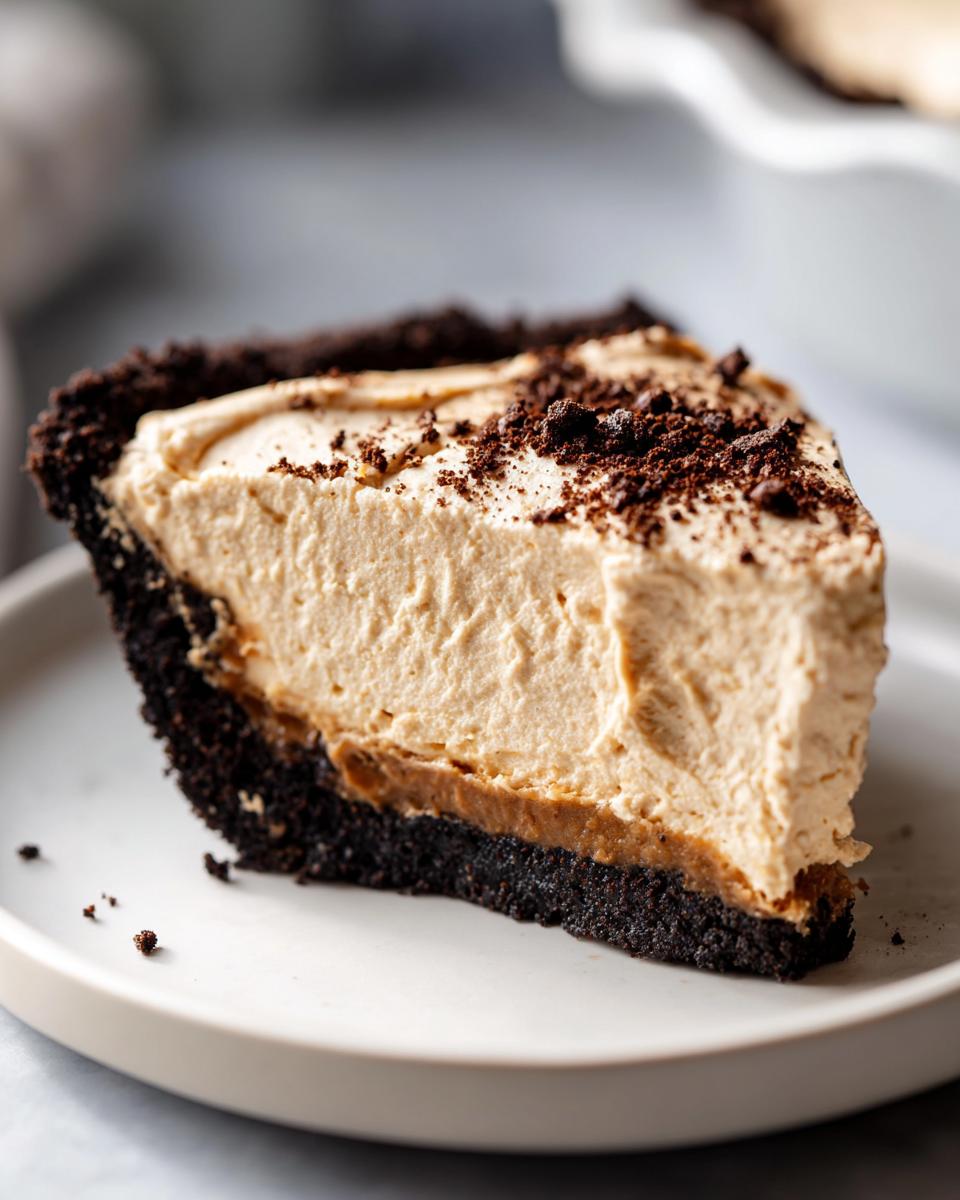
If you want to lean into the decadence, this is where we can turn it into a No Bake Chocolate Peanut Butter Pie variation! Drizzle a thick webbing of ganache or melted dark chocolate over the top just before slicing. It looks incredibly professional, even though you did zero actual baking. For another fun twist, try crushing up some salty pretzels and sprinkling those on top along with the chocolate—the salty crunch against the smooth filling is addictive. If you need some ideas for what to serve alongside this later, check out my easy breakfast ideas for something simple the next morning!
Frequently Asked Questions About Making a No Bake Peanut Butter Pie
It’s funny; even with the most straightforward no bake peanut butter pie recipe, people always have questions! That’s great, because it means you care about getting it perfect, and that’s what we do here at Mia’s Meals. I’ve gathered up the most common things folks ask me when they’re trying this out for the first time, especially when they are relying on it as a totally dependable make ahead dessert.
Can I use crunchy peanut butter in this no bake peanut butter pie?
Oh, you absolutely *can* use crunchy peanut butter if that’s what you have on hand or what you prefer! But I have to give you my honest opinion: it changes the entire texture we’re aiming for. This recipe is famous for that unbelievably smooth, velvety filling because we start with creamy. If you use crunchy, the texture won’t be as uniform, and you’ll lose some of that signature fluffiness. For the *best* experience—the one people are saving and raving about—stick to the creamy variety!
What makes this a ‘No Oven Dessert’?
This is the best part, especially when you’re looking for those Quick Summer Desserts! A true no oven dessert means zero heat is involved in setting the pie. We don’t bake the crust, and we don’t bake the filling. The crust is firmed up by chilling it in the freezer with melted butter, and the creamy filling sets completely by chilling in the refrigerator. We only use the cold for hardening—it’s brilliant, really, and it keeps your kitchen totally cool!
How far in advance can I prepare this make ahead dessert?
This pie is fantastic for making on a Friday if you are having company over on Sunday, but I do have a sweet spot for peak flavor. It is truly best enjoyed within the first 48 hours. The filling is at its most stable and fluffy texture right after that initial 4-hour chill or overnight. If you push it past three days in the fridge, the crust might start to absorb just a little too much moisture from the filling, and it loses that crisp edge. You can definitely freeze this pie—wrap it really well—but I suggest bringing it back to the fridge to thaw completely before serving for the best slice!
If you’re curious about other chilled creations, I have a wonderful creamy lemon pie recipe that uses the same principle of setting everything cold!
Nutritional Estimates for This Fluffy Pie Recipe
Now, I always stress that when you make something this indulgent—even an easy peanut butter pie—it should be treated like the wonderful dessert it is! These numbers are just a guideline, based on the standard ingredients listed. They can shift quite a bit depending on whether you use reduced-fat peanut butter or a different brand of cream cheese. Remember, every recipe here is about joy first, and perfection second!
- Serving Size: 1 slice
- Calories: 450
- Sugar: 28g
- Sodium: 250mg
- Fat: 32g
- Saturated Fat: 10g
- Carbohydrates: 35g
- Protein: 10g
If you want to see another simple topping idea, check out my post on making an easy creamy garlic sauce—totally different flavor profile, but just as quick to whip up!
Share Your No Bake Peanut Butter Pie Creations
You know, when I first started Mia’s Meals, the whole point was taking simple, satisfying comfort foods and making them doable for everyone, no matter how hectic life gets. Seeing you all bring this no bake peanut butter pie to your own tables—whether for a last-minute weeknight treat or a big holiday spread—that’s what truly makes all the recipe testing worth it!
So, once you’ve made this gorgeous, fluffy pie, I would absolutely love to hear what you thought! Did you go for the classic graham cracker crust or dive headfirst into that chocolatey Oreo crust pie? Don’t be shy; drop those thoughts in the comments below. Hearing about your experiences helps me keep creating recipes that genuinely fit into your busy realities. If you’ve read about other versions, like the one on Sara Flavors, I’d be so curious to hear how this creamy version stacks up for you!
If you loved how easy this was and it saved your dessert game, please, please consider giving it a 5-star rating right underneath the recipe card! It helps other busy cooks find quick, reliable, homemade happiness, which is exactly what I want for everyone who stops by. If you’ve shared a picture of your finished pie on social media, tag me! You can always reach out directly through the contact page too if you have specific questions about making it a perfect make ahead dessert!
PrintThe Best Fluffy No Bake Peanut Butter Pie with Customizable Crust
Make this easy, creamy no bake peanut butter pie perfect for summer or holidays. You choose between a graham cracker or Oreo crust for this quick dessert.
- Prep Time: 20 min
- Cook Time: 0 min
- Total Time: 4 hr 20 min
- Yield: 8 servings 1x
- Category: Dessert
- Method: No Bake
- Cuisine: American
- Diet: Vegetarian
Ingredients
- 1 1/2 cups crushed graham crackers OR 24 Oreo cookies (about 2 cups crumbs)
- 1/2 cup (1 stick) unsalted butter, melted
- 1 cup creamy peanut butter
- 8 ounces cream cheese, softened
- 1 cup powdered sugar
- 1 teaspoon vanilla extract
- 1 1/2 cups heavy whipping cream, cold
- Optional Topping: Chocolate sauce or peanut butter cups
Instructions
- Prepare the crust: If using graham crackers, crush them finely. If using Oreos, remove the filling and crush the cookies.
- Mix the crust crumbs with the melted butter until evenly moistened. Press the mixture firmly into the bottom and up the sides of a 9-inch pie plate. Place the crust in the freezer while you prepare the filling.
- Make the peanut butter filling base: In a large bowl, beat the creamy peanut butter and softened cream cheese together until smooth. Add the powdered sugar and vanilla extract, mixing until fully combined.
- In a separate, clean bowl, whip the cold heavy whipping cream until stiff peaks form.
- Gently fold the whipped cream into the peanut butter mixture until no streaks remain and the filling is light and fluffy. Do not overmix.
- Spoon the fluffy peanut butter filling into the chilled crust, spreading it evenly.
- Chill the pie in the refrigerator for at least 4 hours, or until firm. For faster setting, you can freeze it for 1-2 hours.
- Before serving, top with chocolate sauce or chopped peanut butter cups, if desired. Slice and serve cold.
Notes
- For an Oreo crust, you do not need to add extra sugar to the crumbs.
- If you prefer a richer, denser filling, substitute half of the heavy whipping cream with 8 ounces of thawed, softened whipped topping (like Cool Whip).
- This make ahead dessert keeps well in the refrigerator for up to 3 days.
Nutrition
- Serving Size: 1 slice
- Calories: 450
- Sugar: 28
- Sodium: 250
- Fat: 32
- Saturated Fat: 10
- Unsaturated Fat: 22
- Trans Fat: 0
- Carbohydrates: 35
- Fiber: 2
- Protein: 10
- Cholesterol: 45