
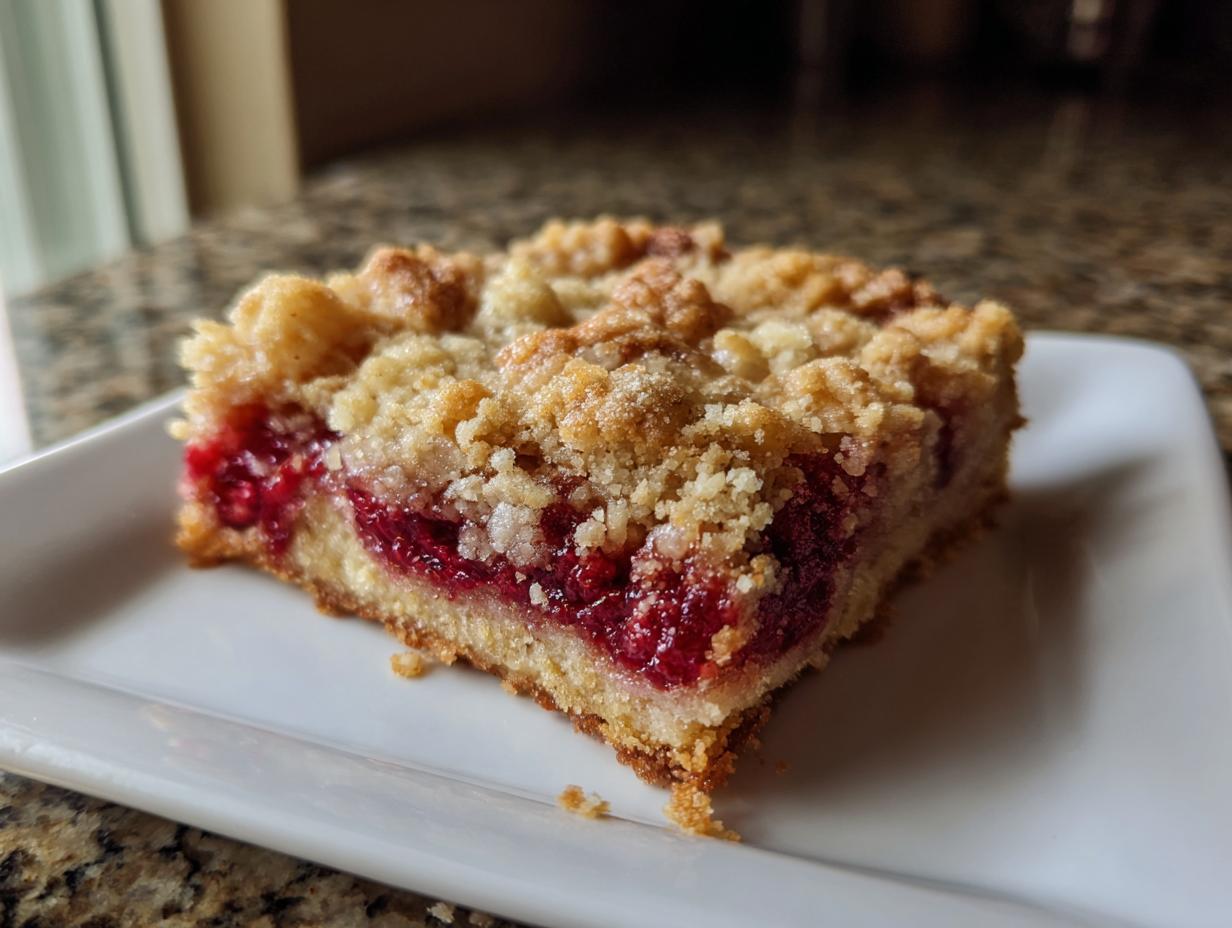
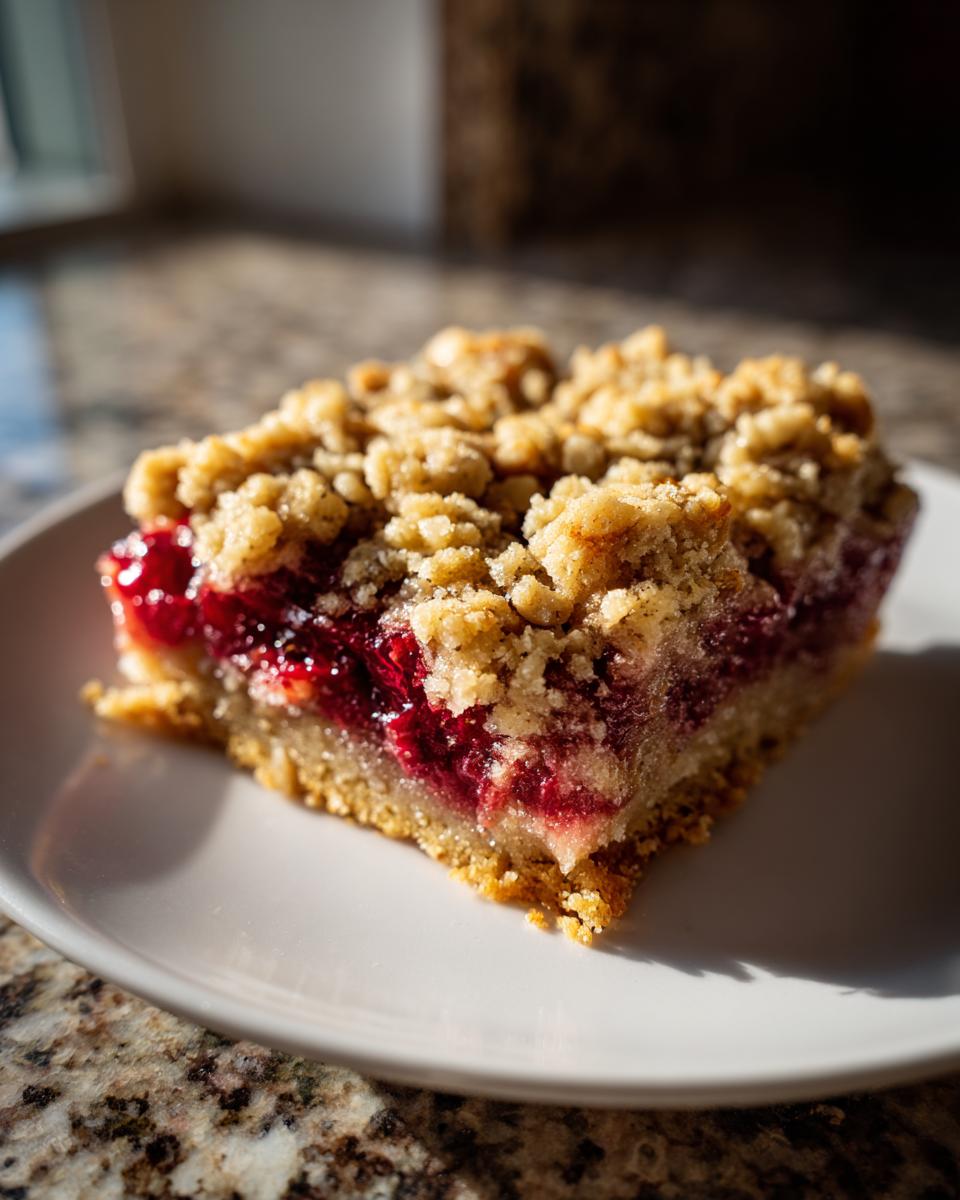
Oh my gosh, you know how sometimes you just can’t decide between a soft, chewy cookie and that gorgeous, buttery crunch of a fruit crumble? Well, friends, I solved that dilemma for you! I am so excited to finally share these brown butter raspberry crumble cookies. Seriously, this recipe nails the texture contrast you didn’t even know you were missing. We’re talking about a rich, deeply flavored cookie bar base topped with a crisp, decadent crumble. It’s basically my mission here at Mia’s Meals—taking those comforting, classic flavors and stripping away the fuss to give you something truly special and dependable. If you love bakery-style cookies that pack a flavor punch without needing to stand over the oven all day, you’ve found your new favorite dessert!
If you’re curious about our philosophy for simplifying the kitchen, you can always read a bit more about me over at my story here. But right now, let’s talk butter and berries!
- Why You Will Love These Brown Butter raspberry crumble cookies
- Ingredients for the Ultimate raspberry crumble cookies
- Step-by-Step Instructions for raspberry crumble cookies
- Tips for Perfect Chewy Crumble Topping Cookies
- Ingredient Notes and Substitutions for raspberry crumble cookies
- Storage and Reheating Instructions for Homemade raspberry cookie bars
- Variations on the raspberry crumble cookies
- Frequently Asked Questions About raspberry crumble cookies
- Sharing Your Brown Butter Raspberry Cookies
Why You Will Love These Brown Butter raspberry crumble cookies
I know you’re busy, so let’s get straight to why these need to be in your calendar this week. These raspberry crumble cookies aren’t just another dessert; they are total crowd-pleasers that simplify your baking life. You won’t regret trying this one!
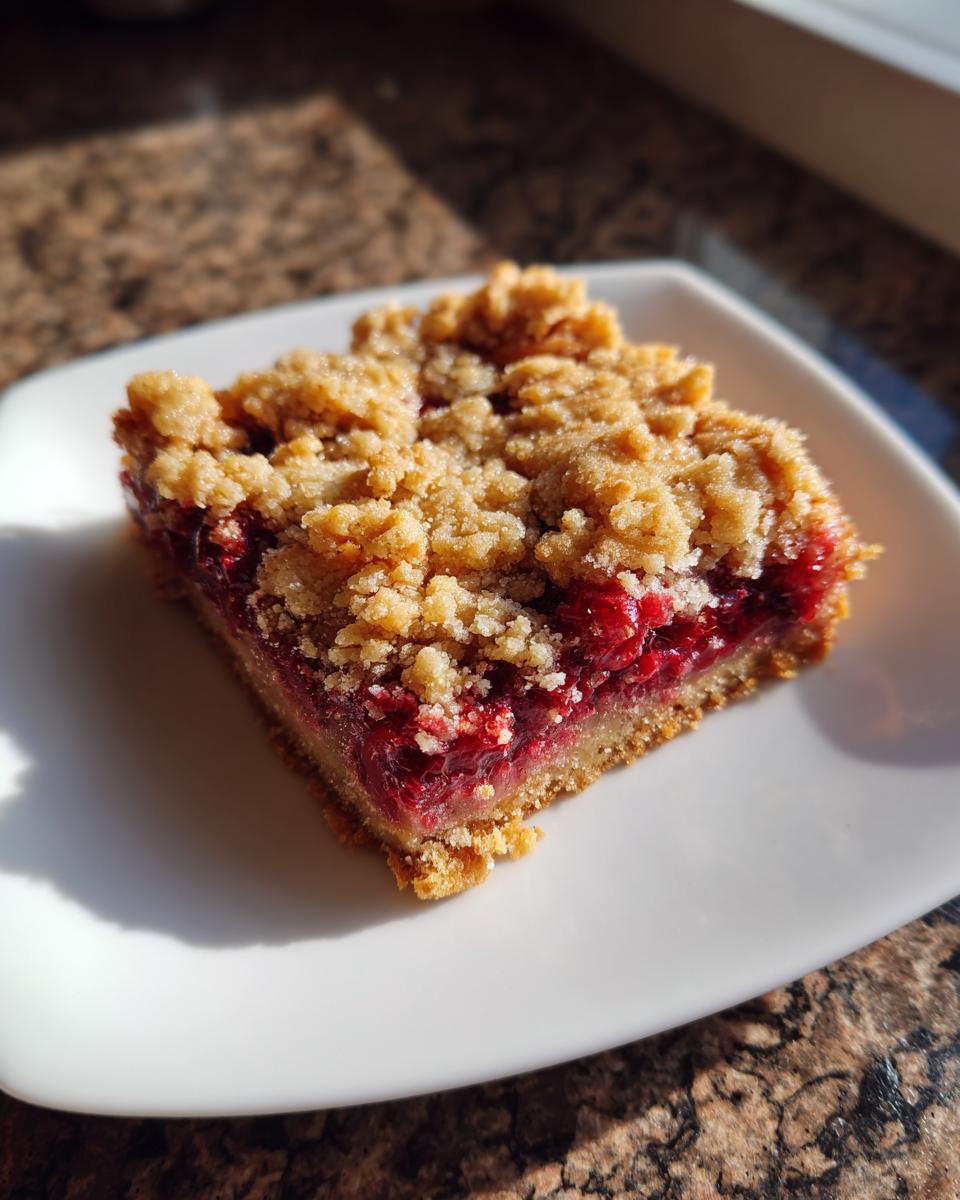
- The Texture Magic: You get that perfect snap from the buttery topping followed immediately by a gorgeously chewy base studded with warm raspberries.
- Flavor Boost: Browning the butter first adds this deep, almost toffee-like nuttiness that vanilla extract just can’t touch. Wow!
- Easy Bar Format: Everything bakes right in one pan! No chilling dough, no rolling individual cookies—just press and top.
- Freezer Friendly: They keep their texture well, which means you can make a huge batch and have dessert ready for days.
Ingredients for the Ultimate raspberry crumble cookies
Okay, precision matters here, especially with the butter! Since we are browning it, it shrinks a little, so measure carefully before and after browning, if you are worried. But trust the process—the brown butter is the backbone of these amazing raspberry crumble cookies. Like any good family recipe, we break down the components so you know exactly where everything goes.
For the Chewy Cookie Base and Raspberry Filling
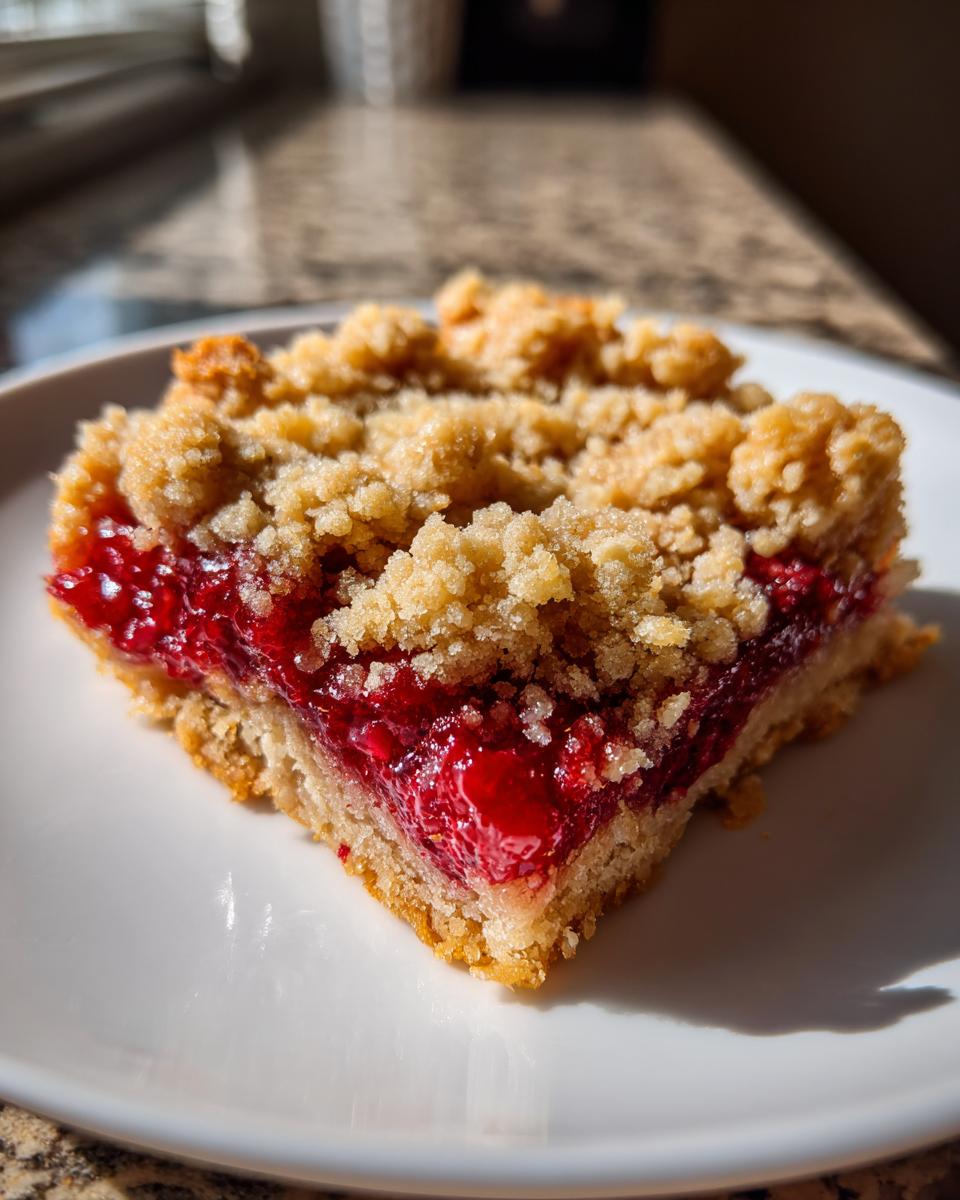
This is where all that deep, caramelized flavor comes from. And don’t skip the optional jam; it really makes the raspberry pockets sing!
- 1 cup (2 sticks) unsalted butter, browned and cooled slightly (We’ll show you how to do this below!)
- 1 cup packed light brown sugar
- 1/2 cup granulated sugar
- 2 large eggs
- 1 teaspoon vanilla extract
- 2 1/2 cups all-purpose flour
- 1 teaspoon baking soda
- 1/2 teaspoon salt
- 1 cup fresh or frozen raspberries (I prefer frozen straight from the freezer!)
- 1/2 cup raspberry jam or preserves (Optional, but highly recommended for that extra gooey center.)
For the Crisp Crumble Topping Cookies
We want this topping to be sandy and crisp, not dense like a second crust. The cold butter is key here, so keep it chilled right until you need it!
- 1 1/2 cups all-purpose flour
- 1/2 cup brown sugar
- 1/4 cup granulated sugar
- 1/2 teaspoon salt
- 1/2 cup (1 stick) cold, cubed unsalted butter
Step-by-Step Instructions for raspberry crumble cookies
Making these raspberry crumble cookies is a little more involved than your average drop cookie, but honestly, it’s worth every minute because the payoff is huge. We break this down into four easy chunks so you can keep everything straight. Remember, baking is science, but it’s *fun* science!
Preparing the Brown Butter and Cookie Dough Base
First things first: Preheat your oven to 350°F (175°C). Get your 9×13 baking pan lined with parchment paper, leaving an overhang on the sides. This overhang is your best friend for lifting these bad boys out later! Now, for the brown butter—this is where the magic starts. Melt your butter over medium heat in a light-colored pan. Watch it carefully! You’ll see it foam up, and then those little milk solids start turning brown at the bottom. When it smells rich and nutty—like toasted hazelnuts—pull it off heat right away and let it cool down for about ten minutes.
Once slightly cooled, whisk that beautiful brown butter into the brown and white sugars until they are well blended. Beat in your eggs one at a time, followed by the vanilla. In a separate bowl, whisk your flour, baking soda, and salt. Now, here is my big warning for maintaining that chewy texture: slowly add the dry mixture to the wet, mixing only until you see just a few streaks of flour left. Seriously, stop mixing then!
Assembling the raspberry crumble cookies Layers
Take about two-thirds of that slightly sticky cookie dough and press it evenly into the bottom of your prepared pan. This is your foundation! If you’re using that optional jam for extra pockets of gooeyness, spread a nice, thin layer of it right over this base. Then, scatter those glorious raspberries—if you’re using frozen ones, toss them on straight from the freezer; don’t thaw them!
Making and Applying the Crumble Topping
For the topping, we need COLD butter. In a separate bowl, whisk your topping flours, sugars, and salt. Next, use a pastry blender or—my favorite way—your fingertips, to cut the cold, cubed butter into the dry ingredients. You’re aiming for coarse crumbs, maybe the size of small peas or large oats. You don’t want it smooth; you want texture! Sprinkle this evenly over the raspberry layer. If you have any leftover cookie dough, you can dollop that on top of the crumble for extra chewy bits, too.
Baking and Cooling for Perfect Texture
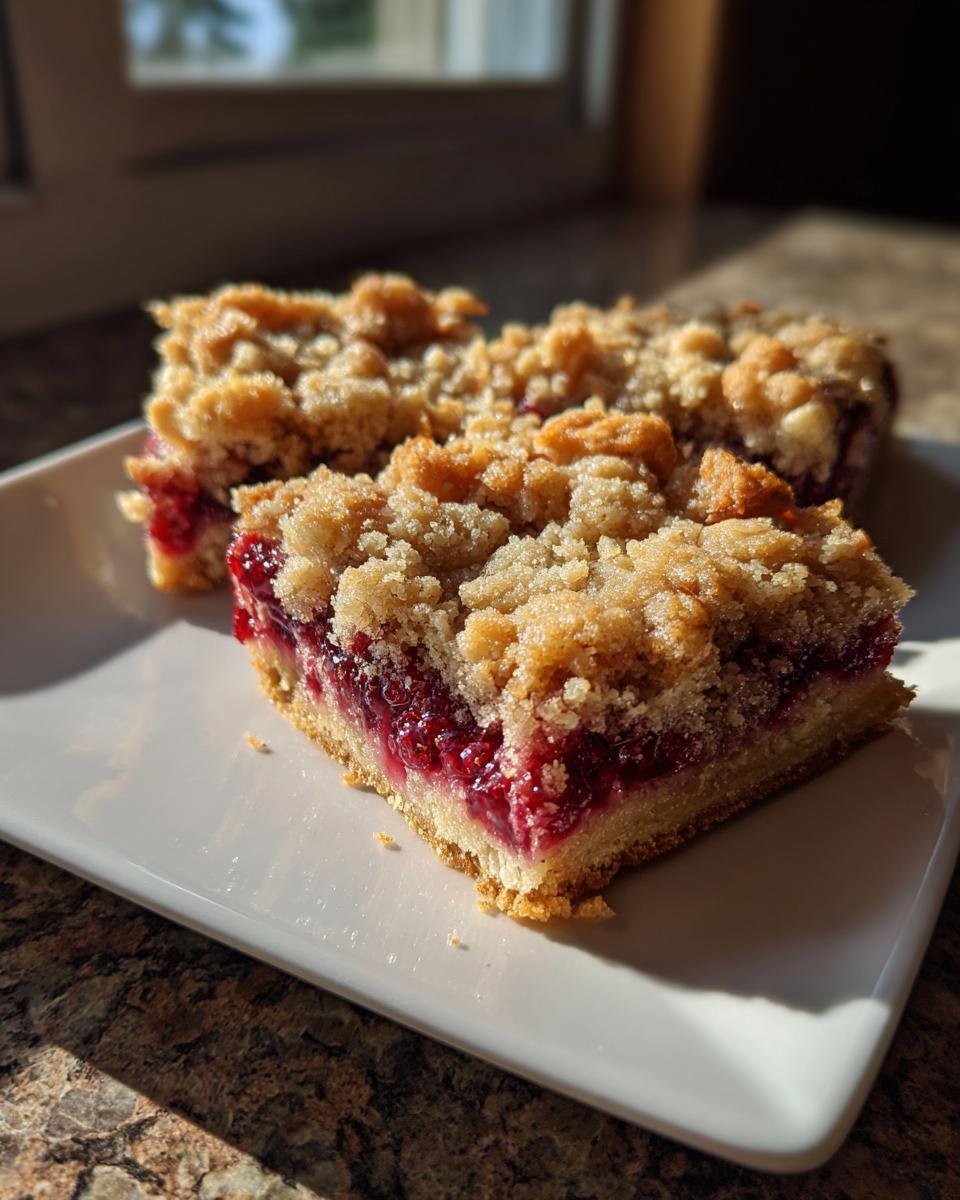
Pop this pan into that 350°F oven and bake for 30 to 35 minutes. You want the topping to look golden brown and dry, and the edges of the cookie base should look set. Resist the urge to cut them right away! The most crucial step for clean squares is letting them cool completely in the pan. I usually let them sit for at least two hours on the counter, or even chill them slightly. This allows the warm fruit juices to absorb back into the cookie structure. Then, use those parchment overhangs to lift them out and slice them into squares. You can find more cookie baking secrets over at my maple brown sugar cookie post!
Tips for Perfect Chewy Crumble Topping Cookies
Now that you’ve navigated the layers, we need to make sure the finished product is perfect, right? The number one battle with bar-style desserts like these chewy crumble topping cookies is moisture management. We want crisp topping, not soggy mush!
My biggest piece of advice here is about the fruit. If you are using frozen raspberries, please, please do not thaw them first. Toss them directly onto the dough layer—even if they look a little icy. Thawing them releases tons of liquid too early, which soaks into your cookie base before it ever has a chance to set up. That liquid just cooks right out of the fruit during baking, leaving a dry, hard cookie base.
Also, when you’re baking, look for that golden color on the crumble. If your topping is just pale, the butter hasn’t heated enough to crisp up the flour and sugar mixture. Let it sit in the oven until it looks truly baked and dry on top. When you check the middle for doneness, look for firmness. If it jiggles a lot, give it five more minutes. A little patience during that final baking stage ensures everything sets up beautifully for those perfect squares!
Ingredient Notes and Substitutions for raspberry crumble cookies
I often get questions about changing things up, and that’s totally normal! Baking is about experimentation, but with these raspberry crumble cookies, some ingredients are non-negotiable if you want that signature texture. Let’s talk fruit choice first, because that really impacts how your bars turn out.
When it comes to the raspberries, I mentioned I lean toward frozen, and it’s all about controlling the moisture level. Fresh raspberries are gorgeous when you’re eating them in July, but they release a ton of water when they cook. If you use fresh ones, make sure they are very firm, or you might end up with a slightly wetter layer. If you *must* use fresh, I suggest letting them sit on a paper towel for ten minutes before scattering them on the dough—just to wick away any surface moisture.
Now, about that jam. If you skip the jam layer (which is totally fine if you prefer less sweetness), you’re missing out on helping the cookie base stay soft underneath the fruit. The jam acts like a moisture barrier but also adds concentrated flavor. Think of it as insurance for your chewiness! If you don’t have raspberry jam, any tart purple or red fruit preserve—like blackberry or even tart cherry—works wonderfully.
Finally, the crumble topping is where you can get a little creative! If you want extra texture, you can swap out part of the flour in the topping. The original notes suggested either rolled oats or finely chopped pecans. Adding about a half-cup of those oats will give you a distinctly heartier, almost oatmeal raspberry cookie bars feel, which I love for breakfast-adjacent desserts. Pecans, on the other hand, add a richer, buttery crunch. Just make sure whatever you add is mixed in really well with the cold butter so it clumps up nicely and gets toasty in the oven!
Storage and Reheating Instructions for Homemade raspberry cookie bars
You’re never going to believe me, but these taste even better on day two! When storing your homemade raspberry cookie bars, you have to protect that beautiful crumble topping from the moisture in the cookie base and the fruit. I always use an airtight container, but here’s the trick: I place a paper towel flat on the bottom, and then another one right on top of the cooled cookie bars before sealing it.
This helps wick away any condensation and keeps the bottom layer of crumble from getting soft overnight. They sit on the counter perfectly fine for about three days. If you need to keep them longer, you can freeze them! Make sure they are completely cool, then wrap the squares tightly in plastic wrap, then foil. When you want one, just pull a square out and let it sit on the counter for about 20 minutes. Honestly, they don’t really need reheating, but a few seconds in a toaster oven will bring that crumble right back to life!
Variations on the raspberry crumble cookies
Part of the joy of baking is making a recipe truly your own, and this base formula for raspberry crumble cookies is incredibly versatile. Just because we are using raspberries today doesn’t mean we can’t grab other summer treasures for future batches! I love trying new things once I master the original, and I’ve gathered a few simple swaps that work perfectly with the brown butter base.
If raspberries aren’t quite in season, or if you just want an excuse to bake again next week, try swapping them out for blueberries! Blueberries are a bit firmer, so they hold their shape wonderfully during the bake time—great for those looking for distinct pockets of fruit. If you’re feeling real adventurous and want to lean into those summer berry cookie recipes, try tossing in some sliced, firm strawberries mixed with just a tiny bit of lemon zest. That combination really brightens up the whole bar.
Spice is another easy way to change the entire mood of the dessert. A nice hint of cardamom mixed right into the cookie base dough is fantastic with raspberries—it gives it a slightly exotic, warm aroma that just smells expensive! If you lean toward the warming spices, a small pinch (and I mean small, like 1/4 teaspoon) of cinnamon or nutmeg blended into the crumble topping also adds a lovely depth, especially if you’re serving these on a cooler evening.
If you want to see some of my other favorite ways to use seasonal fruit in cookies and bars, check out my roundup of best summer berry cookie recipes—I always keep that list updated as the seasons change!
Frequently Asked Questions About raspberry crumble cookies
I get so many emails asking about tweaks and substitutions, and that’s fantastic! It means you’re excited to bake these beauties. Here are the most common questions I get about whipping up perfect raspberry crumble cookies every single time.
Can I use other fruit besides raspberries in these cookies?
Absolutely! That foundation of brown butter cookie dough works with almost any firm fruit. If you use other berries, like firm strawberries or blackberries, you might want to toss them with maybe a teaspoon of cornstarch or coat them lightly in sugar first, just to help manage the extra moisture they sometimes release. Any thick jam works great in place of the raspberry jam layer, too—apricot or peach preserves are wonderful choices!
How do I prevent the cookie base from being too dense?
This is all about careful mixing. Remember how I stressed stopping when you still see tiny streaks of flour? That’s key. Overmixing the dough after you add the flour develops gluten, which guarantees a tough, dense cookie base. You want that chewy pull, not a bread-like texture. Also, make sure your baking soda is fresh! If your leavening agent is old, the dough won’t rise quite enough, leading to a flatter, denser result.
Can I make these as round cookies instead of bars?
Yes, you certainly can turn this into a drop cookie, but you’ll need to make a few adjustments. Since the structure relies on being pressed into a pan, if you swap it to round cookies, you should chill the dough for at least 30 minutes before scooping. You’ll drop rounded spoonfuls, and then you need to gently press a small amount of the crumble mixture on top of each dough ball before baking. Baking time will decrease significantly—probably down to 15 to 18 minutes, so keep a close eye on them!
Sharing Your Brown Butter Raspberry Cookies
And there you have it! My absolute favorite way to combine the satisfaction of a chewy cookie with the irresistible crunch of a fruit crumble. These raspberry crumble cookies really are special, aren’t they? They turn simple ingredients like butter and fresh berries into a truly memorable treat.
I truly hope you’ve enjoyed making these as much as I enjoy sharing them with you. Baking is all about connection for me, which is why I love hearing from you all! Once you’ve had a chance to cool yours down and cut into those perfect squares, please come back and leave a star rating and a comment below. Tell me which part of the recipe you loved most—was it the brown butter, or maybe the tartness of the berries?
Your feedback helps other home cooks feel confident trying new recipes, and knowing these are bringing happiness to your tables is the whole reason for Mia’s Meals. Happy baking, and I’ll see you at the next delicious adventure!
PrintBrown Butter Raspberry Crumble Cookies
Make these chewy raspberry cookie bars featuring a rich brown butter base and a crisp, buttery crumble topping for a perfect texture blend.
- Prep Time: 20 min
- Cook Time: 35 min
- Total Time: 55 min
- Yield: 24 servings 1x
- Category: Dessert
- Method: Baking
- Cuisine: American
- Diet: Vegetarian
Ingredients
- 1 cup (2 sticks) unsalted butter, browned and cooled slightly
- 1 cup packed light brown sugar
- 1/2 cup granulated sugar
- 2 large eggs
- 1 teaspoon vanilla extract
- 2 1/2 cups all-purpose flour
- 1 teaspoon baking soda
- 1/2 teaspoon salt
- 1 cup fresh or frozen raspberries (do not thaw if frozen)
- 1/2 cup raspberry jam or preserves (optional, for extra filling)
Instructions
- Preheat your oven to 350°F (175°C). Line a 9×13 inch baking pan with parchment paper, leaving an overhang for easy removal.
- To brown the butter, melt the butter in a light-colored saucepan over medium heat. Continue cooking, swirling often, until the milk solids turn brown and smell nutty. Remove from heat and let cool for 10 minutes.
- In a large bowl, whisk the cooled brown butter with the brown sugar and granulated sugar until combined. Beat in the eggs one at a time, then stir in the vanilla extract.
- In a separate bowl, whisk together the flour, baking soda, and salt. Gradually add the dry ingredients to the wet ingredients, mixing until just combined. Do not overmix.
- Press two-thirds of the cookie dough evenly into the bottom of the prepared baking pan to form the base layer.
- If using jam, spread a thin layer of raspberry jam over the cookie base. Scatter the fresh or frozen raspberries evenly over the dough layer.
- Prepare the crumble topping: In a medium bowl, combine 1 1/2 cups all-purpose flour, 1/2 cup brown sugar, 1/4 cup granulated sugar, and 1/2 teaspoon salt. Cut in 1/2 cup (1 stick) cold, cubed unsalted butter using a pastry blender or your fingers until the mixture resembles coarse crumbs.
- Sprinkle the crumble topping evenly over the raspberry layer.
- Bake for 30 to 35 minutes, or until the topping is golden brown and the edges are set.
- Let the cookies cool completely in the pan on a wire rack before lifting out the parchment paper and cutting into squares.
Notes
- For a crunchier topping, substitute 1/2 cup of the flour in the crumble mixture with rolled oats or finely chopped pecans.
- If using frozen raspberries, do not thaw them; scatter them directly onto the dough to prevent the dough from becoming too wet.
- To prevent the crumble topping from becoming soggy, bake the cookies until the center is set and the topping is visibly dry and golden.
Nutrition
- Serving Size: 1 square
- Calories: 280
- Sugar: 22
- Sodium: 150
- Fat: 16
- Saturated Fat: 10
- Unsaturated Fat: 6
- Trans Fat: 0
- Carbohydrates: 33
- Fiber: 1
- Protein: 3
- Cholesterol: 65