
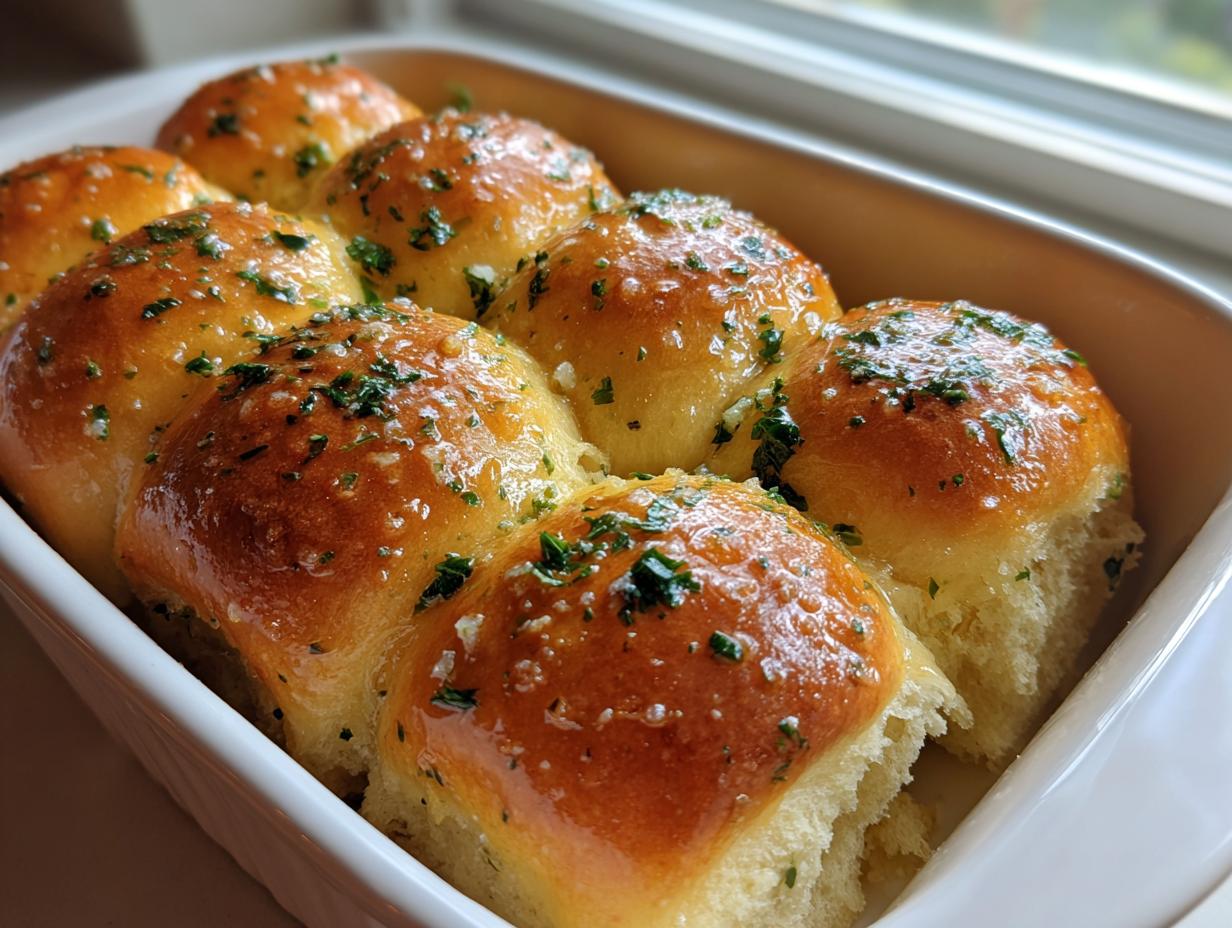
There is truly nothing better than the smell of fresh bread filling your kitchen, is there? It just shouts comfort and home. When I was growing up in Ohio, my mom always had some sort of amazing bread baking. Now that I’m raising my own family and juggling life, I needed a recipe that could deliver that same amazing quality without taking all afternoon. That’s why I worked tirelessly to perfect these Ultimate Soft & Buttery Garlic Butter Dinner Rolls. Trust me, when I tell you these rolls come together in about an hour total, you’ll be shocked at how restaurant-quality they taste. This is the exact kind of simple, dependable comfort food I started Mia’s Meals to share with busy homes like yours. For more about how I approach simplifying these classics, check out my story on my journey here.
- Why These Garlic Butter Dinner Rolls Are Your New Favorite Rolls
- Gathering Ingredients for Ultimate Soft & Buttery Garlic Butter Dinner Rolls
- Step-by-Step Instructions for Making Fluffy Homemade Rolls
- Tips for Success When Baking These Dinner Rolls
- Variations for Garlic Butter Rolls and Other Rolls
- Serving Suggestions for Your Warm Buttery Rolls
- Storage and Reheating Instructions for Soft Rolls
- Frequently Asked Questions About Homemade Rolls
- Nutritional Estimates for These Garlic Butter Rolls
- Share Your Soft & Buttery Rolls Experience
- Nutritional Estimates for These Garlic Butter Rolls
- Share Your Soft & Buttery Rolls Experience
Why These Garlic Butter Dinner Rolls Are Your New Favorite Rolls
If you’ve been searching for that perfect soft dinner rolls recipe that actually delivers on its promise, you’ve found it. Honestly, I don’t know why anyone would settle for those dry, sad rolls you find at the grocery store when you can have this incredible flavor and texture in a quick dinner rolls 1 hour timeframe! These aren’t just good; they’re the rolls that make people ask for seconds before they’ve even finished their main course. They are dependable, they always work, and they bring that wholesome, happy feeling to the table that I strive for in all my recipes. If you need more easy meals built around this level of satisfaction, hop over and check out my favorite quick weeknight dinners.
Achieving Peak Fluffiness and Softness in Homemade Rolls
The secret to the fluffiness isn’t just the yeast; it’s in the gentle preparation first. Making sure your milk is exactly the right temperature—warm, not hot—keeps the yeast happy and working its magic. Plus, using a room-temperature egg helps it integrate smoothly into the batter instead of causing the dough structure to tighten up. This careful attention early on ensures you get those wonderfully soft, pillowy results every single time you bake these amazing rolls.
The Flavor Boost: Garlic Butter for Savory Rolls
Now, let’s talk flavor because plain rolls just won’t do for my table! While I love the classic look, brushing these warm, straight-from-the-oven beauties with rich garlic butter changes everything. It immediately takes them from a simple side bread to something truly special, hitting all those savory notes you love in those popular garlic butter bread rolls. You get that gorgeous hit of fragrant garlic mingled with soft butter soaking right into the warm crust. It’s addictive!
Gathering Ingredients for Ultimate Soft & Buttery Garlic Butter Dinner Rolls
When baking any bread, especially something as essential as these dinner rolls, quality ingredients handled the right way make all the difference. I want your rolls to come out perfectly soft every time, which means paying close attention to a few key details right at the start. We aren’t using anything complicated here—we’re using pantry staples, but we need to make sure they’re ready for action before they hit the bowl. This focus on precision is key to getting that perfect texture that keeps people coming back for more. For the most amazing garlic butter base to use on these, check out my recipe for homemade garlic butter!
Dough Components for Perfect Rolls
First up, let’s talk about temperature. You absolutely must use warm milk for the yeast, aiming for between 105°F to 115°F. If it’s too hot, you kill the yeast; too cold, and it just lounges around doing nothing. You’ll need about 1 cup of that warm milk, plus the active dry yeast, sugar, water, and one large egg that really needs to come up to room temperature first, just like in my cakes! We combine those wet elements, then slowly work in the flour—we start with 4 cups and have up to 4 1/2 cups ready on the side. Trust me on this: the exact amount of flour always depends on how humid your kitchen is that day, so add that last bit slowly until the dough feels smooth, not sticky.
Crafting the Signature Garlic Butter Topping for Your Rolls
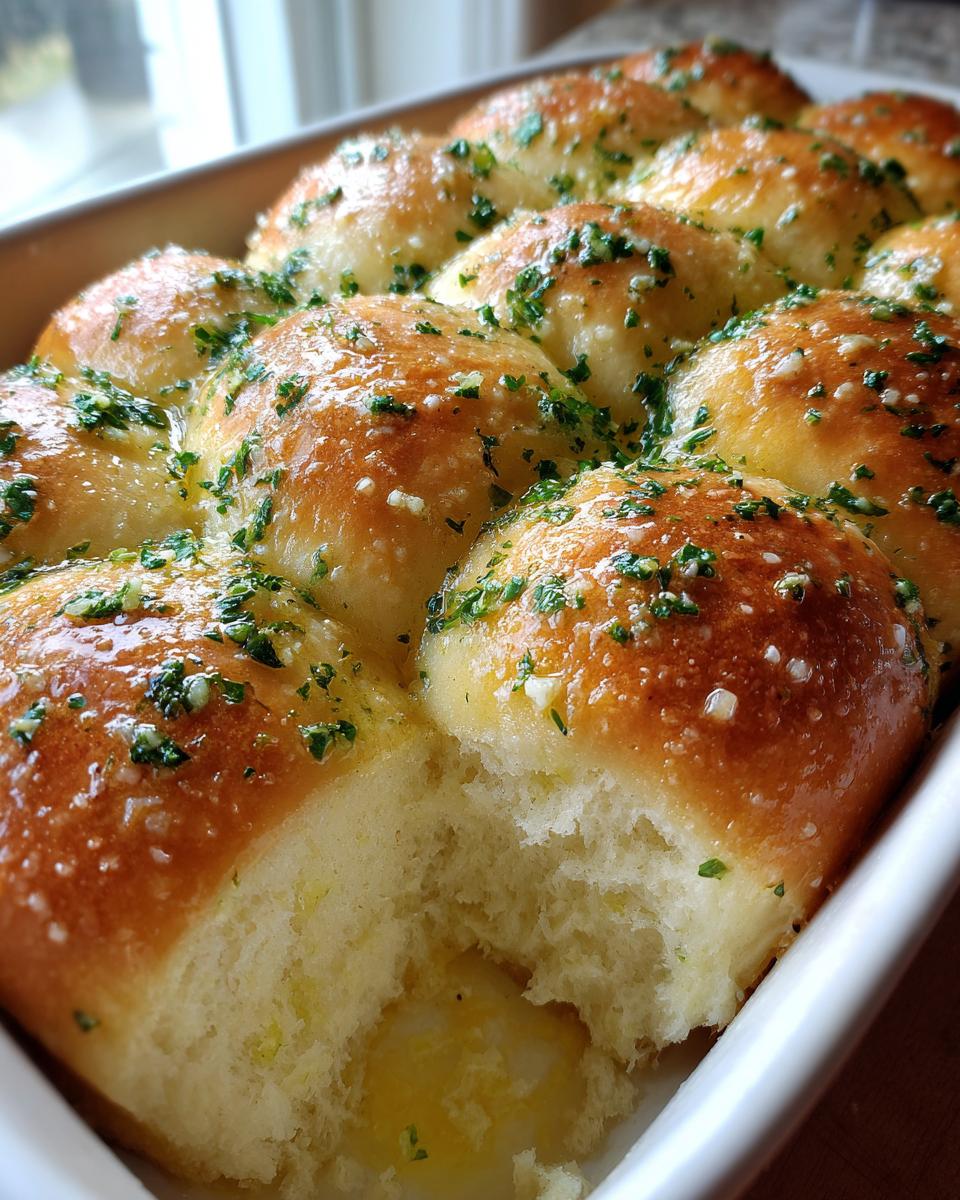
This topping is what sets these apart from the pack, making them that wonderful garlic butter bread rolls experience we crave. For this part, you’ll need a full half stick of butter—that’s 1/2 cup—and it needs to be completely softened, not partially melted, so you can mix it up easily. Into that soft butter goes your four cloves of minced garlic and one tablespoon of fresh parsley, finely chopped, of course. Having this mixture ready to go means the second those rolls pop out of the oven, you can brush that incredible, garlicky goodness all over them while they’re still scorching hot. That seals in the moisture wonderfully!
Step-by-Step Instructions for Making Fluffy Homemade Rolls
People always tell me they are intimidated by yeast bread, but honestly, making these fluffy homemade rolls is easier than you think! The process falls into really manageable chunks. Just follow these steps exactly as I do them in my Ohio kitchen, and you will have the most tender, buttery rolls ready before you know it. We move from activating the yeast to the final buttery brush in just over an hour total rise and bake time!
Activating Yeast and Mixing the Rolls Dough
Okay, first things first: we need to wake up that yeast. In your big mixing bowl, dump in your warm milk—remember, 105°F to 115°F is the sweet spot—with the yeast and your sugar. Give it a gentle little stir, then just leave it alone for about 5 to 10 minutes. If you see foam bubbling up on top, that’s your confirmation! That yeast is alive and ready to work its magic. Once you see that foam, whisk in your warm water and that room-temperature egg. Then, we gradually start adding the dry stuff. Mix in 4 cups of your flour and the salt until it looks kind of messy, what I call a shaggy dough. Don’t panic if it looks bumpy!
Kneading and the First Rise for Tender Rolls
Now for the physical part! Turn that messy lump out onto a counter dusted lightly with flour. This is where you build structure. You want to knead this dough for a solid 8 to 10 minutes until it feels noticeably smoother and much more elastic. Keep that extra 1/2 cup of flour close by, but only add pinches if the dough is sticking badly—we want it just slightly tacky, not totally dry. Once it’s smooth, tuck it into a lightly oiled bowl, give it a flip, cover it up, and put it somewhere warm. This first rise is important; let it sit for 45 to 60 minutes, or until it’s happily doubled in size. Look for that nice, puffy dome!
Shaping, Second Rise, and Baking These Delicious Rolls
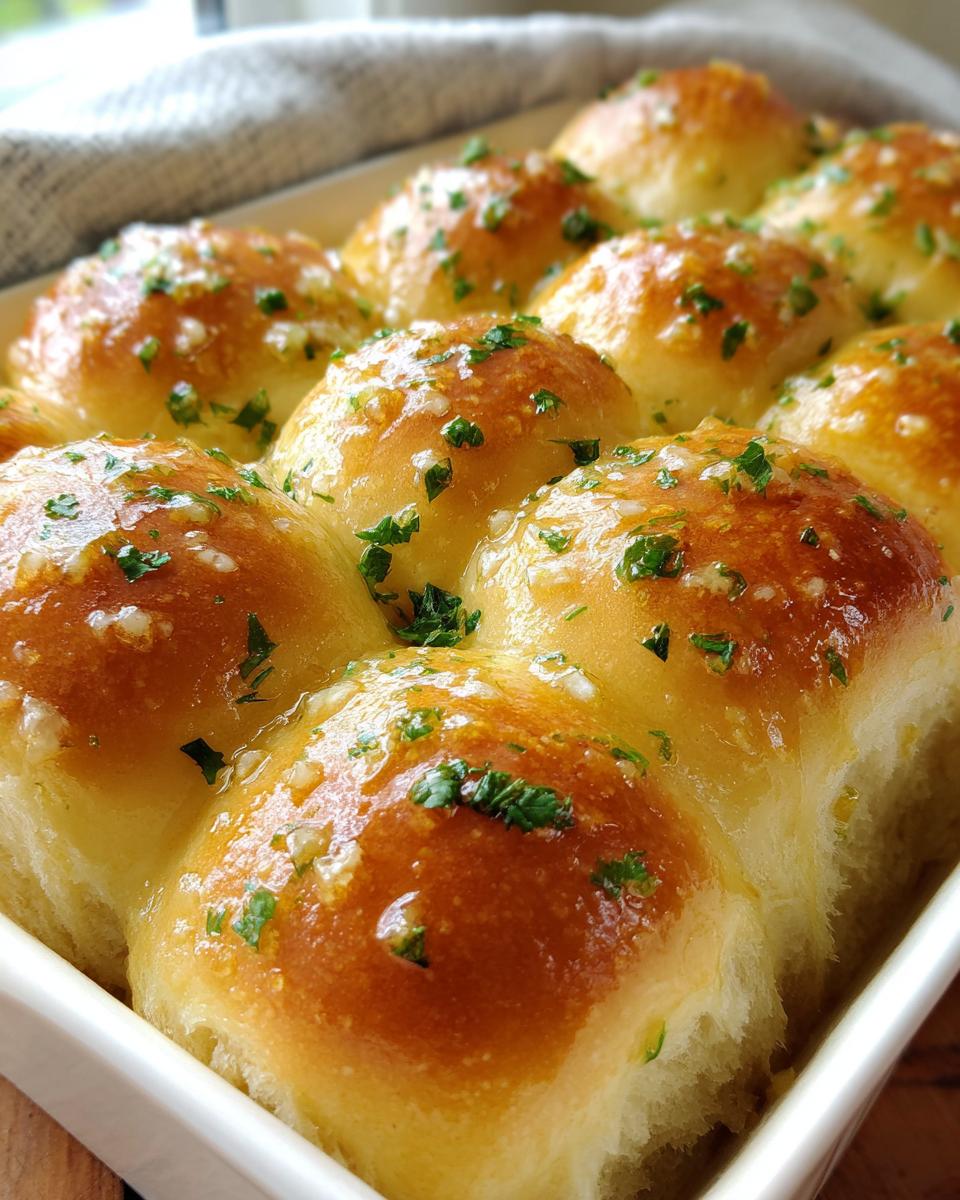
Once doubled, treat that dough gently! Punch the air out—it feels great, by the way—and divide it into 12 equal sections. Roll each section right between your palms until you have a smooth little ball, kind of like a perfect marble. Arrange those 12 balls snugly in your greased 9×13 pan. Cover them back up and let them rest for their final nap time, which is usually shorter, about 20 to 30 minutes. While they are puffing up again, get your oven heated up to 375°F (190°C). Bake them for about 15 to 18 minutes until the tops are a lovely golden color. Don’t overbake them!

Applying the Garlic Butter Finish to Your Warm Rolls
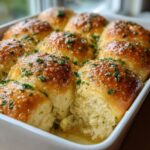
This is the grand finale, friend! As soon as those rolls come out of the oven—and I mean *immediately*—take that garlic butter mixture we talked about and brush it all over the tops generously. The heat melts the butter and garlic right into the crust. Don’t forget, we also brushed the dough with 5 tablespoons of plain melted butter earlier in the process, but this extra garlic bath really seals in the flavor and keeps them incredibly soft. You want that delightful garlic aroma hitting you right away. Let them cool just enough so you don’t entirely burn your fingers, and pull them apart—they should smell heavenly!
If you want a great written guide for beginners tackling yeast bread for the first time, I highly recommend reviewing my tips on homemade bread for beginners!
Tips for Success When Baking These Dinner Rolls
Baking bread is rewarding because it makes your whole house smell amazing, but don’t let the yeast intimidate you! If you have a stand mixer, please, use it! It makes the 8 to 10 minutes of kneading so much easier, though I still love doing it the old-fashioned way sometimes. Remember that trick about adding flour slowly? That’s the most important thing for getting that light, fluffy texture; if you add too much flour upfront, you end up with dense buns, which is the opposite of what we want here.
Also, if you suspect you have a crowd that loves things on the sweeter side, don’t be shy! My notes mention you can bump that sugar up to 1/2 cup in the dough itself. That just offers a nice little hint of sweetness that pairs beautifully with the savory garlic butter glaze later on. When in doubt for your next big holiday meal, just remember these little tweaks, and you’ll nail that perfect batch of rolls every time. For other wonderful holiday side dish ideas, have a look at my cranberry sauce recipe!
Variations for Garlic Butter Rolls and Other Rolls
Even though these Ultimate Soft & Buttery Garlic Butter Dinner Rolls are spectacular on their own, I love that this basic yeast dough is such a versatile canvas! Finding different ways to use a reliable dough means less starter time and more enjoyment. We can whip up so many different kinds of rolls from this one base. For instance, if you’re craving something richer than just garlic, you can easily pivot to making incredible cheesy garlic rolls, or even lean into sweets if you want to try my go-to sugar fix inspiration, found in my gooey cinnamon buns recipe!
Making Cheesy Garlic Rolls
Transforming these into those amazing cheesy garlic rolls everyone raves about is super straightforward. After you punch the dough down (before you divide it into 12 pieces), you’re just going to gently fold in about 1 cup of shredded mozzarella or Monterey Jack cheese. You don’t want to overwork it, just enough so the cheese is tucked in there. Then, proceed with shaping and the second rise as normal. That melted cheese mixed with the garlic butter topping? It is pure heaven, I’m telling you.
Adapting for Sweeter Rolls
If you wake up one morning and decide you don’t want savory garlic bread, you can easily transition this entire recipe into something closer to sweet Hawaiian rolls recipe style—but homemade, of course! Remember how I mentioned adding a bit more sugar to the dough? If you increase the granulated sugar in the initial dough mixture to a full 1/2 cup instead of the 1/3 cup listed, you get a much sweeter foundation. Skip the garlic butter top, naturally, and brush them instead with melted butter and a light sprinkle of cinnamon sugar right before baking for a lovely, softer, sweeter roll experience.
Serving Suggestions for Your Warm Buttery Rolls
Honestly, these savory garlic butter rolls are famous enough to be the star of the show! But since they are the absolute best dinner side bread you can whip up so fast, I love pairing them with dishes that love a good piece of bread for dipping. They are incredible alongside a hearty bowl of my creamy roasted butternut squash soup—you just tear off a piece and soak up every last drop. They also go so well with anything saucy, like my famous creamy Tuscan chicken. If you are looking for more ways to wow your guests without spending hours cooking, look through all my other recipes for dinner sides!
Storage and Reheating Instructions for Soft Rolls
These soft rolls are just heavenly when they are fresh and warm, but they are still pretty tasty the next day! The key to making them last is sealing in all that beautiful moisture we worked so hard to create. As soon as they are completely cooled down—and I mean totally room temperature, or you’ll trap steam and make them soggy—you want to place them in an airtight container. You can definitely store them on the counter for two to three days; try not to push it past that, because they are yeast rolls and we want the best results for your easy weeknight dinners!
Now, if you need to revive that glorious “just out of the oven” texture, forget the microwave if you can help it. Microwaves make bread chewy almost instantly, and we definitely don’t want that!
The oven is your best friend here. Wrap those delicious rolls tightly in aluminum foil. Pop them into a 350°F oven for about 8 to 10 minutes. That gentle heat warms them through perfectly and restores that soft, pillowy interior we love. If you are just reheating one or two, you can cheat with the microwave, but keep it short—maybe 10 to 15 seconds max, and eat them right away!
Frequently Asked Questions About Homemade Rolls
You know how it is—baking bread is wonderful, but sometimes those little quirks in a recipe can trip you up! I’ve gathered the most common questions I get about yeast and making sure these buttery yeast rolls turn out just right. Don’t worry if you run into a hiccup; we can figure it out together. We want that homemade goodness without the headache, right?
Can I make these quick dinner rolls 1 hour recipe using a bread machine?
That’s a fantastic question if you are looking for speed! Yes, you absolutely can use the dough cycle on your bread machine if you have one. It mixes and kneads everything perfectly for you, which saves your arms! Just add all your dough ingredients—milk, yeast, sugar, water, egg, flour, salt, and melted butter—right into the machine pan according to its order instructions. Once the cycle is done (usually about 90 minutes), you just pull that gorgeous dough out, shape your 12 rolls, and let them have that second, shorter rise on the counter before baking them at 375°F. It adds a little time, but it’s very hands-off after that!
My dough did not double in size; what went wrong with my rolls?
Ugh, the dreaded flat dough! This almost always comes down to the yeast, which is a living thing, bless its heart. The number one culprit is the water temperature being too hot—it killed the yeast before it could even start working. If the water was too cold, it just got sleepy and didn’t have the energy to rise. Also, check your yeast container—is it brand new? If the yeast is old, it won’t have the power to lift those fluffy homemade rolls. Next time, double-check that water temp with a thermometer, or just use milk that feels comfortably warm on your wrist, not hot.
Are these buttery yeast rolls suitable for holiday bread rolls?
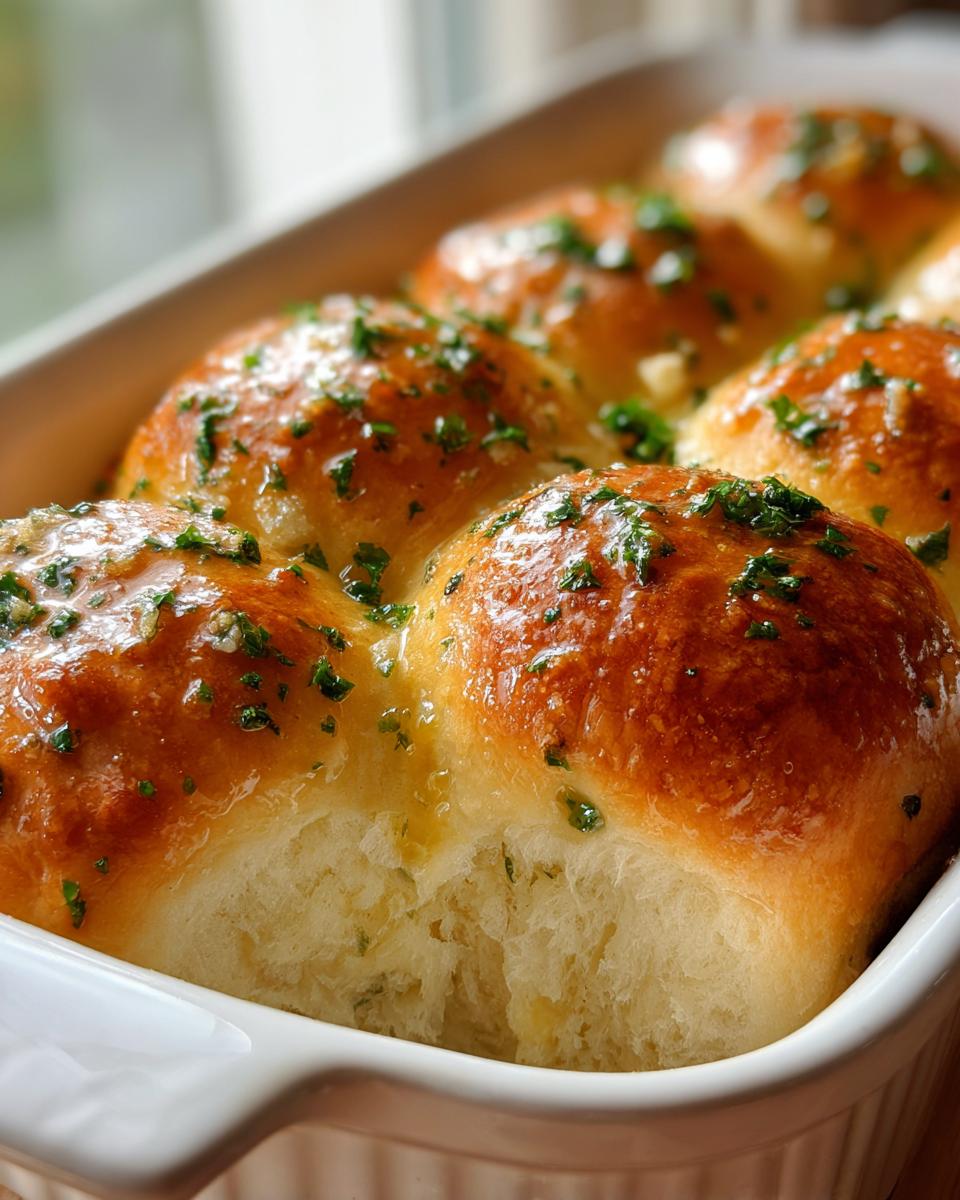
Oh, absolutely! These are amazing holiday bread rolls and a definite upgrade from anything store-bought. While they aren’t exactly the same as the classic Parker House rolls—which usually involve folding the dough differently—these offer that same incredibly soft, pull-apart texture that everyone expects on Thanksgiving or Christmas dinner tables. Trust me, once you serve these savory garlic butter beauties, people will be asking for the recipe for years to come!
If you’re planning your holiday menu, you might want to check out my tips for homemade cranberry sauce to go alongside these!
Nutritional Estimates for These Garlic Butter Rolls
I always get asked about macros, even for something as comforting as bread! Keep in mind these numbers are just estimates based on the ingredients listed, and your exact figures will vary depending on the exact brand of butter and flour you use. Just know that each roll has about 220 calories, 10 grams of fat, and about 5 grams of protein. They do contain around 5 grams of sugar, which is naturally coming from the milk and the sugar used to feed the yeast. They’re delicious, they’re homemade, and we shouldn’t worry too much about the details when they taste this amazing!
Share Your Soft & Buttery Rolls Experience
I pour my heart into these recipes so you can bring a little extra joy to your family table. When you make these soft dinner rolls recipe, I really want to know how they turned out for you! Head down to the comments below, give the recipe a solid 5 stars if they earned it, and tell me if you added extra cheese or if you made them super sweet. Seeing your success honestly makes my day! If you have any lingering questions that I didn’t cover here or in my contact page, please ask!
PrintUltimate Soft & Buttery Garlic Butter Dinner Rolls
Make incredibly soft, fluffy dinner rolls that taste like they came from a restaurant. This recipe uses simple ingredients and delivers warm, buttery bread perfect for any meal, ready in about an hour.
- Prep Time: 20 min
- Cook Time: 18 min
- Total Time: 1 hour 38 min
- Yield: 12 servings 1x
- Category: Side Dish
- Method: Baking
- Cuisine: American
- Diet: Vegetarian
Ingredients
- 1 cup warm milk (105°F to 115°F)
- 2 1/4 teaspoons active dry yeast
- 1/3 cup granulated sugar
- 1/3 cup water
- 1 large egg, room temperature
- 4 to 4 1/2 cups all-purpose flour
- 1 1/2 teaspoons salt
- 5 tablespoons unsalted butter, melted, plus more for brushing
- 1/2 cup (1 stick) unsalted butter, softened for garlic topping
- 4 cloves garlic, minced
- 1 tablespoon fresh parsley, chopped
Instructions
- Activate the yeast: In a large bowl, combine the warm milk, yeast, and sugar. Let this mixture sit for 5 to 10 minutes until it becomes foamy.
- Mix wet ingredients: Whisk the warm water and the egg into the yeast mixture.
- Combine dry ingredients: Gradually add 4 cups of flour and the salt to the wet mixture. Mix until a shaggy dough forms.
- Knead the dough: Turn the dough out onto a lightly floured surface. Knead for 8 to 10 minutes, adding the remaining flour only as needed until the dough is smooth and elastic. It should be slightly tacky but not sticky.
- First rise: Place the dough in a lightly oiled bowl, turning to coat. Cover the bowl with plastic wrap or a clean kitchen towel. Let the dough rise in a warm place for 45 to 60 minutes, or until doubled in size.
- Shape the rolls: Gently punch down the risen dough. Divide the dough into 12 equal pieces. Roll each piece into a smooth ball. Place the balls close together in a greased 9×13 inch baking pan.
- Second rise: Cover the pan loosely and let the rolls rise again in a warm spot for 20 to 30 minutes.
- Preheat and prepare topping: Preheat your oven to 375°F (190°C). In a small bowl, melt the 1/2 cup of butter for the topping. Stir in the minced garlic and chopped parsley.
- Bake: Bake the rolls for 15 to 18 minutes, or until they are golden brown on top.
- Glaze: Immediately after removing the rolls from the oven, brush the tops generously with the garlic butter mixture. Brush the melted butter (5 tablespoons) over the tops of the warm rolls for extra softness.
- Serve: Let the rolls cool slightly before separating and serving warm.
Notes
- For a quick version, use a stand mixer for kneading; mix on low speed until the dough comes together, then increase speed to medium-low for 5 minutes.
- If you prefer a sweeter roll, increase the sugar in the dough to 1/2 cup.
- These rolls are excellent for holidays like Thanksgiving or Christmas dinner.
Nutrition
- Serving Size: 1 roll
- Calories: 220
- Sugar: 5
- Sodium: 250
- Fat: 10
- Saturated Fat: 6
- Unsaturated Fat: 4
- Trans Fat: 0
- Carbohydrates: 30
- Fiber: 1
- Protein: 5
- Cholesterol: 25