
Oh, the heartbreak! You spend hours cutting out your perfect sugar cookie shapes, you pipe them beautifully, and then… you wait. And wait. And that icing just stays tacky, gummy, and soft. Seriously, there is nothing more frustrating.
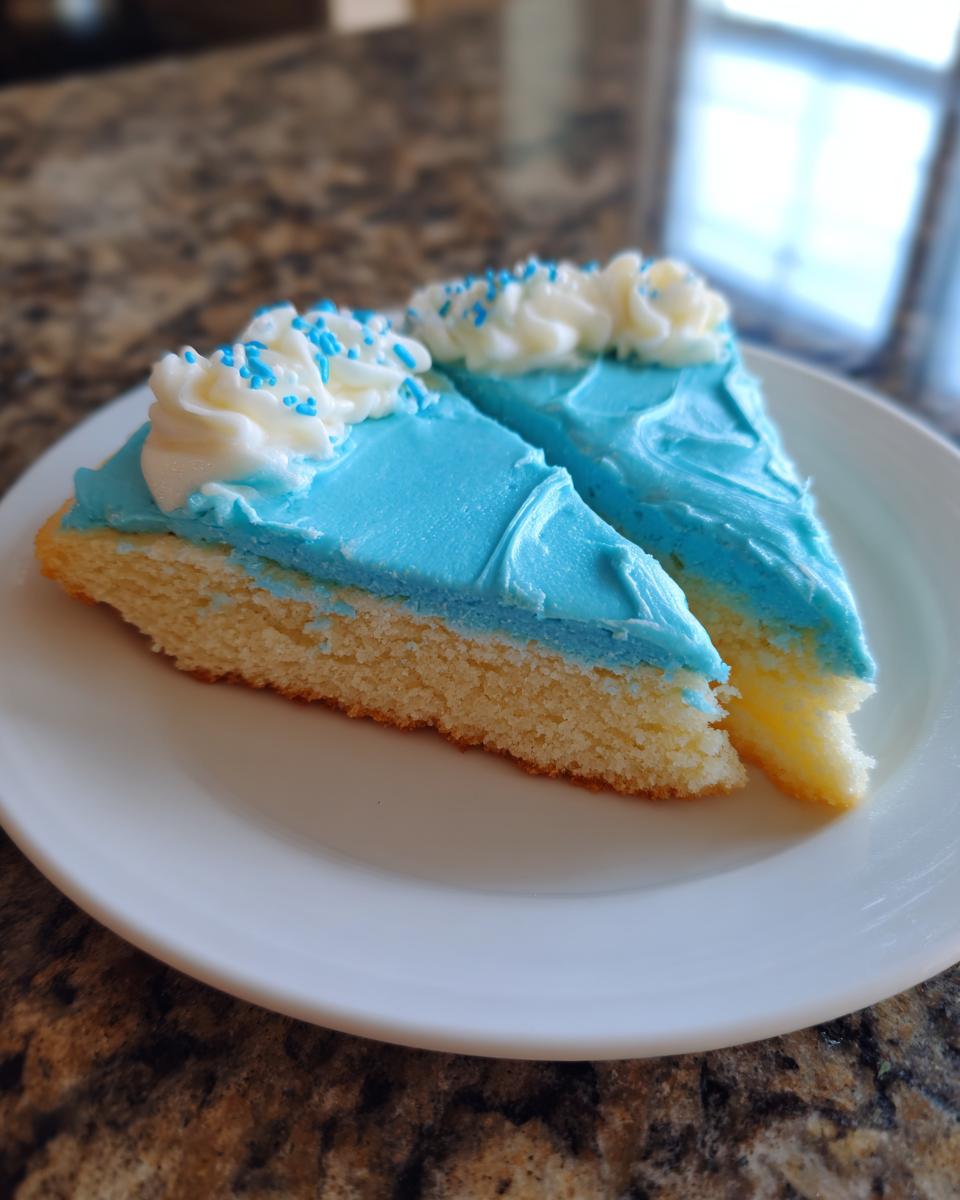
You need that smooth, professional crunch, especially if you plan on building a cookie tower or mailing them off to a friend! Trust me, I learned this the hard way years ago trying to send holiday cookies across state lines, only to have them arrive as a colorful, sticky mess.
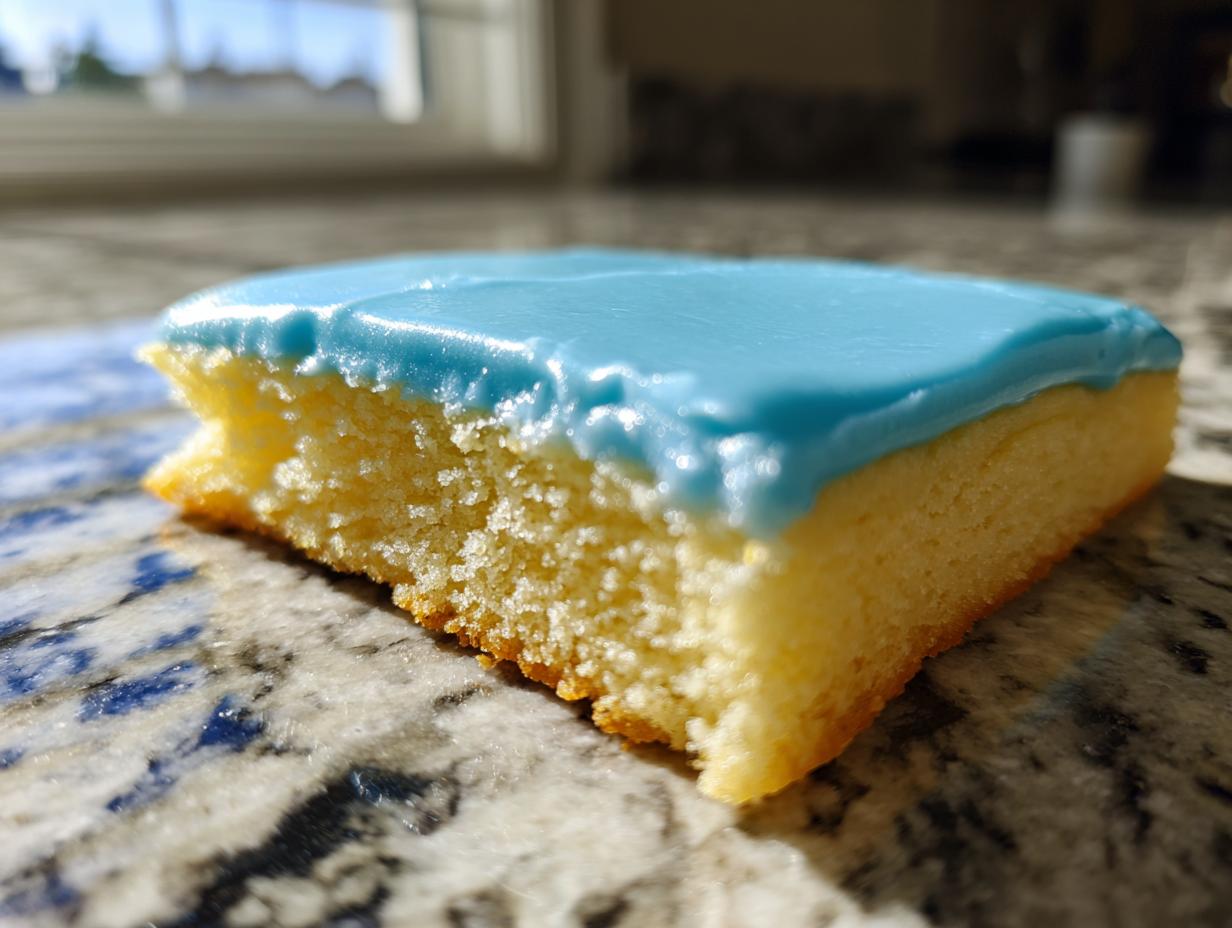
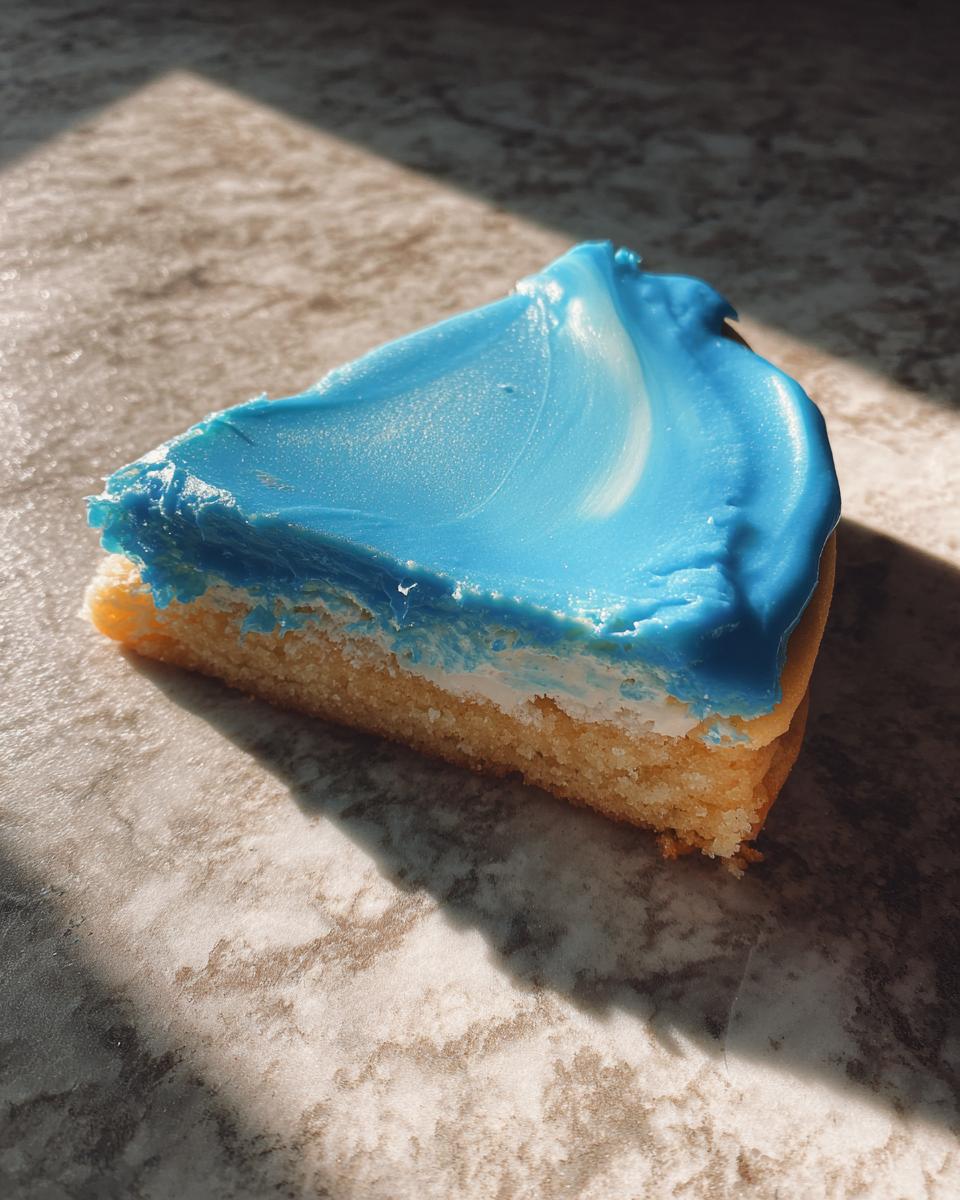
That’s why I perfected this specific recipe for sugar cookie icing that hardens. It dries completely firm, gives you that coveted glossy finish, and holds up to any intricate piping work. Relying on good, dependable recipes is how we keep the kitchen warm and connected, and good cookie icing should never be a gamble!
If you’re looking for reliable, bakery style cookie icing that actually sets, stick with me. You can find more of my tried-and-true go-to sweet recipes right here: delicious dessert recipes.
- Why This Sugar Cookie Icing That Hardens Works So Well (E-E-A-T)
- Gathering Ingredients for Your Sugar Cookie Icing That Hardens
- How to Prepare Your Easy Cookie Decorating Icing
- Application Technique for Stackable Sugar Cookies Icing
- Tips for Perfect Powdered Sugar Icing Hard Results
- Storage and Keeping Your Icing That Hardens For Cookies Fresh
- Frequently Asked Questions About Durable Cookie Glaze
- Estimated Nutritional Data for This Icing
- Share Your Beautifully Decorated Cookies
Why This Sugar Cookie Icing That Hardens Works So Well (E-E-A-T)
People often ask me why my icing never seems to fail, and honestly, it comes down to respecting what each ingredient does! This isn’t just your standard powdered sugar and water glaze; we’re using specific items to guarantee that professional, hard-setting finish you need for truly stackable sugar cookies icing.
The main difference between a quick glaze and something reliable like this sugar cookie icing that hardens comes down to fat and structure. Most simple icings stay soft because they rely too heavily on milk or water. We skip that drama and rely on a little bit of sweet science to give us that bakery style cookie icing look.
The Secret to a Smooth Cookie Icing Finish
You absolutely must, and I mean *must*, sift your powdered sugar first. I know it seems like an extra step when you’re already eager to start decorating, but those tiny lumps lead to gritty icing and huge problems later! Whisking everything gently right at the beginning ensures you get that perfectly even, smooth cookie icing texture right out of the gate. No lumps, no stress!
Achieving a Glossy Cookie Icing Tutorial Result
The magic ingredient that gives us that gorgeous shine, making it worthy of a high-end glossy cookie icing tutorial result? It’s the light corn syrup. It keeps the surface from looking dull and gives the final, hardened product that slight sheen. It also plays a huge role in making the whole structure durable enough for wrapping and gifting, which is essential.
Gathering Ingredients for Your Sugar Cookie Icing That Hardens
Okay, before we get excited about mixing bowls, let’s talk about what needs to go in! Getting the quantities right is crucial here, especially since we are relying on this mixture to achieve a rock-solid dry finish. Here is what you’ll need for about two dozen medium cookies. Keep these items handy!
- 2 cups powdered sugar, and yes, you absolutely must sift it!
- 3 tablespoons milk (I use whole milk, but any kind works fine)
- 1 tablespoon light corn syrup—this is our secret weapon!
- 1 teaspoon vanilla extract
- Gel food coloring, any fun colors you love
Ingredient Notes and Substitutions for Hard Setting Cookie Glaze
For this specific icing that hardens for cookies, the light corn syrup isn’t optional; it’s what gives us that great shine and sets the structure hard. If you are in a real pinch, sometimes people swap that for a little bit of lemon juice, but it changes the flavor slightly, so be warned! Now, if you want something that sets faster than our 4-8 hour timeframe, you could try a true royal icing for sugar cookies by swapping the corn syrup for meringue powder. That stuff is powerful, but the corn syrup version tastes a bit softer right before it goes rock solid!
How to Prepare Your Easy Cookie Decorating Icing
Now that we have our perfect ingredients lined up, let’s get this beautiful, easy cookie decorating icing mixed! Remember how I stressed sifting the sugar? This is where that pays off because we want minimal lumps. We are going to assemble the base right here. If you want to check out some of my other simple baking fixes while your cookies cool, I have a great easy chocolate mousse recipe that seriously takes minutes!
Mixing the Base for Dries Hard Frosting Recipe
Grab your medium bowl! You’ll start by mixing together that sifted powdered sugar, your milk, the all-important corn syrup, and the vanilla extract. Use a whisk—don’t grab the electric mixer for this step; we don’t want to whip too much air in at the start. Whisk it until it’s totally smooth, like thin velvet. If it looks like thick toothpaste, add milk just a half teaspoon at a time until it drizzles off the whisk nicely. If it’s too runny, add a tiny bit more sugar until it holds a soft, glossy peak for a moment so we can move on to the next step.
Coloring Your Smooth Cookie Icing
Once your base icing has that perfect consistency, get a few smaller bowls ready. This is where we add the personality! I always recommend using gel food coloring, not the liquid drops, because they add way less extra liquid to the mix, which keeps that hard set intact. Add just one tiny drop at a time and stir until that gorgeous shade is consistent throughout the batch. Always color in small batches as you’re decorating so you don’t accidentally make too much of one color!
Application Technique for Stackable Sugar Cookies Icing
Applying this high-quality icing is just as important as mixing it right! If you want cookies that truly look like they came from a real bakery, you need to follow the two-step decorating method. I always make sure my cookies are completely cool before I even think about touching them with icing. Cold cookies mean a better seal!
Once you’ve got your piping bag filled, let’s get to work making those decorations sharp and professional. This technique is what guarantees that smooth look that holds up when you stack them high. If you need some quick ideas for what to serve with these amazing cookies, check out my easy breakfast ideas!
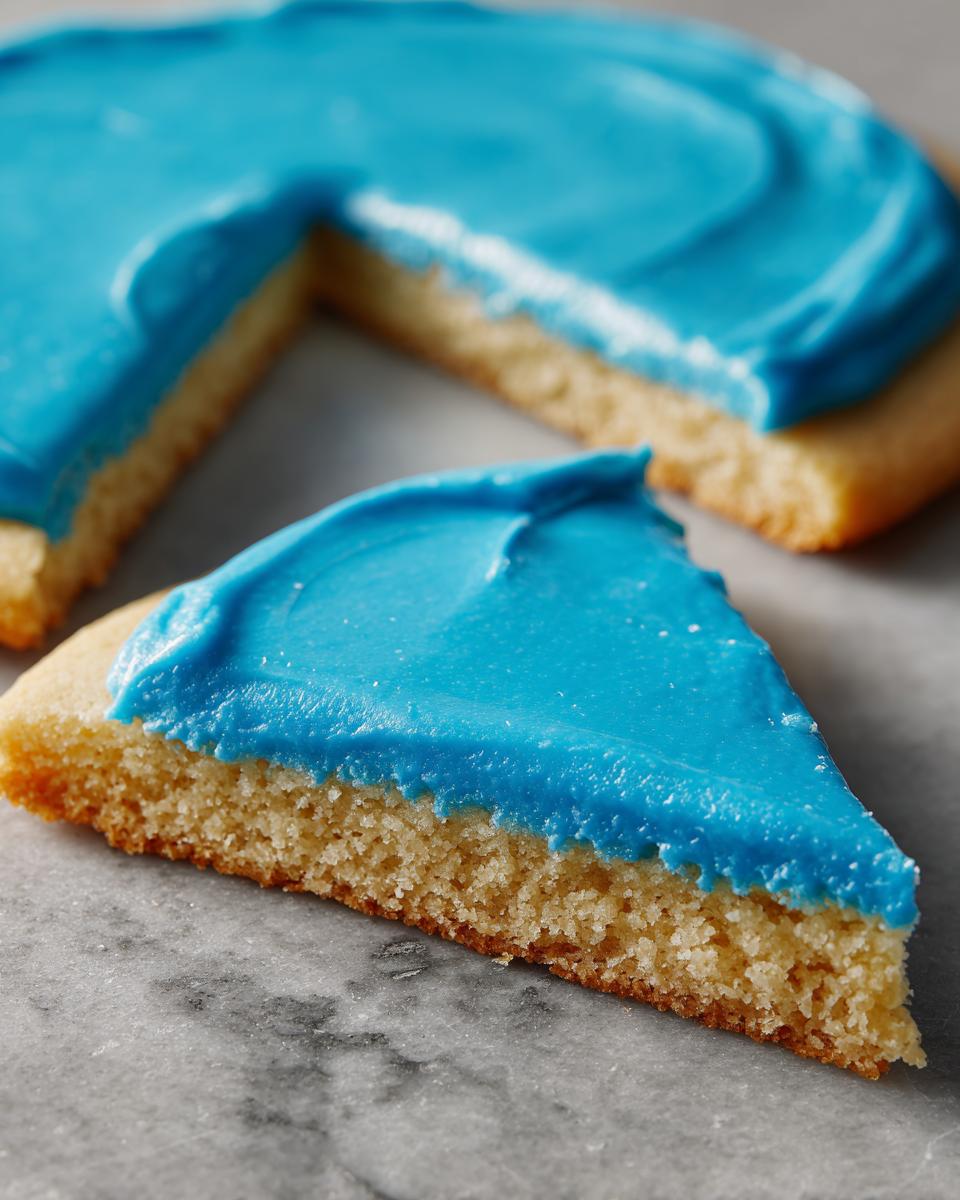
The Two-Step Icing Process: Outlining and Flooding
First step: Outline! Use your piping bag to trace the edge of your cookie. You have to let that outline dry for about 10 to 15 minutes. This creates a dam so your runny flooding icing doesn’t just spill everywhere. Once that crust forms, go back in with the thinner icing to fill the center. After flooding, gently tap the cookie down on the counter a few times. That tapping is magic—it releases any tiny air bubbles so you get that flawless surface as a finish for your best icing for cutout cookies.
Drying Time for Sugar Cookie Icing That Hardens
Here’s where patience comes in, but this is key for that completely hard set! Depending on how thick you applied it, you generally need 4 to 8 hours of drying time, letting them sit totally uncovered at room temperature. If you’re in a rush—maybe the party starts sooner than you thought—you can speed things up! Set them carefully near an oscillating fan, and that moving air really knocks down the drying time for your sugar cookie icing that hardens.
Tips for Perfect Powdered Sugar Icing Hard Results
Okay, we’ve mixed it, we’ve flooded it, now let’s talk about the environment! You can have the best powdered sugar icing hard recipe in the world, but if the weather outside is humid, you might need an extra little trick up your sleeve. Humidity is the enemy of hard icing, hands down.
My best tip for guaranteeing those beautiful, durable results is controlling the air slightly. If you live somewhere damp, consider turning on a dehumidifier in the room where the cookies are drying. It sounds a bit extra, I know, but it makes a huge difference in getting that solid, non-tacky shell.
Also, use gel colors exclusively! I mentioned it above, but it bears repeating when talking about consistency. Too much liquid throws off the entire structure we built with the corn syrup. Use just a tiny bit of gel color to keep things exactly as we mixed them for the best results. When you’re done decorating, save any extra goodies used for your party from easy party food ideas—you’ll need that energy for the next batch!
Storage and Keeping Your Icing That Hardens For Cookies Fresh
Once your cookies are looking perfect and totally set—that satisfying moment when you can actually stack them—you might have leftover icing in your bowls. Don’t toss it! Just cover those small containers really tightly with plastic wrap, making sure the wrap is touching the surface of the icing. Keep it right on the counter at room temperature for up to two days. This ensures it stays soft enough to use later.
For the finished, decorated cookies, just store them in an airtight container once they are completely dry. If you stack them, put a small piece of parchment paper between each layer. This stops the glossy, hard icing from grabbing onto the cookie below it, keeping everything pristine!
Frequently Asked Questions About Durable Cookie Glaze
I know when you’re first starting out with a recipe like this, you generate a ton of questions! I’ve definitely been there, staring at my bowl wondering if everything was right. When it comes to getting that hard setting cookie glaze just perfect, a little clarification goes a long way. If you are looking for ways to make that cookie decorating process quicker for busy nights, you might want to browse my quick weeknight dinners for inspiration!
Can I make this icing ahead of time?
You totally can! This batch mixed with corn syrup is pretty stable. Cover it super tightly—I mean plastic wrap directly on the surface—and you can keep it at room temperature for up to two full days. If you try to keep it longer, it might start to get a weird, stiff layer that’s hard to mix back in. Just re-whisk it thoroughly before using.
Why is my icing not setting firm?
If you’re waiting and waiting and it’s still soft, there are two big culprits. First, check the humidity in your kitchen; high moisture slows everything down for any dries hard frosting recipe. Second, did you skip the light corn syrup? That ingredient is key to the structure that lets it set firm! If you use too much milk, it will also stay soft.
Is this recipe good for writing fine details?
It is, but you need to adjust the consistency! Remember, this recipe is balanced perfectly for flooding the inside of the cookie, which needs to flow easily. If you want to pipe those tiny little lines or writing—think crisp script—you need to make the mixture much thicker. You’ll want it more like toothpaste so it holds every fine peak you create without spreading out.
Estimated Nutritional Data for This Icing
Now, I know when we are talking about icing, we aren’t exactly aiming for a health food, right? But since I get asked about it all the time—especially since my mission is about bringing real food back to the table—I wanted to give you the best estimate available for this gorgeous, hard-setting glaze.
Please remember, this is just an estimate based on the standard ingredients used in this recipe. If you swap your milk or use a different brand of corn syrup, it might shift things a tiny bit, but this is solid math for what you see listed!
- Serving Size: 1/4 cup
- Calories: Around 180
- Sugar: 45g (Yes, it’s sweet! That’s the joy of cookie icing!)
- Sodium: About 5 mg
- Fat: 0g
- Saturated Fat: 0g
- Carbohydrates: 45g
- Protein: 0g
- Cholesterol: 0mg
See? No funny business, just pure sugar and a tiny bit of structure from the milk and corn syrup. It’s decorative, it’s delicious, and it’s the best way to make sure your sugar cookies stay gorgeous long enough to share or gift!
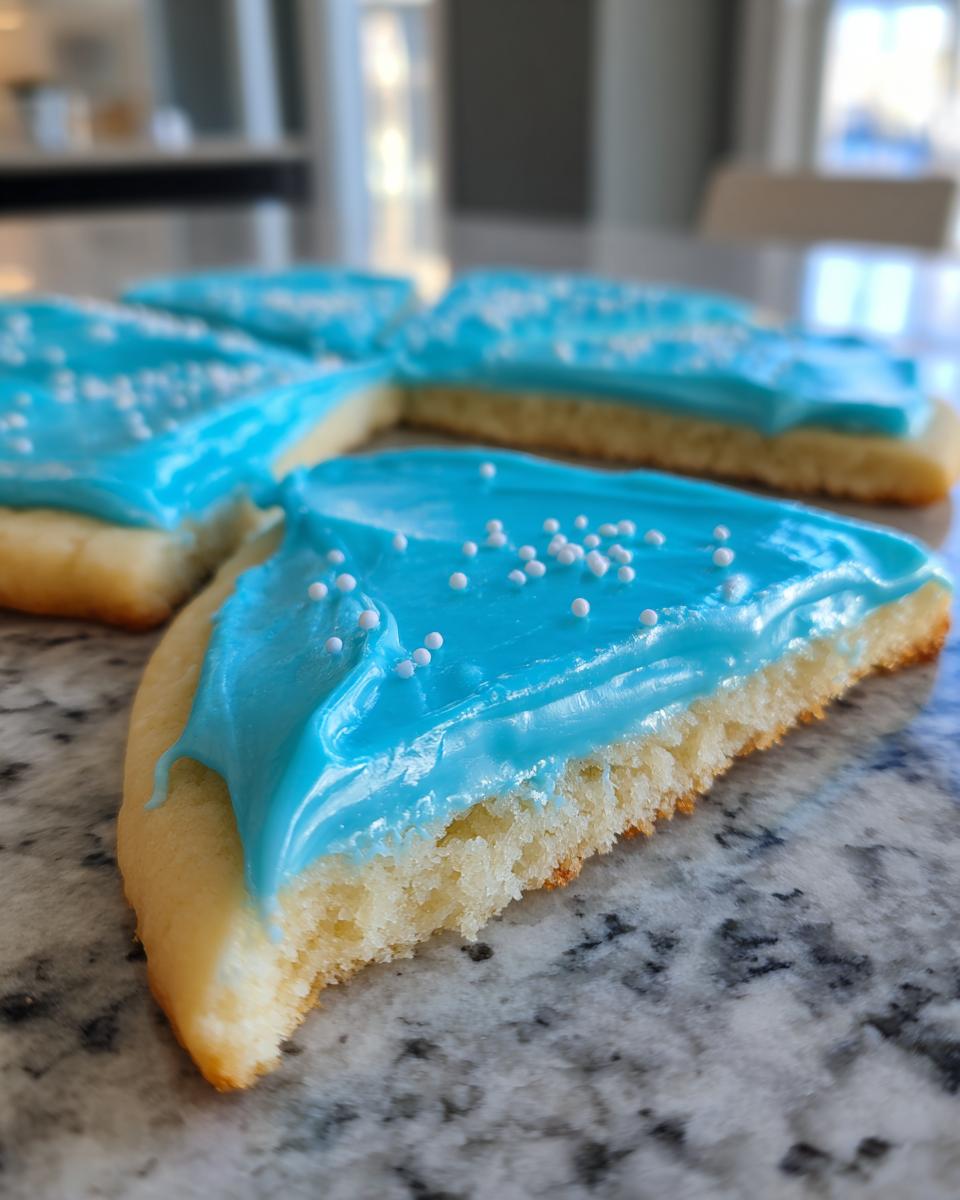
Share Your Beautifully Decorated Cookies
I really hope this recipe takes the guesswork out of your decorating for good! Honestly, seeing your results is my favorite part of sharing these kitchen secrets. Knowing that you achieved that beautifully firm, glossy shell on your sugar cookies because of these tips warms my heart.
When you have a batch finished—especially if you managed to get them perfectly stacked or gifted them without any smudges—I would absolutely love to see them! Go ahead and snap a picture of your flawless, hard-set icing and tag me on social media! Let me know how the corn syrup adjustment worked for you! Did you try any fun colors?
If you loved this technique for icing that hardens for cookies, please do two things for me: First, leave a quick star rating right below this post—it really helps other home bakers find reliable recipes like this one. Second, if you ran into any trouble spots, or if you learned a new little trick while decorating, please drop a comment below! I love hearing the stories and reading about your triumphs and challenges in the kitchen. If you need to reach out privately, you can always find my contact information here: contact.
PrintBakery Style Sugar Cookie Icing That Hardens Perfectly
Make glossy, smooth sugar cookie icing that hardens completely. This reliable recipe is perfect for decorating cutout cookies you plan to stack or gift.
- Prep Time: 15 min
- Cook Time: 0 min
- Total Time: 8 hours
- Yield: Coats about 2 dozen medium cookies 1x
- Category: Dessert
- Method: No-Bake Decorating
- Cuisine: American
- Diet: Vegetarian
Ingredients
- 2 cups powdered sugar, sifted
- 3 tablespoons milk (whole or plant-based)
- 1 tablespoon light corn syrup
- 1 teaspoon vanilla extract
- Gel food coloring, as needed
Instructions
- In a medium bowl, whisk together the sifted powdered sugar, milk, light corn syrup, and vanilla extract until smooth.
- If the icing is too thick for outlining, add milk, one half teaspoon at a time, until you reach a piping consistency.
- If the icing is too thin for flooding, add powdered sugar, one teaspoon at a time, until it holds a soft peak.
- Separate the icing into smaller bowls for coloring. Add gel food coloring one drop at a time, mixing thoroughly until you achieve your desired shade.
- Use the icing to outline your sugar cookies first. Let the outline dry for 10 to 15 minutes until it forms a slight crust.
- Fill in the outlined areas with the thinned icing (flood consistency). Gently tap the cookie on the counter to release air bubbles.
- Let the decorated cookies dry uncovered at room temperature until the icing is completely hard. This usually takes 4 to 8 hours, depending on humidity.
- For faster drying, you can place them in front of a fan.
Notes
- Using light corn syrup is key to achieving a glossy, durable finish that dries hard. Do not skip this ingredient.
- For the smoothest icing, sift your powdered sugar before measuring.
- If you need a very fast drying time for stacking, consider using meringue powder instead of corn syrup for a true royal icing that sets firm quickly.
- Store unused icing in an airtight container at room temperature for up to two days.
Nutrition
- Serving Size: 1/4 cup
- Calories: 180
- Sugar: 45
- Sodium: 5
- Fat: 0
- Saturated Fat: 0
- Unsaturated Fat: 0
- Trans Fat: 0
- Carbohydrates: 45
- Fiber: 0
- Protein: 0
- Cholesterol: 0