

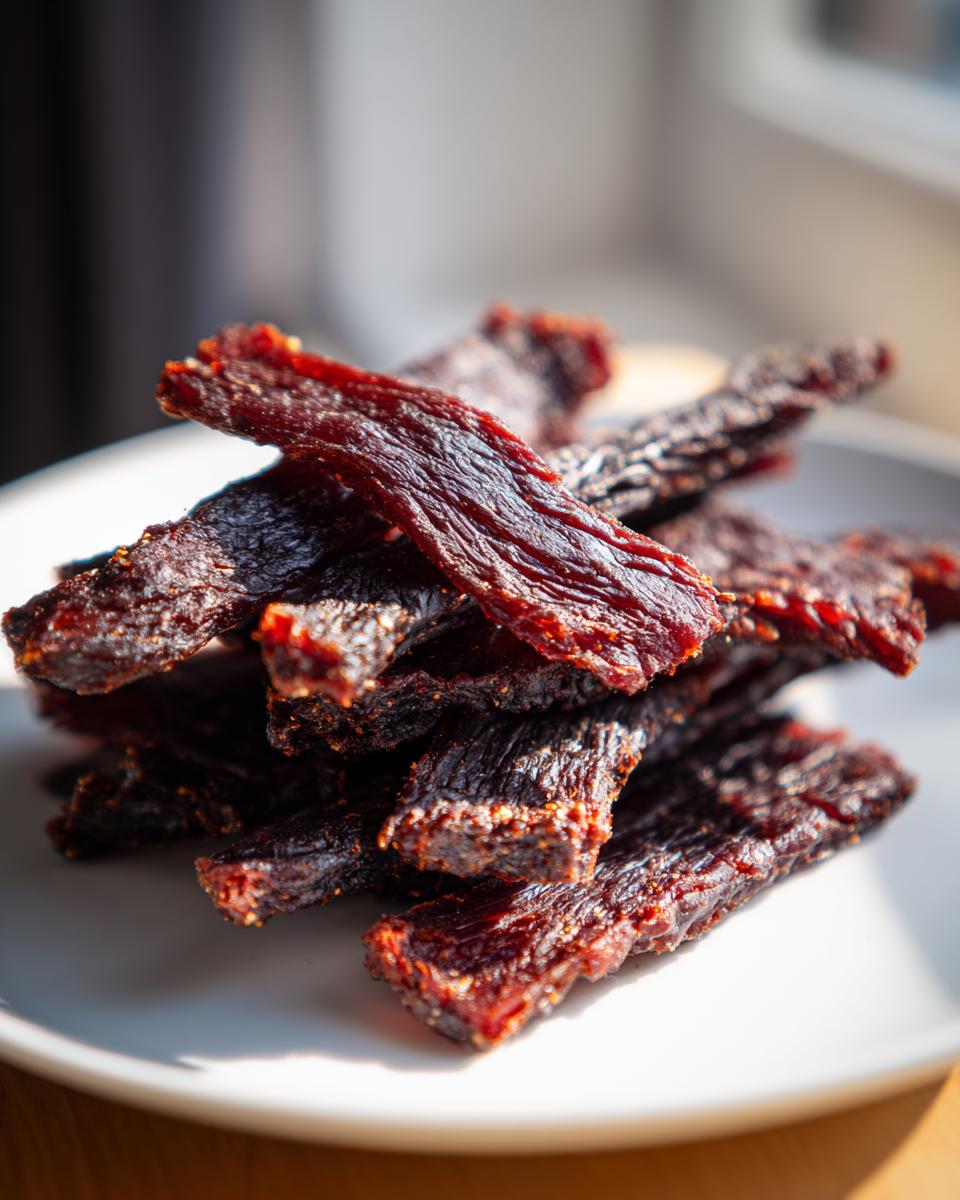
Hunting season is gearing up, and you know what that means—you need snacks that last and actually taste good! If you’ve been hesitant about making your own venison jerky because you think it’s too complicated, trust me, I get it. When I started simplifying classic American recipes, I knew tough, dry jerky wasn’t going to cut it in our busy lives. This sweet and smoky recipe is the most reliable, easy way to get delicious homemade jerky, whether you’re armed with a dehydrator or just using your oven. It’s truly satisfying!
- Why This Sweet and Smoky Venison Jerky Recipe Works (Hunting Season Recipes)
- Gathering Your Ingredients for Brown Sugar Venison Jerky
- Step-by-Step Instructions for Making Venison Jerky
- Drying Your Venison Jerky: Dehydrator Jerky vs. Oven Jerky Method
- Tips for Success with Homemade Jerky
- Storing and Gifting Your Venison Jerky
- Frequently Asked Questions About Venison Jerky
- Estimated Nutrition for This Sweet and Smoky Jerky
- Share Your Homemade Jerky Creations
Why This Sweet and Smoky Venison Jerky Recipe Works (Hunting Season Recipes)
Honestly, this recipe is my go-to for keeping the hunters happy throughout the season. It’s the ultimate make ahead protein snack because it doesn’t go bad, and it tastes way better than anything you buy in a plastic bag. This recipe is designed for dependability, not fuss!
- The mild sweetness from the brown sugar makes the venison flavor really shine through.
- It hits that perfect low-fat requirement without tasting dry, which is hard to achieve with game meat!
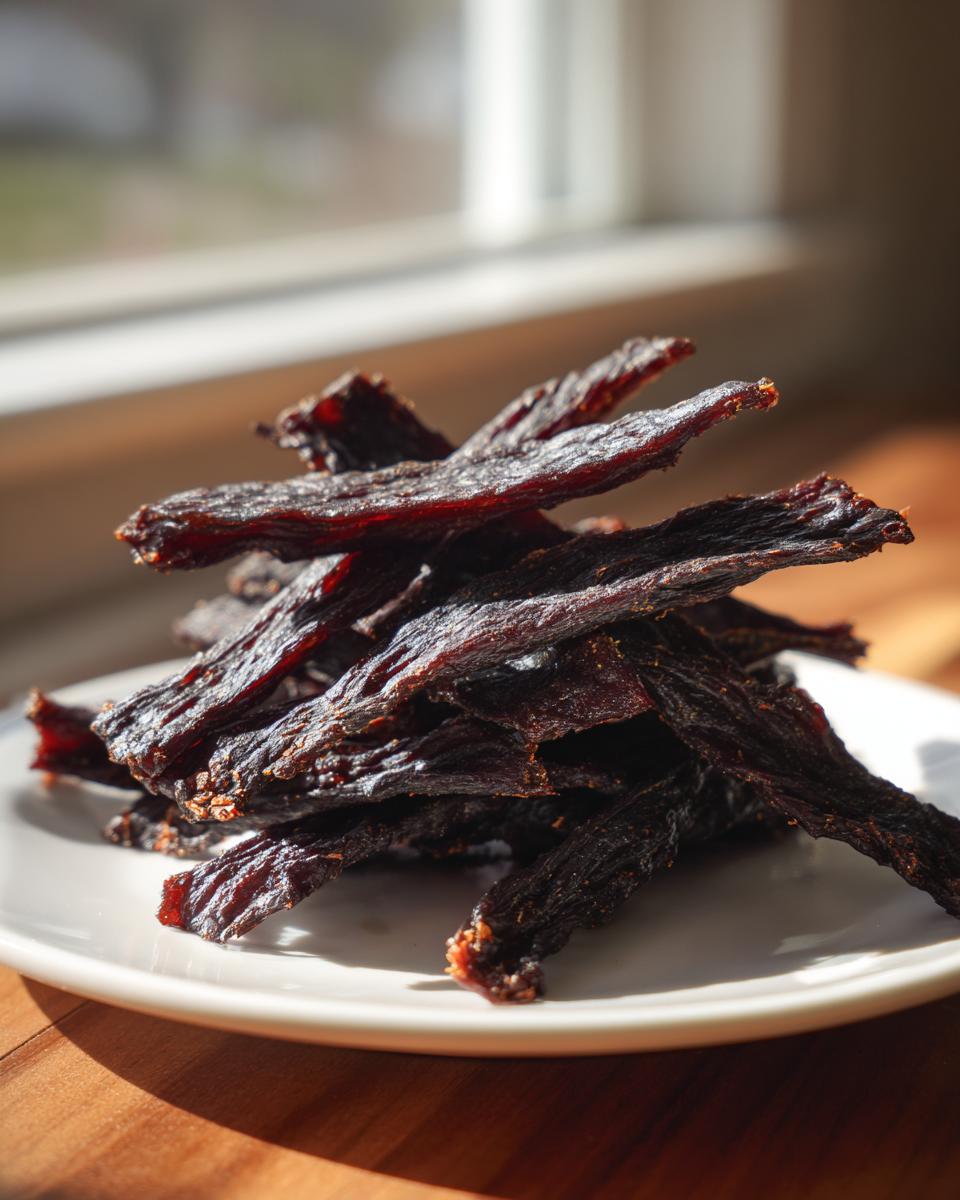
- The beautiful mahogany color you get is just proof of how well that marinade penetrates the meat.
Perfect Texture Every Time for Homemade Jerky
Texture is everything when you’re making homemade jerky. Do you like it super soft and tender, or do you prefer something that really fights back a little? That all comes down to how you slice it! If you want it to melt in your mouth, always cut against the grain. If you prefer that classic, long chew, slice with the grain. My trick is always freezing the venison blocks for just an hour right before I slice. That slight firmness gives you the cleanest cut, and clean cuts mean your strips dry evenly! No exceptions!
Simple Marinade Ideas for Sweet and Smoky Venison Jerky
This isn’t some complicated, 15-ingredient paste you have to blend for an hour. The beauty of this deer jerky recipe is its simplicity. We get that rich depth using basic pantry spices. The combination of brown sugar brings the necessary sweetness to balance the savory Worcestershire and soy sauce. Then, the liquid smoke and smoked paprika work overtime to trick everyone into thinking you slow-smoked this for days! It’s adaptable, too—swap out the cayenne for some ground mustard if you want a tangier flavor next time.
Gathering Your Ingredients for Brown Sugar Venison Jerky
Okay, let’s talk supplies! Making fantastic brown sugar venison jerky starts with respecting your meat. While I love bringing home savory treats from hunting trips, the quality of the base ingredients really matters for safety and flavor penetration. You’ll see that this marinade is deeply flavorful, but it relies on having a clean canvas to work with. It’s worth the extra few minutes of prep work, trust me!
Ingredient Preparation and Sourcing Notes
This is non-negotiable when making jerky at home. You absolutely must trim every speck of fat and the silvery membrane (that gross silver skin!) off your venison. Fat is what goes rancid first, and that’ll ruin your whole batch! Also, for the brown sugar—get the packed stuff. When the recipe calls for it packed, it means you need that dense, molasses-heavy sugar for the flavor base, not fluffy, loose sugar.
Step-by-Step Instructions for Making Venison Jerky
Now that we have our perfectly trimmed meat and our beautiful, sweet-smoky marinade ready, it’s time to get assembly-line efficient! I love this part because you can really feel like you’re preparing for the busy hunting season ahead. Remember, making good venison jerky is a two-part process: getting the flavor in, and then getting the moisture out. Every step here matters for safety and texture.
Slicing Meat for Perfect Venison Jerky Strips
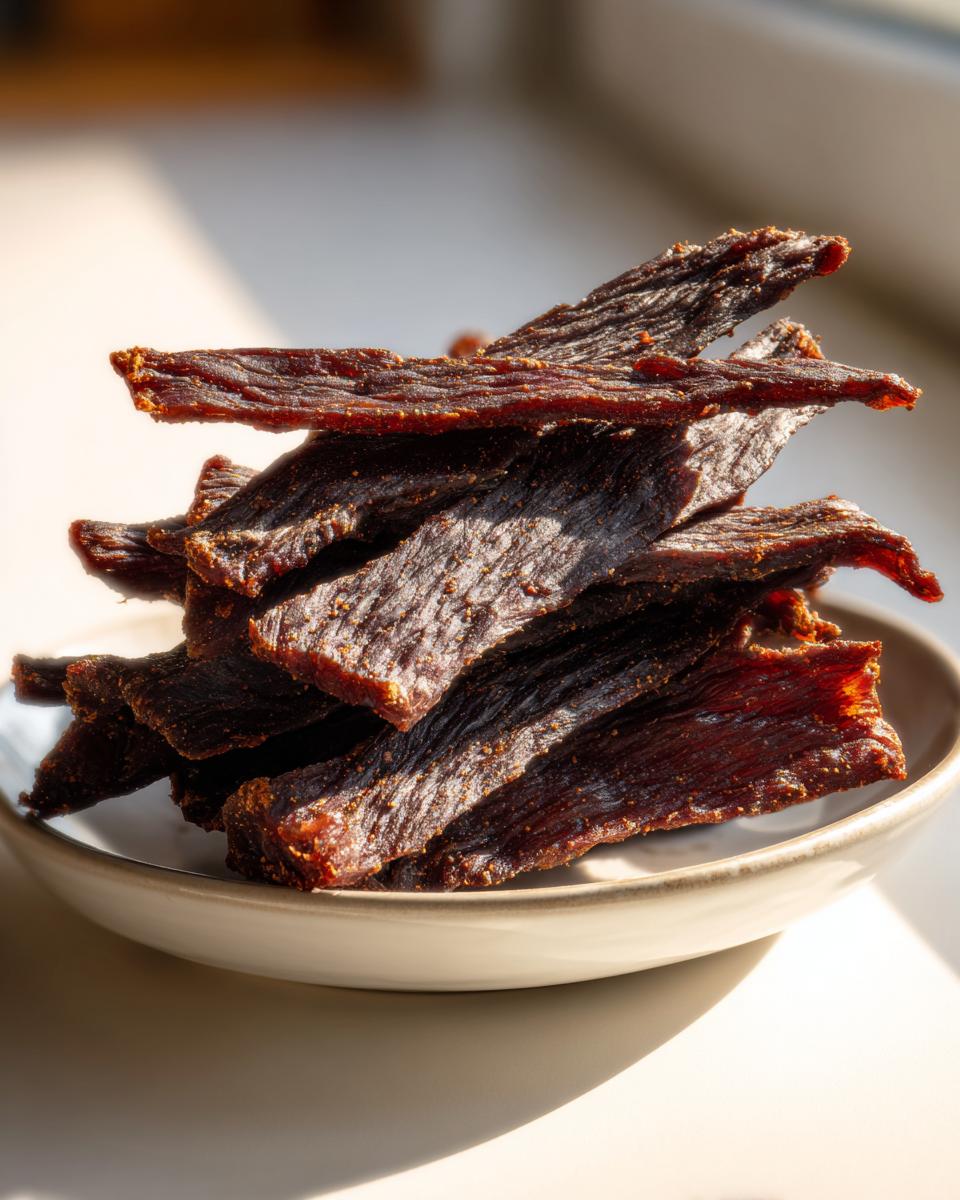
This is where patience pays off. You need to aim for super thin strips, about 1/8 of an inch thick. No thicker! Too thick, and your venison jerky strips will take forever to dry and might stay too moist in the center. As I mentioned before, cutting against the grain gives you that tender bite, while cutting alongside the grain yields that super chewy texture everyone loves to gnaw on around the campfire. Take your time here; these cuts determine the entire eating experience!
Marinating Time and Technique
Toss that meat into a sturdy, sealable bag with all that delicious marinade. Seriously go in there—use your hands—and massage it, push it around until every piece is glistening. You need to let this sit in the fridge for at least 6 hours, but honestly, 12 hours is where the real magic happens, up to a full 24. You have to turn that bag or stir the container every few hours to make sure the sugar and spices are hitting all sides evenly. Don’t worry if the sauce seems runny; you are just soaking the flavor layer onto the meat, not stewing it!
Drying Your Venison Jerky: Dehydrator Jerky vs. Oven Jerky Method
This is the moment of truth! Whether you own a fancy machine or you’re relying on your oven, the goal is the same: safe dehydration without cooking the meat. For both methods, you absolutely need to set your temperature low. We are drying, not cooking! Make sure your strips aren’t touching; they need airflow all around them to work properly. If you’re using the dehydrator jerky setting, aim for 160°F. That’s usually standard, and you’ll probably see results in about 5 to 8 hours. If you’re using the oven jerky method, that’s where you need to pay attention!
For the oven, you have to set it to the absolute lowest temperature you’ve got, preferably right around 160°F or 170°F. The essential part? You have to prop that door open! I always use a sturdy wooden spoon jammed in the side. If you don’t let the moist air escape, you’re just steaming your meat, which is the opposite of what venison jerky needs!
Testing for Done-ness in Your Deer Jerky Recipe
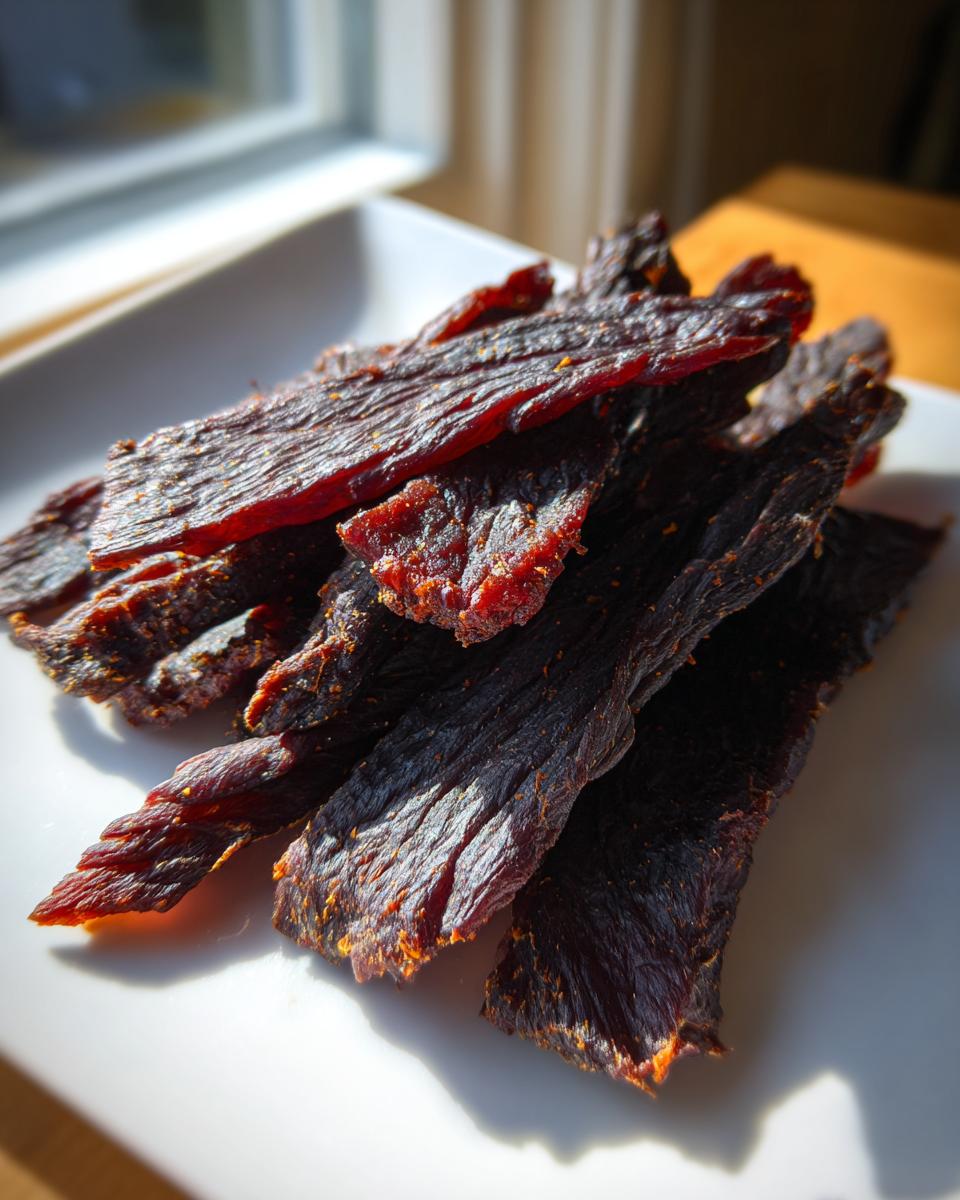
You’ll smell when it’s almost ready, but you can’t trust your nose alone. When testing your deer jerky recipe strips, pull one out, let it cool for about five minutes, and then try to bend it. If it cracks right in half, you dried it too long—it’s brittle! If it feels soft or you can wring moisture out of it when you tear it open, it’s definitely underdone. That dampness is an open invitation for danger, so throw it back in until it bends cleanly and looks fully dry, with no shiny spots inside when you pull it apart.
Tips for Success with Homemade Jerky
Even though this recipe is pretty straightforward, I have definitely made mistakes over the years—usually when I’m rushing, which is so typical when you’re busy! My biggest failure happened when I got impatient waiting for the oven to hit 160°F and pulled the strips out at what felt like 4 hours. They looked perfect on the outside, but I rushed the texture test.
Well, that whole batch went south fast. I packed it up for a weekend hike, and by Saturday afternoon, it was slightly slimy and smelled… off. That’s the danger of not removing enough moisture! So, my main advice is always to focus on texture control over time. If it’s taking 10 hours instead of 6, that’s okay! It means your humidity is high or your oven runs cool. Just keep that door propped and let it happen.
Another little thing that helps manage texture is how you load those racks. Make sure every single piece has space around it. If strips are clumped together or overlapped, the air can’t circulate, and those stuck-together parts will stay mushy while the rest dries perfectly. It’s a marathon, not a sprint, when it comes to safe, delicious jerky!
Storing and Gifting Your Venison Jerky
You put in the time—you deserve jerky that lasts and travels well! Proper storage for your homemade jerky is honestly just as critical as making sure you dried it thoroughly in the first place. If you want this venison jerky to stay delicious for your next hunting trip or as a cool gift, you have to let it cool down completely first. I mean bone dry and room temperature!
If you try bagging it even slightly warm, you are just setting yourself up for condensation inside the bag. That little bit of trapped moisture is what brings enemies like mold or sourness into our hard work. So, lay everything out on a wire rack for at least an hour after it comes off the trays.
Once it’s cool to the touch, airtight containers are your best friend. Mason jars work beautifully, especially for gifting. If you want it to last ages, keep those containers in the fridge—it can easily last for months that way! Honestly, I’ve never had it last that long because we eat it too fast, but that’s the rule. If you vacuum seal the bags, you can keep it on the counter, and it stays good for several weeks. It’s the perfect, dense, make-ahead protein snack!
Frequently Asked Questions About Venison Jerky
I always get a ton of questions when I share this recipe, especially right before hunting season kicks off! It seems like everyone wants to know the nitty-gritty on achieving that perfect texture or keeping their batch safe for travel. Here are the things I hear most often from folks trying out this sweet and smoky jerky for the first time!
Can I use frozen meat directly in the marinade for my deer jerky recipe?
Oh, please don’t! I know it feels like a shortcut, but you really shouldn’t marinate meat that is still partially rock-solid frozen. The marinade just won’t penetrate those icy spots, and you’ll end up with weirdly textured, unflavored patches in your final product. Remember my slicing tip? You want the meat just firm enough to get those thin slices—that means taking it out of the freezer about 30 minutes before you start slicing it. Thaw the meat fully before you introduce it to the marinade!
What is the safest temperature to dry venison jerky?
This is the most important question for your homemade jerky! Food safety experts, including the USDA guidelines, recommend that you start drying your meat at a consistent temperature of at least 160 degrees Fahrenheit. This high initial heat helps to quickly kill off any surface bacteria that might be present before the jerky becomes dried out and stable. If your dehydrator or oven can’t hit that mark, you risk having issues down the road. So, 160°F is the bare minimum standard we stick to here for safety, plain and simple!
I always feel better when I share this information because I want everyone enjoying their snacks safely. You can peek at our privacy policy if you want to see how we handle reader information!
Estimated Nutrition for This Sweet and Smoky Jerky
I know sometimes when you’re making a simple snack like this sweet and smoky jerky, you still wonder about the full picture. Keep in mind these numbers are just an estimate because every piece of venison is different, and how much liquid evaporates changes everything!
For a one-ounce serving, you’re looking at about 100 calories, which is fantastic protein density. You get about 18 grams of protein—hardly any fat, just 1 gram, because we trimmed it all off!
- Calories: 100
- Protein: 18g
- Sugar: 4g
- Fat: 1g
This is a sign of great cooking when the snack is this packed with goodness. Just remember, if you use a sweeter marinade next time, that sugar count might tick up just a little!
Share Your Homemade Jerky Creations
I really hope this recipe helps you get stocked up for the season! Once you pull those beautiful, dried strips out, I’d absolutely love to hear about it. Did you go for the soft chew or the super dry and brittle kind? Drop a rating below on the recipe card!
Tell me in a comment how this sweet and smoky batch worked into your hunting season recipes planning this year. I’m always looking for new ways people are using their harvest!
PrintSweet and Smoky Venison Jerky

Make reliable venison jerky at home using a simple sweet and smoky marinade. This recipe works well in a dehydrator or oven.
- Prep Time: 20 min
- Cook Time: 5 hours
- Total Time: 5 hours 20 min
- Yield: About 1 pound 1x
- Category: Snack
- Method: Dehydrating or Oven Drying
- Cuisine: American
- Diet: Low Fat
Ingredients
- 2 lbs venison, trimmed of all fat and silver skin
- 1/2 cup soy sauce
- 1/4 cup Worcestershire sauce
- 1/4 cup brown sugar, packed
- 2 tablespoons liquid smoke
- 1 tablespoon smoked paprika
- 1 tablespoon onion powder
- 1 teaspoon black pepper, freshly ground
- 1 teaspoon garlic powder
- 1/2 teaspoon cayenne pepper (optional)
Instructions
- Prepare the meat: Freeze the venison for 1 to 2 hours until firm. This makes slicing easier.
- Slice the venison very thinly, about 1/8 inch thick, cutting across the grain for tender jerky or with the grain for chewier jerky.
- Combine all marinade ingredients in a bowl: soy sauce, Worcestershire sauce, brown sugar, liquid smoke, smoked paprika, onion powder, black pepper, garlic powder, and cayenne pepper if you use it. Mix until the sugar dissolves.
- Place the sliced venison and the marinade into a large, sealable plastic bag or non-reactive container. Massage the marinade into the meat.
- Refrigerate and marinate for 6 to 24 hours. Turn the bag every few hours to coat all pieces evenly.
- Remove the meat from the marinade and pat each strip dry with paper towels. Removing excess moisture helps the drying process.
- Arrange the strips on dehydrator trays or on oven racks lined with foil or a wire rack, ensuring strips do not overlap.
- Drying (Dehydrator Method): Set the dehydrator temperature to 160 degrees Fahrenheit. Dry for 4 to 8 hours, checking for doneness periodically.
- Drying (Oven Method): Set your oven to its lowest temperature, ideally between 160 and 170 degrees Fahrenheit. Prop the oven door open slightly with a wooden spoon to allow moisture to escape. Dry for 5 to 10 hours.
- Test for doneness: The jerky should bend without breaking and show no moisture when you tear a piece. It should not feel soft or mushy.
- Cool the jerky completely on a wire rack before storing.
Notes
- For the best texture, slice the meat against the grain.
- If you plan to gift the jerky, store it in airtight containers or vacuum-sealed bags once completely cooled.
- Properly dried jerky stored in an airtight container at room temperature will last for several weeks. Refrigeration extends the shelf life to several months.
Nutrition
- Serving Size: 1 ounce
- Calories: 100
- Sugar: 4
- Sodium: 450
- Fat: 1
- Saturated Fat: 0
- Unsaturated Fat: 1
- Trans Fat: 0
- Carbohydrates: 5
- Fiber: 0
- Protein: 18
- Cholesterol: 40