
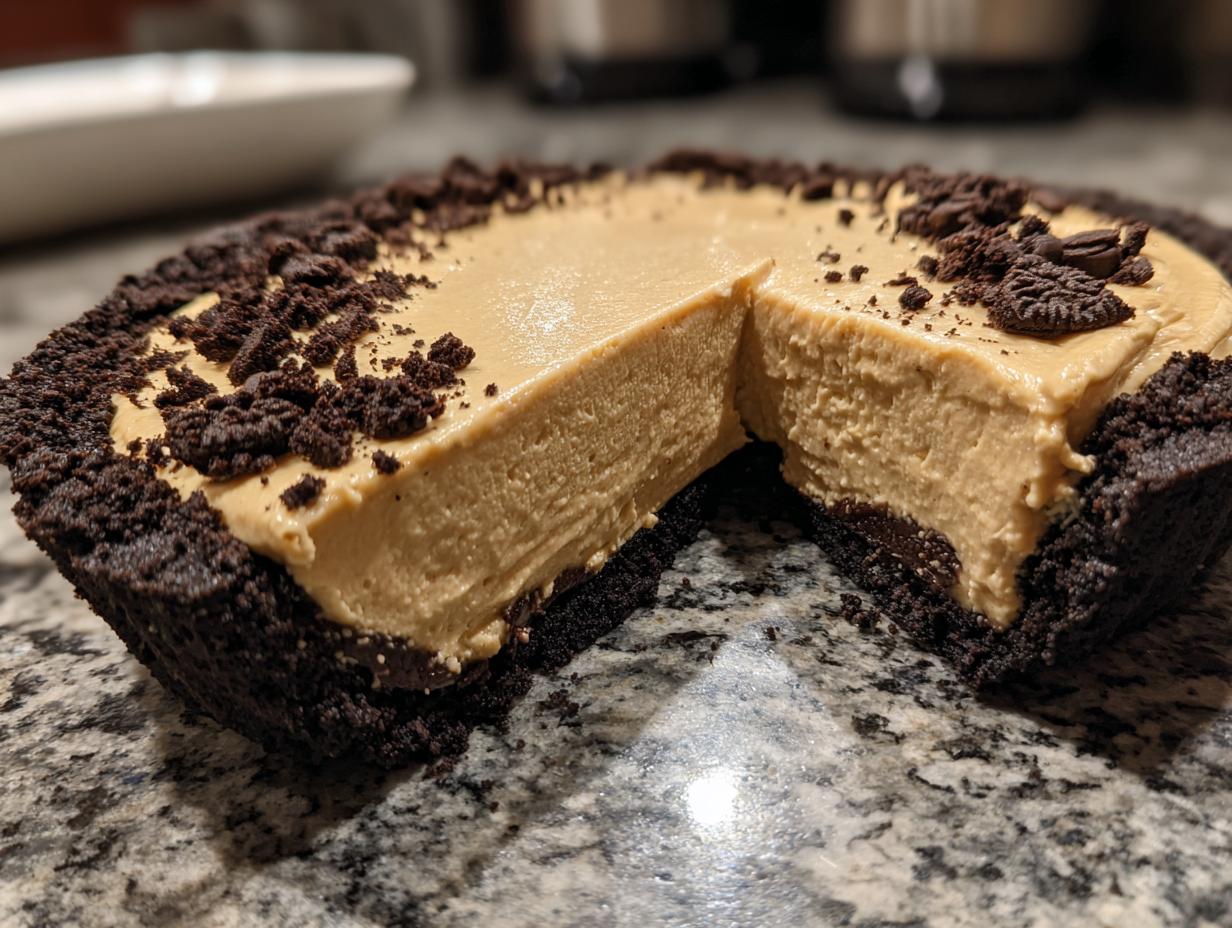
Sometimes you just need that incredible, rich flavor payoff without ever turning on the oven. I totally get it, especially when the air is warm or you’re already swamped planning a big holiday meal. That’s exactly why this Easy No-Bake Peanut Butter Pie lives permanently on my ‘Quick Dessert Ideas’ list. It hits that decadent sweet spot we all crave after dinner, and honestly, it’s my favorite way to live out the Mia’s Meals philosophy: taking a classic comfort food and stripping away every fussy step so you can focus on sharing it.
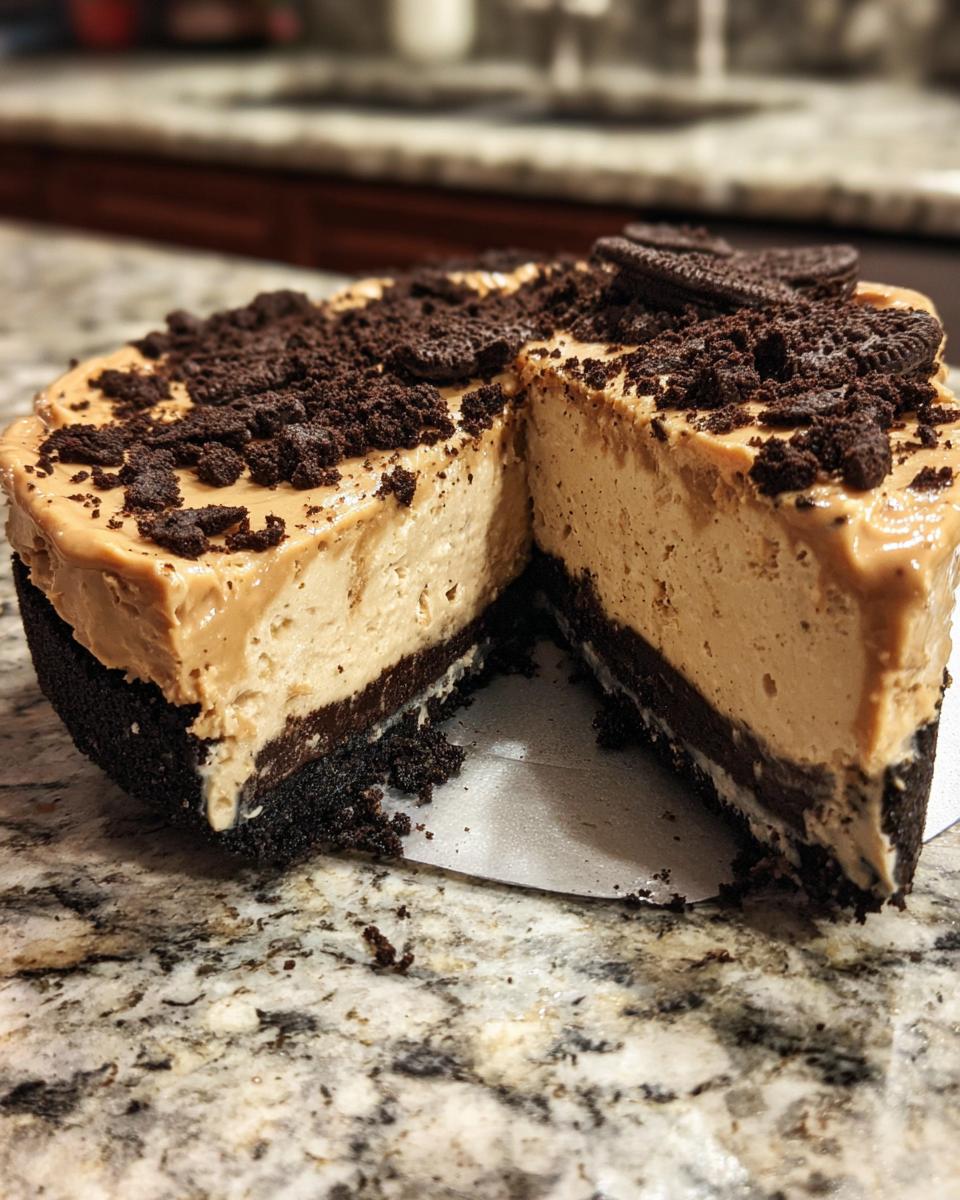
Trust me, this pie is magic. It’s unbelievably creamy, sits up perfectly on that chocolatey Oreo crust, and it’s secretly the best crowd-pleasing pie because everyone, and I mean everyone, loves peanut butter!
If you need more simple sweetness in your life, take a peek at my whole collection of delicious dessert recipes. But first, let’s get this perfect no-oven pie assembled!
- Why This Easy No-Bake Peanut Butter Pie is a Must-Try
- Gathering Ingredients for Your Creamy Peanut Butter Pie
- Step-by-Step Instructions for the Best Peanut Butter Pie
- Tips for Making a Perfect No Bake Peanut Butter Pie
- Variations on the Classic Peanut Butter Pie
- Serving Suggestions for Your Easy Peanut Butter Pie
- Storage and Keeping Your Peanut Butter Pie Fresh
- Frequently Asked Questions About This Peanut Butter Dessert
- Estimated Nutritional Data for This Peanut Butter Pie
- Share Your Homemade Peanut Butter Pie Experience
Why This Easy No-Bake Peanut Butter Pie is a Must-Try
When I say this is my go-to for last-minute sweet cravings, I mean it! This No Bake Peanut Butter Pie ticks every box for a modern home cook. You get that rich, decadent flavor without sacrificing your entire afternoon to the oven gods. It’s reliability in a pie dish!
- Zero Oven Time: Seriously, we are just using the freezer and fridge here. Perfect for summer baking or when your oven is already taken over by, say, a massive turkey!
- Incredibly Creamy Texture: That filling sets up beautifully, staying smooth and luscious right up until the last bite. It’s pure comfort.
- Fast Prep Work: You can have this pie ready for chilling in about 20 minutes. That makes it one of the best Quick Dessert Ideas around.
- Crowd-Pleasing Power: Peanut butter bridges are easy to build, and this pie is universally loved. You won’t have any leftovers, I promise!
Perfect for Holidays and Large Gatherings
This is one of the recipes I always fall back on when I’m planning my menu for big get-togethers. For Thanksgiving Desserts or any potluck, there is nothing better than knowing you have a spectacular, rich dessert ready to go that doesn’t compete with the main oven schedule. Because it sets so firm in the fridge, you can slice it cleanly for a huge platter, meaning zero stress about presentation when guests arrive. My family expects this crowd-pleasing pie now, and knowing it’s waiting patiently in the fridge is the best feeling.
If you’ve tried my easy chocolate mousse, you’ll find that this pie offers a similar kind of straightforward indulgence. You can find that recipe right here if you need another no-oven showstopper!
Gathering Ingredients for Your Creamy Peanut Butter Pie
Okay, this is the fun part where you gather your supplies! Because this is a wonderful Creamy Peanut Butter Pie, we need to make sure everything is just right before we start mixing. The beauty of this recipe is that it relies on standard pantry staples, but the specifics matter a bunch—especially getting that cream cheese just soft enough. I always make sure to pull all my dairy ingredients out about an hour before I plan to start mixing so they aren’t straight from the cold fridge.
We are using the chocolate cookie crust because, frankly, it’s divine, but if you run out of Oreos or just prefer a lighter flavor, feel free to use a graham cracker crust instead! Just know the Oreo shell brings that extra bit of decadent chocolate contrast we adore.
Oreo Crust Components
You only need two things for this amazing base. Remember, you need about 25 cookies to get the right volume for that 9-inch plate, crush them finely—a food processor is your friend here if you have one!
- 1 1/2 cups finely crushed Oreo cookies (that’s roughly 25 cookies, folks!)
- 6 tablespoons unsalted butter, melted
The No Bake Peanut Butter Pie Filling
This is where the rich, smooth texture comes from. That 8-ounce block of cream cheese has to be completely softened; otherwise, you’ll end up with little lumps, and nobody wants that in their dessert paradise!
- 1 (8 ounce) package cream cheese, softened
- 1 cup creamy peanut butter (use your favorite brand, but creamy is key!)
- 1 1/2 cups powdered sugar
- 1 teaspoon vanilla extract
- 1 (12 ounce) container frozen whipped topping, thawed (make sure it’s thawed but still nice and cold when you fold it in!)
- Optional topping: Chocolate syrup or peanut butter cups
Step-by-Step Instructions for the Best Peanut Butter Pie
Getting this Best Peanut Butter Pie assembled is super fast—I promise! The whole active time is just about 20 minutes, which is fantastic for such a rich and satisfying dessert. The secret, just like in any great baking project, is making sure you follow the sequence so everything blends perfectly and stays light.
Preparing the Chocolate Cookie Crust
First things first: your crust needs to be rock solid so the filling doesn’t sink or crumble when you slice it later. Mix those crushed Oreos with the melted butter until it looks like wet sand. Then, press that mixture *really* firmly into the bottom and up the sides of your 9-inch pie plate. Don’t be gentle here! Once it’s pressed in tight, sneak it into the freezer while you tackle the filling. This chilling step is non-negotiable for structure!
Mixing the Smooth Peanut Butter Cream Filling
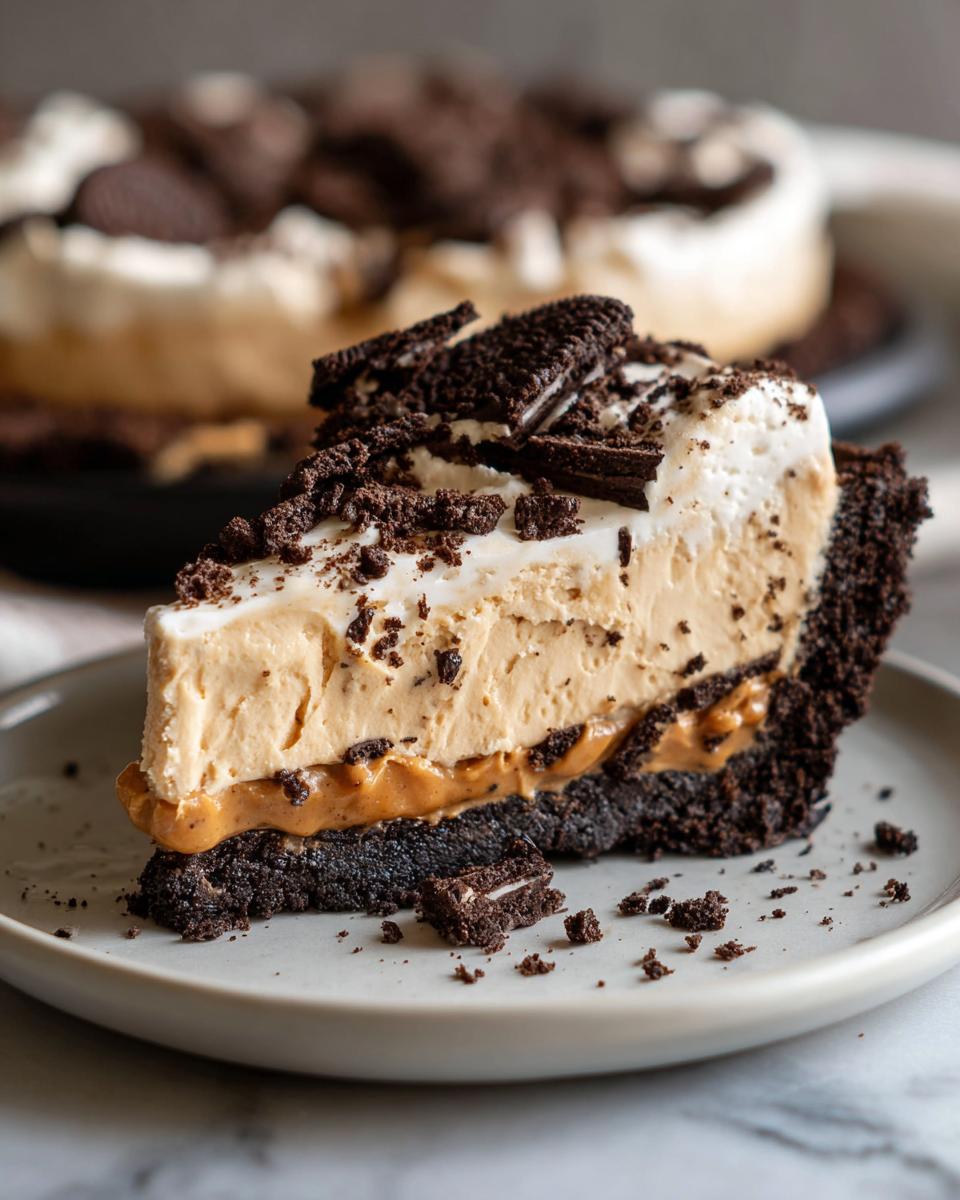
Grab your big mixing bowl! We start by beating the softened cream cheese until it’s totally smooth—no lumps allowed! Then, mix in the peanut butter until they become one happy, creamy mixture. Now, gradually add the powdered sugar and vanilla extract. Once that looks smooth, it’s time for the air. Take about half of your thawed whipped topping and *gently fold* it in. You have to fold gently, or you deflate all those lovely air bubbles we worked hard to incorporate. Spread this whole beautiful mixture evenly over your chilled cookie crust.
Chilling and Finishing the Peanut Butter Pie Recipe
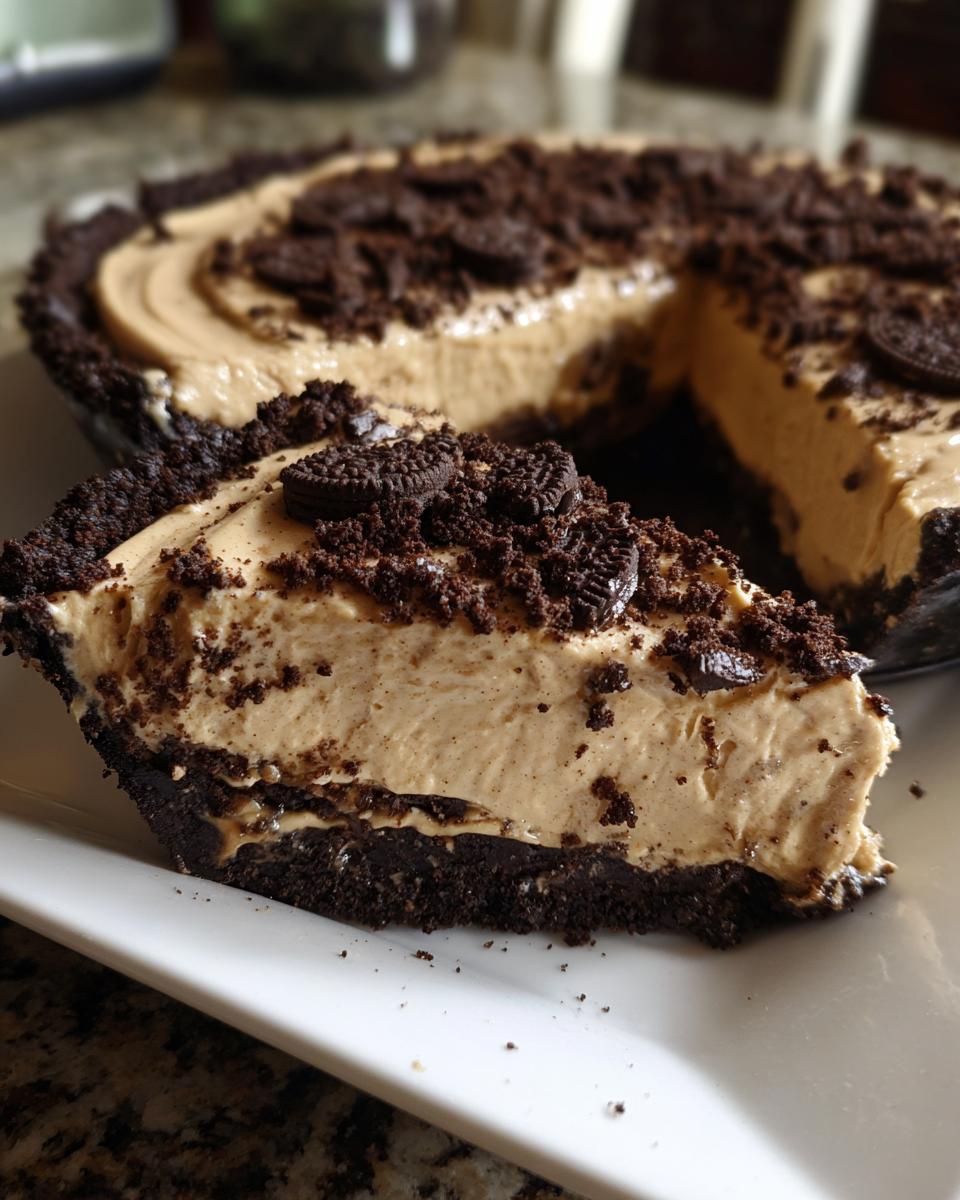
Now for the hardest part: waiting! Spread that remaining whipped topping right over the peanut butter layer. This No Bake Peanut Butter Pie needs serious chilling time to set up properly, so you must get it into the refrigerator for at least four hours. If you plan on cutting perfect, beautiful slices for a crowd—like for your big holiday gathering—I always recommend going six hours or even overnight if you can manage! Right before you serve your finished pie, drizzle on some chocolate syrup or scatter some chopped peanut butter cups. It really levels up the presentation!
If you’re looking for other simple, delicious ways to use your fridge space before a big meal, check out my guide on easy, no-bake cheesecakes!
Tips for Making a Perfect No Bake Peanut Butter Pie
You know, even though this is an No Bake Peanut Butter Pie, the results are only perfect if you treat the ingredients right! A lot of people struggle with a filling that won’t set or one that seems runny, and nine times out of ten, it comes down to temperature inconsistency. Paying attention to how cold or warm things are is key for structure here, even without the oven doing the heavy lifting.
If you want that gorgeous, sliceable texture, follow my lead when prepping, especially before you start folding in that airy goodness. For other simple, chill-and-serve treats, you might want to check out my easy ice cream pie recipe too!
Ingredient Temperature Matters for Your Peanut Butter Dessert
This is so important for your Peanut Butter Dessert. The cream cheese absolutely must be fully softened, like really spreadable, before you even think about adding the peanut butter. If it’s stiff, you’re going to end up beating out all the air and creating dense pockets of cheese instead of a smooth base.
Now for the whipped topping! You want it fully thawed so it’s liquidy enough to fold easily, but you do *not* want it warm. If it gets warm, it melts, and it will deflate your entire filling mixture. Keep it in the fridge until the last minute, then fold it in swiftly and get that pie straight back into the cold. That chill time is what locks everything in place!
Variations on the Classic Peanut Butter Pie
The great thing about this simple Peanut Butter Pie is that it’s a fantastic blank canvas for your favorite swirl-ins and toppings! Once you master the base recipe—which, let’s be honest, is already incredible—you can start playing around. People often ask me how they can make this dessert even richer, and I usually point them right toward chocolate.
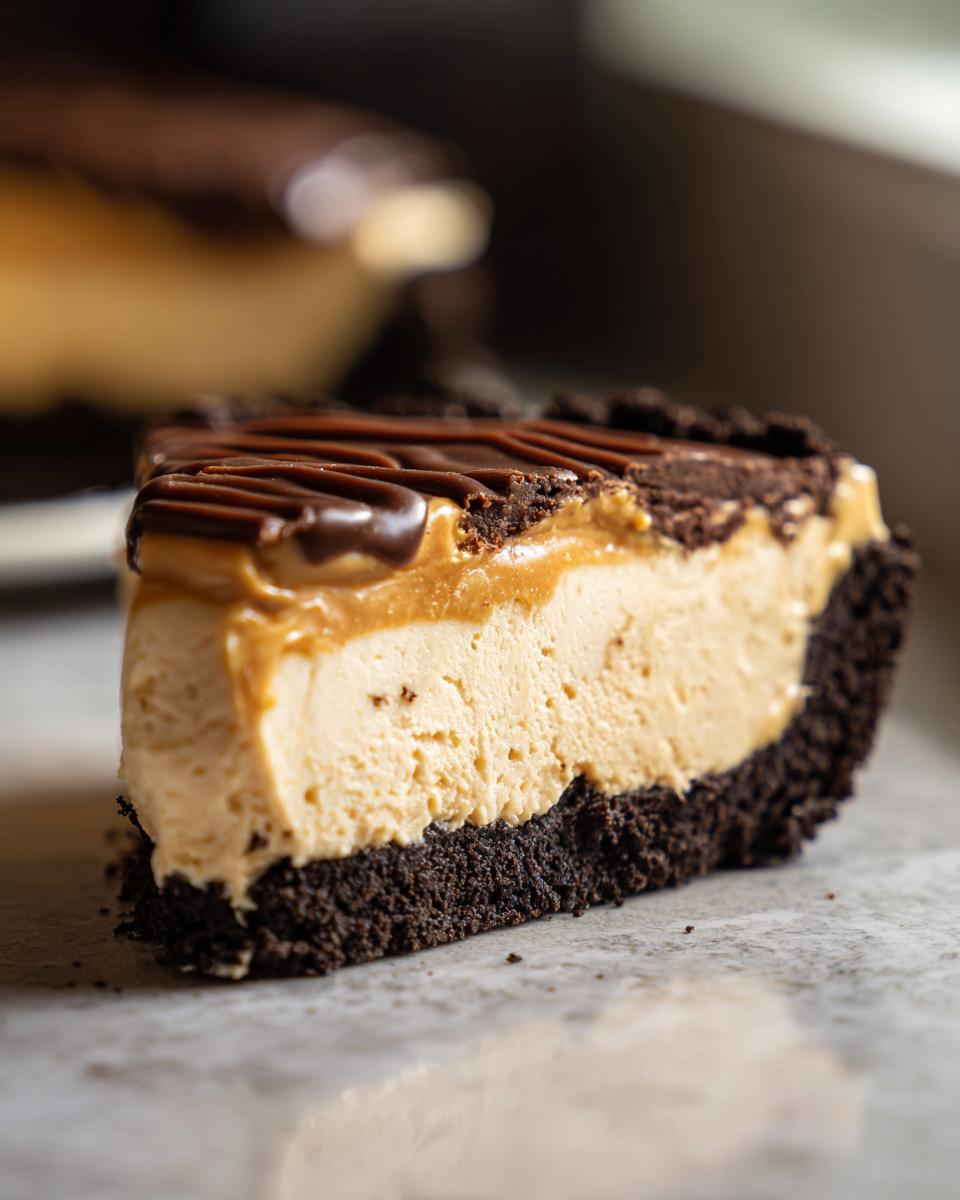
If you’re craving that deep, decadent flavor combo, turning this into a Chocolate Peanut Butter Pie setup is so easy. You don’t have to mess with the filling at all! All you need to do is upgrade the crust, or even better, swirl some chocolate right into the filling before it chills.
Here are a couple of ways I’ve tweaked this recipe over the years:
- Chocolate Swirl Magic: Take about half a cup of chocolate syrup (or even melted milk chocolate) and gently drizzle it over the peanut butter layer right before putting on the final whipped topping layer. Use a butter knife to swirl it around very lightly. This gives you beautiful streaks of chocolate throughout every wedge.
- A Nuttier Crust: If you don’t want Oreos, you can certainly use a graham cracker crust, as noted before. But if you want to boost the flavor, pulse about a quarter cup of salty peanuts in with the crumbs before you add the melted butter. That little bit of extra crunch is fantastic!
- The Reese’s Overload: This works best if you chop up a few peanut butter cups and fold those right into the filling along with the whipped topping. It makes for a chunkier, more satisfying bite, turning it into the ultimate decadent peanut butter dessert.
Honestly, no matter how you dress this Peanut Butter Pie up, it comes together faster than most baked desserts and always wins the dessert war at the table!
Serving Suggestions for Your Easy Peanut Butter Pie
This Easy Peanut Butter Pie is rich, isn’t it? That’s why what you serve *with* it matters almost as much as how you make it! Because the filling is so decadent—all that cream cheese and peanut butter goodness—we want to pair it with something that cuts through that richness nicely rather than piling on more heavy stuff.
The most important thing to remember, no matter what you choose, is that this pie needs to be served cold. It holds its shape best when it’s refreshed straight from the fridge. If you let it sit out too long while you’re serving it, that beautiful creamy texture will start to soften up on you.
When I put this out for company, here are the simple ways I dress up the plate to make it look like I spent way more time on it than I actually did:
- A Drizzle of Depth: A thin, artistic zigzag of melted dark chocolate or caramel sauce over the top of the whipped cream layer always looks amazing.
- Fresh Balance: A small scattering of fresh raspberries or thinly sliced strawberries on the side of the plate gives you necessary tartness and color contrast. Blueberries are great too!
- Salty Crunch Sideshow: If you didn’t put chopped peanut butter cups in the pie, crush up a few salty peanuts and dust them around the edges of the serving plate. That salty hit is divine with the sweet creaminess.
If you’re serving this after a heavy meal, like during the holidays, I highly recommend switching out heavy coffee for something lighter. I have a simple Thanksgiving punch recipe that is bubbly and bright—it cleanses the palate perfectly before you dive into this heavy dessert!
For more ideas on crowd-pleasing desserts that don’t require the oven, I love seeing what other people are doing, like this guide on making a classic Peanut Butter Pie. It’s always fun to compare notes!
Storage and Keeping Your Peanut Butter Pie Fresh
Now, this is a great question because if you’re making this ahead of your big event—which I totally recommend, especially for your Thanksgiving Desserts planning—you need to know how to store it right!
The good news about this Peanut Butter Pie is that since it’s a no-bake recipe dependent on chilled fats (the cream cheese and butter) and whipped topping, it actually holds up really well in the fridge. But you can’t just leave it uncovered. Nothing good happens when you leave dairy exposed in the fridge because your leftovers tend to start tasting suspiciously like last night’s onions, right? We absolutely want to avoid that fridge flavor contamination here!
Here’s my fool-proof method for keeping this pie fresh and perfect for up to three days:
- Cool Completely First: Never cover a pie that is still warm or even slightly cool from the chilling process. That trapped condensation will make your beautiful whipped topping weep and get soggy. Let it set up fully—at least 4 hours—before thinking about covering it.
- Cover Gently: This is the most important part for aesthetics. Whipped topping is delicate! You can either lightly tent the pie with plastic wrap, making sure the plastic doesn’t actually touch the whipped topping (you can use toothpicks inserted strategically around the edge to hold the wrap up like a tent roof), or use a reusable pie carrier if you have one.
- Fridge Life: This pie is best enjoyed within 48 hours, but it will certainly last up to three full days in the refrigerator. After that, the texture of the whipped topping might start to soften a bit too much for my liking.
If you happen to have leftovers that are nearing their end, just slice off what you want and eat it right away! Honestly, I’ve never managed to keep one longer than four days, because someone always sneaks a slice in the middle of the night!
Frequently Asked Questions About This Peanut Butter Dessert
I get so many questions about this Peanut Butter Dessert because everyone wants to make sure their first try is perfect! And honestly, I love hearing from you all—it reminds me of how much we all love simple, satisfying sweets. Here are the things I get asked most often when people try to make this pie for the first time, especially when they’re planning ahead for big meals.
Can I use a Graham Cracker Crust instead of Oreos in this peanut butter pie recipe?
Yes, absolutely! You know I love the chocolate contrast from the Oreos, but if you prefer a lighter flavor or just don’t have chocolate cookies on hand, a graham cracker crust works beautifully. The recipe notes mention this substitution is fine. If you decide to switch, you’ll generally use the same amount of crumbs (around 1 1/2 cups) and the same amount of melted butter (6 tablespoons). The texture will be a little more sandy and less intensely chocolatey, but it’s still a wonderful base for that Creamy Peanut Butter Pie filling.
How far in advance can I make this No Bake Peanut Butter Pie?
This is my favorite question because it speaks right to my mission of making life easier! Since this is a No Bake Peanut Butter Pie, it’s perfect for making ahead, especially if you’re juggling multiple dishes for your Thanksgiving Desserts spread. You truly want it to chill for at least 4 hours to set firm, but honestly, I find it tastes the absolute best when it sets overnight. I usually assemble the whole thing the day before I need to serve it. Just make sure you cover it well so it doesn’t absorb any fridge smells!
For more information about how I run my kitchen and why I focus on these kinds of simple, comforting recipes, you can always read more about Mia’s Meals right here! Happy baking (or, well, chilling)!
Estimated Nutritional Data for This Peanut Butter Pie
Okay, now that we’ve established this is the easiest and most comforting dessert you’ll ever make, let’s talk quick facts. I always include this information because, while this peanut butter pie is pure indulgence, it’s good to have a general idea of what you’re enjoying. Remember, since this is a homemade recipe without strict commercial controls, these numbers are estimates based on the ingredients listed and standard serving sizes. You know how it is—if you load up on extra chocolate syrup, things change!
If you’re looking to balance out a rich meal like this with something lighter for midday, I’ve got tons of great healthy lunch recipes that keep things simple for you!
Here’s the breakdown for one generous slice of this delicious No Bake Peanut Butter Pie:
- Serving Size: 1 slice
- Calories: 450
- Fat: 30g (with 12g saturated fat—hello, cream cheese!)
- Carbohydrates: 40g
- Sugar: 35g (It is a dessert, after all!)
- Protein: 9g
- Sodium: 320mg
- Cholesterol: 45mg
Take these numbers with a grain of salt, okay? That’s just the nature of whipping up something this delicious at home! What matters most is that it tastes incredible and made everyone happy at the table.
Share Your Homemade Peanut Butter Pie Experience
Well, that’s it! You’ve got the cheat sheet for what I consider the absolute Best Peanut Butter Pie. Seeing this pie come together without turning on the stove always makes me think back to those warm memories in my mother’s kitchen. It proves that delicious, comforting food doesn’t have to be complicated. I really hope you get to share this Easy Peanut Butter Pie with people you love!
Now, I live for hearing your stories! Did you make it for a big gathering? Did you switch out the Oreos for something else? Did the whole family fight over the last slice? Please don’t be shy!
The very best way to let me know how it went is by leaving a star rating right down below the recipe card. Every rating helps other folks who are scrolling around looking for a dependable, totally foolproof dessert idea. And if you want to send me a picture of your finished pie—maybe sitting next to your coffee cup or on your holiday table—I’d love to see it!
You can always send pictures or ask me any lingering questions you have about substitutions or texture right over on my contact page. Happy chilling, everyone, and thanks for letting my family tradition become part of yours for a little while!
PrintEasy No-Bake Peanut Butter Pie with Oreo Crust
Make this simple, creamy peanut butter pie with a chocolate cookie crust. It requires no oven time and is a crowd-pleasing dessert perfect for holidays or any gathering.
- Prep Time: 20 min
- Cook Time: 0 min
- Total Time: 4 hr 20 min
- Yield: 8 servings 1x
- Category: Dessert
- Method: No-Bake
- Cuisine: American
- Diet: Vegetarian
Ingredients
- 1 1/2 cups finely crushed Oreo cookies (about 25 cookies)
- 6 tablespoons unsalted butter, melted
- 1 (8 ounce) package cream cheese, softened
- 1 cup creamy peanut butter
- 1 1/2 cups powdered sugar
- 1 teaspoon vanilla extract
- 1 (12 ounce) container frozen whipped topping, thawed
- Optional topping: Chocolate syrup or peanut butter cups
Instructions
- Combine the crushed Oreo cookies and melted butter in a medium bowl. Press the mixture firmly into the bottom and up the sides of a 9-inch pie plate. Place the crust in the freezer while you prepare the filling.
- In a large bowl, beat the softened cream cheese until smooth. Add the peanut butter and beat until fully combined.
- Gradually add the powdered sugar and vanilla extract, mixing until the filling is smooth and creamy.
- Gently fold in half of the thawed whipped topping until just combined. Spread this peanut butter mixture evenly into the chilled Oreo crust.
- Spread the remaining half of the whipped topping over the peanut butter layer.
- Chill the pie in the refrigerator for at least 4 hours, or until firm.
- Before serving, top with chocolate syrup or chopped peanut butter cups, if desired. Slice and serve cold.
Notes
- For a richer chocolate flavor in the crust, use 1/4 cup of cocoa powder mixed with the crushed Oreos before adding the butter.
- If you do not have Oreos, you can substitute with a graham cracker crust recipe.
- This pie sets best when chilled for a minimum of 6 hours, especially if you plan to serve a large crowd.
Nutrition
- Serving Size: 1 slice
- Calories: 450
- Sugar: 35g
- Sodium: 320mg
- Fat: 30g
- Saturated Fat: 12g
- Unsaturated Fat: 18g
- Trans Fat: 0g
- Carbohydrates: 40g
- Fiber: 2g
- Protein: 9g
- Cholesterol: 45mg