
Honestly, I used to think baking real sourdough bread—that crusty, incredibly flavorful loaf you see in bakeries—was strictly reserved for morning people who had all day to watch dough rise. It felt intimidating, right? All that talk about autolyse, bulk fermentation, and scoring made it sound like a science project! But back here in my busy Ohio kitchen, I knew I had to figure out a way to make that wholesome, incredible flavor fit into a weeknight schedule. So, I worked hard to strip away the complexity. This recipe for **Easy Dutch Oven Sourdough Sandwich Bread for Beginners** is the result: it’s designed to give you that soft, fluffy, wonderfully sliceable result you crave, sometimes even the same day! It’s about bringing that connection back to simple, good food, just like my mom taught me. If you’re curious about my mission to simplify home baking, you can always read more about my philosophy here. Trust me, you absolutely can make stunning homemade sourdough.
- Why This Easy Sourdough Bread Recipe Works for Beginners
- Essential Ingredients for Your Sourdough Bread Recipe
- Equipment Needed for Dutch Oven Sourdough
- Step-by-Step Instructions: How to Bake Sourdough Bread
- Expert Sourdough Baking Tips for Success
- Storing Your Homemade Sourdough Bread
- Serving Suggestions for This Sourdough Bread
- Frequently Asked Questions About Sourdough Bread
- Nutritional Estimates for Sourdough Bread
- Share Your Homemade Sourdough Success
Why This Easy Sourdough Bread Recipe Works for Beginners
When you’re just starting out, you need a recipe that rewards your effort! This isn’t about fighting with a tough, rustic loaf that needs 18 hours of rest time. This sourdough bread recipe is tweaked specifically to be user-friendly and deliver incredible texture right away. I promise it will be the easiest sourdough recipe you try.
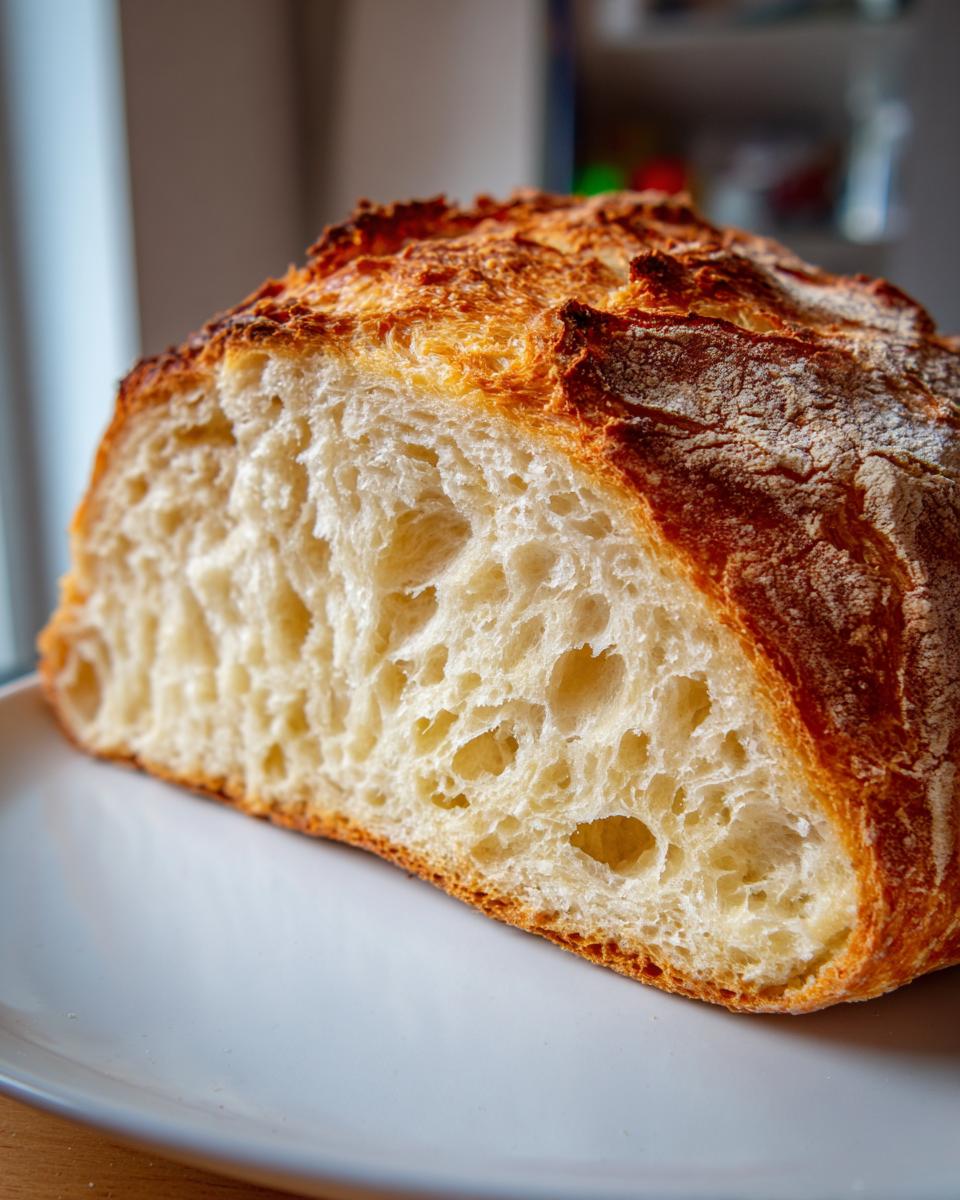
- It results in incredible texture—soft, fluffy, and sturdy enough for sandwiches.
- We skip the complicated overnight cold proof, making it faster.
- The Dutch oven does most of the heavy lifting for that beautiful structure.
When you’re ready to plan it around your busy schedule, think about pairing it with one of my quick weeknight dinners!
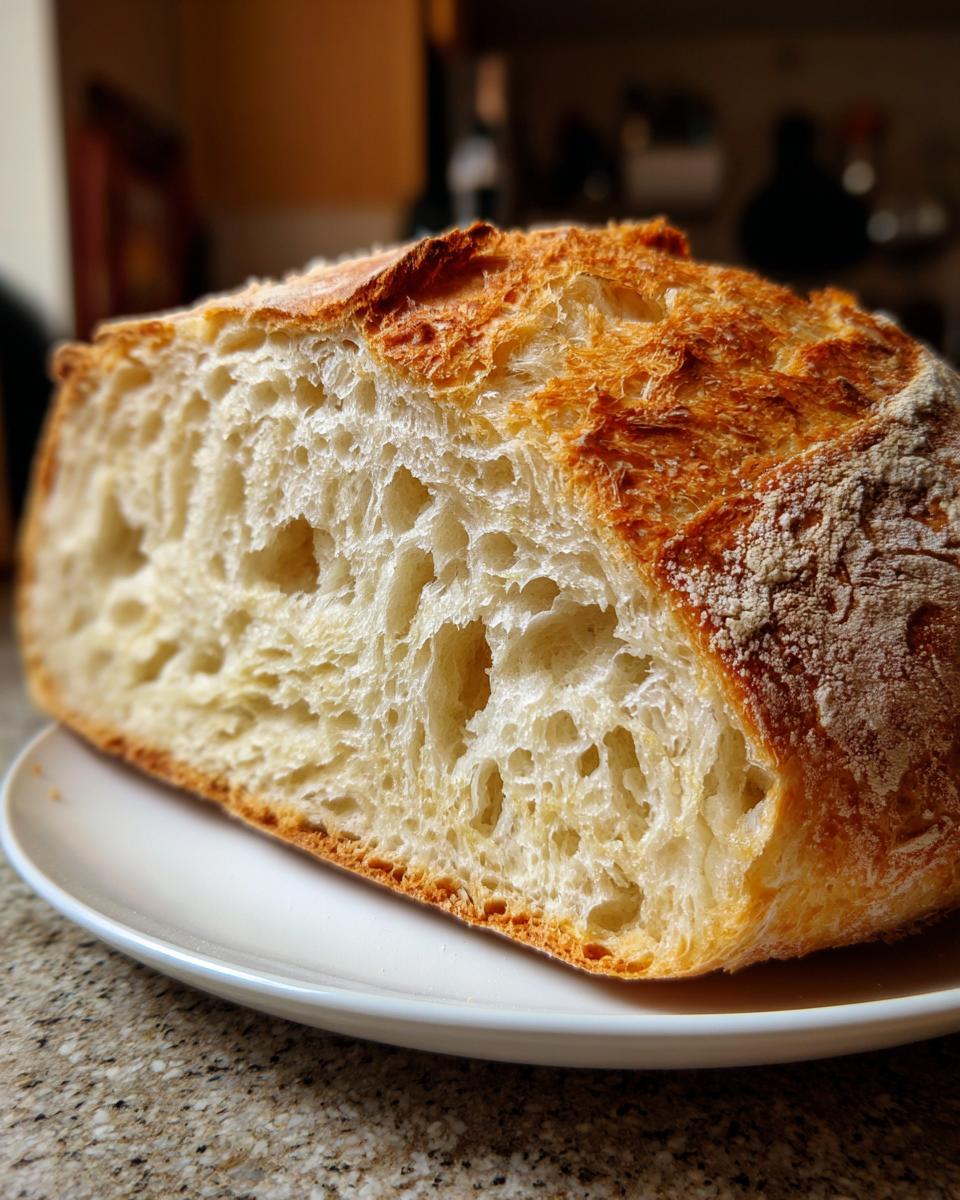
Achieving Soft Sourdough Bread Texture
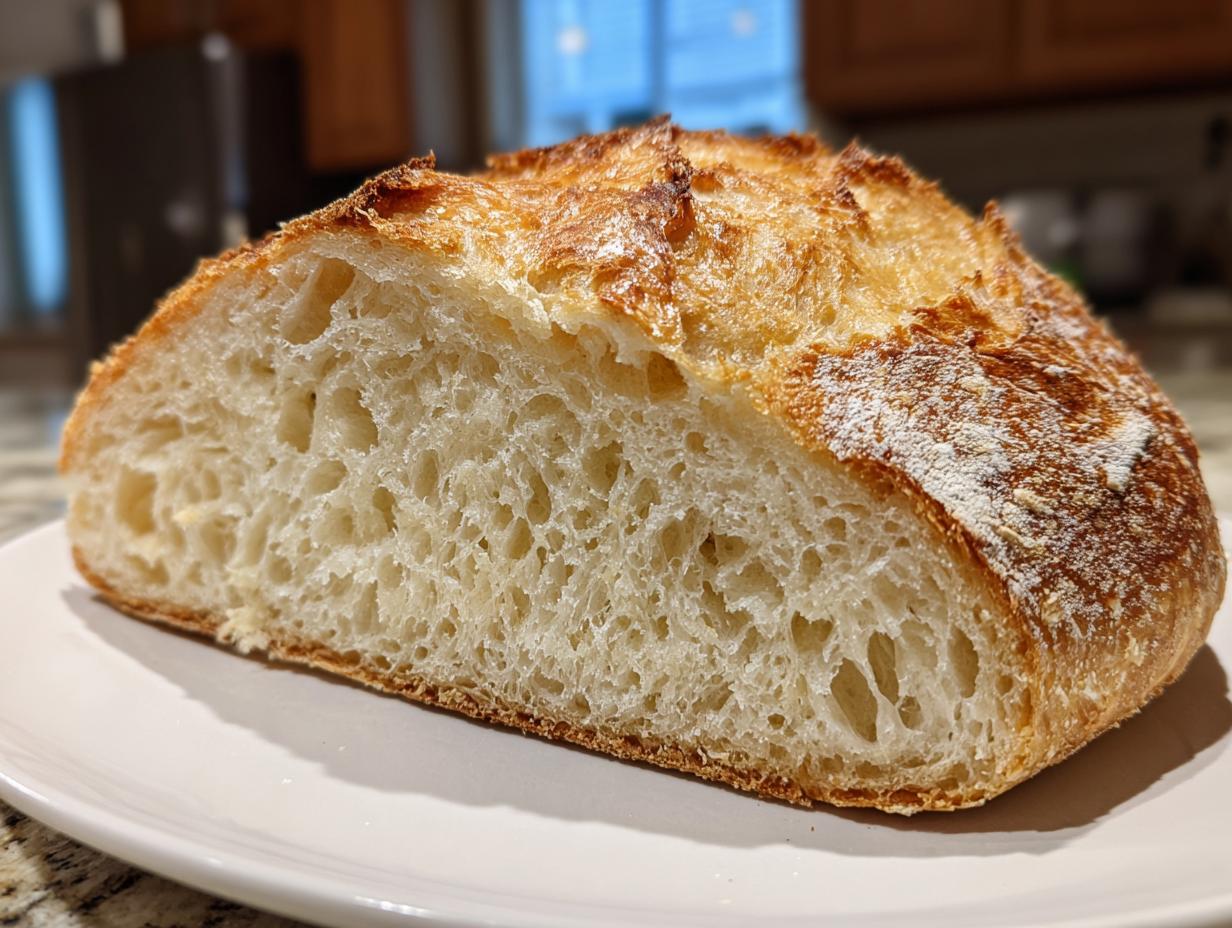
Traditional artisan sourdoughs are designed to have a super hard, crackly exterior. But for sandwiches, we want soft! The beauty of using the Dutch oven here is that it traps steam early in the baking process. This steam keeps the exterior dough supple for longer, which prevents it from setting too fast and hard. That trapped moisture is what allows the interior to bake up beautifully soft rather than dense or overly chewy.
The Quick Sourdough Bread Timeline
If you’ve been intimidated because you think you need to plan your bake three days out, I have good news! This specific sourdough bread recipe minimizes the long cold fermentation phase. While cold proofing develops amazing flavor, we keep this one quick so you can enjoy fresh, delicious homemade sourdough on the same day you start mixing the ingredients. It’s real flavor, faster!
Essential Ingredients for Your Sourdough Bread Recipe
Good bread starts with good ingredients, and when you’re working with sourdough, the starter itself is the most important one! Because we’re aiming for that soft, sliceable loaf, precision matters here. I’ve listed exactly what you need below, but feel free to stick to bread flour for the best structure. We need these elements to create the perfect environment!
- 100g active sourdough starter
- 350g warm water (make sure it’s warm, not hot!)
- 500g bread flour
- 10g fine sea salt
Sourdough Starter Health Check
Before you even think about mixing, check that starter! It must be actively bubbly and happy. If you aren’t sure, try the float test: drop a tiny spoonful into a glass of plain water. If it floats right away, you’re good to go for this sourdough bread bake. If it sinks, give it one more feeding and wait a few hours before mixing.
Equipment Needed for Dutch Oven Sourdough
When you’re making dutch oven sourdough, you really only have one non-negotiable superhero item, but a few other things make the process so much smoother. I’ve learned that having the right gear means less stress when things get a little messy—and oh, they will get messy!
Here is what you absolutely need to succeed with this beginner-friendly technique:
- A Dutch Oven (with a lid): This is the star! It traps the steam that makes the crust crisp but keeps the inside soft. Make sure it’s heavy cast iron. Mine is a 5.5-quart size, and it works perfectly.
- A large mixing bowl for bringing everything together.
- Plastic wrap or a large plastic bag to cover the dough while it ferments.
- A proofing basket (banneton) or a bowl lined with a heavily floured kitchen towel. For sandwich loaves, a standard loaf pan works too, but the Dutch oven gives that amazing artisan look!
- Parchment paper. I can’t tell you how many times this has saved me from losing half my loaf to the bottom of the pot!
- A really sharp knife or a baker’s lame for scoring the top.
If you’re looking for other simple kitchen tools that I swear by for stress-free cooking, check out my post on my favorite easy kitchen gear. It has a few handy gadgets I use every week!
Step-by-Step Instructions: How to Bake Sourdough Bread
Okay, this is where the magic—and the mess—happens! Don’t panic when you see the steps. We are moving slowly here to ensure you get that beautiful, sliceable sourdough bread without struggling. Remember, we are building structure step-by-step, so stick to the timing, and you’ll be amazed at what comes out of your oven!
Mixing and Autolyse for Perfect Sourdough Bread Dough
First, wake up your starter that passed the float test! Mix it right into your warm water. Then, add all the flour and salt. Mix it by hand until there are no dry flour patches left. This will look like a rough, shaggy mess—that’s perfect! Cover that bowl and let it rest for 30 minutes. This resting time, called the autolyse, lets the flour soak up the water completely, kick-starting gluten development, which is super important for this sourdough bread recipe.
Building Strength with Stretch and Folds
Now we build the strength we skipped with heavy kneading. After that 30-minute rest, wet your hands slightly so the dough doesn’t stick to you. Reach under one side of the dough, gently pull it upward until you feel resistance, and fold that stretched edge over the center. Spin your bowl a quarter turn, and do it again! Repeat this so you’ve stretched and folded all four sides. Cover it, wait 30 minutes, and repeat this entire process three more times for four total sets of folds.
Shaping and Bulk Fermentation for Your Sourdough Loaf
Once the folding is done, let the dough rest for a final hour. Now it’s time to shape! For a sourdough bread that slices well, you want maximum tightness. Gently flip the dough out and shape it into a tight boule or oval, pulling the surface tension really high. Put it seam-side up in your floured proofing basket. Let it ferment at room temperature for about 3 to 4 hours. How do you know it’s ready? It should only look mildly puffed up—maybe 30% to 50% bigger—definitely not doubled in size. That gentle bulk ferment keeps this a great quick sourdough option!
Baking the Sourdough Bread in the Dutch Oven
This part is serious business, so be careful! Preheat your oven to 500°F with the Dutch oven inside for at least 45 minutes. Get that pot ripping hot! Carefully turn your dough out onto a piece of parchment paper, score it quickly if you want, and use that parchment paper like a sling to lower the whole thing gently into the hot pot. Cover it and bake for 20 minutes. Then, drop the heat down to 450°F, take the lid off, and bake for another 20 to 25 minutes until it’s deep golden brown. You have to promise me you will let this amazing sourdough bread cool completely on a rack before slicing—it keeps the inside from getting that gummy texture we hate!
If you want more tips on achieving that bakery look without the struggle, check out my guide to classic homemade crusty bread techniques.
Expert Sourdough Baking Tips for Success
Baking sourdough bread is so rewarding when you get those little details right! My biggest lesson learned in the early days was about shaping. I used to try a quick poke and roll, and my loaf would just spread into a sad, flat pancake after I put it in the Dutch oven. Yuck! Now, I pull that dough super tight before placing it in the basket—that surface tension is everything for getting gorgeous oven spring on your sourdough bread.
If your loaf spreads out, it usually means your shape wasn’t tight enough or you let it bulk ferment just a bit too long for a same-day bake. Remember, this recipe skips the cold proof, so we are very hands-on during that final shaping!
For more insights on keeping things simple and nailing those results, this reference on beginner sourdough guides is fantastic.
Troubleshooting Common Sourdough Issues
Don’t trash that dough if it doesn’t look perfect the first time! A flat loaf almost always traces back to a weak shape or under-developed strength during the folds. If your crumb is dense and gummy, double-check that starter—it should be bubbly and active enough to float before you start mixing your sourdough bread dough.
If you want to practice shaping with something easier first, my recipe for soft dinner rolls is great practice for handling sticky dough without the pressure of a single loaf!
Storing Your Homemade Sourdough Bread
That smell of fresh bread filling the house is one of the best things, but we need to keep that amazing soft texture locked in after it cools! Since this is a fluffy sandwich loaf, it can dry out faster than a super-crusty artisan boule. My first rule: Do not refrigerate it! Yes, it slows down mold, but it makes the crumb stale way quicker. Store your cooled sourdough bread on the counter in a paper bag for a day, or sealed tightly in a plastic bag for up to three days—that keeps the softness in.
If you have leftovers? Slice it up first, then freeze it airtight. When you want a piece, just pop a slice into the toaster or quickly reheat it in a 350-degree oven for about five minutes. It comes back to life! If you’re looking for other moist baked goods, you should check out my easydate and nut bread recipe too!
Serving Suggestions for This Sourdough Bread
Now that you have battled the bulk fermentation and pulled that gorgeous loaf out of the Dutch oven, what do you do with it? That’s the fun part! Since this specific sourdough bread is soft and wonderfully sliceable, it really fits into our everyday life perfectly—no need to save it just for fancy weekend brunches.
My favorite way to enjoy it is simple. Toast a thick slice and smear it with salted butter; that’s sometimes all you need. But if you’re looking to feed a hungry family, this bread shines in simple applications:
- The Ultimate Comfort Toast: Don’t overcomplicate your breakfast! Top your toast with avocado and a sprinkling of everything bagel seasoning, or go for my childhood favorite: butter and a drizzle of honey. Check out some more of my simple breakfast ideas for pairing inspiration.
- The Workhorse Sandwich: Because this loaf isn’t trying to be a rock-hard, rustic nightmare, it’s perfect for sandwiches. It holds up to a hearty turkey and cheddar without tearing apart. Thin slices are great for kid-sized PB&Js!
- Soup Dippers: When I make hearty chili or creamy tomato soup in the fall, this bread is essential for dunking. It’s soft enough to absorb the broth but sturdy enough not to dissolve immediately.
Remember, the mission here is connection, and sharing a simple piece of perfect, homemade sourdough bread is the easiest way to bring everyone to the table.
Frequently Asked Questions About Sourdough Bread
I know when you first start out with **beginner sourdough bread**, there are a million little questions buzzing around your head! I’ve gathered a few of the ones I hear most often. Hopefully, these help make your next batch of **homemade sourdough** even easier!
What if I don’t have bread flour and only have All-Purpose (AP)?
You can absolutely make this work as an easy sourdough recipe using AP flour! Just know that because AP flour has slightly less protein than dedicated bread flour, your loaf might be a tiny bit softer and might not have quite the same oven spring. You’ll still get a delicious loaf for sandwiches, though!
Do I have to use a Dutch Oven for this bread?
The Dutch oven is key for trapping the steam needed for that soft, non-gummy interior when you skip the long cold proof. If you genuinely don’t have one, wrap your shaped loaf tightly in parchment paper and place it on a preheated baking stone or steel. Place a rimmed baking sheet on the rack below and dump about a cup of ice cubes onto that hot sheet right after you place your bread in the oven. That blast of steam helps!
What can I do with leftover sourdough starter discard?
Oh, don’t dump that discard! It’s flavor gold. I use my unfed discard the most in simple things like pancakes, waffles, or quick crackers. It adds a nice little tang without needing to feed the starter first. If you don’t have time to bake with it immediately, just pop the discard into a sealed jar in the fridge for up to a week.
How can I make this quick sourdough bread taste more complex?
If you want that deeper flavor boost but don’t want to commit to a 24-hour cold ferment, try adding just a teaspoon of apple cider vinegar to the initial water mix. It plays so nicely with the natural tang already present in the starter!
Nutritional Estimates for Sourdough Bread
Now, listen, I’m not running a sterile test kitchen here, and I know every flour brand is a little different. So, these numbers are a great starting point, but treat them as just that—an estimate for one slice of this homemade sourdough based on the simple ingredients we used. We keep things wholesome around here, which means we aren’t adding a ton of sugar or fat, which is why this bread fits so well into our family meals!
Keep in mind, bread made with only flour, water, and salt is naturally nutritious, and the fermentation process helps with digestibility too. Here’s what you can generally expect per slice:
- Calories: About 240
- Protein: Around 9g
- Carbohydrates: Roughly 48g
- Total Fat: Just over 1g
That’s a pretty solid, wholesome slice for your morning avocado toast or your kid’s sandwich, if you ask me! If you’re looking for more ideas on keeping your family meals healthy and simple, you should check out my thoughts on healthy lunch recipes for when you finish off the loaf too fast!
Share Your Homemade Sourdough Success
Oh, I truly hope you loved baking this simple sourdough bread! Seeing your successes warms my heart and proves that baking doesn’t have to be complicated. If you’re happy with your soft, fluffy loaf, please take a moment to rate the recipe—it helps other busy home cooks find it!
Did you have a particularly great flip or score? Drop a comment below and tell me what worked for you! I love seeing your photos shared on social media. If you run into any questions later on, remember you can always reach out via my contact page. Happy baking!
PrintEasy Dutch Oven Sourdough Sandwich Bread for Beginners
This beginner-friendly recipe shows you how to bake soft, fluffy sourdough sandwich bread using a Dutch oven. Achieve a sliceable loaf without an overnight wait.
- Prep Time: 30 min
- Cook Time: 45 min
- Total Time: 1 hour 55 min
- Yield: 1 loaf 1x
- Category: Bread
- Method: Baking
- Cuisine: American
- Diet: Vegetarian
Ingredients
- 100g active sourdough starter
- 350g warm water
- 500g bread flour
- 10g fine sea salt
Instructions
- Mix the active starter and warm water in a large bowl until combined.
- Add the flour and salt to the wet mixture. Mix by hand until a shaggy dough forms and no dry flour remains.
- Cover the bowl and let the dough rest for 30 minutes (autolyse).
- Perform four sets of stretch and folds, spaced 30 minutes apart. To do this, wet your hands, grab one side of the dough, stretch it up gently, and fold it over the center. Rotate the bowl and repeat three more times.
- After the final set of folds, let the dough rest, covered, for 1 hour.
- Gently shape the dough into a tight boule or oval loaf suitable for your proofing basket.
- Place the shaped dough seam-side up in a floured proofing basket. Cover the basket with plastic wrap or a damp cloth.
- Allow the dough to bulk ferment at room temperature for 3 to 4 hours, or until it has increased in volume by about 30-50% and shows some bubbles. (For a same-day loaf, avoid long cold fermentation.)
- Preheat your oven to 500 degrees Fahrenheit (260 degrees Celsius) with your Dutch oven inside for at least 45 minutes.
- Carefully remove the hot Dutch oven. Gently turn the dough out onto a piece of parchment paper. Score the top of the loaf with a sharp blade if desired.
- Using the parchment paper as a sling, carefully lower the dough into the hot Dutch oven. Cover with the lid.
- Bake covered for 20 minutes.
- Reduce the oven temperature to 450 degrees Fahrenheit (232 degrees Celsius). Remove the lid and continue baking for another 20 to 25 minutes, until the crust is deep golden brown.
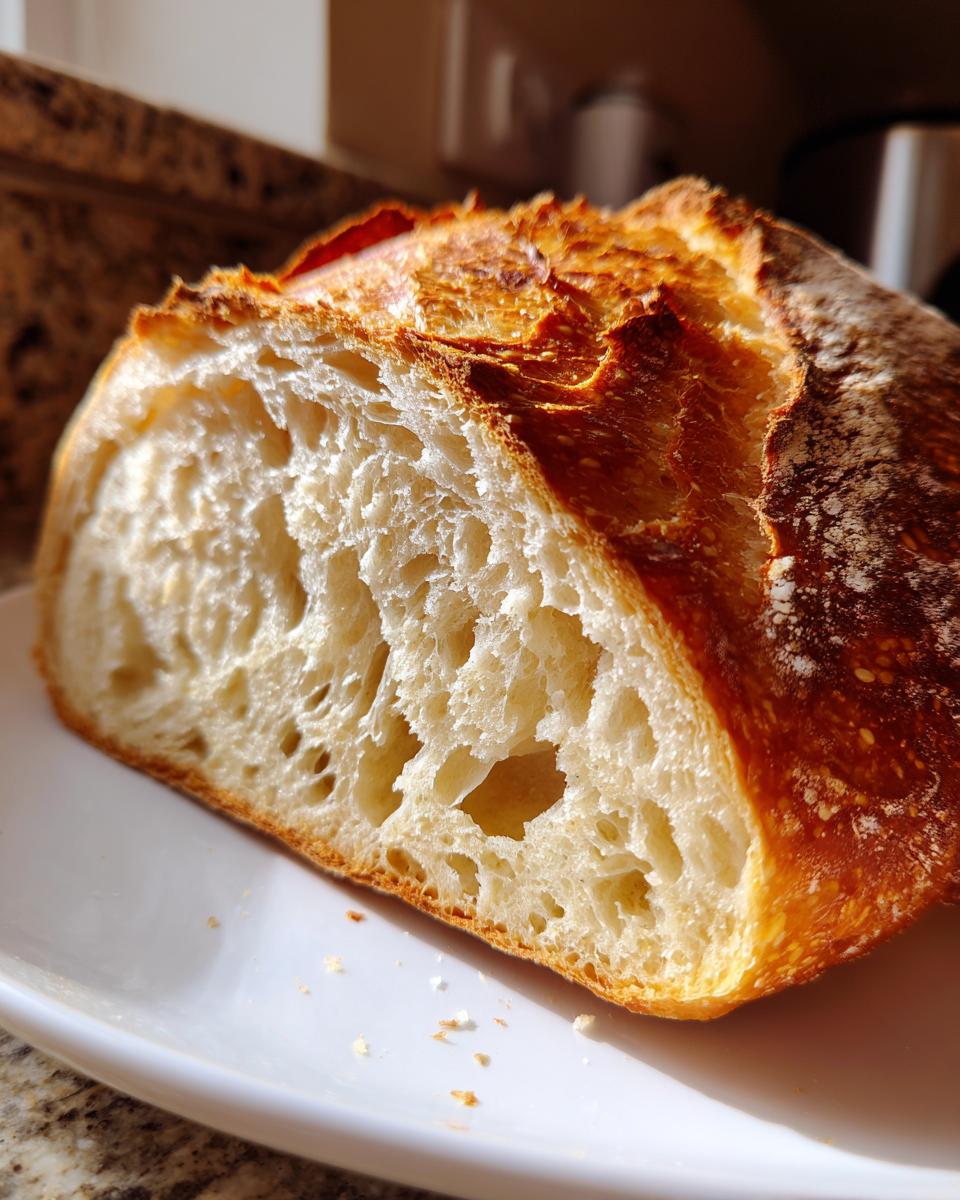
- Remove the bread from the Dutch oven and cool completely on a wire rack before slicing. This step is important for a non-gummy crumb.
Notes
- Use bread flour for the best structure when aiming for sliceable sandwich bread.
- Ensure your sourdough starter is active and bubbly before you begin mixing the dough.
- If you prefer a longer, more developed flavor, you can cold proof the shaped dough in the refrigerator for 8 to 12 hours after the initial bulk fermentation. Adjust baking time slightly if baking cold.
Nutrition
- Serving Size: 1 slice
- Calories: 240
- Sugar: 0.5
- Sodium: 350
- Fat: 1.2
- Saturated Fat: 0.2
- Unsaturated Fat: 1.0
- Trans Fat: 0.0
- Carbohydrates: 48
- Fiber: 2.5
- Protein: 9
- Cholesterol: 0