
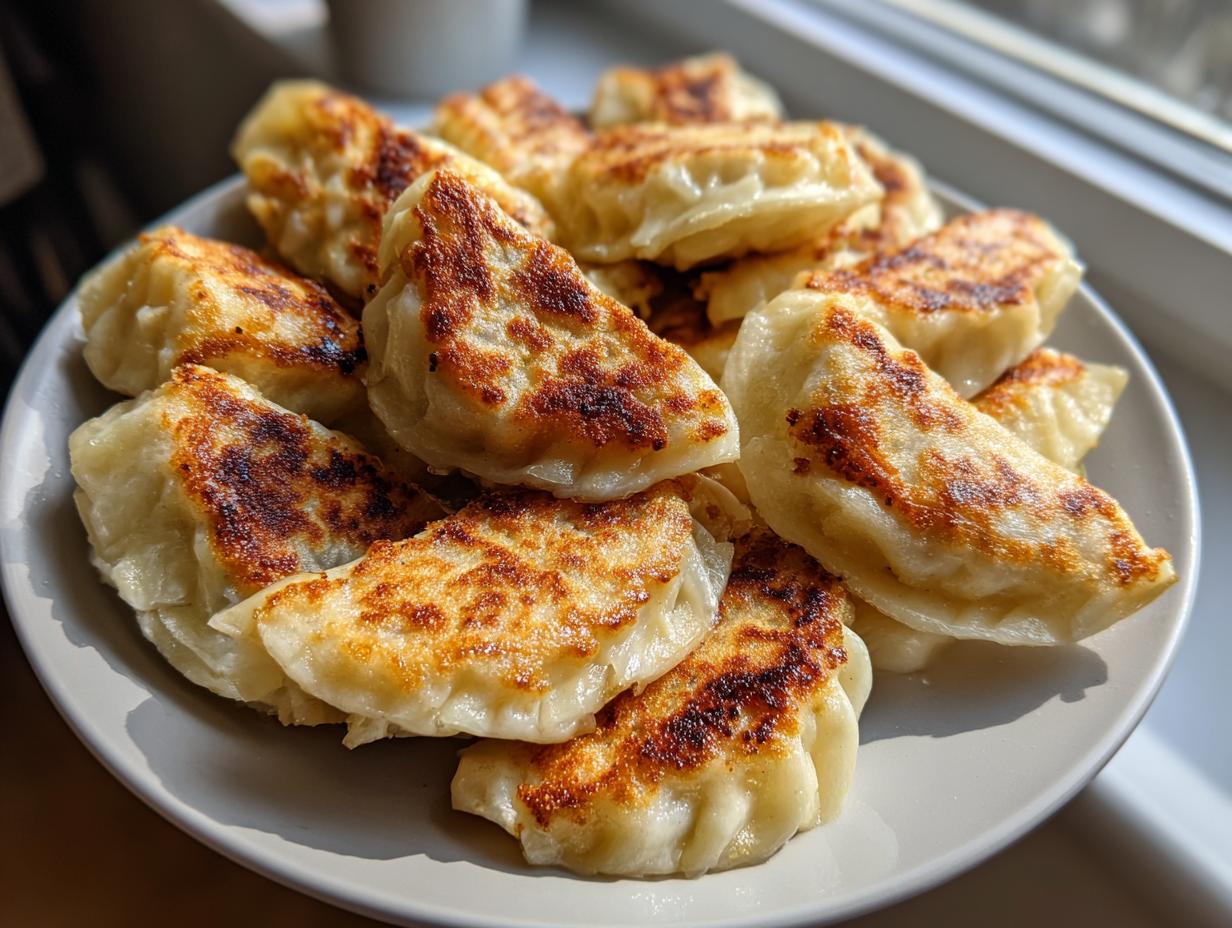
You know those nights when you just crave something deeply comforting, but you don’t have hours to fuss over a complicated dinner? That was me last week! My childhood memories are filled with my Grandma teaching me how to make savory fillings—she always said the secret to a happy home starts with something delicious made from scratch. That’s why I’m so excited about this recipe for **Cabbage Dumplings**.
If you want to learn more about how I approach simple, connected cooking, check out my story over on my About Page! Forget the fussy, hard-to-make versions you might have seen online. We’re keeping this incredibly straightforward! We’re using the best method there is: pan-frying them into perfect little potstickers. You get a wonderfully flavorful filling wrapped in a tender wrapper with that gorgeous, crispy golden bottom. Trust me, these savory **Cabbage Dumplings** sneak quickly into your weeknight rotation after you try them once.
- Why These Savory Cabbage Dumplings Are Your New Weeknight Favorite
- Gathering Ingredients for Delicious Cabbage Dumplings from Scratch
- Making the Flavorful Filling for Cabbage Dumplings
- Assembling Your Savory Cabbage Dumplings from Scratch
- Cooking Method: Pan Fried Cabbage Potstickers Tutorial
- Ingredient Notes and Substitutions for Cabbage Dumplings
- Serving Suggestions for Your Homemade Cabbage Dumplings Recipe
- Storing and Reheating Leftover Cabbage Dumplings
- Common Questions About Making Cabbage Dumplings
Why These Savory Cabbage Dumplings Are Your New Weeknight Favorite
I designed this recipe specifically for those busy days when hunger hits fast but you still crave real, homemade flavor. You won’t believe how much taste we pack into such a short time. These **Cabbage Dumplings** deliver big comfort without demanding your entire evening.
-
Quick Assembly for Busy Nights
We skip the long process of making dough from scratch here! Using store-bought wrappers gets you that perfect **Quick Cabbage Dumpling Recipe** finished in under 45 minutes total. Dinner is served before the kids finish setting the table, almost!
-
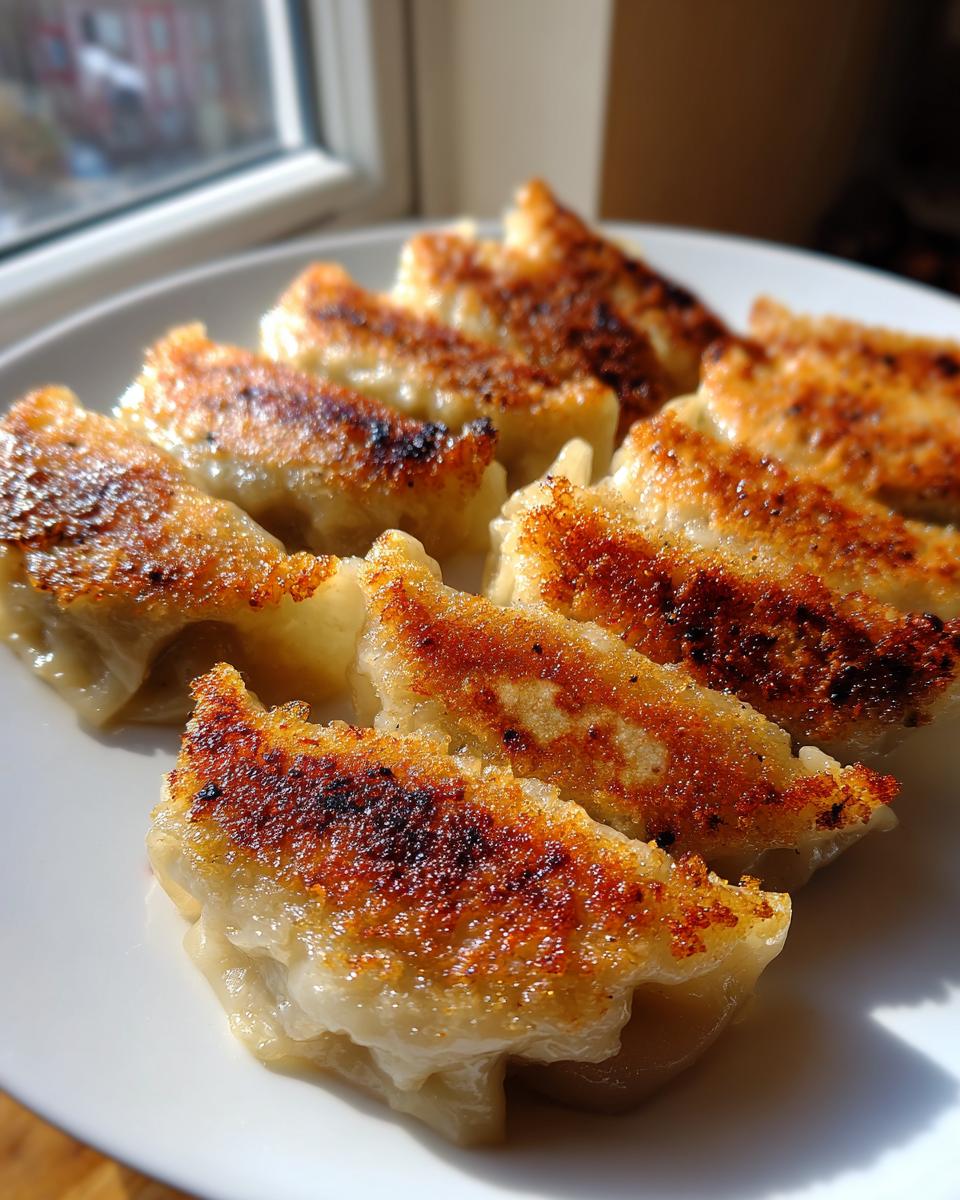
Perfect Texture: Crispy Bottom, Tender Top
The pan-fry and steam method is non-negotiable for me. It’s the only way to get those beautiful golden-brown bases that make these **Cabbage Dumplings** taste just like the best restaurant potstickers. The rest of the wrapper stays steamy and soft—pure heaven.
Gathering Ingredients for Delicious Cabbage Dumplings from Scratch
Getting ready for these flavorful **Cabbage Dumplings** is half the fun! Cooking is all about trusting the measurements, so I always lay out every single item before I even think about mixing. Because we’re aiming for amazing flavor without extra work, we’re leaning on some simple pantry essentials.
You’ll need about a pound of good quality ground pork—don’t skimp here; that’s where a lot of the deep flavor comes from in these **Delicious Ground Meat Cabbage Dumplings**. And yes, you absolutely need the wrappers! Unless you’re planning a whole baking weekend, grab a pack of the 50-count round ones. If you want to check out some of my other speedy meal ideas, my guide on quick weeknight dinners always has inspiration when you’re short on time.
Ingredient Clarity for Your Cabbage Dumpling Filling
The key to a great filling, honestly, is handling the cabbage right. You need about four cups finely shredded. We’re going to draw out all that excess moisture in the next step, but shredding it fine makes sure it blends perfectly with the pork, ginger, and garlic. Think of the spice mix—soy sauce, sesame oil, white pepper—as the flavor foundation for our amazing **Cabbage Dumpling Filling**.
Making the Flavorful Filling for Cabbage Dumplings
Okay, this is where the magic really happens, but listen to me closely: if you skip this part, you’ll end up with soup inside your wrapper! We need that filling to be savory and bouncy, not wet and sad. So, once you have your spices ready—that fresh ginger and garlic really wakes everything up—you mix it all right into the ground pork.
Don’t go crazy mixing it up, though. Overmixing makes the meat tough! You just want everything to be evenly distributed. When it looks vaguely homogenous, stop stirring. That’s right, stop! Now, let’s handle this cabbage situation, because this tiny step makes all the difference in ensuring we get truly **Fluffy Cabbage Dumplings**.
Expert Tip for Drawing Moisture from Cabbage
When I first started making these, my dumplings kept leaking. My mom finally made me sit down and watch her method, which is basically non-negotiable for these **Savory Cabbage Dumplings from Scratch**. First, take your finely shredded cabbage and toss it with just half a teaspoon of salt. Let it sit in a bowl for about 15 minutes. You’ll be amazed at the watery puddle it leaves behind!
When those 15 minutes are up, get a clean kitchen towel or even some strong paper towels and squeeze that cabbage aggressively. I mean squeeze it until your knuckles ache a little! You want it really, really dry. Discard that salty water—it’s served its purpose. Once the cabbage is dry, toss it gently into your meat mixture, give it one final light fold, and you are ready to wrap!
Assembling Your Savory Cabbage Dumplings from Scratch
Now that you have that wonderfully seasoned, perfectly dry filling, it’s time to get wrapping! I know folding dumplings can look intimidating if you’ve never done it, but honestly, for this **Homemade Cabbage Dumplings Recipe**, we are aiming for secure, not museum-quality. Remember, these are meant to be eaten, not displayed behind glass!
Grab one of those round **Chinese Cabbage Dumpling Wrapper**. Place about a teaspoon of your filling right in the center. Don’t be greedy or you won’t be able to seal them properly! Next, take your finger—just one is fine—and dab a little water all along the edge of the wrapper. This seals the deal, literally.
Fold the whole thing over into a classic half-moon shape. Now for the fun part that turns them into potstickers! We are going to create little pleats along one side of the folded edge so they seal up tight. This technique keeps all that savory filling inside while they cook. I like to make three small pleats on one side and just press them firmly against the flat side of the wrapper.
The Art of Sealing Cabbage Dumplings
Don’t rush the crimp! A tight seal is your best friend. If you don’t moisturize those edges well, the wrapper will dry out in the pan and you’ll end up with sad, split dumplings leaking porky goodness everywhere. Trust me, a little extra water goes a long way.
When you press those edges together to make those pretty pleats, really press down firmly with your thumb and forefinger so they stick. You want sharp creases! This secure crimp ensures that when we pan-fry them, they hold their shape and give us that amazing crispy bottom without letting any of that juicy flavor escape. Once you get the rhythm, you’ll be flying through them! If you want to read about my go-to techniques for other kinds of authentic wraps, check out my guide on traditional Chinese dumplings.
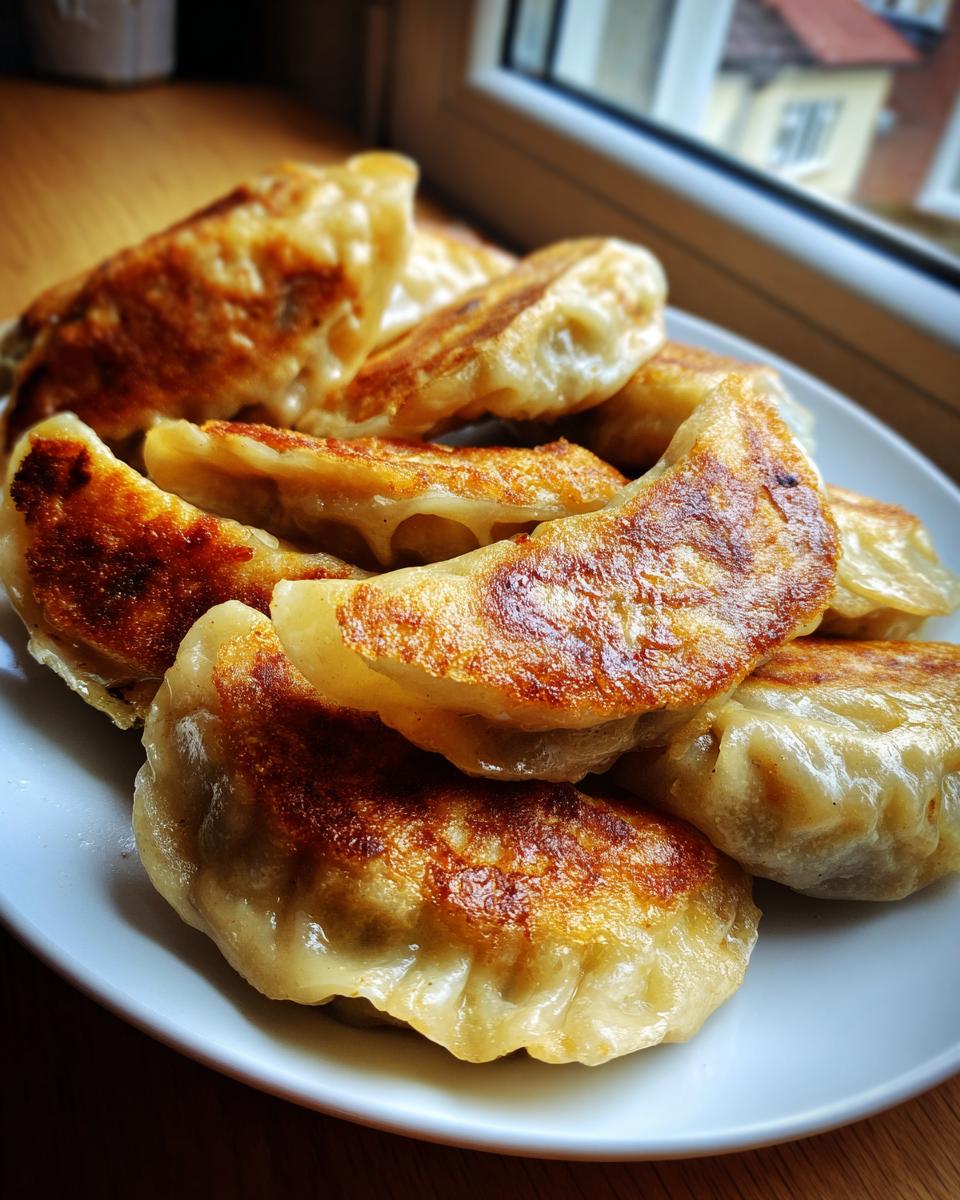
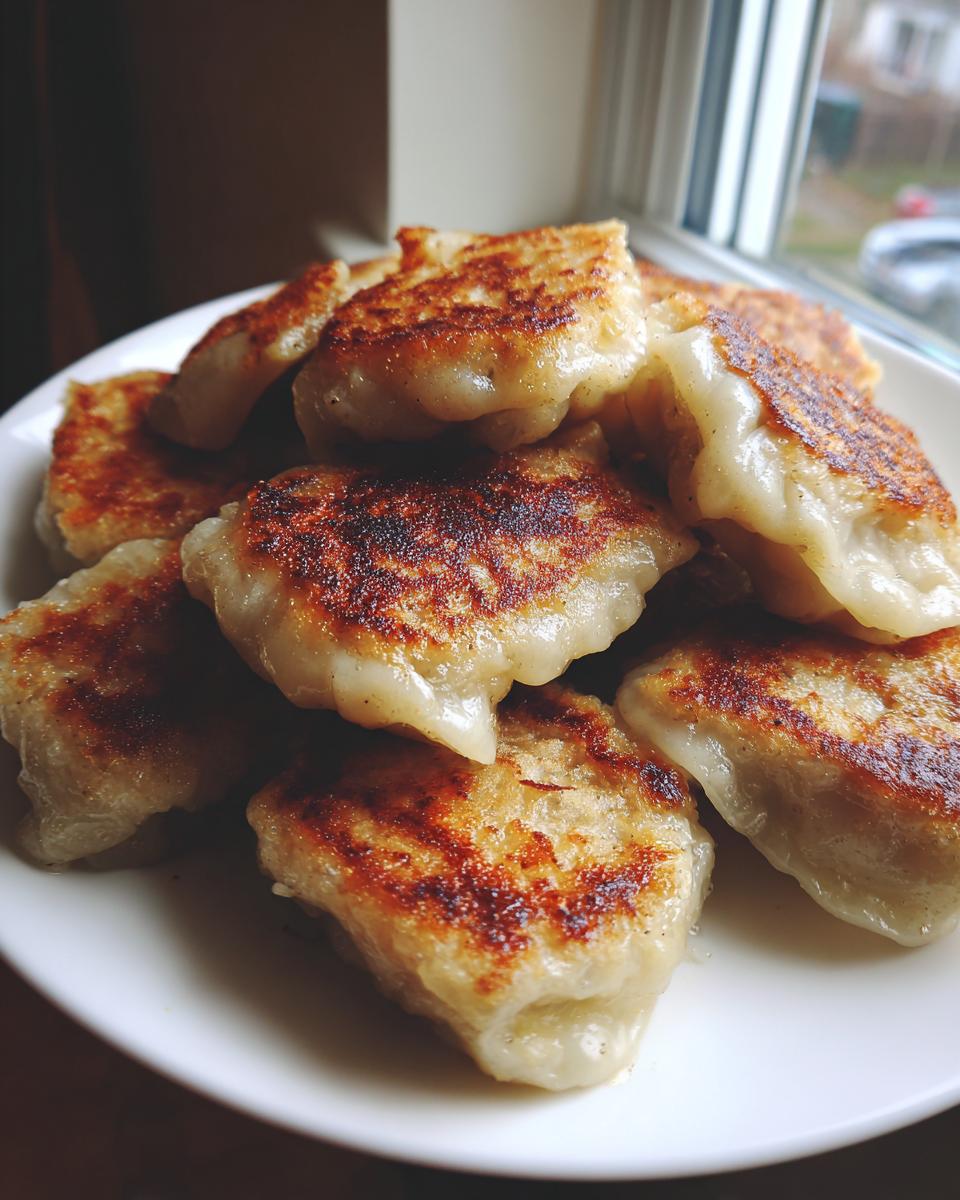
Cooking Method: Pan Fried Cabbage Potstickers Tutorial
Okay, we’ve got our beautiful little parcels ready to go! This two-step frying/steaming process is exactly what takes these from just ‘dumplings’ to fantastic **Pan Fried Cabbage Potstickers**. Grab your largest non-stick skillet—you need surface area so the **Cabbage Dumplings** aren’t crowded.
Heat your skillet over medium-high heat. We need a good sizzle, but not smoke! Add about two tablespoons of plain vegetable oil. Once it shimmers just slightly, carefully arrange your dumplings in a single layer on the bottom. Don’t drop them in; place them gently so you don’t squash the pleats you just made. Let them cook undisturbed for about two to three minutes. You are listening for that happy, steady hissing sound!
When the bottoms are golden brown and look perfectly crisp, you need to act fast! Pour about half a cup of water right into the hot pan—be careful, it’s going to steam up like crazy! Immediately slap that tight-fitting lid on. Turn the heat down to medium. This steam is what cooks the pork and softens the wrapper all the way through. They need about 8 to 10 minutes in the steam bath, depending on how thick your dough is.
When the time is up, take the lid off and let that last bit of water evaporate. I always let them sit for just one more minute, totally uncovered, to let the bottoms crisp up just one final time before serving. If you want more tips on purely steaming them, I cover that technique in detail in my steamed cabbage dumplings tutorial!
Ingredient Notes and Substitutions for Cabbage Dumplings
One of the things I love about this basic template for **Cabbage Dumplings** is how versatile it is. Look, not everyone eats pork, and sometimes you just don’t want meat, right? Plus, if you’re staring into your pantry and realize you’re out of wrappers, I have you covered there too! This recipe is about making good food accessible, even when life throws you a curveball.
If you’re looking for lighter options or just want to mix things up, I’ve got a couple of great tweaks that don’t compromise the incredible flavor we worked so hard to create when we seasoned the filling. Believe me, these little changes still respect the spirit of a great, savory home-cooked meal. If you need ideas for pairing these dumplings with side dishes, my list of healthy lunch recipes actually has some great salads that cut through the richness!
Creating the Vegetarian Cabbage Dumpling Filling
For a fantastic meatless version, you’re going to swap out that pork. The best replacement I’ve found is using firm tofu, crumbled up finely so it mimics the texture of ground meat. You’ll want about the same volume, but make sure you press that tofu really well beforehand to get rid of excess water!
And for that earthy depth that the pork provided? That comes from finely chopped shiitake mushrooms! I suggest using about half a cup of dried ones that you’ve soaked and minced, or about a cup of fresh ones. The mushrooms give the **Vegetarian Cabbage Dumpling Filling** a wonderful umami punch that makes you forget there’s no meat in there at all. You season it exactly the same way with ginger, garlic, and soy sauce, and it tastes heavenly.
Dough Decisions: Scratch vs. Store-Bought
Let’s talk about the wrapper situation. I’m famous for keeping things easy on a weeknight, so my main recipe leans heavily on those pre-made, round dumpling wrappers. They save you a huge chunk of time, and honestly, the quality these days is fantastic for this style of **Pan Fried Cabbage Potsticker**.
Now, if you have an afternoon and you really want that ultimate experience—that chewy, perfect bite that only homemade dough offers—go for it! Making the dough yourself is a pure joy if you have the time. It’s just flour and water, but it requires kneading time and resting time. For those of you who want to dive into that, I have a full tutorial on the basics of creating **Savory Cabbage Dumplings from Scratch** dough if you click around my site!
Serving Suggestions for Your Homemade Cabbage Dumplings Recipe
Listen, a perfect dumpling deserves the perfect partner for dipping! You can’t just eat these glorious **Cabbage Dumplings** plain. They need a little kick to bring out all that salty, gingery goodness we worked so hard to pack inside. My go-to sauce is ridiculously simple—it’s the kind of three-ingredient mix you have ready because you always have the stuff on hand.
For your dipping sauce, simply whisk together equal parts soy sauce and rice vinegar. Then, dash in just a tiny bit of chili oil if you like a little heat. That little vinegary tang cuts right through the richness of the pork and brightens up the cabbage flavor perfectly. If you’re interested in learning how to make a whole spread of easy dips for appetizers, I’ve got a fun little guide on simple appetizers and snacks!
What about on the side? Since these **Savory Cabbage Dumplings from Scratch** are pan-fried and pretty savory, I always like something light and slightly acidic to balance the plate. Forget heavy rice or noodles sometimes! My favorite pairing is a super quick quick-pickled cucumber salad.
Honestly, it takes five minutes: thinly slice a cucumber, toss it with a splash of rice vinegar, a tiny pinch of sugar, and maybe a few sesame seeds. The cool crunch and sourness are the absolute perfect counterpoint to the hot, crispy-bottomed dumplings. It feels totally Asian-inspired, yet it’s so easy you can whip it up while the potstickers are steaming away. Enjoy them while they’re piping hot!
Storing and Reheating Leftover Cabbage Dumplings
If you managed to have leftovers—which, frankly, is a miracle in my house—you definitely want to store these beautiful **Cabbage Dumplings** correctly. They taste just as amazing the next day if you treat them right! If you’re planning on eating them within a day or two, the fridge is your best bet.
Just let them cool down completely first. Please, don’t put hot dumplings straight into a sealed container; that steam will turn them into a sticky, flavorless mess overnight. Once they are at room temperature, place them in an airtight container. I usually line the bottom with a small piece of parchment paper just to make sure nothing sticks together. They’ll be good for about three days refrigerated like this.
The Freezer Method for Happy Future Meals
Now, if you’ve made a massive batch, you need to freeze them, and there’s a trick to keeping these **Homemade Cabbage Dumplings Recipe** perfect for later. You cannot just toss them all in a big bag together! They will freeze into one giant, unmanageable dumpling brick—trust me, I learned that the hard way!
Lay your cooked (or even uncooked!) dumplings out on a baking sheet lined with parchment paper. Make sure they aren’t touching at all. Pop the entire sheet into the freezer until those dumplings are rock solid—we call this flash freezing. That usually takes an hour or two. Once they are hard as little stones, transfer them all into a Ziploc freezer bag, press out as much air as you can, and they’ll keep beautifully for up to three months!
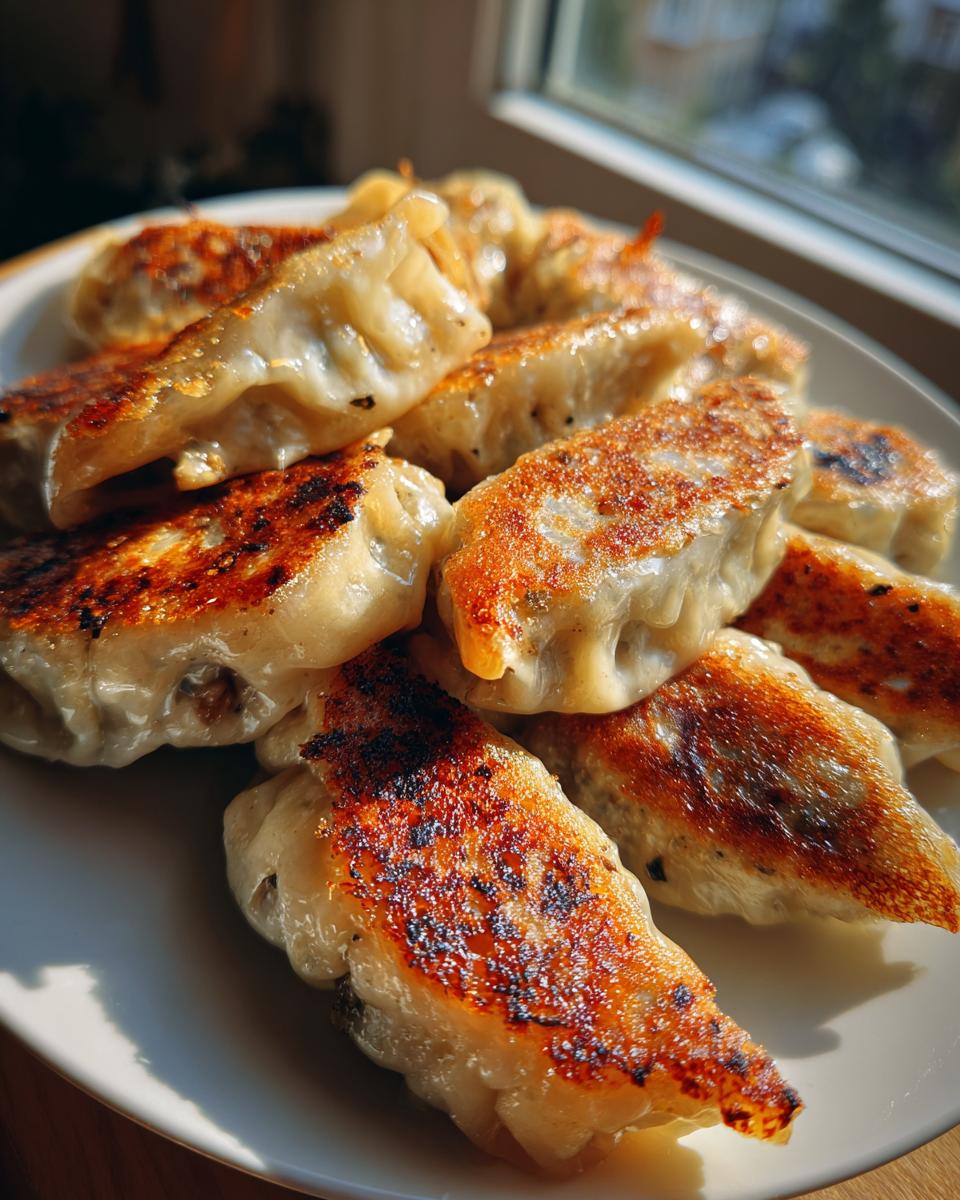
Restoring That Perfect Potsticker Crispness
Here’s the ultimate rule for reheating: Thou Shalt Not Microwave! Microwaving turns the wrapper rubbery and sad. We want that crispy bottom back, right? That means we need dry heat or a quick pan-fry!
For the crispiest results, use your oven or an air fryer. Preheat your oven to about 350°F (175°C). Spread the frozen or fresh leftovers on a baking sheet and heat them for about 10 to 12 minutes until they are piping hot all the way through. If you’re using an air fryer, 375°F for about 6-8 minutes should do the trick!
If you are desperate and only have a few to reheat, use the pan-fry/steam method we used for the original recipe! Add a tiny bit of oil to a skillet, fry the bottom until golden, splash in a teaspoon of water, and cover it quickly until they steam through. It takes just five minutes, and you get the whole crispy-tender experience back!
Common Questions About Making Cabbage Dumplings
I always get the best questions after people try making something for the first time! It means you’re actually in the kitchen, which is exactly what I hoped for when I put this **Homemade Cabbage Dumplings Recipe** together. Don’t hesitate to reach out if you have a unique issue—you can always drop me a line through my Contact Page. In the meantime, here are the big ones I hear most often about getting these **Savory Cabbage Dumplings from Scratch** perfect.
Can I use pre-shredded cabbage for my Cabbage Dumplings?
You know I love my box grater, but look, sometimes life is too short! Yes, you absolutely can use pre-shredded cabbage. It will save you time on that prep step, which is great for a **Quick Cabbage Dumpling Recipe**. However, pre-shredded cabbage tends to be drier than fresh right off the head, or sometimes it’s just cut strangely. The absolute most important thing, regardless of where the cabbage came from, is the draining step. You still need to salt it and squeeze every last drop of water out. If you don’t, those wrappers are going to hate you later!
What is the best dipping sauce for these Pan Fried Cabbage Potstickers?
This is an easy one! For these **Pan Fried Cabbage Potstickers**, you want something sharp to balance the savory pork filling. My ultimate favorite is the simple three-part magic potion: two parts soy sauce, one part rice vinegar, and just a tiny splash (maybe a teaspoon for a small bowl) of chili oil for heat. It’s bright, it’s tangy, and it doesn’t overpower the delicate cabbage flavor we worked so hard on. Whip it up while the dumplings are steaming!
How do I make a Vegetarian Cabbage Dumpling Filling?
Oh yes, the meatless marvel! You absolutely can make a fantastic **Vegetarian Cabbage Dumpling Filling**. If you remember from the notes above, you’re going to substitute the ground pork with finely crumbled firm tofu. Make sure that tofu is pressed dry first, just like we did with the cabbage! Then, you’ll bring in the umami power by mixing in about half a cup of finely minced shiitake mushrooms (if you use dried ones, soak them first!). Season that tofu and mushroom mix exactly the same way—ginger, garlic, sesame oil—and you’ll have incredible, lighter **Cabbage Dumplings** that everybody loves!
PrintSavory Cabbage Dumplings from Scratch (Pan-Fried Potstickers)

Make delicious, fluffy cabbage dumplings from scratch. This recipe focuses on a simple pan-fried potsticker method using a flavorful ground meat and cabbage filling.
- Prep Time: 30 min
- Cook Time: 15 min
- Total Time: 45 min
- Yield: About 50 dumplings 1x
- Category: Dinner
- Method: Pan-Frying and Steaming
- Cuisine: Asian Inspired
- Diet: Low Fat
Ingredients
- 1 pound ground pork
- 4 cups finely shredded green cabbage
- 1 tablespoon soy sauce
- 1 teaspoon sesame oil
- 1 teaspoon grated fresh ginger
- 2 cloves garlic, minced
- 1/2 teaspoon white pepper
- 1/4 teaspoon salt
- 1 package (about 50 count) round dumpling wrappers (Chinese Cabbage Dumpling Wrappers)
- 2 tablespoons vegetable oil for frying
- 1/2 cup water for steaming
Instructions
- Prepare the filling: Place the shredded cabbage in a bowl. Sprinkle with 1/2 teaspoon of salt and let sit for 15 minutes to draw out moisture. Squeeze the cabbage very dry using a clean kitchen towel or paper towels. Discard the liquid.
- In a large bowl, combine the dried cabbage, ground pork, soy sauce, sesame oil, ginger, garlic, white pepper, and remaining salt. Mix until just combined; do not overmix.
- Assemble the dumplings: Place one wrapper in your hand. Place about 1 teaspoon of filling in the center. Moisten the edges of the wrapper with water using your finger. Fold the wrapper in half to create a half-moon shape. Crimp the edges together, creating small pleats along one side for a secure seal (this makes them look like traditional potstickers).
- Heat a large non-stick skillet over medium-high heat. Add the vegetable oil.
- Place the dumplings in the skillet in a single layer, leaving a small space between each one. Cook for 2 to 3 minutes until the bottoms are golden brown.
- Carefully pour 1/2 cup of water into the skillet. Immediately cover the skillet with a tight-fitting lid. Reduce heat to medium.
- Steam the dumplings for 8 to 10 minutes, or until the pork filling is cooked through and the wrappers are tender.
- Remove the lid and allow any remaining water to evaporate, letting the bottoms crisp up again for 1 minute. Serve immediately.
Notes
- For a vegetarian option, substitute the ground pork with finely crumbled firm tofu and 1/2 cup finely chopped shiitake mushrooms.
- You can make the dough from scratch using flour and water, but store-bought wrappers save time for a busy weeknight meal.
- Serve with a dipping sauce made from soy sauce, rice vinegar, and a dash of chili oil.
Nutrition
- Serving Size: 5 dumplings
- Calories: 180
- Sugar: 1
- Sodium: 250
- Fat: 9
- Saturated Fat: 3
- Unsaturated Fat: 6
- Trans Fat: 0
- Carbohydrates: 15
- Fiber: 1
- Protein: 10
- Cholesterol: 35