
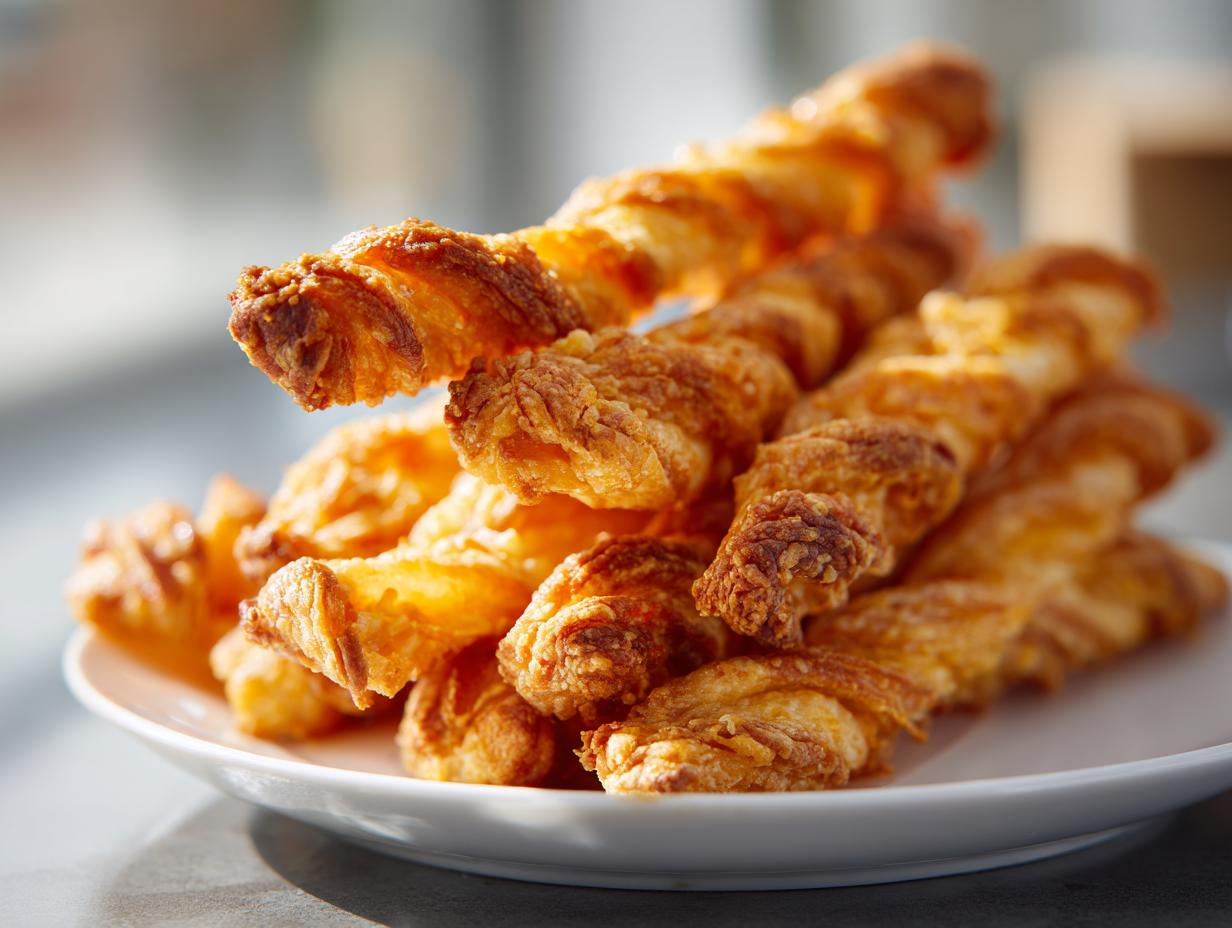
Oh, friends, let’s talk about the snack that disappears first at every single gathering I host. Forget complicated dips or fussy little hors d’oeuvres! When you want something truly addictive, something that tastes like pure comfort and a little bit of Southern tradition rolled into one perfect bite, you need this Classic Crispy Southern Cheddar Cheese Straws Recipe. I remember my mother making these for bridge club, and now I make them for my own busy gatherings. It’s my mission here at Mia’s Meals to give you dependable, tested recipes, and trust me, this cheese straws recipe is rock solid. These buttery, savory crackers are quick enough for a weeknight craving but special enough for the holidays. You should definitely check out my guide to other simple appetizers and snacks too! They are simply the best!
- Why You Will Make This Classic Crispy Cheese Straws Recipe Again and Again
- Essential Ingredients for the Best Cheese Straws Recipe
- How to Prepare Your Homemade Cheese Straws Recipe Step-by-Step
- Make-Ahead and Storage Instructions for This Cheese Straws Recipe
- Serving Suggestions for Your Savory Party Appetizers
- Frequently Asked Questions About the Ultimate Cheese Straw Recipe
- Estimated Nutritional Profile for This Cheddar Cheese Straws Recipe
- Share Your Experience Making This Classic Cheese Straws Recipe
Why You Will Make This Classic Crispy Cheese Straws Recipe Again and Again
Honestly, these just hit differently than anything store-bought. They are the definition of savory satisfaction. If you need finger foods for parties that disappear instantly, this is it! Here’s why I keep coming back to this tried-and-true classic:
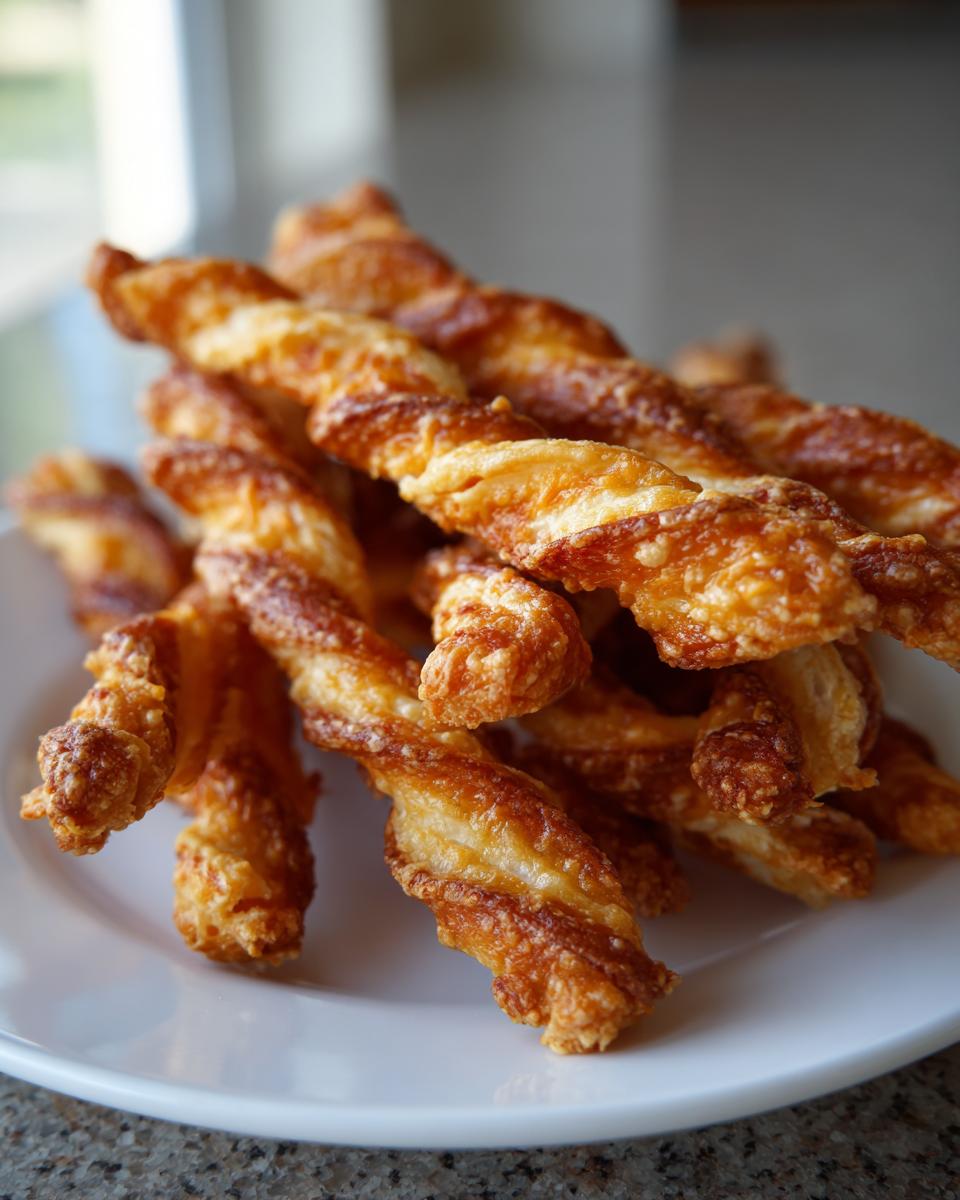
- They are so satisfyingly crispy—that buttery snap is everything!
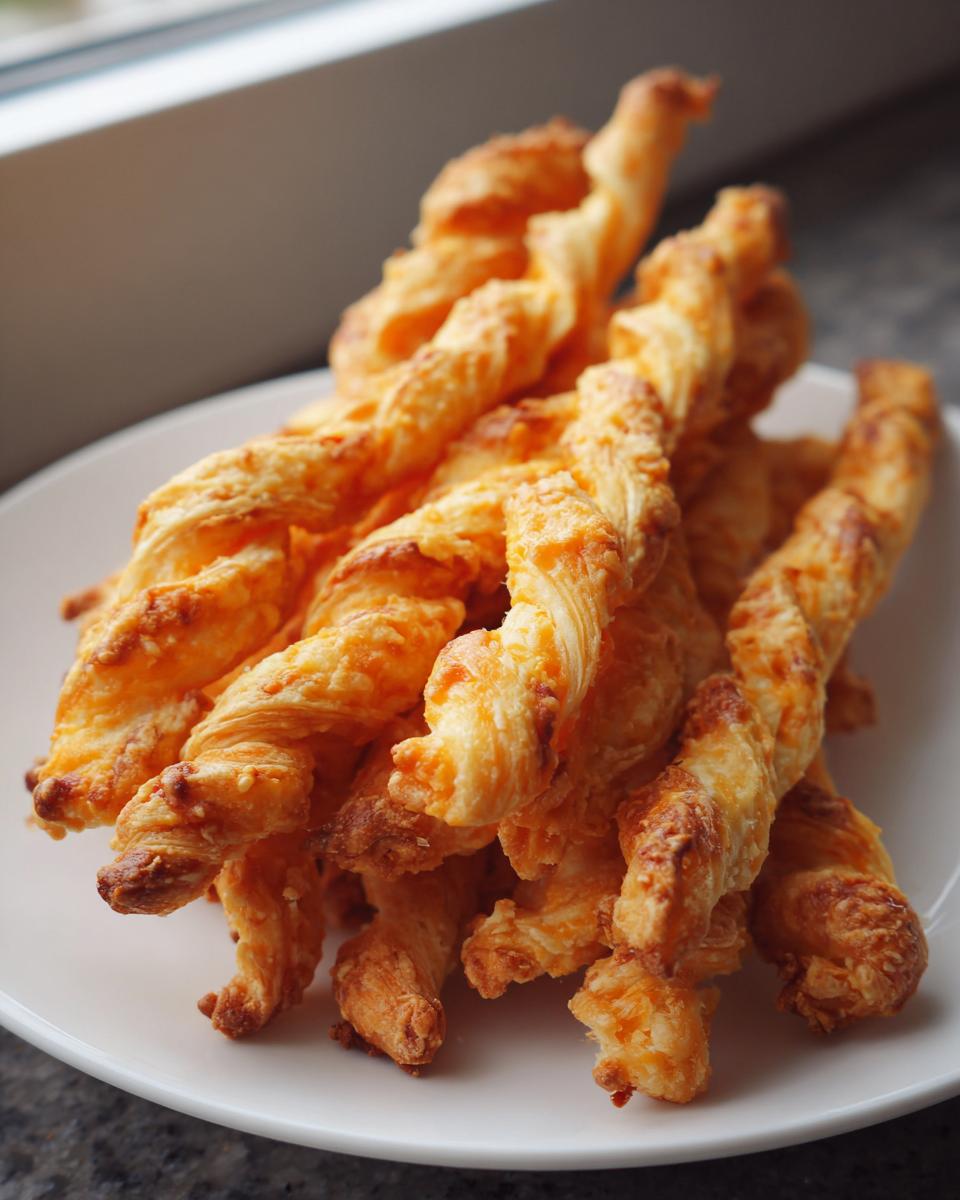
- Super savory flavor thanks to that sharp cheddar.
- They are genuinely quick & easy; we’re talking less than 40 minutes total when you factor in chilling.
- Perfect for any holiday snack spread or just enjoying with a cool glass of iced tea.
Essential Ingredients for the Best Cheese Straws Recipe
When it comes to a recipe this simple, the quality of your ingredients really shines through. We aren’t hiding anything here; it’s all about fresh cheddar, good butter, and just the right whisper of spice. Because this dough has so few moving parts, I always recommend using the best sharp cheddar you can find. Don’t skip chilling the butter—that’s the secret to getting the right crumb structure before we bake them into those lovely homemade cheese straws. Getting the measurements right here ensures we end up with those perfect, golden results!
- 1 cup all-purpose flour
- 1/2 teaspoon salt
- 1/4 teaspoon cayenne pepper (Don’t worry, it just adds a tiny kick!)
- 1/4 teaspoon paprika
- 1 cup sharp cheddar cheese, finely shredded
- 1/2 cup (1 stick) unsalted butter, cold and cut into small pieces
- 1 large egg yolk
- 1 tablespoon cold water
Ingredient Notes and Flavor Variations for Your Cheese Straws Recipe
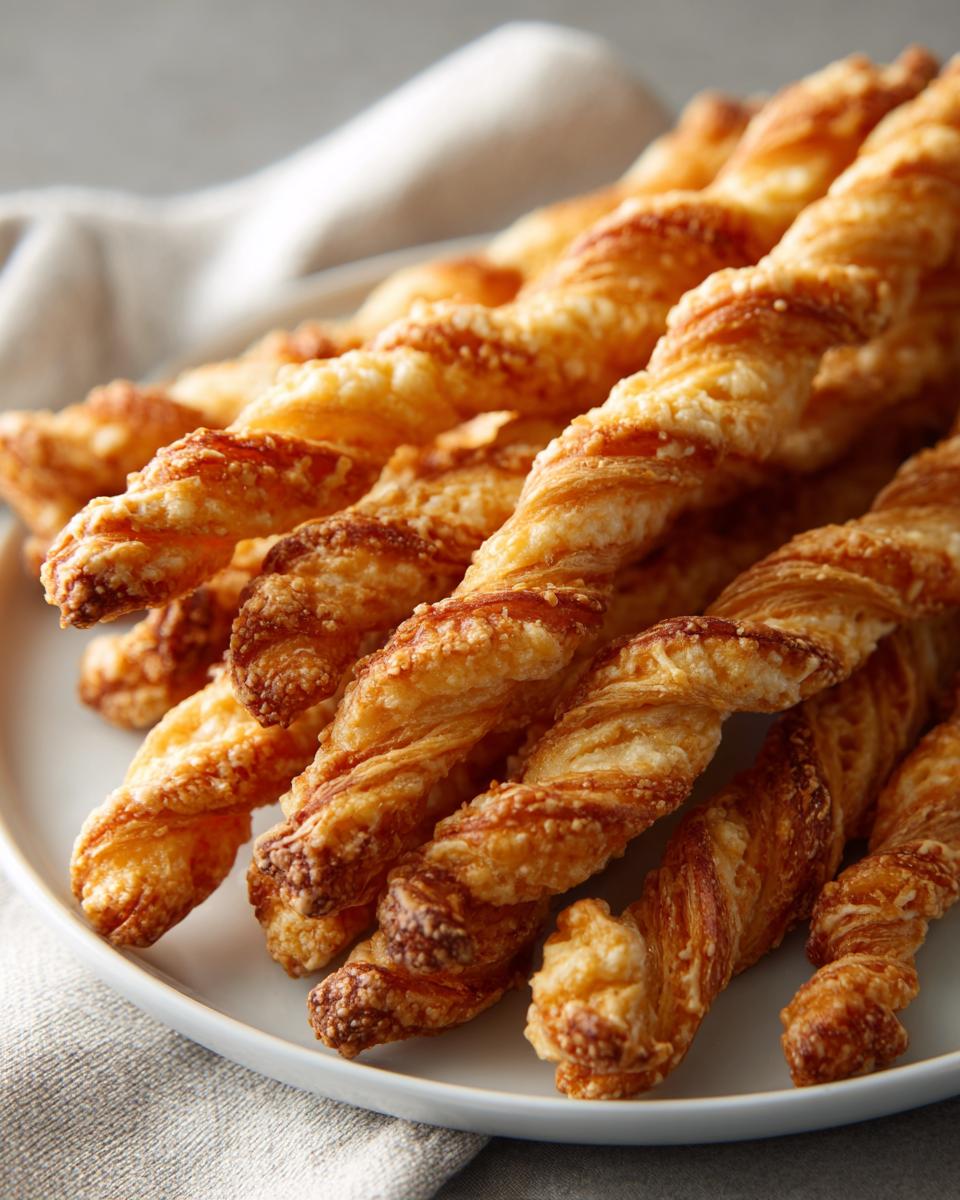
Okay, let’s talk cheddar. You absolutely must use sharp cheddar here; mild cheddar just doesn’t give you that necessary savory punch. And please, please shred it yourself! Pre-shredded cheese has starches that keep it from melting and blending right into your dough. Remember that butter has to be ice cold and cut small; that’s what creates the lovely, flaky layers when it hits the heat. If you’re aiming for a different texture, don’t be afraid to experiment! For those airy, almost croissant-like versions, try swapping the dough entirely for one sheet of thawed Puff Pastry Cheese Straws. You just cut and twist, sprinkle with Parmesan, and bake! Also, try tossing in some dried rosemary or garlic powder with the flour for a real gourmet twist on these savory party appetizers.
How to Prepare Your Homemade Cheese Straws Recipe Step-by-Step
Alright, let’s get mixing! This is where the magic of homemade cheese straws truly happens. First things first—grab a big bowl because we need room to work. Whisk your dry things together: the flour, the tiny bit of salt, the paprika, and that little zap of cayenne pepper. Whisking them well ensures everything is evenly spread before we add the fat, which is critical!
Next up is the butter. Make sure that butter is cold and cut into little cubes. You need to cut it into the flour mixture until it looks like coarse sand or dried peas. You can use a pastry blender for this, or yes, honestly, your very clean fingers work just fine—just work quickly so you don’t melt the butter. Stir in that gorgeous sharp cheddar cheese until it looks happy and dispersed.
Now for the liquid: whisk the egg yolk and the cold water together in a tiny little bowl. Pour that into your flour mix. This is crucial: mix it until it just comes together into a shaggy dough. Do not overmix! If you mix too long, you develop gluten, and that means tough straws, not crispy ones. Once it gathers, press it into a flat disk, wrap it up tight, and send it to the fridge for at least 30 minutes. Patience pays off, believe me.
Once chilled, get that oven preheating to 375°F (190°C) and line those baking sheets with parchment paper. Flour your surface lightly and roll that dough out thin—seriously thin, about 1/8-inch thick. Use a knife or a pizza cutter to slice strips that are about half an inch wide and five inches long. Now for the fun part: gently twist each strip a couple of times to get that classic straw look, arranging them on your prepared sheets.
Bake them for 10 to 14 minutes. Keep an eye on them starting around the 10-minute mark! You want the edges golden brown, not burnt. The color is how you know they’re done. I often pull mine out a little early and let them finish crisping on the pan. Pop over to my guide on simple homemade sides if you need something else quick for your party spread!
Tips for Achieving Perfectly Crispy Cheese Straws
Crispness is the name of the game here, and it all starts before they even see the oven. Rolling the dough thinly is non-negotiable—if they are too thick, they bake up more like a little savory biscuit instead of a true straw. Another pro tip: use the coldest ingredients possible for the dough, especially the butter and water; that cold fat turns to steam in the oven, creating those delicate, flaky layers we all love. And please, let them cool completely on the wire rack! When they come out of the oven, they feel soft. They don’t actually firm up and get that satisfying crunch until they’ve completely cooled down. Don’t rush that final crisping stage!
Make-Ahead and Storage Instructions for This Cheese Straws Recipe
I totally get that when you’re hosting, you need snacks ready to go! Good news—this recipe is fantastic for prepping ahead. You can make the entire dough disk, wrap it tightly, and keep it smiling in the refrigerator for up to two whole days. When you’re ready to bake, just let it sit on the counter for about ten minutes so it’s pliable enough to roll out. If you want to see more things you can pull together early, check out my list of appetizers to make ahead!
Once they’re baked and fully cooled off, store your crispy cheddar cheese straws in an airtight container at room temperature. They will stay wonderfully crisp and buttery for about a week. If you live somewhere really humid, you might need to pop them in the oven for three minutes to refresh their crunch, but normally, they hold up beautifully!
Serving Suggestions for Your Savory Party Appetizers
These cheesy bites are so versatile; they aren’t just for cracker platters! Because they have that wonderful savory depth, they are amazing alongside a lighter, creamy dish. Seriously, try dipping these into a steaming bowl of my creamy roasted butternut squash soup—it’s heavenly. They are also fantastic next to a bowl of sweet pepper jelly if you like that sweet-and-salty kick. And of course, as a signature Southern accompaniment, they go perfectly with a dry white wine or even a light cocktail when you’re entertaining. If you need more ideas for your next big bash, I saw some beautiful inspiration over at House of Nash Eats as well!
Frequently Asked Questions About the Ultimate Cheese Straw Recipe
I get so many great messages after people try making these! It’s natural to have questions when you move away from store-bought shortcuts. Here are some of the most common things folks ask me about getting these Easy Cheese Straws just right.
Can I use pre-shredded cheese in this cheese straws recipe?
Oh, I really wish you wouldn’t! I know it’s tempting because it saves five minutes, but pre-shredded cheese is coated in starches—things like potato starch or cellulose—to keep the shreds from clumping in the bag. Those starches stop your cheese from melting nicely into the dough, and that means you get a crumbly texture instead of that perfect, cheesy bind. For the best results, always grab a block of sharp cheddar and shred it yourself right before you start mixing. You’ll thank me when you see how beautifully it incorporates!
What is the best way to make flaky cheese straws instead of traditional ones?
If you are after that super light, airy, almost pastry-like texture, you’ve got options! While this classic recipe yields a beautifully crisp, buttery bite, you can achieve genuine flakiness by ditching the flour dough entirely and using one sheet of good quality, store-bought Puff Pastry Cheese Straws. Just thaw your pastry, cut it into strips about half an inch wide, give them a gentle twist, and maybe sprinkle them with some Parmesan or fresh rosemary before baking. They puff up beautifully and bake much faster, usually in just 12 to 15 minutes. It’s a fantastic shortcut when you need savory party appetizers in a hurry!
Estimated Nutritional Profile for This Cheddar Cheese Straws Recipe
Now, I know some of you are tracking things, and while these are just little happy bites here at Mia’s Meals, I always want to be transparent about what we’re working with. Keep in mind that since these are homemade and you might use slightly different brands of cheese or butter, these numbers are just a helpful general guide. This profile is based on the ingredients listed for this Cheddar Cheese Straws Recipe, and it assumes a serving size of just three straws.
For anyone watching their intake, you can see these are low-carb, but definitely a treat when it comes to the fat content—that’s the butter and cheese talking, giving us all that amazing flavor!
- Serving Size: 3 straws
- Calories: 85
- Fat: 6.5g (Saturated Fat: 4g)
- Carbohydrates: 3g (Fiber: 0.1g, Sugar: 0.1g)
- Protein: 3g
- Sodium: 110mg
- Cholesterol: 20mg
These are definitely comfort food, friends, so enjoy them responsibly while you’re socializing over drinks! They are worth every single bite.
Share Your Experience Making This Classic Cheese Straws Recipe
These little savory bites are truly meant to be shared, not just at a party, but right here in the comments section! Once you give this Classic Crispy Southern Cheddar Cheese Straws Recipe a try, I absolutely want to hear all about it. Did you try sneaking in some smoked paprika? Did you go heavy on the cayenne pepper for a spicy kick? Or maybe you tested out that flaky puff pastry variation I mentioned?
Don’t be shy! Please leave a star rating right below the recipe card—it helps me know which recipes are becoming family favorites for you all. And if you run into any questions while you’re rolling or twisting, reach out! You can always drop me a line over on my contact page.
Knowing that these crunchy, buttery snacks are making it from my Midwest-inspired test kitchen to your family table—that’s what makes all this work worthwhile. Happy baking, and enjoy those amazing homemade cheese straws!
PrintClassic Crispy Southern Cheddar Cheese Straws Recipe

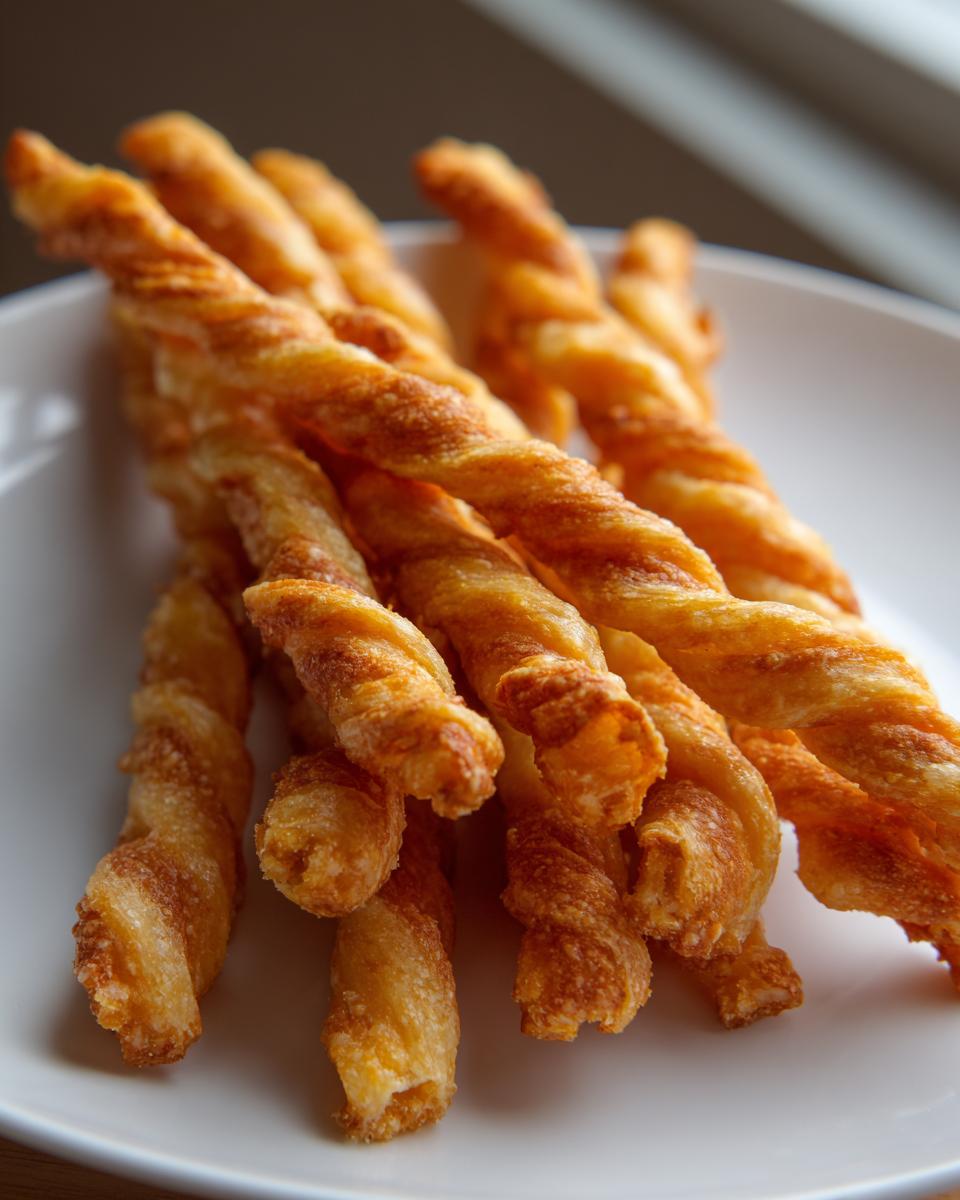
Make these classic Southern Cheddar Cheese Straws for a savory, crispy appetizer perfect for parties or snacks. This recipe delivers buttery, flavorful bites that are simple to prepare.
- Prep Time: 20 min
- Cook Time: 14 min
- Total Time: 34 min
- Yield: About 3 dozen 1x
- Category: Appetizer
- Method: Baking
- Cuisine: American
- Diet: Vegetarian
Ingredients
- 1 cup all-purpose flour
- 1/2 teaspoon salt
- 1/4 teaspoon cayenne pepper
- 1/4 teaspoon paprika
- 1 cup sharp cheddar cheese, finely shredded
- 1/2 cup (1 stick) cold unsalted butter, cut into small pieces
- 1 large egg yolk
- 1 tablespoon cold water
Instructions
- In a large bowl, whisk together the flour, salt, cayenne pepper, and paprika.
- Cut in the cold butter using a pastry blender or your fingers until the mixture resembles coarse crumbs.
- Stir in the shredded cheddar cheese until evenly distributed.
- In a small bowl, whisk the egg yolk and cold water together. Add this mixture to the flour mixture and mix until a dough just comes together. Do not overmix.
- Form the dough into a flat disk, wrap it in plastic wrap, and chill in the refrigerator for at least 30 minutes.
- Preheat your oven to 375°F (190°C). Line two baking sheets with parchment paper.
- On a lightly floured surface, roll the dough out to about 1/8-inch thickness.
- Use a knife or pizza cutter to cut the dough into strips about 1/2-inch wide and 5 inches long.
- Twist each strip gently a few times to form a straw shape. Place the straws on the prepared baking sheets, leaving a small space between them.
- Bake for 10 to 14 minutes, or until the edges are lightly golden brown and the straws are crisp. Baking time varies based on thickness.
- Let the cheese straws cool on the baking sheets for 5 minutes before transferring them to a wire rack to cool completely. They crisp up as they cool.
Notes
- For extra flavor, use aged sharp cheddar cheese.
- You can make this dough up to two days ahead; keep it wrapped tightly in the refrigerator.
- For a flaky texture variation, substitute the dough with one sheet of thawed puff pastry, cut into strips, and sprinkle with Parmesan cheese before baking.
Nutrition
- Serving Size: 3 straws
- Calories: 85
- Sugar: 0.1
- Sodium: 110
- Fat: 6.5
- Saturated Fat: 4
- Unsaturated Fat: 2.5
- Trans Fat: 0.1
- Carbohydrates: 3
- Fiber: 0.1
- Protein: 3
- Cholesterol: 20