

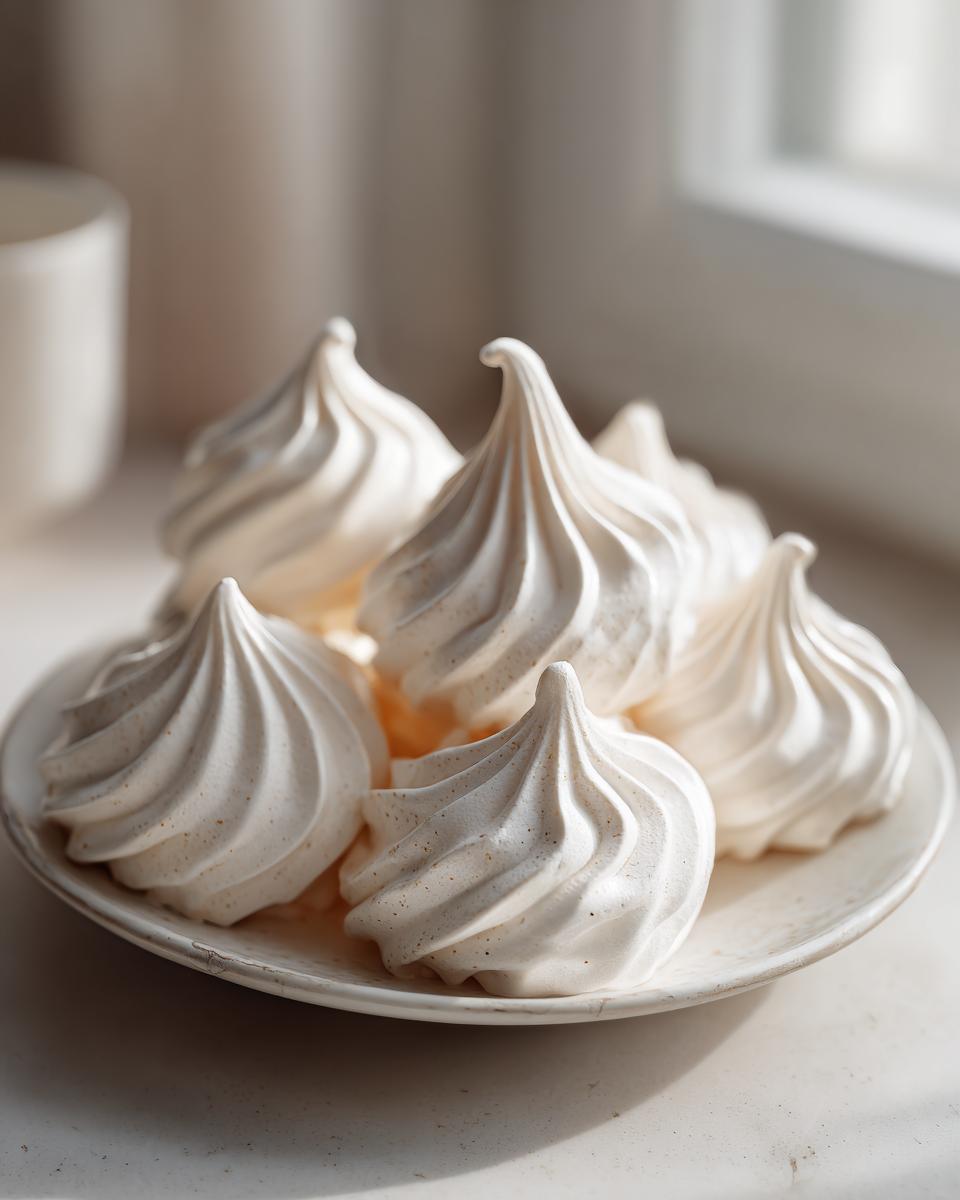
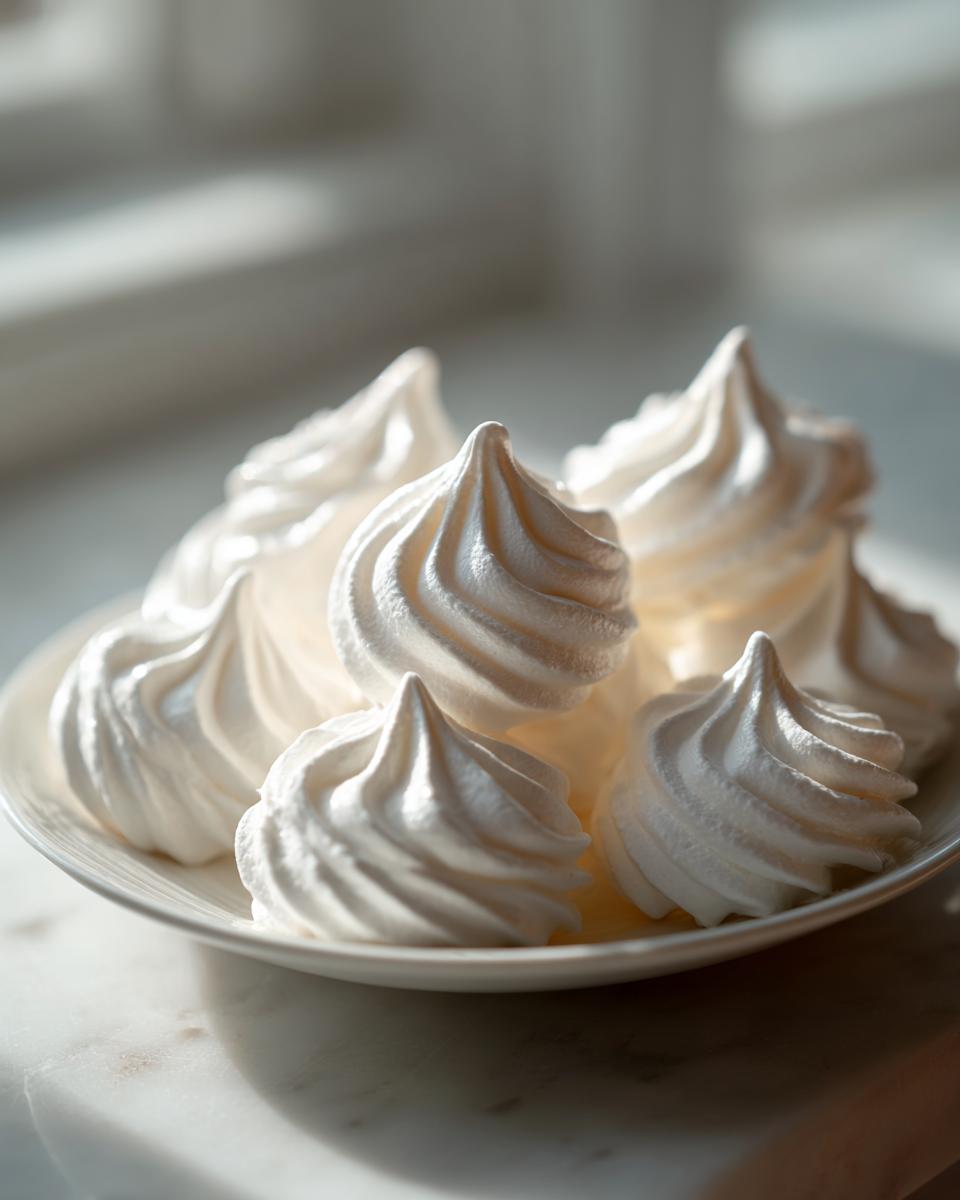
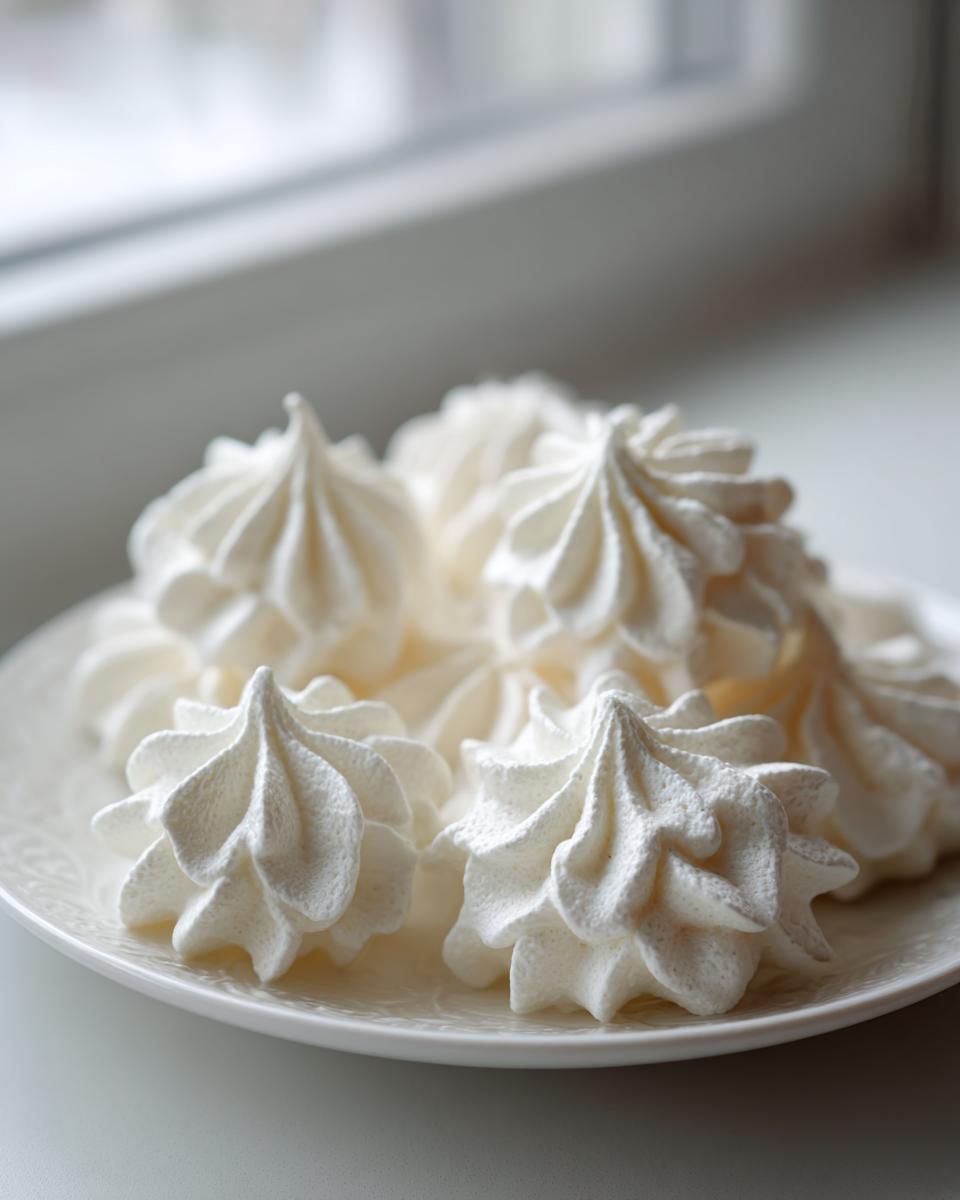
There is just something magical about taking two simple things—egg whites and sugar—and turning them into something that looks like a cloud but snaps like glass when you bite into it. Seriously, these meringue cookies are my absolute favorite for when I need an impressive, light, and airy dessert without turning on the oven for hours. That’s the Midwest secret I learned from my mom and grandma: the best food doesn’t need a million steps, it just needs the right technique. I’m sharing my ultimate No-Fail Classic French Meringue Cookies Recipe here. Trust me when I say this one works every single time to give you that perfectly crisp shell and soft center. It’s dependable, just like a good Midwest welcome!
- Why This No Fail Meringue Recipe Works: Achieving Crisp Meringue Cookies
- Gathering Ingredients for Your Easy Meringue Cookies
- Step-by-Step Instructions for Light and Airy Meringue Cookies
- Tips for Success When Making Homemade Meringue Kisses
- Flavor Variations for Your Simple Whipped Egg White Cookies
- Storage and Presentation of Delicate Sweet Treats
- Frequently Asked Questions About Meringue Cookies
- Understanding the Basics of French Meringue Dessert
- Nutritional Snapshot of These Light and Airy Desserts
Why This No Fail Meringue Recipe Works: Achieving Crisp Meringue Cookies
If you’ve ever felt nervous about making meringue cookies, I get it! Egg whites can feel fussy. But that’s why I stick strictly to the good old French method here. For beginners, this is the best route for getting that beautiful, light, and airy texture that just melts right in your mouth. Unlike the Swiss or Italian methods which involve heating the sugar mixture, the French technique relies purely on mechanical whipping. That means if you follow the steps, you get a reliable, no fail meringue recipe.
The secret to that perfect, crispy meringue recipe is all about patience during the whipping and drying process later on. We’re beating air into those whites until they are strong enough to hold their shape perfectly through a very slow bake. It’s surprisingly simple once you know the science behind the structure!
The Importance of Room Temperature Egg Whites for Perfect Meringue Cookies
Listen up, this is one non-negotiable step for high volume! Never, ever use eggs straight from the fridge. Cold egg whites won’t whip up as high or as stable as room temperature ones. Think of it this way: cold whites are tight and locked down, but when they warm up slightly, the proteins relax and can hold way more air. That extra volume is what gives you those enormous, cloud-like kisses!
Also, toss in that pinch of cream of tartar! It’s a little acid that acts like a stabilizer. It politely tells the egg whites, “Hey, don’t you dare deflate on me!” It helps us achieve the stiffest peaks possible, which is what keeps your cookies from weeping or falling flat while they bake. I usually let my eggs sit out for about 45 minutes before I even think about turning on the mixer. For more reliable baking tips, you might find this post on easy homemade cranberry sauce recipe helpful when you’re dealing with tricky ingredients!
Gathering Ingredients for Your Easy Meringue Cookies
Okay, let’s get these simple, beautiful treats ready to go! Because we are only using a few items for these easy meringue cookies, quality really shines through. You’ll need exactly four large egg whites—and remember, they must be room temperature! For the sugar, I strongly recommend superfine granulated sugar, sometimes called caster sugar. It dissolves much faster into the egg whites, which is key for that super smooth final texture.
We also need vanilla extract for flavor, a little bit of salt to balance the sweetness, and the secret helper: cream of tartar. It’s the glue that holds the air in those egg whites! If you’re shopping for sugar but can’t find superfine, don’t sweat it; you can just pulse regular granulated sugar in your food processor briefly to break it down a bit before you start!
Ingredient Clarity and Preparation Notes
The most crucial note here is about cleanliness, seriously! When you are working with egg whites, fat is the enemy. Any speck of grease or even one tiny drop of egg yolk in your bowl or on your whisk attachments means you might not get those high volume peaks we are looking for. Clean everything down with a little vinegar and water before you start mixing, just to be sure everything is squeaky clean.
Also, while the recipe calls for vanilla, I love using high-quality pure vanilla extract. Since there’s nothing else in here to mask anything, the better your vanilla, the better those final delicate sweet treats will taste. For other simple baking projects that highlight great pantry staples, check out my recipe for easy puff pastry apple strudel recipe.
Step-by-Step Instructions for Light and Airy Meringue Cookies
Alright, this is where the magic happens! First things first, get your oven to a super low temperature—we’re talking 200°F (95°C). That low heat is essential for drying these out, not actually baking them. Line two baking sheets with parchment paper because trust me, you don’t want these sticking after all that hard work! For reference on how I prep my pans for other simple bakes, check out my guide on easy homemade cranberry sauce recipe.
Now, turn that mixer on medium speed with your room-temp egg whites, the cream of tartar, and that tiny pinch of salt. You’re looking for soft peaks first. Once you see those gentle waves forming, it’s time to start adding the sugar. Add it in *slowly*, like you’re dribbling honey—just a tablespoon at a time, waiting 30 seconds between each addition. This slow addition is what lets the sugar dissolve properly instead of just sinking to the bottom.
Once all the sugar is in, crank that speed up high! Then we wait until it looks like the clouds I always dreamed of floating on. After that, stir in your vanilla extract right at the very end. Next, you’ll want to transfer this billowy mixture into a piping bag fitted with a star tip. If you don’t have a piping bag, just use two spoons to make rustic little dollops—they taste just as amazing!
Achieving Perfect Stiff Peaks for Your Meringue Cookies
How do you know when to stop beating? That’s the million-dollar question for any beginner baking recipe! When you lift the whisk straight up, you want to see a peak that stands straight up and doesn’t flop over at all. That’s a stiff peak. But here’s the real secret test: take a tiny bit of the meringue between your thumb and forefinger and rub it together. If it feels glassy, slick, and smooth, you’re good to go—it’s fully dissolved!
If it feels gritty at all, the sugar hasn’t incorporated yet, and you need to keep beating for another minute or two. Gritty meringue equals cookies that might weep or deflate when they bake. Once you nail that smooth, glossy texture, you’ve mastered the hardest part of making these light and airy desserts!
The Critical Cooling Method for Crispy Meringue Cookies
This is the step most people rush, and that’s why their meringue cookies end up chewy inside! After your cookies have baked for about an hour to an hour and fifteen minutes—they should sound hollow when tapped and lift easily off the parchment—you MUST turn the oven off. Don’t open the door yet! Prop the oven door open just a crack using a wooden spoon.
You have to let them dry out in that residual, super-low heat for at least an hour, but honestly, leaving them in overnight is my favorite trick. This slow, gentle drying process is what guarantees that intensely crisp exterior that defines a perfect crispy meringue recipe. If you pull them out too fast, the sudden temperature change can cause them to crack or get sticky. Patience pays off here, I promise!
Tips for Success When Making Homemade Meringue Kisses
When you are making homemade meringue kisses, sometimes the weather decides to mess with your baking plans! I’ve learned the hard way that humidity is the absolute sworn enemy of a dry, crisp meringue cookie. If it’s pouring rain outside, you might want to save this project for a drier day, or at least use a dehumidifier if you can!
If your meringue seems a little soft or sticky, it probably just needs more time in that low-temperature oven. Don’t be afraid to extend that baking time by another 15 or 20 minutes. And remember what I always say: when the recipe seems fussy, go back to your base! If you need other ideas for managing tricky recipes, my post on easy homemade cranberry sauce recipe has a few general tips on ingredient management that might help stabilize your mood, if not your egg whites!
One last tip for consistency: use a ruler when piping if you want them all the same size. Uniform size means uniform drying time, which ensures every single little kiss comes out perfectly crisp.
Flavor Variations for Your Simple Whipped Egg White Cookies
Once you nail the basic recipe, these little clouds are just begging for fun additions! Since we’ve kept the base recipe so clean and simple, it’s the perfect canvas for flavor. If you love chocolate, you can gently fold in about half a cup of finely chopped mini chocolate chips right before piping. You have to be careful not to stir too hard though, or you’ll deflate all that glorious air!
For a little extra zing, try swapping out the vanilla for peppermint extract, especially if you’re making these for a holiday spread. That makes for fantastic little holiday meringue treats! You can also use food coloring—just add a drop or two right before you transfer the mixture to your piping bag to create gorgeous, pastel swirls. That instantly turns them into elegant party desserts without needing any extra work!
These simple additions keep them firmly in the category of simple cookie recipes, but with a personalized touch. If you’re looking for other ways to whip up something special that looks fancy but isn’t hard, you should totally check out recipes like my whipped hot chocolate recipe!
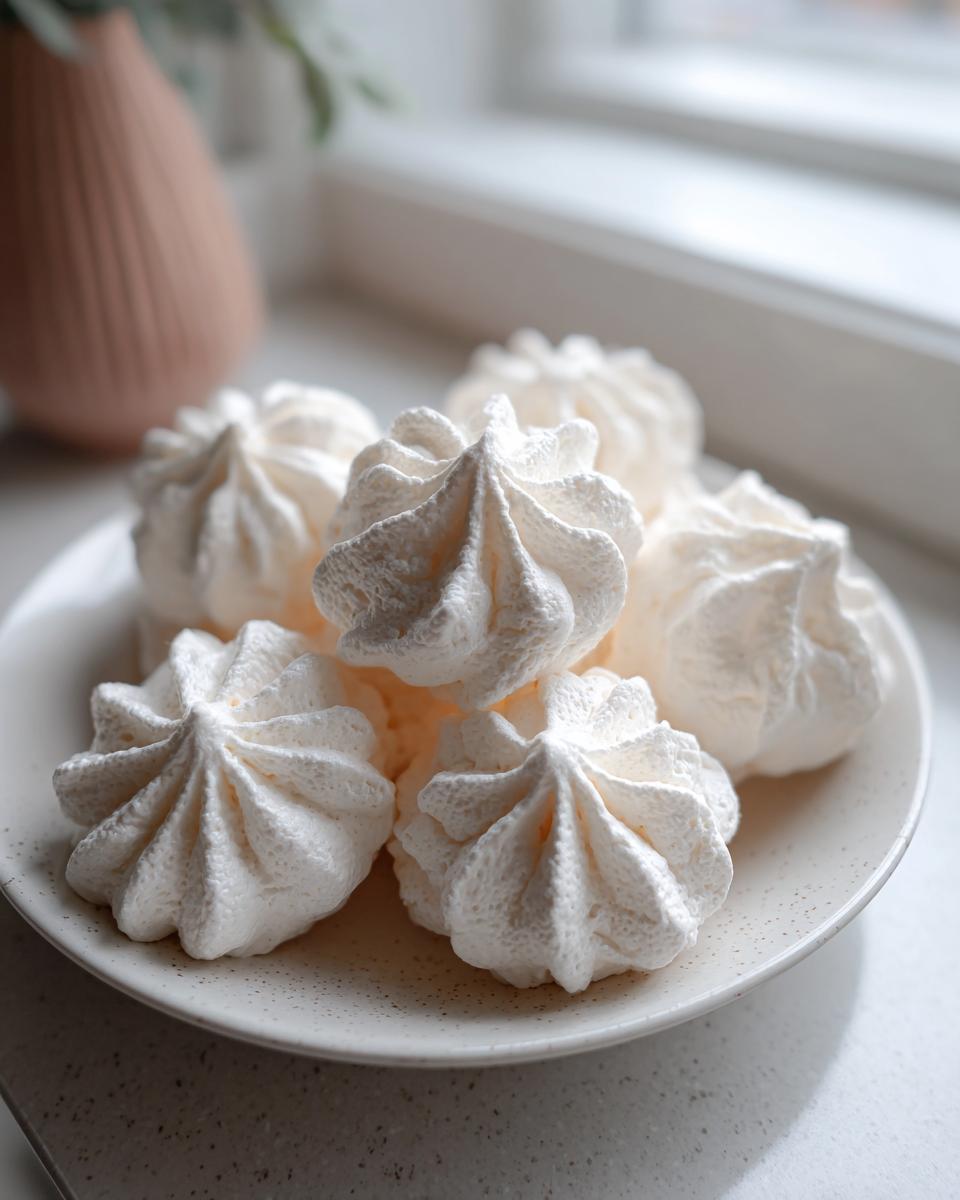
Storage and Presentation of Delicate Sweet Treats
Success isn’t just in the baking; it’s keeping these fragile beauties perfect until serving time! Once your meringue cookies are completely cooled—and I mean bone dry overnight—they must go into an airtight container. Humidity is their nemesis, so keep that lid tight, and just leave them right there on the counter at room temperature. They are surprisingly sturdy if kept dry!
These little wonders shine when used as holiday meringue treats. They look so elegant just piled high on a simple white platter. If you want to elevate them for a party, try dipping just the very tip of the cooled cookie into melted dark chocolate, or swirl two different colors together before piping them. For more holiday baking inspiration that’s reliably delicious, take a peek at my recipe for Christmas Cookie Bars.
If you are curious about other ways people achieve stunning results with simple bakes, I saw a great recipe for those easy beginner cookies over at The Freshman Cook that you might enjoy checking out too!
Frequently Asked Questions About Meringue Cookies
I know sometimes jumping into a new recipe, even a simple one, brings up a few nagging questions. I’ve tried to cover the biggest concerns folks have when making these delicate treats. If you’ve made it this far, you’re practically a meringue pro already! If you’re looking for more dessert ideas after mastering these, head over to my main delicious dessert recipes page for inspiration.
Are Meringue Cookies Naturally Gluten Free?
This is one of the best parts about this recipe! Yes, absolutely! Since these marvelous meringue cookies are made strictly from egg whites, sugar, and flavorings, they are naturally gluten-free. You don’t have to worry about sneaky flour or substitutes in the base recipe, making them wonderful for serving to guests with sensitivities. They are one of the easiest treats to serve when you need simple, naturally gluten free meringue options.
Why Are My Meringue Cookies Sticky or Weeping After Baking?
Oh, the dreaded stickiness! This usually happens for one of two reasons, and neither is the end of the world. First, they might not have dried out long enough inside the oven. If you pull them out before they are bone dry, the interior moisture hasn’t fully evaporated, and they’ll feel sticky the next day. You have to commit to that slow, overnight cool-down period!
The second common culprit is humidity. If you’ve made your perfectly crisp cookies and then left them out on a high-humidity day, they will start absorbing moisture right out of the air and get soft. Always store your finished homemade meringue kisses in a truly airtight container immediately after they are 100% cool. They should be totally solid and sound hollow when tapped before they go into storage.
Understanding the Basics of French Meringue Dessert
It’s helpful to know exactly what we are doing when making these meringue cookies, so you aren’t scared off by the word “meringue”! There are three main styles—French, Swiss, and Italian—and we are using the French method because it’s the most straightforward for home bakers aiming for that pure, light crunch. It relies entirely on beating raw egg whites with sugar until they form stable peaks.
The Swiss style gently warms the egg whites and sugar over a water bath first for stability, and the Italian method involves pouring very hot sugar syrup into already whipped whites. While those are great for setting stable frostings, for cookies that need to dry out completely and achieve that delicate, melt in your mouth cookies texture, the French method is my preference. It’s simple, classic, and reliable when you follow the sugar-slowly rule!
If you want to see another great example of how to master the basics of this type of bake, check out this excellent guide I found over at Devour Dish. Sometimes seeing it explained by someone else just makes it click!
Once you master the technique, I promise you’ll feel confident tackling other simple, elegant bakes, like these lemon scones!
Nutritional Snapshot of These Light and Airy Desserts
Even though these meringue cookies feel like they are made of pure spun sugar, since they are mostly just egg white, they are wonderfully light in calories! I always like to have the facts handy, even for a simple treat like this. Because every batch can vary slightly based on oven temperature accuracy and exact ingredient size, treat these numbers more like a great estimate than a rigid guarantee.
Here is the breakdown per single cookie, based on using the exact amounts listed in my recipe. It’s pretty amazing how few calories are in these light and airy desserts when you compare them to a bakery cookie!
- Serving Size: 1 cookie
- Calories: 45
- Sugar: 11g
- Sodium: 5mg
- Fat: 0g
- Carbohydrates: 11g
- Protein: 0.5g
See? Almost zero fat! That’s the power of whipping those egg whites! Remember, these estimations are based on my recipe calling for superfine sugar. If you happen to be looking for ways to cut down on sugar elsewhere in your day, I have plenty of great ideas on my healthy lunch recipes page. Enjoy these sweet treats knowing they are delightfully light!
PrintNo-Fail Easy Meringue Cookies Recipe: Crisp and Melt-in-Your-Mouth

Follow this simple French meringue recipe to create light, airy cookies with a perfectly crisp exterior that melts in your mouth. This beginner-friendly guide ensures you achieve stiff peaks and perfect results every time. These treats are naturally gluten free.
- Prep Time: 15 min
- Cook Time: 75 min
- Total Time: 1 hour 30 min
- Yield: About 30 cookies 1x
- Category: Dessert
- Method: Baking
- Cuisine: American
- Diet: Gluten Free
Ingredients
- 4 large egg whites, room temperature
- 1 cup superfine granulated sugar (caster sugar)
- 1 teaspoon vanilla extract
- 1/4 teaspoon cream of tartar
- Pinch of salt
Instructions
- Preheat your oven to 200°F (95°C). Line two large baking sheets with parchment paper.
- In a clean, dry mixing bowl, combine the egg whites, cream of tartar, and salt. Beat on medium speed until soft peaks form.
- Gradually add the superfine sugar, about one tablespoon at a time, while continuing to beat the mixture on high speed. Wait about 30 seconds between each addition.
- Continue beating until the meringue is very stiff, glossy, and holds sharp peaks when you lift the whisk. Rub a small amount between your fingers; it should feel smooth, not gritty.
- Beat in the vanilla extract until just combined.
- Transfer the meringue to a piping bag fitted with a large star tip (or use two spoons for rustic drops).
- Pipe or drop small mounds onto the prepared baking sheets, keeping them about one inch apart.
- Bake for 1 hour to 1 hour 15 minutes. The meringues should lift easily from the parchment paper and sound hollow when tapped.
- Turn off the oven, prop the door open slightly with a wooden spoon, and let the meringue cookies cool completely inside the oven for at least 1 hour, or preferably overnight. This drying process ensures a crisp texture.
- Store the finished, cooled meringue cookies in an airtight container at room temperature.
Notes
- Use room temperature egg whites; they whip up to a greater volume than cold whites.
- Ensure your mixing bowl and whisk attachments are completely free of any grease or yolk residue, as fat prevents the egg whites from whipping properly.
- For a holiday treat, you can gently fold in 1/2 teaspoon of peppermint extract instead of vanilla.
- If you do not have superfine sugar, pulse regular granulated sugar in a food processor for 30 seconds to break it down slightly.
Nutrition
- Serving Size: 1 cookie
- Calories: 45
- Sugar: 11
- Sodium: 5
- Fat: 0
- Saturated Fat: 0
- Unsaturated Fat: 0
- Trans Fat: 0
- Carbohydrates: 11
- Fiber: 0
- Protein: 0.5
- Cholesterol: 0