
Oh, there is nothing quite like that sharp, vibrant tang of a Granny Smith apple, right? That mouth-watering brightness is exactly what we need to cut through the sweetness of a classic syrup. My philosophy here at Mia’s Meals, which you can read more about on our About Page, is always about finding that easy path to incredible flavor, and that’s precisely what this Green Apple Syrup recipe delivers. We’re stripping away all the fuss to give you a homemade version that’s tart, deeply flavorful, and ready in an hour. Forget complicated reductions; this is straightforward Midwestern magic, perfect for elevating anything from your morning pancakes to your evening mocktails. Trust me, this is the only recipe you’ll need for that perfect tart and sweet apple condiment.
- Why This Homemade Green Apple Syrup Recipe Works
- Ingredients for Your Simple Green Apple Syrup
- How to Prepare Green Apple Syrup: Step-by-Step Instructions
- Tips for Success with Your Simple Green Apple Reduction
- Best Uses for Homemade Green Apple Syrup
- Storage and Preserving Your Green Apple Syrup
- Frequently Asked Questions About Tart Apple Syrup
- Nutritional Estimate for Green Apple Syrup
- Share Your Green Apple Syrup Creations
Why This Homemade Green Apple Syrup Recipe Works
We keep this process super simple because honestly, good fruit doesn’t need much help. This recipe isn’t fussy; it’s just allowing those beautiful apples to do the heavy lifting. You end up with a vibrant, clear liquid for our Green Apple Syrup.
- Simplicity: Cook down, mash, strain—that’s the whole method.
- Flavor Profile: Perfectly balanced tartness when using the right apple.
- Speed: Ready in about an hour start to finish!
Perfecting the Tart and Sweet Balance in Your Green Apple Syrup
You absolutely must use Granny Smith apples here. They hold their structure just long enough to release tons of flavor, but they carry that sharp, clean tartness we want. If your apples end up tasting much sharper than expected after mashing, don’t panic! Just stir in an extra tablespoon of sugar until it dissolves before the final simmer. It’s all about balancing what nature gives you!
Ingredients for Your Simple Green Apple Syrup
Gathering your ingredients is the easiest part of making this Green Apple Syrup! I always lay everything out first, because once we get simmering, things move quickly. Remember, the quality of your apples really matters here for that perfect tart finish.
- 4 large Granny Smith apples, peeled, cored, and chopped
- 2 cups granulated sugar
- 1 cup water
- 1 tablespoon fresh lemon juice
Ingredient Notes and Substitutions
You might be tempted to throw in some brown sugar for extra caramel depth, but I strongly advise against it for the first batch. Granulated sugar keeps your syrup beautifully clear, letting that bright green apple color shine through! The lemon juice isn’t just for tartness; it’s like a little electrical spark that brightens up the entire flavor profile, keeping everything tasting fresh and lively instead of dull.
How to Prepare Green Apple Syrup: Step-by-Step Instructions
Okay, here’s where we turn those chopped Granny Smiths into liquid gold. Making this Green Apple Syrup is rewarding because you can see the transformation happen right in the pot! Just follow these steps carefully, and you’ll have a gorgeous, flavorful syrup that lasts for weeks.
Simmering and Softening the Apples
First things first, get your apples, water, and lemon juice into a medium saucepan. I always grab my heavy-bottomed pot for this. Seriously, trust me on this one—it prevents that ugly scorching on the bottom while everything gets nice and tender. Bring that mix up to a boil over medium-high heat, then knock the heat way down to low, cover it up, and let it go for a good 20 minutes. You are aiming for apples that are practically mushy; they need to be very soft so they release every bit of tart flavor they have locked inside.
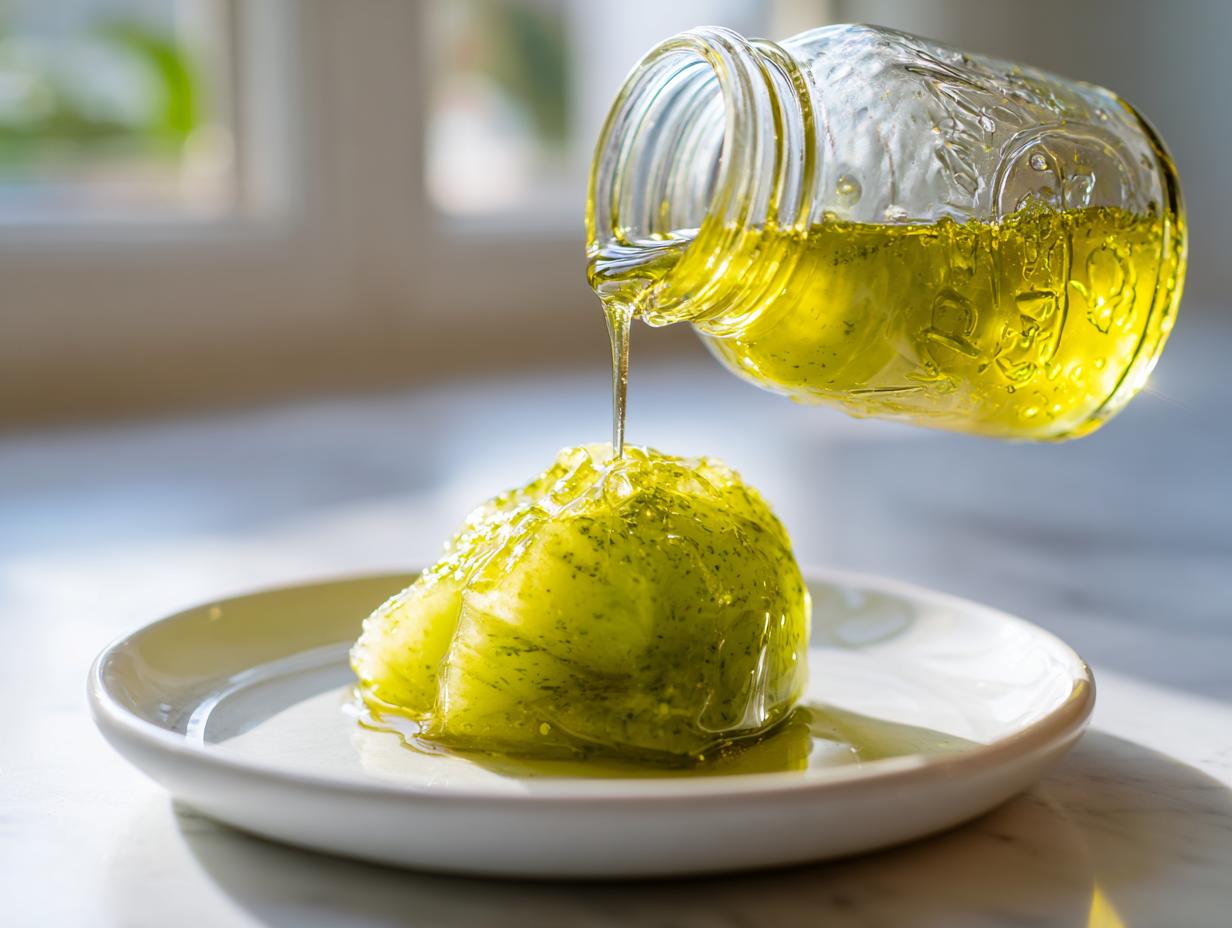
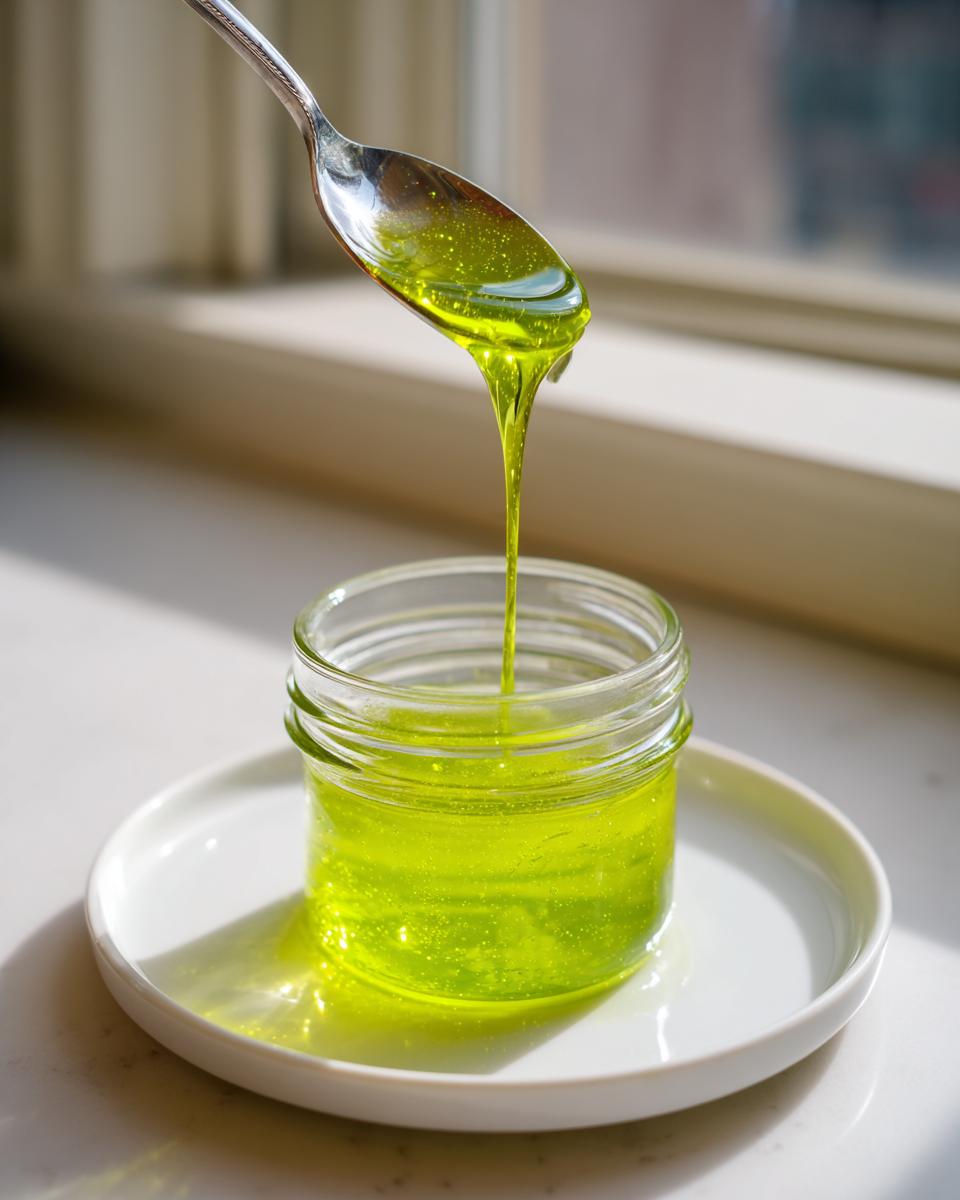
Achieving the Perfect Green Apple Syrup Consistency
Once things are soft, take the pot off the heat. Give those apples a good mash with a fork—don’t worry if it’s chunky right now. Now, stir in all that sugar until it melts completely into the warm apple mess. Then, that’s when we go back onto medium heat for the final simmer, uncovered. This is key for letting the water cook off! Don’t let it rage—a gentle simmer is all you need for about 10 to 15 minutes. Here’s my big secret: take it off the heat when it still looks a little thin. Seriously! This is the step where most people overcook it. The magic happens as it cools down—it concentrates and thickens beautifully. When you pull a spoon out, the mixture should coat the back lightly. After straining, you’ll see that perfect thickness for your apple reduction. Finally, push that mushy apple mixture through a fine-mesh sieve into a bowl; discard the solids, and pour that amazing Green Apple Syrup into a clean jar!
Tips for Success with Your Simple Green Apple Reduction
This recipe is so straightforward, but a tiny bit of insider knowledge can take your simple green apple reduction from “good” to “I need that recipe right now!” I’ve learned a few things over the years, mostly through trial and error—and sadly, ending up with some burnt bits at the bottom of my first few batches.
Here are my best tricks to ensure your syrup is clear, vibrant, and perfectly thick:
- Don’t Ditch the Strainer: When you pour the cooked apple mixture through the sieve, resist the urge to just let it drip. Use the back of a clean wooden spoon or a silicone spatula to press firmly on the apple solids. You need to extract every last drop of flavored liquid to maximize your yield and deepen the flavor. We want maximum saturation!
- Keep the Heat Low During the Sugar Dissolve: After stirring the sugar into the warm apple mush (before returning it to the heat), make sure it’s fully dissolved. If you boil the sugar mixture too vigorously right away, it can lead to crystallization later, making your syrup grainy instead of silky smooth. Slow and steady wins this race.
- Patience with Cooling: I know you just want to taste it immediately, but the cooling stage transforms the texture. If it seems slightly too thin coming off the stove, let it cool on the counter for 20 minutes. If you’re still not happy with the consistency, you can always return it to low heat for another five minutes, but usually, nature handles that job for you. Don’t forget to check out my tip on icing consistency—it applies here too: patience!
Best Uses for Homemade Green Apple Syrup
Now that you have this gorgeous, tart flavor bottled up, the fun truly begins! This Green Apple Syrup is incredibly versatile. Forget store-bought flavors that taste artificial; this is the real deal, made from scratch to bring a genuine burst of orchard flavor to everything you eat. It’s perfect for drizzling, mixing, or stirring!
Honestly, it is divine over my morning pancakes and waffles—you can find my favorite recipe guides on apple syrup for pancakes and waffles right here on the site. But don’t stop at breakfast! I also love swirling a spoonful into yogurt or using it to flavor a simple homemade pound cake.
Creating a Tart Green Apple Cocktail Mixer
This is where the syrup really earns its gourmet status! I find the tartness pairs brilliantly with darker spirits. Try mixing two parts rye whiskey, one part fresh lemon juice, and about ¾ part of our syrup. Shake it up with ice and strain it—it makes the most refreshing, sophisticated drink. It’s definitely my go-to for an easy homemade drink syrup that feels really special. You can check out some other simple recipes on my guide to easy homemade drink syrups!
Storage and Preserving Your Green Apple Syrup
Putting this much work into something delicious means we have to make sure it lasts, right? Nobody wants their beautiful Green Apple Syrup to go bad before they can finish drizzling it over their next stack of waffles! Because this recipe uses fresh fruit and a relatively quick simmer, we need to treat it the way we treat most of our fresh fruit sauces.
The easiest way to keep it perfect is right in the fridge. Once the syrup is completely cool—this is important, don’t put hot liquid in the fridge!—pour it into a clean, airtight jar or bottle like the one you started with. Store your homemade green apple syrup recipe stash in the refrigerator, and it should stay wonderfully fresh for about three whole weeks. That’s usually long enough for me!
But what if you made a huge batch? Say you had an amazing harvest from the orchard? If you want to keep that beautiful tart flavor around for months, freezing is a fantastic option. Pour the cooled syrup into freezer-safe containers or even heavy-duty zip-top bags, making sure to leave about an inch of headspace at the top for expansion. It freezes beautifully for up to six months. When you’re ready to use it, just thaw it overnight in the fridge!
For true long-term shelf stability, you can definitely look into water bath canning, which is great for preserving fresh green apples in general. I put together a detailed guide on preserving fresh green apples that walks you through the bath method for syrups, but for a small batch this recipe makes, I usually just stick to the fridge or freezer. You just can’t beat the convenience of having this gourmet apple syrup ready to go!
Frequently Asked Questions About Tart Apple Syrup
I know when you’re trying a new recipe, especially a simple reduction like this, you’re going to have a few little questions pop up. It’s totally normal! I’ve pulled together the most common things I hear about making homemade fruit syrups below, hopefully saving you a trip to the comments section!
Can I make this recipe without peeling the apples for a rustic green apple syrup?
Oh, you totally can! If you’re aiming for a more rustic, thick topping rather than a clear syrup for cocktails, leaving those skins on is fine. The skins hold a lot of pectin, which can actually help it thicken naturally. However, I have to warn you: if you leave the skins on, your final syrup will be a little cloudy, and you might have tiny red or yellow flecks throughout, which isn’t the clear, bright look we usually go for. If you do keep the skins on, you absolutely must strain the mixture twice, or better yet, use an immersion blender right after step two to really break down the fruit before you hit that fine-mesh sieve.
What is the best way to store homemade green apple syrup?
This is important for food safety, so listen up! Because this recipe doesn’t involve a full canner’s processing time, we treat it like fresh jam. Once your syrup has completely cooled down—make sure it’s totally room temperature first—pour it into a very clean, airtight jar. You can definitely store that jar right there in your refrigerator for up to three weeks. That’s usually enough time for me to use it all up on pancakes and in my morning tea! If you happen to make a gigantic batch, freezing is a breeze, like I mentioned before. While you can certainly look into a water bath canning method for longer shelf stability, honestly, the three-week fridge window is usually perfect for this smaller yield recipe, giving you that fresh flavor every time.
Nutritional Estimate for Green Apple Syrup
I always feel a little guilty when I look at the sugar content in fruit syrups, but hey, it’s still fruit, and we saved ourselves a trip to the store for something way less flavorful, right? Getting this homemade green apple syrup recipe just right means a delicious result, but it does come with its natural sugar commitment.
Please remember that these numbers are just estimates based on the 2 cups of sugar and the 4 large apples we use for this batch. Your exact measurements might vary slightly depending on the size of your fruit!
Here’s a rough breakdown per serving (which we estimate at 1/4 cup of finished syrup):
- Calories: Around 205—perfect for drizzling!
- Sugar: About 52g (This is where the sweetness comes from, naturally.)
- Carbohydrates: 53g
- Fat: 0g (See? No added fats here!)
- Protein: 0g
The beauty of making this yourself is you know exactly what went into it—no funny preservatives or artificial colors to worry about. It’s just apples, lemon, and sugar working together!
Share Your Green Apple Syrup Creations
That’s it! You’ve successfully whipped up a batch of vibrant Green Apple Syrup. I truly hope it brightens up your next brunch or cocktail! When you make this tart and sweet apple topping, please come back and leave a rating below—it helps other home cooks know this recipe is a winner. I absolutely love seeing your creations, so feel free to tag me on social media! If you have any final questions, you can always reach out via my contact page. Happy drizzling!
PrintSimple Green Apple Syrup Recipe

Make this tart and sweet homemade green apple syrup using Granny Smith apples. It is a simple reduction perfect for cocktails, pancakes, and desserts.
- Prep Time: 15 min
- Cook Time: 45 min
- Total Time: 60 min
- Yield: About 2 cups 1x
- Category: Condiment
- Method: Stovetop Simmering
- Cuisine: American
- Diet: Vegetarian
Ingredients
- 4 large Granny Smith apples, peeled, cored, and chopped
- 2 cups granulated sugar
- 1 cup water
- 1 tablespoon fresh lemon juice
Instructions
- Combine the chopped apples, water, and lemon juice in a medium saucepan.
- Bring the mixture to a boil over medium-high heat, then reduce heat to low, cover, and simmer for 20 minutes, or until the apples are very soft.
- Remove the saucepan from the heat. Mash the apples slightly with a fork or potato masher.
- Stir in the granulated sugar until it completely dissolves into the warm apple mixture.
- Return the saucepan to medium heat and bring the mixture back to a gentle simmer. Cook uncovered for 10 to 15 minutes, stirring occasionally, until the syrup thickens slightly. It will thicken more as it cools.
- Remove from heat. Pour the mixture through a fine-mesh sieve set over a bowl, pressing down on the solids to extract all the liquid. Discard the solids.
- Pour the finished green apple syrup into a clean, airtight jar or bottle.
Notes
- For a thinner syrup, reduce the simmering time in Step 5. For a thicker syrup, simmer longer.
- Store your homemade green apple syrup in the refrigerator for up to three weeks.
- Use this tart apple syrup as a gourmet apple syrup for waffles or as a mixer in easy homemade drink syrups.
Nutrition
- Serving Size: 1/4 cup
- Calories: 205
- Sugar: 52g
- Sodium: 1mg
- Fat: 0g
- Saturated Fat: 0g
- Unsaturated Fat: 0g
- Trans Fat: 0g
- Carbohydrates: 53g
- Fiber: 1g
- Protein: 0g
- Cholesterol: 0mg