
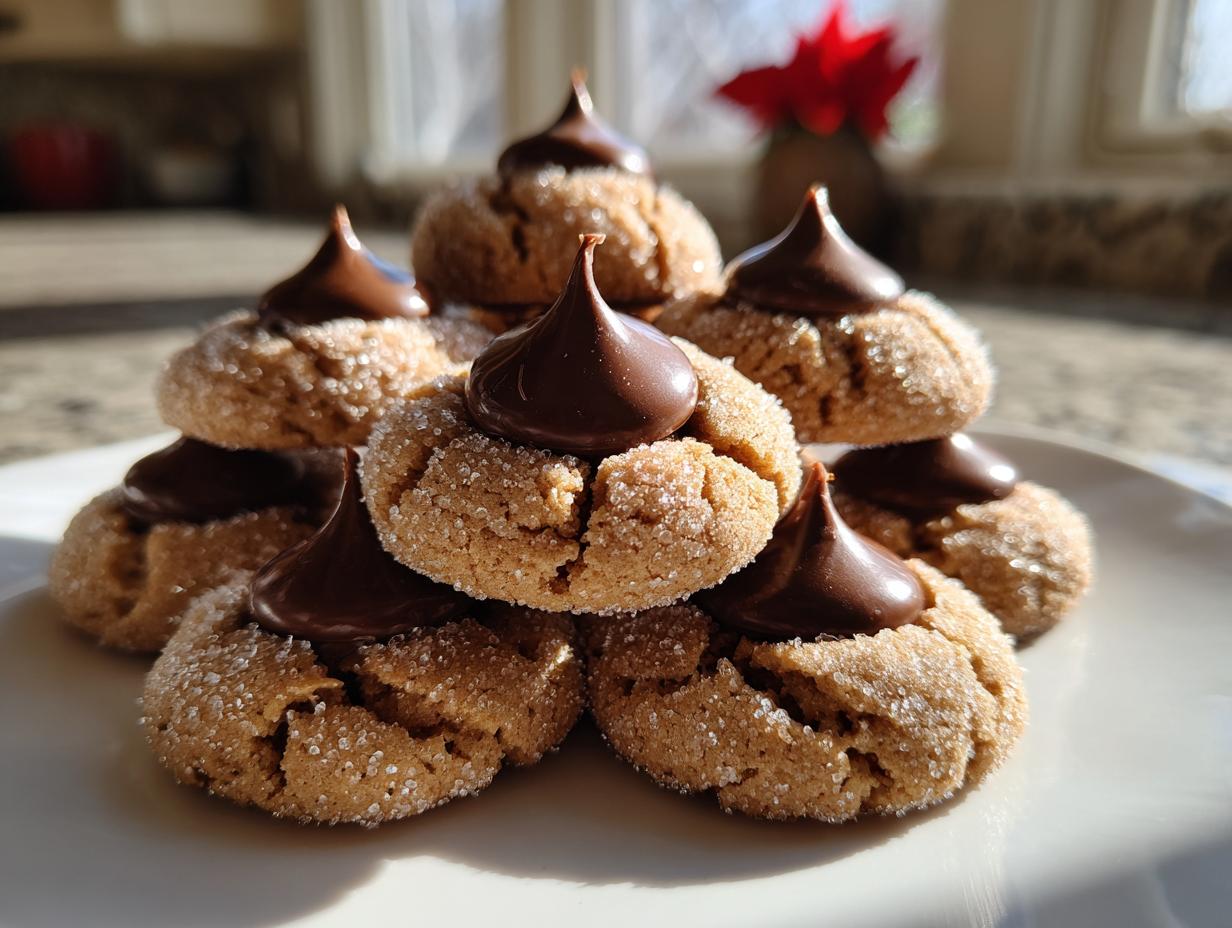
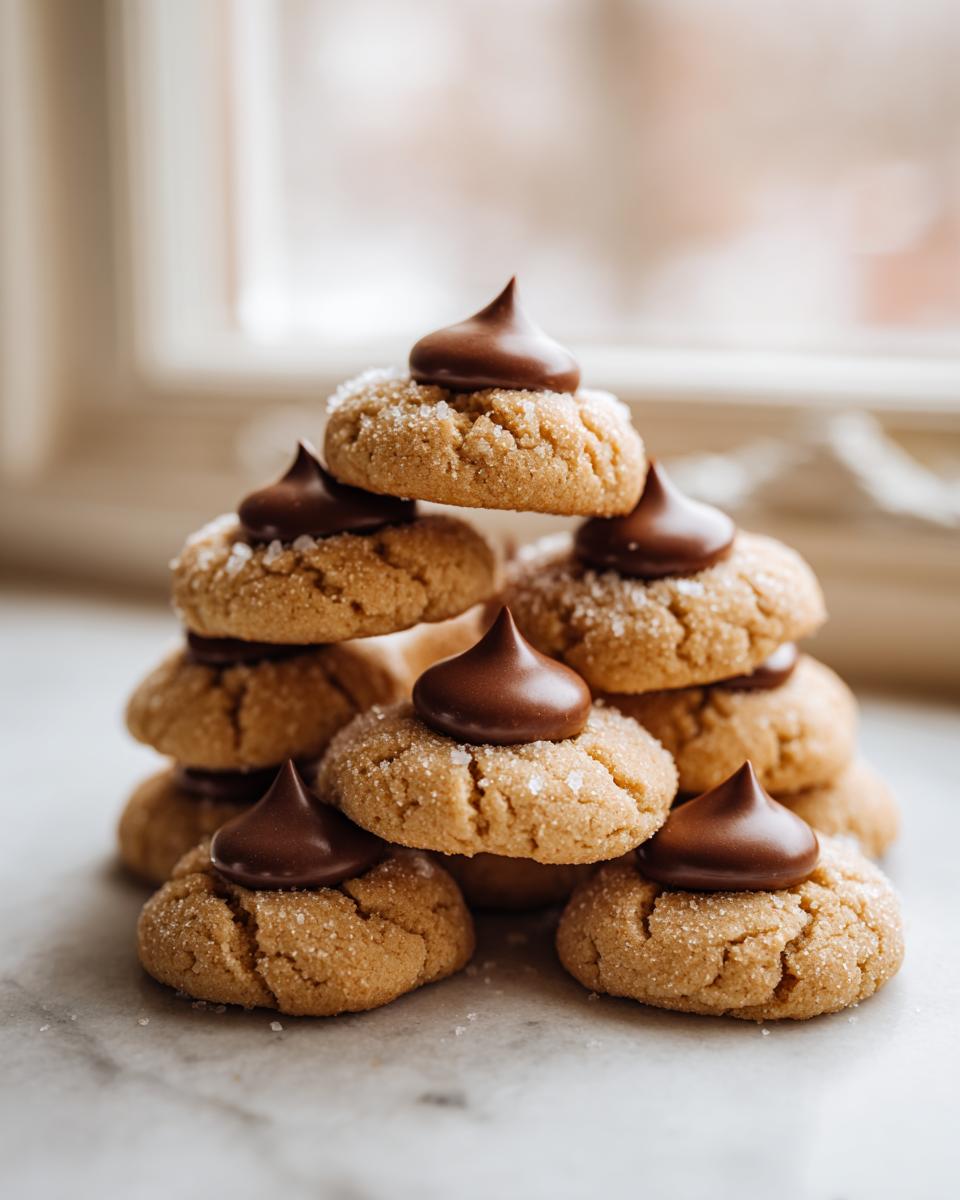
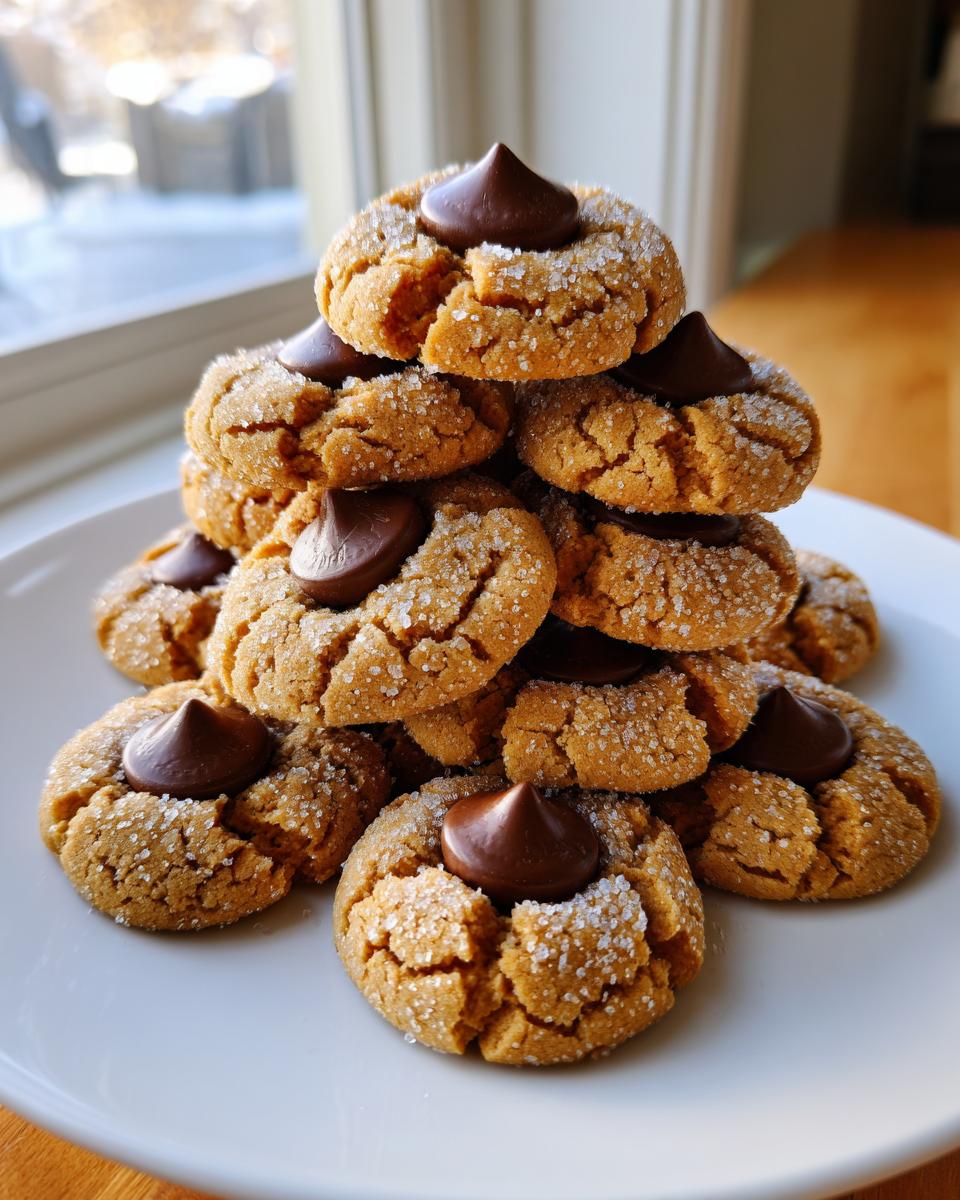
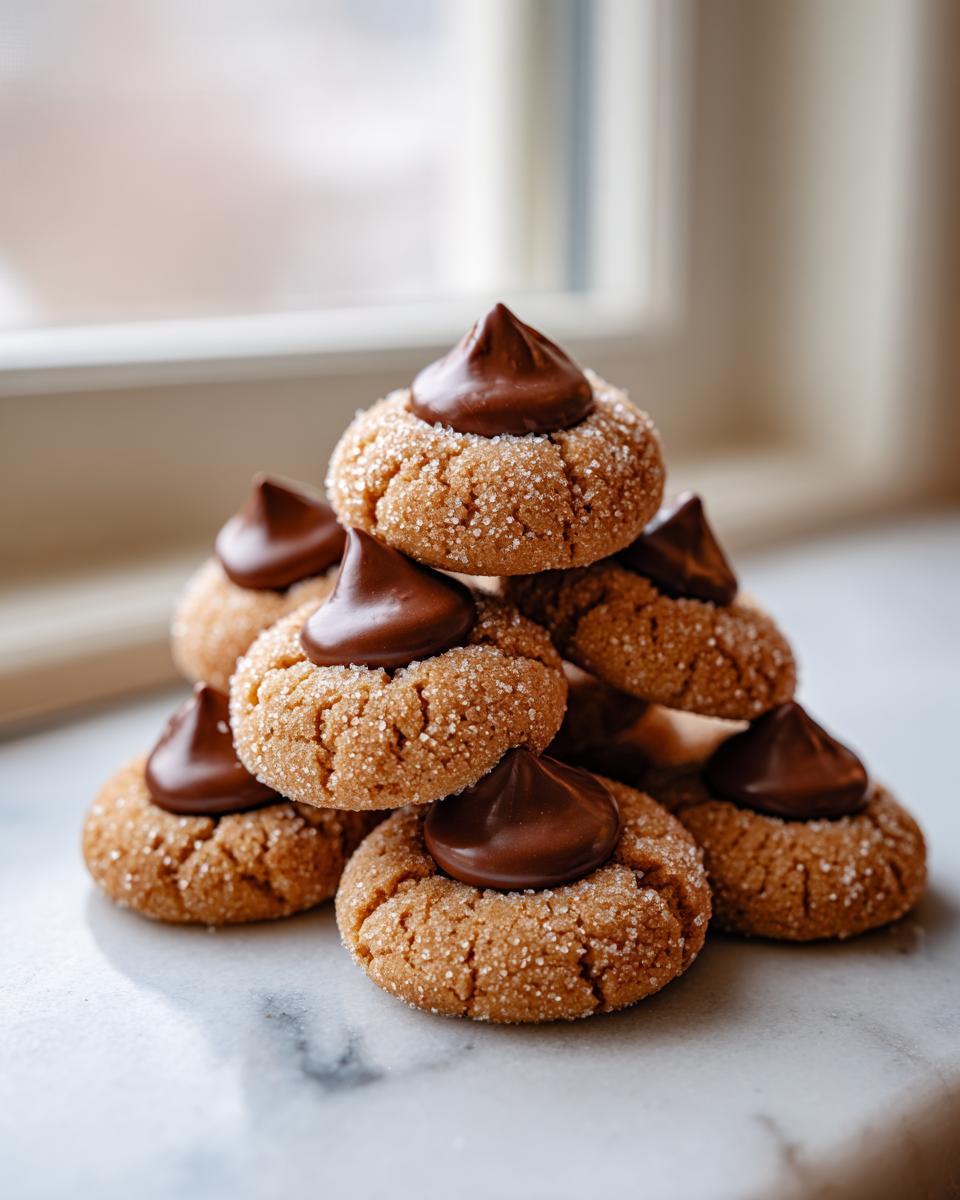
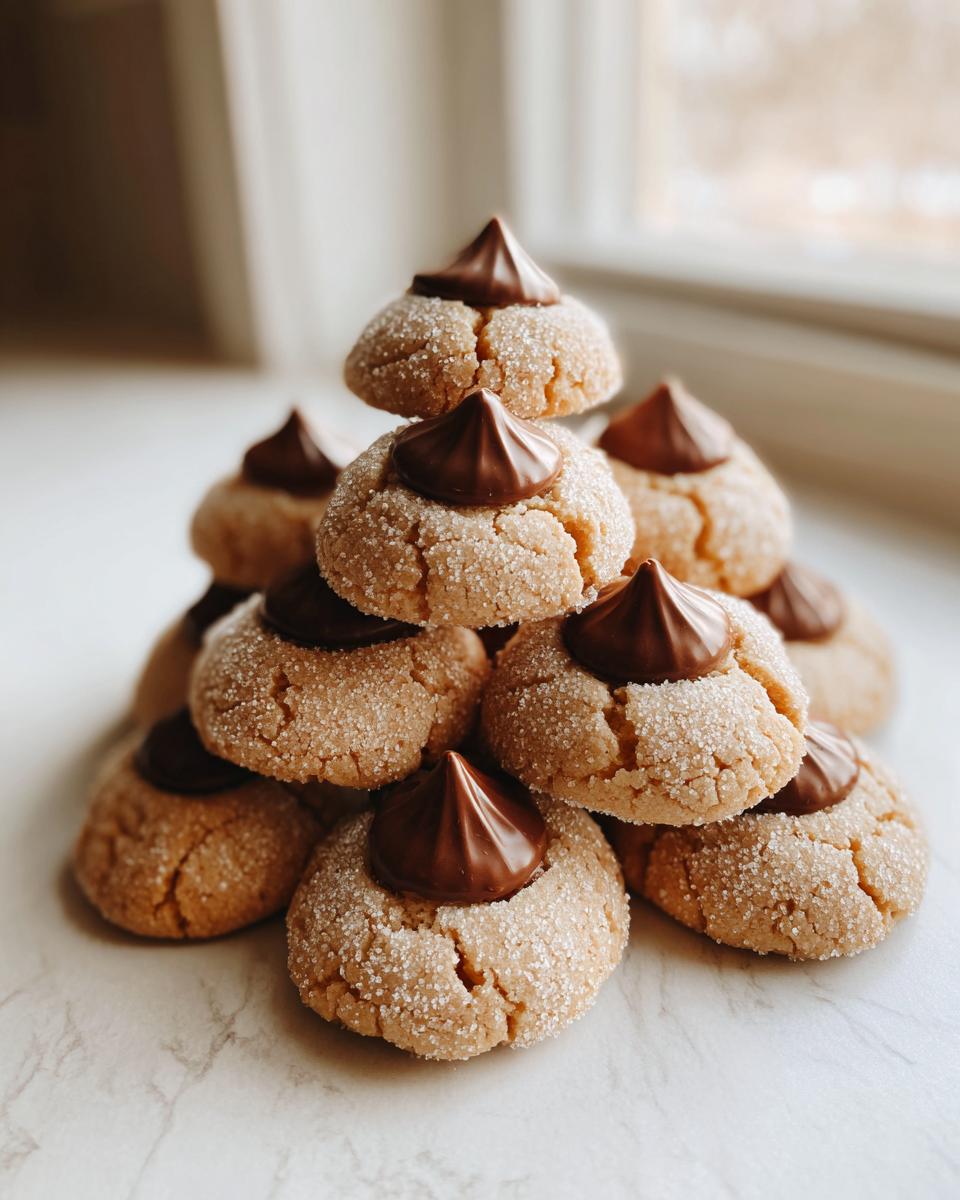
Oh, the smell of the holidays! For me, that smell instantly takes me back to my childhood in our cozy Ohio kitchen. Nothing screams tradition quite like pulling a fresh tray of these iconic treats from the oven. We always called them kiss cookies, and after all these years, this exact Peanut Butter Blossoms recipe is still the keeper. It’s the simplest dessert, but when you have that perfect soft, chewy bite topped with rich chocolate, you realize why it’s a staple on every cookie tray. If you want the absolute best version—the one that stays chewy—you’ll want to read my full guide. This guide goes deep into the peanut butter choice!
- Why You Will Make These Classic Kiss Cookies Again and Again
- Gathering Ingredients for Perfect Kiss Cookies
- Step-by-Step Instructions for Making Kiss Cookies
- Tips for Perfect Peanut Butter Blossoms Recipe Success
- Variations on Classic Kiss Cookies for Every Holiday
- Storage and Keeping Your Kiss Cookies Fresh
- Answering Common Questions About Hershey Kiss Cookies
- Estimated Nutritional Snapshot for These Simple Dessert Recipes
- Share Your Classic Christmas Cookies Creations
Why You Will Make These Classic Kiss Cookies Again and Again
Let’s be honest, we all need recipes that deliver big flavor without hogging the entire afternoon. That’s what these are all about! They align perfectly with my mission here at Mia’s Meals—simple steps leading to huge payoff.
- They are truly Soft and Chewy Cookies that never dry out.
- This is Easy Holiday Baking at its best—minimal fuss, maximum wow factor.
- They look so festive coming right out of the oven!
You can count on these for last-minute treat requests. I’ve got another favorite easy recipe if you need speed, but these have history on their side!
Gathering Ingredients for Perfect Kiss Cookies
Getting started is simple because we are sticking to the classics! Remember, baking is about precision, but also knowing the essentials. For this batch, we are making about 28 Hershey Kiss Cookies. Give yourself just 15 minutes of prep time. The actual baking is super quick—about 10 minutes—so the total time is amazingly fast for such a rewarding cookie.
Here’s the rundown of what you’ll need:
- 1 ½ cups all-purpose flour
- ¾ teaspoon baking soda
- ½ teaspoon salt
- ¾ cup creamy peanut butter (we used JIF in testing!)
- ½ cup unsalted butter, very soft (really soft is key here)
- ⅓ cup granulated sugar (for the dough)
- ½ cup granulated sugar (for rolling)
- ⅓ cup light brown sugar, packed
- 1 large egg, room temperature, please!
- 2 teaspoons vanilla extract
- 28 Hershey’s Kiss candies, unwrapped and frozen
Specific Ingredient Notes and Substitutions
We need to chat about the peanut butter and those Kisses. My grandma always insisted on creamy peanut butter for the Best Peanut Butter Cookies base. Crunchy bits just mess up that signature melt-in-your-mouth texture we are aiming for. It’s just not the same!
Now, the chocolate part: always freeze your unwrapped Kisses beforehand. Trust me on this one! If they’re room temperature, they will melt right into a puddle instead of holding that lovely, iconic little hat shape when you press them in. Freezing helps them keep their shape so beautifully.
Step-by-Step Instructions for Making Kiss Cookies
Are you ready? This is where the real fun begins! Getting the timing right here is the secret weapon for ensuring these turn out beautifully soft every single time. We are moving fast, but trust the process. Preheat your oven right now to 375 degrees F, and please line those baking sheets with parchment paper—it makes cleanup a dream!
Mixing the Dough: Achieving Soft and Chewy Cookies Texture
First things first, grab a bowl and whisk together your dry ingredients: the flour, baking soda, and salt. We just need these married together while we handle the wet stuff. In a separate, big bowl, it’s time to cream that super soft butter, peanut butter, the ⅓ cup of granulated sugar, and all that packed brown sugar until it looks smooth and creamy. Beat in your room-temperature egg and the vanilla until it’s just combined.
Now, only add the dry mixture into the wet mixture gradually, mixing slowly until everything is *just* combined. Hear me out: Seriously, do not overmix! Overmixing is how we end up with tough cookies, and we are strictly aiming for Soft and Chewy Cookies here. Stop the mixer the second you see no more flour streaks leftover. If you want to know more about icing cookies later (though these don’t need it!), check out how to get icing to dry hard.
Baking and Applying the Chocolate Kiss for Kiss Cookies
Set up your shallow dish with the remaining ½ cup of granulated sugar. Scoop your dough into neat little 1-inch balls, and roll each one thoroughly in that sugar coating. Pop them onto your prepared sheets, leaving about two inches between them so they have room to spread out happily.
Bake them at 375 degrees F for about 8 to 10 minutes. You’re looking for the edges to set—don’t wait for them to brown too much! The instant they come out of the oven, grab those frozen, unwrapped Kisses and gently press one right into the center of each warm cookie. That heat is what makes the chocolate soften just enough to create that perfect seal. Let them sit on the hot pan for five minutes afterward before moving them to a cooling rack. Don’t skip that short rest!
Tips for Perfect Peanut Butter Blossoms Recipe Success
You nailed the mixing, but listen, the little details are what separate a *good* cookie from the *best* peanut butter cookies you’ve ever made. It’s all about temperature and texture control, which is something my mom stressed constantly!
First, about that egg: make sure it’s room temperature. If you drop a cold egg into your creamed butter mixture, it can cause the butter to seize up a little, and suddenly your light, fluffy base gets dense. Trust me, letting an egg sit out for 30 minutes makes a huge difference!
Also, regarding the sugar rolling: be aggressive but fair! You want that dough ball completely coated in the granulated sugar. That sugar coating protects the cookie’s structure while baking and gives you that slightly crackly texture that contrasts so nicely with the soft center. If you want to see another recipe where temperature is paramount, check out my maple brown sugar cookies—same principle applies!
Variations on Classic Kiss Cookies for Every Holiday
While the peanut butter version is my absolute go-to—it’s what I think of when I hear Holiday Cookie Recipes—half the fun of these sweet treats is swapping out the dough! You don’t always have to stick to the classic peanut butter base to call it a Kiss Cookie, which means these are great year-round.
I’ve seen amazing Chocolate Kiss Cookies made with a fudgy base, and I even tried a batch of spicy Gingerbread Kiss Cookies last December. They were amazing! These simple swaps keep the cookie tray interesting without complicating the process too much, as the pressing technique remains the same.
If you’re looking for something a little different that still feels festive, check out my recipe for easy Christmas cookie bars; those are always a hit!
Making Valentine Day Cookies with a Pink Twist
If you’re baking for Valentine’s Day, you need pink, right? You can achieve this easily! Think about making Red Velvet Blossoms—just use a standard soft sugar cookie dough base, add a touch of red food coloring, and bake as usual. The rich red color against the dark chocolate Kiss is just stunning for Valentine Day Cookies.
Or, try adapting the dough to a strawberry flavor! A little strawberry extract mixed into a simple sugar cookie base gives you a perfectly pink cookie. Then, instead of the traditional Hershey’s Milk Chocolate Kiss, sometimes you can find the pink foil-wrapped ones, or just use the classic chocolate one to pair with the pink dough.
Storage and Keeping Your Kiss Cookies Fresh
Okay, you baked these beauties—now how do we keep them perfect until you’re ready to serve them? These cookies are definitely best eaten within the first couple of days, when that peanut butter base is at its softest. You want to store them at cool room temperature, never in the fridge!
Pop them into a sturdy, airtight container as soon as they are completely cool. If you try to pack them while they are even slightly warm, the chocolate Kiss will get sweaty and smear everywhere, which is just sad. If you’re worried about the chocolate getting too soft on a warm kitchen day, you can place a small piece of wax paper between the layers of cookies to keep them from sticking together. They are truly one of the best Simple Dessert Recipes because they hold up so well!
Answering Common Questions About Hershey Kiss Cookies
I get so many questions about this recipe, which tells me how much everyone loves recreating these Classic Christmas Cookies! Baking with Hershey Kisses is fun, but a few little snags can pop up if you aren’t careful about timing.
Let’s clear up a few things right now so your next batch of Hershey Kiss Cookies is perfect.
Can I use crunchy peanut butter instead of creamy?
While you technically *can*, I really advise against it if you want that classic, melt-in-your-mouth texture. Crunchy peanut butter will change the dough structure slightly and you won’t get that perfectly smooth base that cradles the chocolate Kiss so nicely. Stick to creamy for the Best Peanut Butter Cookies experience!
Do I really need to freeze the Kisses?
Yes, yes, a thousand times yes! This is non-negotiable for me. If you skip freezing the Kisses, they will melt into oily messes immediately upon hitting that hot cookie, and you won’t get that cute little crinkle around the base. Freezing keeps their temperature low enough to hold their shape when Baking with Hershey Kisses.
Can I make these ahead of time?
You absolutely can make the dough balls ahead of time—even roll them in the sugar! Store them grouped together on a parchment-lined tray in the freezer. When you decide to bake, pull them out and bake them directly from frozen; just add about 1 or 2 extra minutes to the baking time. I always have dough balls ready for surprise gatherings! For more make-ahead tips, I shared some ideas in my puff pastry guide, though these cookies are fast enough that it’s rarely necessary!
Estimated Nutritional Snapshot for These Simple Dessert Recipes
Now, I know many of you are focused on serving delicious treats, but I also know that tracking ingredients is important for home cooks watching portions. Since this is a classic American recipe using butter and peanut butter, we need to keep expectations realistic—these are rich cookies!
Below is the estimated nutritional breakdown for one cookie, based on the standard ingredient amounts listed above. Remember, this is just an estimate! The actual numbers can vary widely depending on the brand of peanut butter you choose or if you use salted vs. unsalted butter. Consider this a helpful guide rather than strict counting for your other simple dessert recipes.
Here’s what you can generally expect from one of these wonderful cookies:
- Serving Size: 1 cookie
- Calories: Approx. 180
- Fat: Approx. 10g (with 4g being saturated fat)
- Carbohydrates: Approx. 21g
- Protein: Approx. 4g
- Sugar: Approx. 14g
A quick note from Mia: Because we use both granulated and brown sugar, plus the chocolate Kiss, the sugar count seems high, and it is! But honestly, these are treats meant for special occasions, not everyday snacking, so enjoy them when you make them!
Share Your Classic Christmas Cookies Creations
Baking is the best when it’s shared, isn’t it? That’s the whole point of what we do here—building a community where we can trade tips and celebrate our kitchen wins together. These Classic Christmas Cookies are such a classic for a reason, and I truly, truly want to see how yours turn out!
Once you’ve made a batch, please come back here and give the recipe a star rating. Five stars if they stayed soft and chewy for you! That feedback helps me know what’s working and keeps this recipe accurate for the next home baker who drops by.
If you share photos on Instagram or Facebook, tag me! I love seeing your setups, whether they are destined for a cookie swap or just piled high on your favorite serving platter. Mentioning how often you bake these simple treats helps others realize that good food doesn’t have to be complicated.
If you have any questions while you’re putting together your next batch, or if you just want to share a baking success story, don’t hesitate to reach out through the contact page. I read every single note, and I’m always happy to chat about butter temperatures or the best way to freeze cookie dough!
PrintClassic Peanut Butter Kiss Cookies (Peanut Butter Blossoms)

Make soft and chewy Peanut Butter Blossoms, a classic holiday cookie topped with a chocolate Hershey’s Kiss. This recipe is simple and perfect for your cookie tray.
- Prep Time: 15 min
- Cook Time: 10 min
- Total Time: 25 min
- Yield: About 28 cookies 1x
- Category: Dessert
- Method: Baking
- Cuisine: American
- Diet: Vegetarian
Ingredients
- 1 ½ cups all-purpose flour
- ¾ teaspoon baking soda
- ½ teaspoon salt
- ¾ cup creamy peanut butter
- ½ cup unsalted butter, very soft
- ⅓ cup granulated sugar (for dough)
- ½ cup granulated sugar (for rolling)
- ⅓ cup light brown sugar, packed
- 1 large egg, room temperature
- 2 teaspoons vanilla extract
- 28 Hershey’s Kiss candies, unwrapped and frozen
Instructions
- Preheat your oven to 375 degrees F. Line baking sheets with parchment paper.
- In a medium bowl, whisk together the flour, baking soda, and salt. Set this aside.
- In a large bowl, cream together the soft butter, peanut butter, ⅓ cup granulated sugar, and brown sugar until the mixture is smooth.
- Beat in the egg and vanilla extract until just combined.
- Gradually add the dry ingredients to the wet ingredients, mixing on low speed until just combined into a dough. Do not overmix.
- Place the remaining ½ cup of granulated sugar into a shallow dish.
- Roll the cookie dough into 1-inch balls. Roll each ball completely in the granulated sugar to coat.
- Place the sugared dough balls about 2 inches apart on the prepared baking sheets.
- Bake for 8 to 10 minutes, or until the edges are set.
- Immediately upon removing the cookies from the oven, gently press one frozen, unwrapped Hershey’s Kiss into the center of each warm cookie. The warmth of the cookie will slightly soften the chocolate.
- Let the cookies cool on the baking sheet for 5 minutes before transferring them to a wire rack to cool completely.
Notes
- Freezing the Hershey’s Kisses before pressing them into the cookies helps them keep their shape better.
- Use creamy peanut butter for the best texture in the cookie dough.
- These cookies are a staple for holiday baking and cookie swaps.
Nutrition
- Serving Size: 1 cookie
- Calories: 180
- Sugar: 14g
- Sodium: 110mg
- Fat: 10g
- Saturated Fat: 4g
- Unsaturated Fat: 6g
- Trans Fat: 0g
- Carbohydrates: 21g
- Fiber: 1g
- Protein: 4g
- Cholesterol: 20mg