
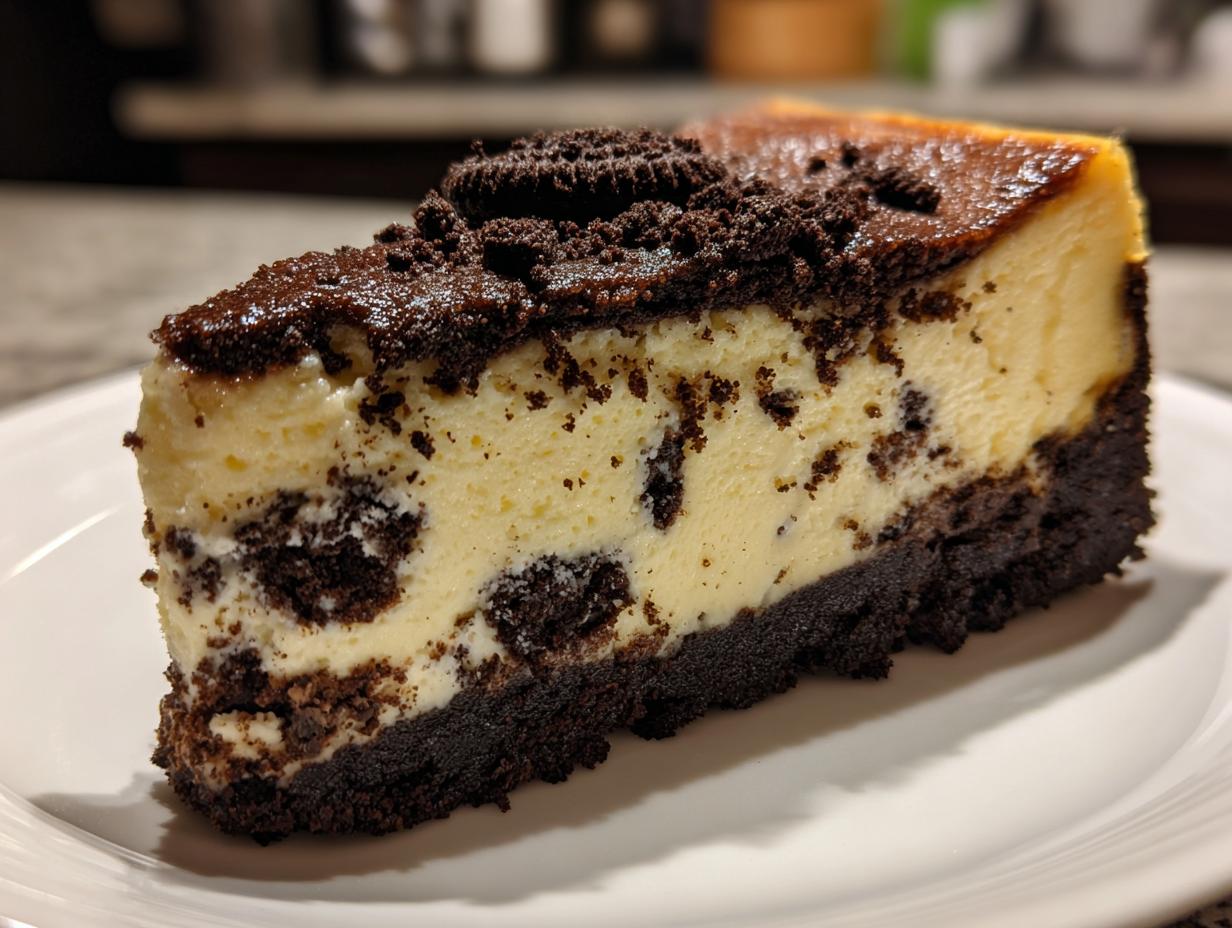
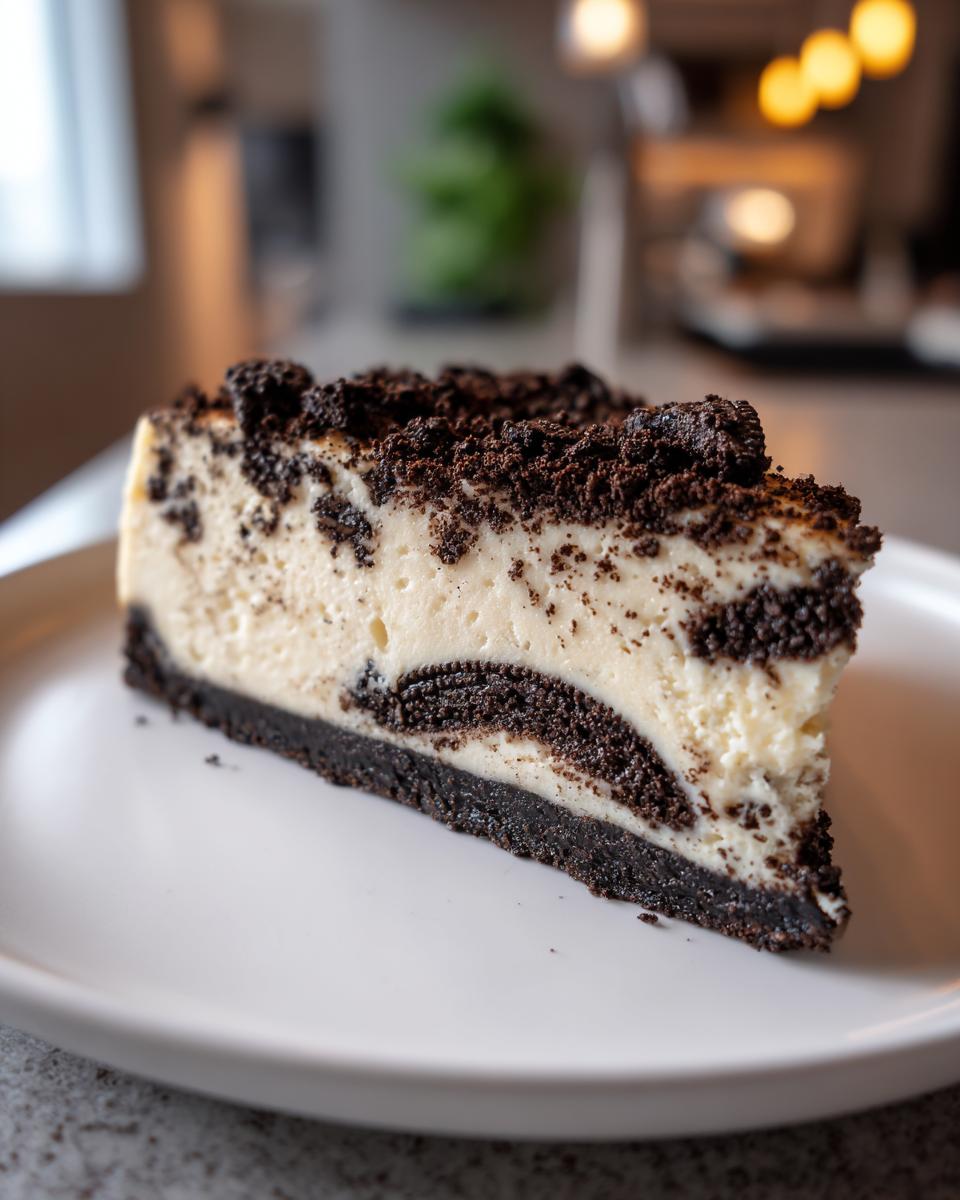
If there’s one thing that stops a busy week dead in its tracks, it’s the promise of an Oreo dessert, right? I swear, the crunch of that cookie mixed with something creamy just hits different. When my family wants something truly special—the kind of dessert that demands a spotlight at a birthday or holiday—we skip the quick fixes and go straight for the real deal: my ultimate, rich, and unbelievably creamy Oreo Cheesecake. We are talking about the baked version here, folks. It’s all about getting that luscious, velvety smooth texture that you just can’t replicate when you skip the oven. Trust me, after years of testing comfort foods, I figured out the secrets to making this classic bake reliably perfect every single time.
- Why This Baked Oreo Cheesecake Recipe Works for Every Occasion
- Gathering Ingredients for Your Ultimate Oreo Cheesecake Recipe
- Step-by-Step Instructions for Homemade Oreo Cheesecake
- Troubleshooting Common Issues with Your Oreo Cheesecake
- Making a Cheesecake Factory Copycat Recipe Style Oreo Cheesecake
- Tips for Perfecting Your Easy Oreo Cheesecake
- Storage and Serving Suggestions for Your Decadent Oreo Dessert
- Frequently Asked Questions About Oreo Cheesecake
- Nutritional Estimate for One Slice
Why This Baked Oreo Cheesecake Recipe Works for Every Occasion
I know, I know—the No Bake Oreo Cheesecake seems like a lifesaver when you’re pressed for time. But if you want that seriously **rich creamy cheesecake** texture that yells, “This is a celebration dessert!” you have to bake it. The baking process sets the cream cheese and eggs into a dense, magnificent cake structure. It’s less sweet than the no-bake versions and holds up beautifully when sliced, which is why this **homemade Oreo cheesecake** is my go-to for family gatherings. It’s simply the **best Oreo cheesecake** experience. I even use similar careful layering techniques when I make my easy homemade cranberry sauce!
Achieving That Rich Creamy Cheesecake Texture
This is where most people mess up, and I’m telling you now: temperature is everything! You absolutely must have your cream cheese, eggs, and sour cream softened to room temperature. Cold ingredients lump up, forcing you to overmix to smooth them out. Overmixing adds air, and air creates cracks! Beat your cream cheese and sugar until fluffy, and then, only then, add the eggs one by one. Mix *just* until the yellow disappears. That’s the secret to a smooth, perfect slice.
Gathering Ingredients for Your Ultimate Oreo Cheesecake Recipe
Okay, now that we know the texture secrets, let’s look at what you need to pull this masterpiece together. As I always say, great results start with great components, and for this **Oreo Cheesecake Recipe**, quality counts, especially with the dairy parts! You’re going to need the full ingredient list ready to go before you even think about turning on the mixer. Seriously, organize everything on your counter first—it makes the whole process so much calmer.
Ingredient Notes and Substitutions for the Perfect Oreo Crust Dessert
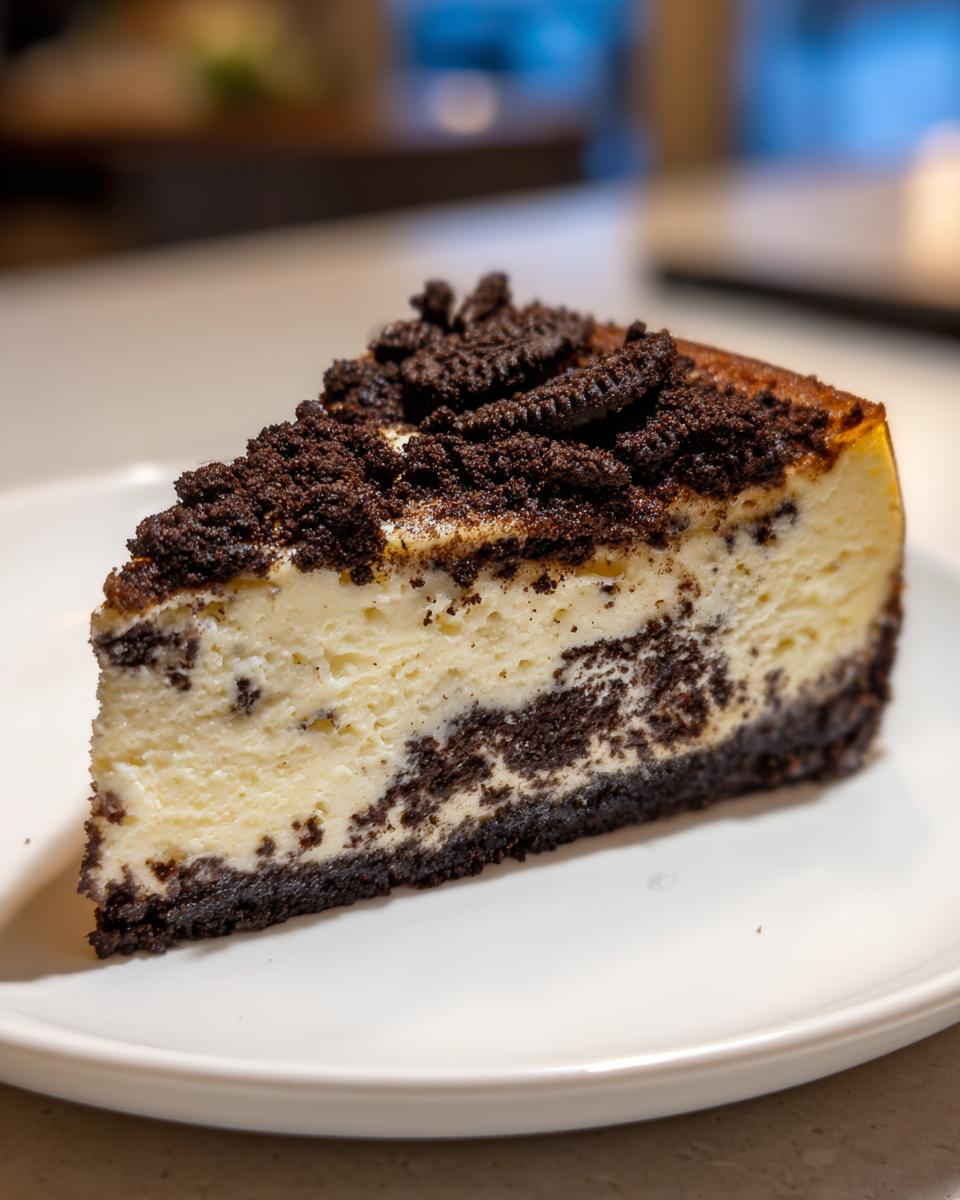
Let’s talk cookies! You’ll need about 25 whole Oreos for the crust, which should grind up to roughly 1 3/4 cups of crumbs. Make sure you melt that butter fully so it coats every speck of cookie uniformly. For the filling, you absolutely must use full-fat block cream cheese—none of that low-fat stuff, please, or your beautiful cake won’t set right! And yes, that cream cheese needs to be *softened*; room temperature is not optional here, trust me. When measuring those chunks of crushed Oreos for the filling, use the whole cookie—wafer and filling—because that dark chocolate flavor is what makes this such a **decadent Oreo dessert**.
Step-by-Step Instructions for Homemade Oreo Cheesecake
Alright, this is where the magic happens! Making a truly great **Homemade Oreo Cheesecake** requires following the order I’ve laid out here. Baking a cheesecake isn’t like tossing cookies together; it’s more methodical, and that structure is what gives us that satisfying, firm slice. The most important part? That water bath we’re setting up. It sounds fancy, but it’s just gentle steam doing the hard work to keep our beautiful filling from drying out or cracking. If you want that perfect result, pay attention to these steps—just like the careful folding I use for my easy puff pastry apple strudel!
Preparing the Oreo Crust Dessert Base
First things first, get your 9-inch springform pan ready. I use heavy-duty foil—two big sheets wrapped tightly around the bottom and up the sides—because water always tries to sneak in! Mix those cookie crumbs and melted butter until it looks like wet sand, then press it down firmly into the bottom. Don’t be shy! Use the bottom of a measuring cup to really pack it in tight. Then, you give it a little 10-minute head start in the 350°F oven just to set everything up before we pour in that gorgeous filling.
Mixing the Creamy Oreo Cheesecake Filling
Once the crust is cooling, start with your room-temperature cream cheese in a big bowl. Beat it alone until it is absolutely lump-free and silky smooth. That’s non-negotiable! Next, slowly add the sugar, then the vanilla and sour cream. Now for the eggs: add them one at a time, and as soon as the yolk disappears, stop, scrape the bowl, and move to the next one. Seriously, minimize that mixing time once the eggs are in! Finally, gently fold in that cup of crushed Oreos. We want distribution, not destruction.
Baking and Slow Cooling Your Rich Creamy Cheesecake
Set your foil-wrapped springform pan inside a big roasting pan. Pour in hot water until it comes about halfway up the side of your cheesecake pan. Slide that whole setup into the oven. Bake it for about 55 to 65 minutes. When you shake the pan gently, the outside edges should look set, but the very center should still have a slight wobble—like Jell-O. This is crucial! When it’s done, turn the oven OFF, prop the door open just a crack with a wooden spoon, and leave it in there for a full hour. This slow transition is the ultimate secret to stopping those frustrating cracks.
Troubleshooting Common Issues with Your Oreo Cheesecake
Even when you follow the steps perfectly, sometimes a cheesecake can throw you a curveball, right? Don’t freak out if your beautiful **Oreo Cheesecake** decides it wants to weep a little on top or if you see a tiny fissure form as it cools. Cheesecake acts like a drama queen sometimes! But because we learned the secrets to temperature control—especially the slow cooling—most problems are totally avoidable. These are the fixes I use when my husband says, “Mia, it looks a little… bumpy today.”
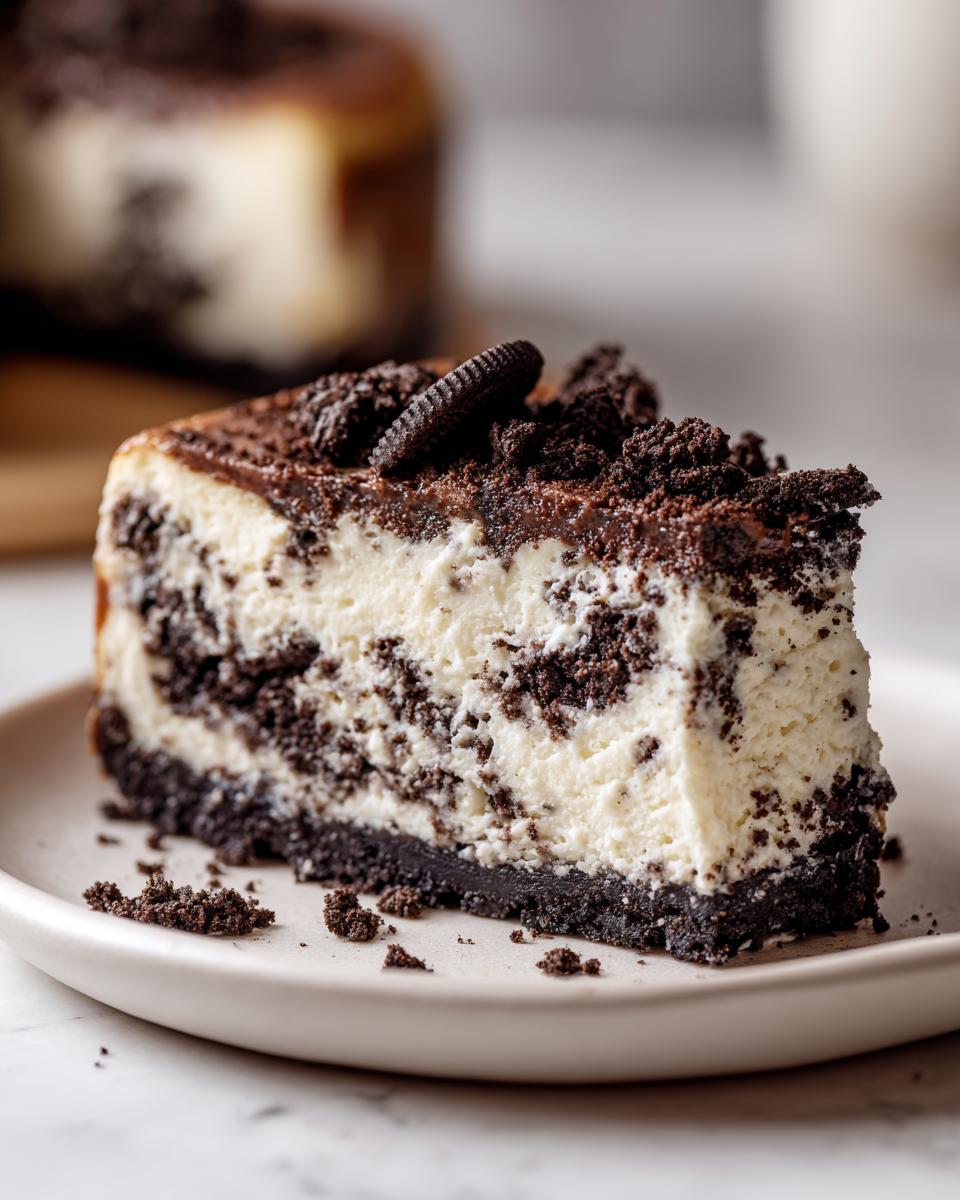
The biggest fear is cracking, and almost always, that’s caused by a temperature shock. It cooks too fast, or it cools too fast. Remember how I showed you the water bath and that one-hour cool-down in the turned-off oven? That takes care of 90% of cracking issues. If you still see a tiny crack after chilling, no worries! That’s what the toppings are for. A drizzle of chocolate ganache or just some extra crumb dust totally hides those little imperfections. Nobody notices a tiny line when the flavor is this intense.
What about that grainy texture sometimes? That happens when your cream cheese wasn’t soft enough, and you tried to beat the lumps out, which means you overmixed the batter once the eggs went in. If you ever end up with a slightly soft, almost custardy center after chilling, it might mean it wasn’t quite ready when you took it out, or maybe your springform pan leaked a tiny bit of water in during the bath. Be religious about that foil wrapping!
Honestly, even if it isn’t picture-perfect smooth, the taste of this **Easy Oreo Cheesecake** recipe is so incredible that nobody will complain. You’ve got that buttery, crunchy crust, and the filling is packed with those wonderful dark cookie chunks. It’s still going to be a showstopper, trust me!
Making a Cheesecake Factory Copycat Recipe Style Oreo Cheesecake
I am a firm believer that if you’re going to make a dessert, you might as well make it feel like a special occasion, right? That’s why so many people are searching for the elusive **Cheesecake Factory Copycat Recipe** for their Oreo version. Honestly, when people rave about a restaurant’s dessert, it’s usually because they nailed two things: the texture and the topping. This recipe gets us incredibly close because we’ve already solved the texture issue with the slow bake and careful mixing!
So, how do we get that signature look? That’s all down to the glorious chocolate topping. My recipe calls for an optional chocolate ganache, but if you’re aiming for that restaurant feel, you need to treat that ganache seriously. Forget using waxy chocolate chips or basic cocoa powder frosting. We need real, melted dark chocolate mixed just right with cream.
When I make this to impress, I grab a good quality dark chocolate bar—something around 60% cacao works perfectly for that rich finish. You just heat up heavy cream until it simmers, pour it over the chopped dark chocolate, let it sit for five minutes, and then whisk it gently until it’s smooth and glossy. It’s ridiculously simple, but it elevates this **Oreo Cheesecake** from a home bake to something genuinely indulgent. I just let it cool until it’s thick enough to spoon over the top, making sure it drapes beautifully. If you’re curious about other restaurant favorites, I’ve got a fantastic recipe for homemade cream of chicken soup that tastes just like the classic deli style!
If you want to read about another version that focuses just on the copycat elements, you can check out this recipe for the famous cheesecake style here. But truly, once you master the slow-cooling step in your own oven, you don’t need to go out for that amazing slice!
Tips for Perfecting Your Easy Oreo Cheesecake
Even though this **EASY Oreo Cheesecake** recipe is designed to be totally foolproof, I always have a few extra tricks up my sleeve to make sure every attempt results in pure perfection. Remember, perfection means creamy, it means zero cracks, and it definitely means maximum Oreo goodness in every bite. These little nuggets of wisdom are things I discovered just by trial and error over the years—so you don’t have to make the same mistakes I did!
First up: cooling is just as important as baking. I touched on taking it out of the oven slowly, but once it’s completely cool on the counter, cover it loosely with plastic wrap and get it into that fridge. You want it cold and firm for slicing. Don’t even think about cutting it warm; it will turn into a puddle of sweet goo. We need that overnight chill time, minimum six hours, to let the structure truly stabilize.
Now, if you’re hosting a huge crowd or just want something adorable and quick, this recipe scales down beautifully into Mini Oreo Cheesecakes! You just line a muffin tin with paper liners—no need for all that fussy springform pan wrapping. Because the little ones cook faster, keep a close eye on them; I usually pull mine around the 18 to 20-minute mark. They are fantastic because everyone gets their own perfect little disk of chocolate heaven, and cleanup is a breeze!
Another thing I learned: if you are using the optional ganache topping, don’t pour it on until the cheesecake is fully chilled. If you pour warm ganache over a slightly cold cheesecake, the temperature shock can sometimes cause little stress fractures. Wait until it’s fridge-firm. For a slightly lighter touch, dust the top with powdered sugar instead of the ganache—it lets the creamy filling really shine through.
If you want to peek at how another fantastic baker handles this amazing dessert, check out this great resource for the **best Oreo cheesecake** results over here. Honestly, once you master the slow cooling, everything else just falls into place for this **Oreo Lovers Dessert**!
Storage and Serving Suggestions for Your Decadent Oreo Dessert
Okay, you’ve mastered the bake and the slow cool—don’t rush the finish line now! The chilling time for this **Decadent Oreo Dessert** is not just a suggestion; it’s mandatory. You need at least six hours, but honestly, overnight is where this **Oreo Cheesecake** really sets up beautifully, giving you that perfect density for slicing.
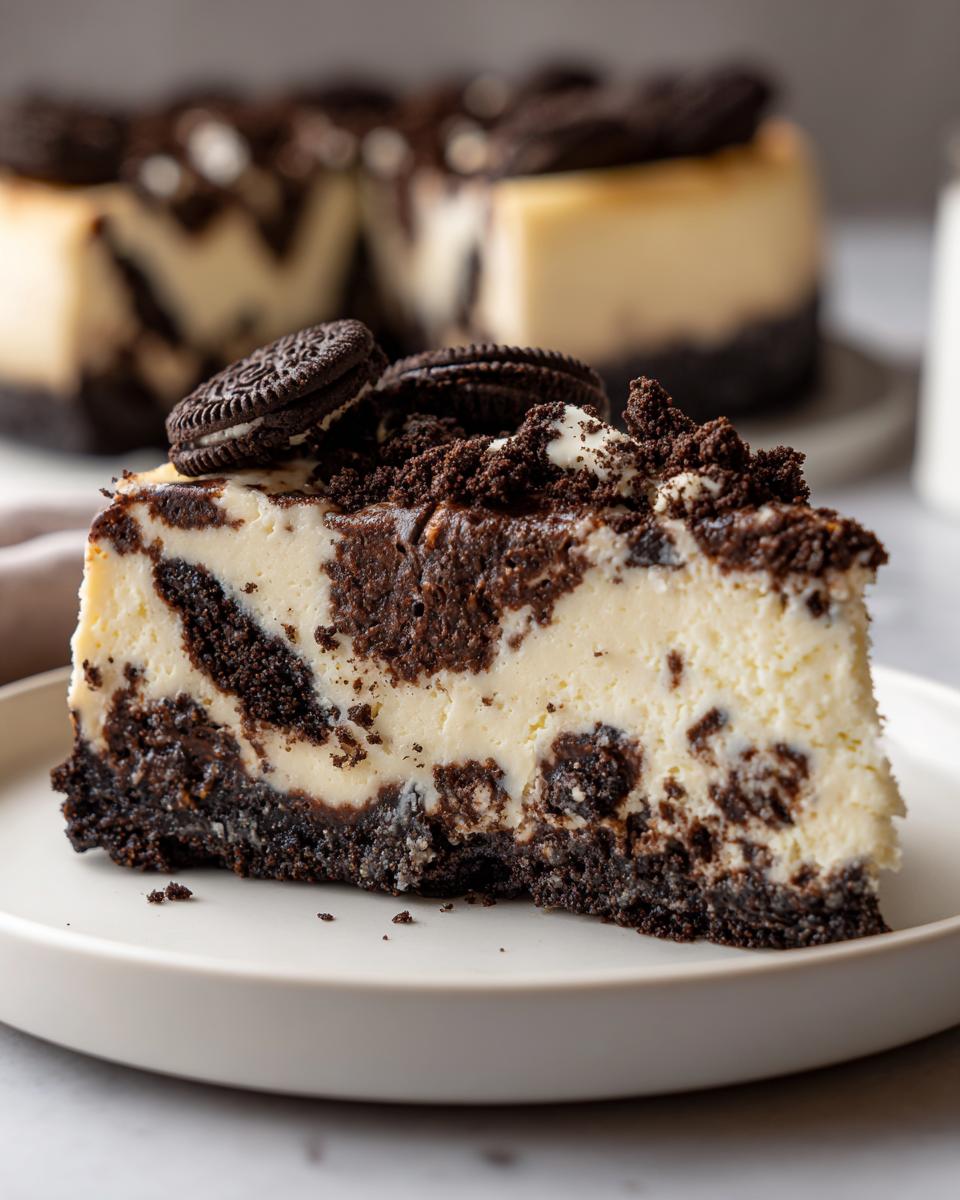
When it’s time to serve, be gentle! Run a thin, sharp knife under hot water, wipe it dry, and slice. Repeat for every cut to get those clean edges. Release the springform sides very slowly. If you want something super simple instead of the ganache, a light dusting of powdered sugar or a handful of fresh raspberries cuts through the richness perfectly. These are easily some of the yummiest dessert ideas!
Frequently Asked Questions About Oreo Cheesecake
Can I make this No Bake Oreo Cheesecake instead?
Oh, you totally can! If you’re feeling the heat and need a **Quick Cheesecake Recipe**, a no-bake version is a great choice. The big difference is the texture—no-bake relies on whipped cream or gelatin to set, making it lighter and fluffier, whereas my baked recipe gives you that dense, **indulgent sweet treat** quality we all adore. If you’re ready to try that route, I have a super simple guide for a great no-bake Oreo cheesecake recipe!
How do I prevent my cheesecake from cracking?
This is the million-dollar question for any baker! Prevention is all about gentle baking and gentle cooling. You must use that water bath I detailed—it insulates the sides. But honestly, the #1 step that saves me every time is turning the oven off, cracking the door, and letting the cheesecake cool *inside* the retained heat for a full hour. That avoids the drastic temperature change that shocks the structure into cracking.
How many cookies do I need?
For the crust and the filling combined, you’ll need approximately 25 standard-sized cookies. That gives you enough for that thick, buttery **Oreo Crust Dessert** base and enough chunks mixed into that **creamy Oreo dessert** filling to keep every bite interesting. If you’re heavy-handed, maybe keep a few extras handy just in case!
Nutritional Estimate for One Slice
Now, I want to be totally upfront here. When you are making something this decadent, this rich and creamy, it’s certainly not a light snack! But hey, we eat dessert for joy, right? So, I ran the numbers on what a standard slice of this baked **Oreo Cheesecake** shakes out to. Think of this as an estimate to satisfy your curiosity, not a strict calorie count you need to measure out!
These figures are based on dividing the entire recipe yield (12 generous slices) by the ingredients used, assuming standard, full-fat products. If you substitute ingredients, these numbers will change, so take it as a general guideline for this amazing **Oreo Dessert Idea**.
- Serving Size: 1 slice
- Calories: 450
- Fat: 30g
- Saturated Fat: 18g
- Trans Fat: 0.5g
- Carbohydrates: 40g
- Sugar: 35g
- Protein: 7g
- Cholesterol: 95mg
- Sodium: 320mg
I always remind my friends (and myself!) that because we are using quality cream cheese and real butter, the fat content is higher—but that’s what gives you that melt-in-your-mouth feeling! This information is just a helpful heads-up. Enjoy every single bite without guilt, because you made this incredible **Chocolate Sandwich Cookie Cheesecake** from scratch!
PrintThe Ultimate Baked Oreo Cheesecake Recipe

Make this rich, creamy Oreo Cheesecake with a buttery Oreo crust. This recipe delivers the decadent flavor you want for family gatherings or special occasions.
- Prep Time: 25 min
- Cook Time: 65 min
- Total Time: 7 hours 30 min
- Yield: 12 servings 1x
- Category: Dessert
- Method: Baking
- Cuisine: American
- Diet: Vegetarian
Ingredients
- 1 3/4 cups Oreo cookie crumbs (about 25 cookies)
- 1/4 cup unsalted butter, melted
- 3 (8 ounce) packages cream cheese, softened
- 1 1/2 cups granulated sugar
- 1 teaspoon vanilla extract
- 1/4 cup sour cream
- 4 large eggs
- 1 cup crushed Oreo cookies (for filling)
- 1/2 cup Oreo cookie crumbs (for topping)
- 1/2 cup chocolate ganache (optional topping)
Instructions
- Preheat your oven to 350°F (175°C). Wrap the outside bottom of a 9-inch springform pan tightly with heavy-duty aluminum foil.
- Prepare the crust: Mix the 1 3/4 cups of Oreo cookie crumbs with the melted butter until evenly moistened. Press the mixture firmly into the bottom of the prepared springform pan. Bake for 10 minutes. Remove from the oven and let it cool slightly.
- Prepare the filling: In a large bowl, beat the softened cream cheese with an electric mixer until smooth. Gradually beat in the granulated sugar until combined. Mix in the vanilla extract and sour cream.
- Beat in the eggs one at a time, mixing just until each egg is incorporated. Do not overmix the batter once the eggs are added.
- Gently fold in the 1 cup of crushed Oreo cookies.
- Pour the filling over the cooled crust in the springform pan. Smooth the top with a spatula.
- Create a water bath: Place the foil-wrapped springform pan inside a larger roasting pan. Carefully pour hot water into the roasting pan until it reaches about halfway up the sides of the springform pan.
- Bake for 55 to 65 minutes, or until the edges are set but the center still has a slight jiggle.
- Turn off the oven, crack the oven door open slightly, and let the cheesecake cool inside the oven for 1 hour. This slow cooling prevents cracking.
- Remove the cheesecake from the water bath and foil. Let it cool completely on a wire rack.
- Chill: Cover the cheesecake and refrigerate for at least 6 hours, or preferably overnight, before serving.
- To serve, top with extra Oreo cookie crumbs or chocolate ganache, if desired. Release the springform sides before slicing.
Notes
- For the silkiest texture, make sure your cream cheese and eggs are at room temperature before you start mixing.
- If you want a Cheesecake Factory Copycat style, use a high-quality dark chocolate ganache for the topping.
- This recipe works well for Mini Oreo Cheesecakes; use a standard muffin tin lined with paper liners and reduce the baking time to about 18-20 minutes.
Nutrition
- Serving Size: 1 slice
- Calories: 450
- Sugar: 35g
- Sodium: 320mg
- Fat: 30g
- Saturated Fat: 18g
- Unsaturated Fat: 12g
- Trans Fat: 0.5g
- Carbohydrates: 40g
- Fiber: 1g
- Protein: 7g
- Cholesterol: 95mg