
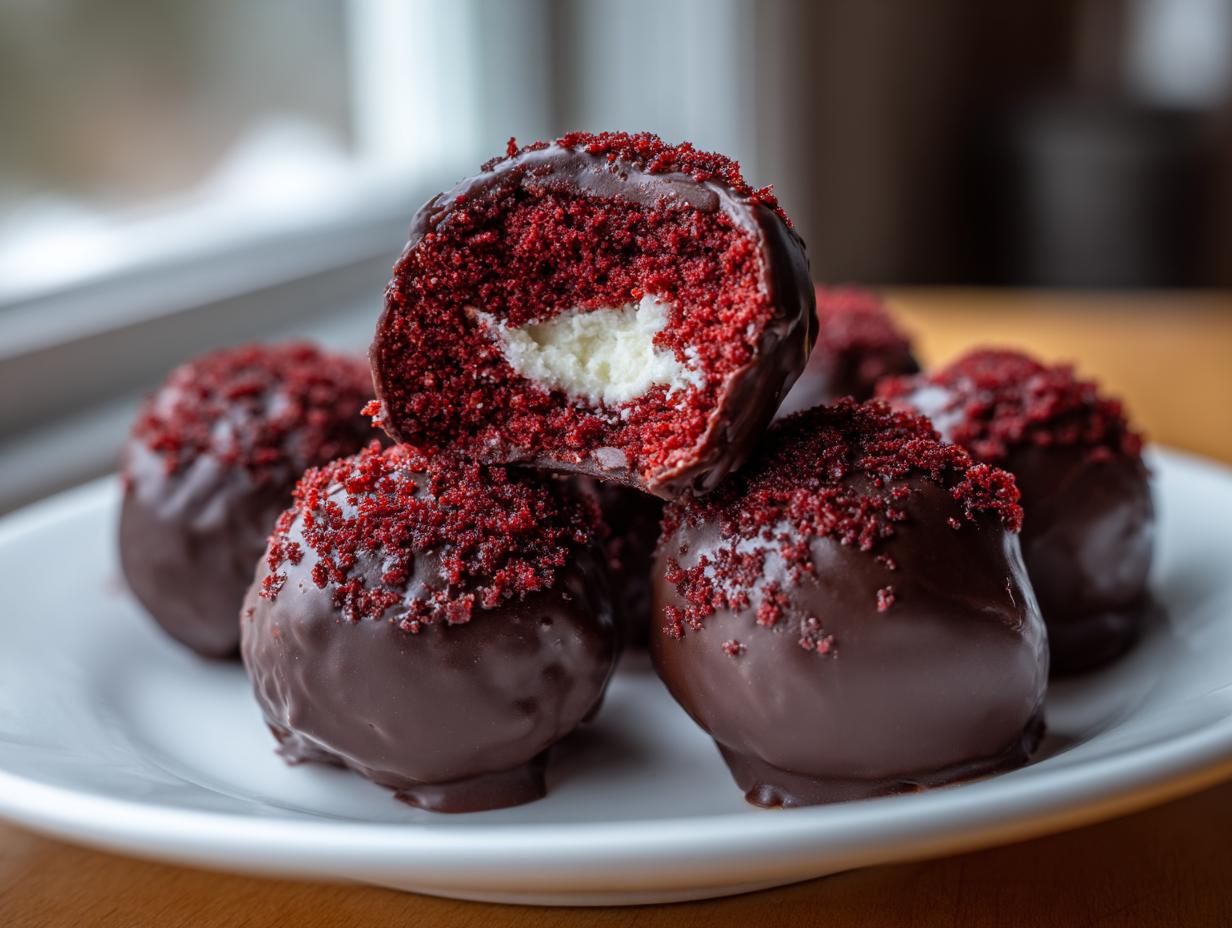
Life gets busy, doesn’t it? Sometimes you need a showstopper dessert that looks like you spent all afternoon on it, but honestly, you only had twenty minutes! That’s exactly why I perfected this recipe for red velvet cake balls. When I was balancing work and the kids, finding time for elaborate baking was tough, but I still wanted that warm, comforting feeling food brings. This recipe, The Ultimate Easy No-Bake Red Velvet Cake Balls with Cream Cheese Center & Chocolate Dip, is my answer to those hectic days.
We strip away the layers of fuss, keeping every bit of that decadent red velvet and fluffy cream cheese flavor. They are perfect little bites of indulgence. Trust me, these are the simple, dependable recipes I rely on when company drops by unexpectedly!
- Why You Will Love This Easy Red Velvet Cake Balls Recipe
- Gathering Ingredients for Your Red Velvet Cake Balls
- Step-by-Step Instructions for No Bake Red Velvet Cake Balls
- Tips for Perfect Red Velvet Cake Balls Every Time
- Variations for Your Red Velvet Cake Balls
- Storage and Serving Suggestions for Red Velvet Cake Balls
- Frequently Asked Questions About Red Velvet Cake Balls
- Estimated Nutritional Data for Red Velvet Cake Balls
- Share Your Bite Sized Red Velvet Creations
Why You Will Love This Easy Red Velvet Cake Balls Recipe
I genuinely believe this recipe is a game-changer when you need something impressive fast. It’s engineered for flavor and speed, which I know we all crave! It’s not 100% no-bake since we start with a cake, but once that’s cooled, we skip all the messy layers and heavy frosting work.
- Quick Preparation: Using a boxed mix is our secret weapon for super-moist results without the fuss.
- Perfect for party dessert ideas because they are totally portable!
Quick Preparation for Perfect Red Velvet Cake Balls
We utilize the cake mix hack so we aren’t worried about the baking going perfectly. We just need a dense base! Honestly, if I can whip these up before soccer practice, anyone can. It’s all about maximizing that amazing red velvet flavor with minimal intervention.
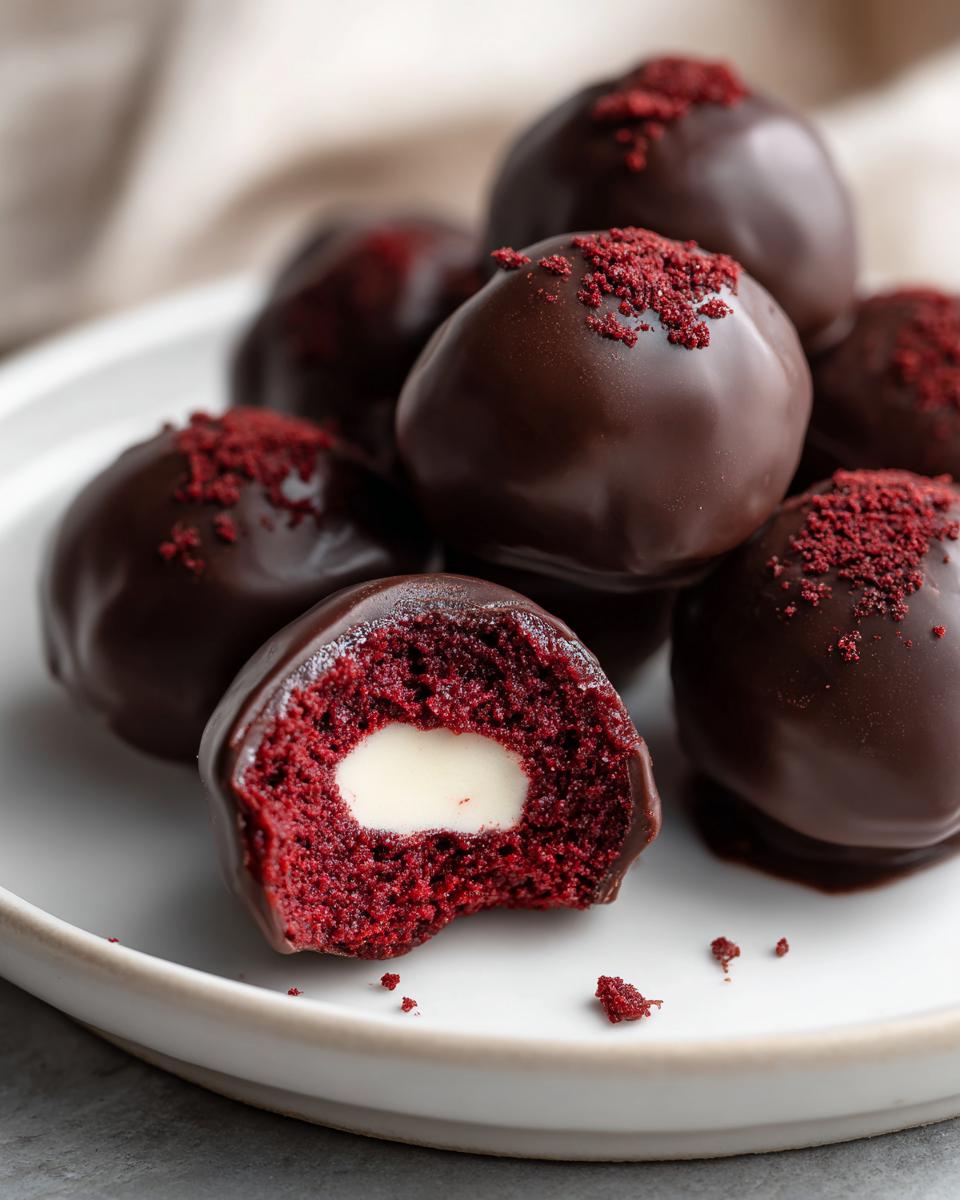
Cream Cheese Center Dessert Magic
That cream cheese frosting isn’t just a binder; it transforms the texture. It gives you the richest, most decadent cream cheese center dessert experience packed into one little gorgeous ball. It keeps everything incredibly moist, too.
Gathering Ingredients for Your Red Velvet Cake Balls
Okay, let’s talk supplies. The beauty of this easy cake balls recipe is that practically everything is standard pantry stuff, or easily grabbed at the store. Remember, we are working smart here, not hard! The biggest shortcut we take—and I hope you don’t tell my grandmother—is using that pre-made cream cheese frosting. It’s the magic binder that takes this from a cake crumb to a perfect party dessert idea in minutes.
Here is what you need to pull together this wonderful red velvet dessert:
- 1 box (15.25 oz) red velvet cake mix
- Ingredients listed on cake mix box for cake (usually eggs, oil, water)
- 1 container (8 oz) cream cheese frosting (store-bought is totally fine!)
- 12 oz white chocolate melting wafers or milk chocolate chips
- 1 teaspoon coconut oil or shortening (optional, for smoother dipping)
If you want to level up that center slightly, check the notes later—but honestly, the store-bought frosting works perfectly for that intended creamy texture.
Step-by-Step Instructions for No Bake Red Velvet Cake Balls
Alright, buckle up—this is where the magic happens, and trust me, it flows so quickly. We take the baked element and turn it into these stunning, bite-sized treats. I learned the hard way that skipping the cooling steps means mushy messes, so follow my lead on timing!
Baking and Preparing the Cake Base
We start by baking that red velvet goodness according to the box, but here’s my little trick for making sure we get those perfect moist cake treats: reduce the liquid just a hair. It makes the cake come out dense, which is exactly what we want for sturdy balls. Bake it in that 9×13 pan as normal. The most important part? You must let that cake cool completely. I mean, totally cold. I usually bake it in the morning, let it cool on the rack, and then tackle mixing later in the afternoon.
Forming the Dough and Chilling the Red Velvet Cake Balls
Once it’s cool, tear it up! Crumble that cake right into one big bowl, getting rid of any super dark edges. See that delicious, crumbly texture? Now, dump in the whole container of cream cheese frosting. Use your hands—you need to feel when it comes together—until you have a thick, unified dough. Roll these out into balls, about an inch across, and line them up on parchment paper. Pop them in the fridge for a solid 30 minutes. Seriously, don’t skip the chill! This step is the difference between perfectly dipped red velvet cake balls and sad, melted blobs.
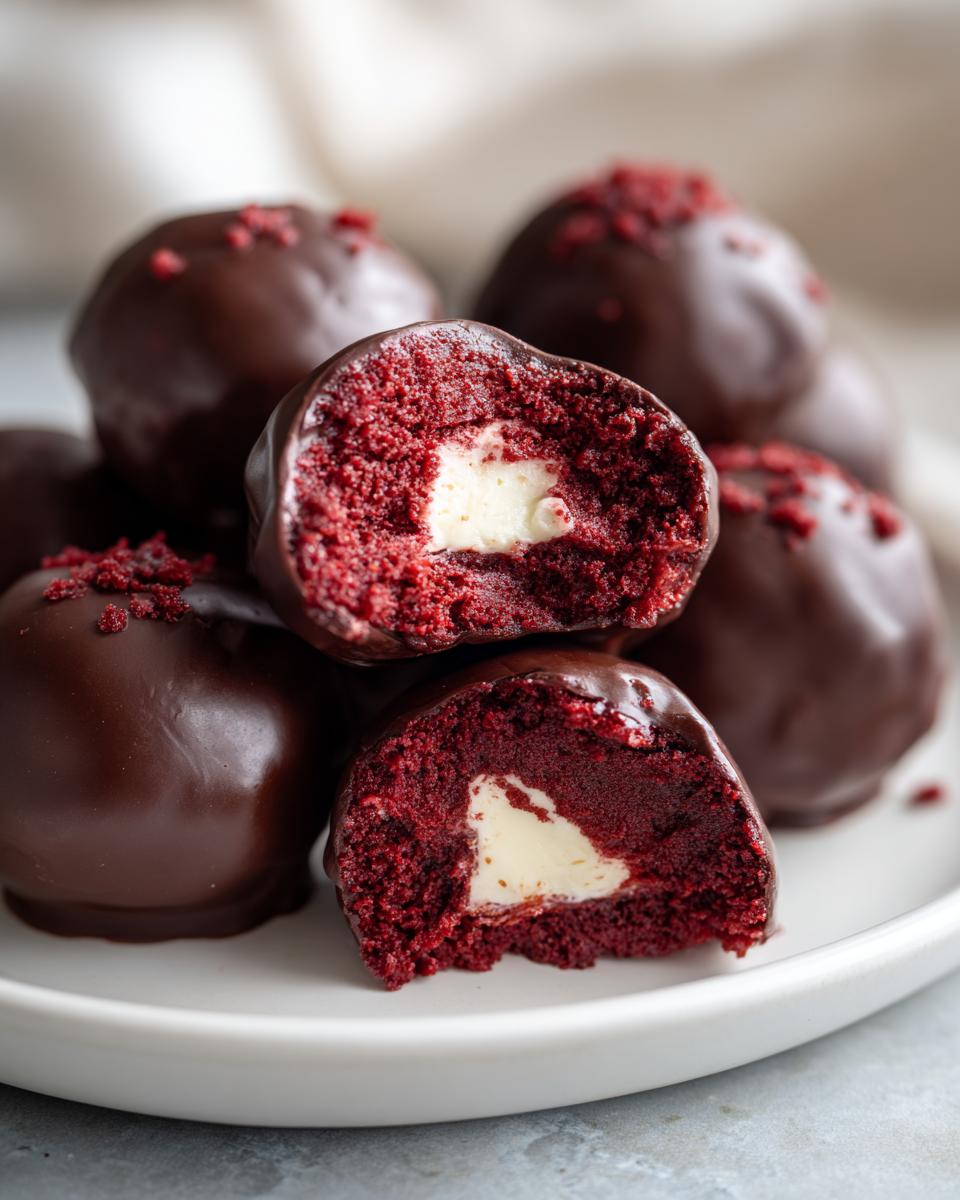
Mastering the Chocolate Covered Cake Bites Dip
Time for the coating! Melt your wafers or chips. If they seem a little thick—and chocolate always seems a little thick—stir in just a tiny bit of coconut oil, which I keep specifically for improving the flow of melting chocolate. When you dip, use a fork! Lower the chilled ball in, make sure it’s completely submerged; then lift it out, bringing it just above the chocolate. Here’s the pro move: gently tap the handle of the fork against the side of the bowl. This vibrates off the excess coating, leaving you with those clean, professional-looking chocolate covered cake bites. Set them back on the parchment and let them set up!

Tips for Perfect Red Velvet Cake Balls Every Time
Even though this recipe is wonderfully simple, a few little tricks can elevate these from good to absolutely unforgettable. I’ve certainly had my share of split coatings and crumbly messes in the past, but these tips keep my party dessert ideas consistently perfect. If you follow the chilling step—and I mean *really* chill them—you’re already halfway there!
Achieving the Ultimate Moist Cake Treats Texture
If you want to skip even the store-bought frosting for something deeper, try mixing 8 ounces of softened cream cheese with about half a cup of powdered sugar first. That homemade binder makes these such phenomenal moist cake treats. It feels a little richer than the usual frosting, and I often do this when I’m planning on making these a day ahead.
Making Red Velvet Cake Balls Truly No Bake
You asked if you could make them truly no-bake? Absolutely! If you are short on time or maybe just don’t feel like turning on the oven, you can use crumbled, high-quality store-bought red velvet cake or even fudgy brownies instead of baking the mix we used upfront. That makes them pure no bake truffles, which is fantastic for a scorching summer day. Just crumble them finely before mixing in your binder!
If you want to see another baker’s spin on this, check out the great method outlined by Basics With Bails right here: Basics With Bails has a wonderful take as well.
Variations for Your Red Velvet Cake Balls
Once you master the basic assembly, you can have so much fun changing these up to fit any holiday or mood! These little bites are fantastic as red velvet holiday sweets because they look so festive dressed up in different coatings. I love having a batch ready in the freezer, especially since they count as one of those must-make valentines day treats no bake options.
Coating Options: Beyond Milk Chocolate
While dark chocolate is delicious, white chocolate is truly stunning with the deep red color. Melt up some white chocolate wafers—remember what I said about adding that little bit of coconut oil to keep it runny?—and dip away! Once they are set, those beautiful white chocolate coating dessert spheres look amazing drizzled with a thin line of milk chocolate. For Valentine’s Day, grab some heart sprinkles or even ruby-red sanding sugar right before the coating hardens. You can also try half milk, half white for a stunning two-tone effect! If you’re interested in seeing how this flavor profile works in a different format, check out my recipe for Red Velvet Cake Mix Cookies.
Storage and Serving Suggestions for Red Velvet Cake Balls
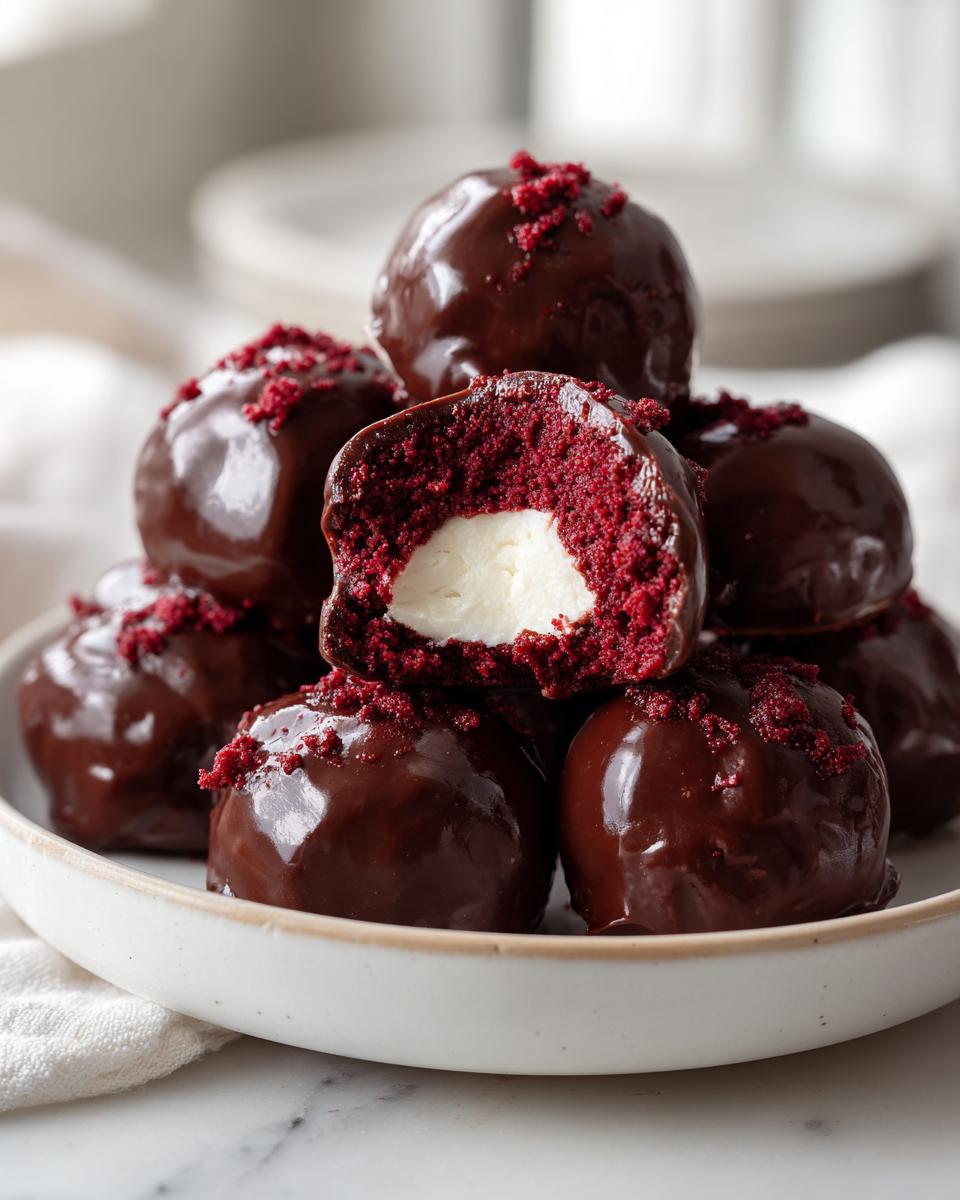
Since these are so decadent, you might not eat them all in one sitting—though I’ve certainly tried! The good news is that these bite sized red velvet treats store really well. Keep them in an airtight container in the fridge for up to a week. They firm up nicely in the cold, so I actually prefer them slightly chilled for that perfect snap when you bite into the chocolate coating.
If you need to make them way ahead for a big bash, freeze them! Place them on a parchment-lined tray first, freeze until firm, and then transfer them to a zip-top bag. They last great for about two months in the freezer. I always take them out about 20 minutes before serving just to soften the chocolate a tiny bit. They look gorgeous piled high on a tiered stand!
Frequently Asked Questions About Red Velvet Cake Balls
I always get asked the same few things when people see these little beauties! It’s wonderful that so many of you are trying this easy cake balls recipe. Here are the answers to the biggest questions I get about making them for parties or just for fun. Since you might be looking for more quick tricks for your busy mornings, check out some ways to speed up breakfast here!
Can I make these completely no-bake?
Yes, you totally can! If you want true no bake truffles, you can skip baking the mix entirely. Instead, use an entire package of store-bought red velvet cake, crumble it super fine, bind it with the frosting, and roll away. It saves that initial 30 minutes of baking time, which is handy when you’re in a real pinch!
What is the best chocolate coating to use?
I rely on melting wafers because they set up so hard and smooth, giving you that perfect shell. If you use regular chocolate chips, they always need that little dash of coconut oil or shortening—about a teaspoon for 12 ounces of chips. It makes the chocolate thinner so you get those clean dips and don’t end up with thick, clunky coats on your red velvet cake balls.
How long do these beauties last in the fridge?
Since the binding agent is cream cheese frosting, they really do their best when kept cold. Store them airtight in the refrigerator, and they stay delicious for about a week. Pop them out about 15 minutes before you plan to serve them so the chocolate isn’t rock solid.
Can I make these ahead of time?
You sure can! They are amazing for prepping ahead. You can freeze the finished, chocolate-coated balls in a sealed container for up to two months. Just transfer them to the fridge the night before you need them, and they thaw out perfectly. Being able to plan snacks ahead makes hosting so much less stressful, right?
Estimated Nutritional Data for Red Velvet Cake Balls
Being mindful of what we eat is important, even when we’re indulging in something delicious like these red velvet dessert treats! Of course, since we are combining cake mix, frosting, and chocolate coatings, we are looking at a rich snack here. These numbers are just estimates based on standard store brands I usually grab for this easy cake balls recipe, so your actual count might vary a little, but this gives you a good guide!
- Serving Size: 1 ball
- Calories: 220
- Sugar: 20g
- Sodium: 150mg
- Fat: 14g
- Carbohydrates: 23g
- Protein: 2g
Remember, portion control is key when we’re talking about these decadent little no bake truffles!
Share Your Bite Sized Red Velvet Creations
Now that I’ve shared all my secrets for getting these beautiful red velvet dessert creations just right, the absolute best part is seeing what you all make! I truly think this is one of the easiest recipes to get right, so please don’t be shy about leaving a rating or dropping a comment down below.
Did you stick to the white chocolate coating, or did you get creative? Did they disappear instantly at your last party? Tell me everything! I love hearing how these simple recipes fit into your busy lives.
If you post photos of your gorgeous, chocolate-dipped spheres on social media, please tag me! I always share reader photos on my feed when they look this good. If you have any questions while you’re working through the process, head over to my contact page and let me know. I’m always here to help you nail that perfect dip!
PrintThe Ultimate Easy No-Bake Red Velvet Cake Balls with Cream Cheese Center & Chocolate Dip

Make these simple, bite-sized red velvet cake balls. They use a cake mix hack for moist results and feature a creamy center, all coated in smooth chocolate. Perfect for parties or quick holiday treats.
- Prep Time: 25 min
- Cook Time: 30 min
- Total Time: 85 min
- Yield: 24 servings 1x
- Category: Dessert
- Method: No Bake (after initial cake baking)
- Cuisine: American
- Diet: Vegetarian
Ingredients
- 1 box (15.25 oz) red velvet cake mix
- Ingredients listed on cake mix box for cake (usually eggs, oil, water)
- 1 container (8 oz) cream cheese frosting (store-bought is fine)
- 12 oz white chocolate melting wafers or milk chocolate chips
- 1 teaspoon coconut oil or shortening (optional, for smoother dipping)
Instructions
- Prepare the red velvet cake according to the package directions, but reduce the liquid slightly to ensure a very moist, dense cake. Bake the cake in a 9×13 inch pan.
- Let the cake cool completely on a wire rack.
- Crumble the cooled cake into a large bowl, removing any overly browned edges. You want fine crumbs.
- Add the entire container of cream cheese frosting to the cake crumbs. Mix well with a spatula or clean hands until a thick, uniform dough forms.
- Roll the mixture into small, uniform balls, about 1 inch in diameter. Place them on a parchment-lined baking sheet.
- Chill the cake balls in the refrigerator for at least 30 minutes to firm them up. This prevents them from falling apart during dipping.
- Melt the chocolate wafers according to package directions. If using chips, melt them with the coconut oil or shortening in a microwave-safe bowl in 30-second intervals, stirring until smooth.
- Dip each chilled cake ball into the melted chocolate, ensuring it is fully coated. Use a fork or dipping tool to lift it out, tapping the fork gently against the side of the bowl to remove excess chocolate.
- Return the coated cake balls to the parchment-lined sheet.
- If desired, drizzle with contrasting chocolate or add sprinkles immediately before the coating sets.
- Allow the chocolate coating to set completely at room temperature or chill briefly until firm.
Notes
- For an even richer center, use 8 oz of softened cream cheese mixed with 1/2 cup of powdered sugar instead of store-bought frosting.
- If you want a true no-bake recipe, you can use crumbled store-bought red velvet cake or brownies instead of baking the mix.
- To make these cheesecake bites, substitute half of the frosting with softened cream cheese.
- If the chocolate is too thick, add a small amount of coconut oil to thin it for easier dipping.
Nutrition
- Serving Size: 1 ball
- Calories: 220
- Sugar: 20
- Sodium: 150
- Fat: 14
- Saturated Fat: 7
- Unsaturated Fat: 7
- Trans Fat: 0.2
- Carbohydrates: 23
- Fiber: 0.5
- Protein: 2
- Cholesterol: 25