
Oh, let’s be honest, cookie decorating can be a sweet joy, but sometimes that icing is just the *worst*, right? It cracks, it won’t flow right for flooding, or worse—it never actually hardens! It drives me crazy when I spend time on beautiful sugar cookies only for the topping to stay sticky! That’s why I had to crack the code on a truly dependable mixture. When I started Mia’s Meals, it was because I wanted that cozy, connected feeling from my childhood kitchen, but I needed recipes that worked for real, busy life. Trust me, after testing batch after batch, I landed on the best royal icing recipe you are going to find. We use meringue powder here because it ensures that smooth, glossy finish that dries rock hard. If you want icing that finally behaves, check out my whole guide on achieving icing that dries hard, but grab this simple royal icing recipe first. No more frustration, I promise!
- Why This is the Best Royal Icing Recipe for Beginners
- Gather Your Ingredients for This Royal Icing Recipe
- How to Make Royal Icing: A Step by Step Royal Icing Guide
- Adjusting Your Royal Icing Consistency Guide for Cookies
- Tips for Success with Your Royal Icing Recipe
- Storage and Reheating Instructions for Leftover Royal Icing for Cookies
- Troubleshooting Common Issues with Your No Fail Royal Icing
- Frequently Asked Questions About This Easy Royal Icing Recipe
- Serving Suggestions for Decorated Cookies Using This Royal Icing Recipe
Why This is the Best Royal Icing Recipe for Beginners
I want you to feel confident the second you start decorating. Many recipes out there are fussy, or they rely on raw egg whites, which, honestly, brings an extra layer of worry I just don’t need when I’m busy! That’s why I developed this easy royal icing recipe using meringue powder. It’s my secret weapon for making sure you always get that professional, bakery-style icing look without all the fuss. It’s stable, it holds color beautifully, and most importantly for gifting or stacking, it dries completely hard. This is the exact beginner cookie decorating icing I use when I’m whipping up holiday treats and need reliability. You can read more about keeping things simple when you check out my guide on icing that dries hard.
The stability you get from the meringue powder means you spend less time messing with tiny tweaks and more time actually decorating, which is the fun part! You’ll love how this icing finishes with that perfect soft shine, unlike some versions that look dull.
Achieving That Perfect Royal Icing Consistency Guide
This is where beginners usually get tangled up, but don’t worry, we’ll sort it out. You need two main textures: a stiff consistency for outlining that keeps its shape, and a thinner consistency for flooding the centers smoothly. Getting the water ratio just right is key to getting that beautiful smooth cookie icing recipe result. It’s all about adding water slowly until you hit that sweet spot!
Gather Your Ingredients for This Royal Icing Recipe
I always say, if you start with good materials, half the battle is already won! This royal icing recipe is wonderfully simple because it uses just four main ingredients. Grab these items before you even think about turning on the mixer. And please, trust me on this one: sift your sugar first. It prevents little lumps that will definitely clog your fine piping tips later on!
- 4 cups confectioners’ sugar, sifted
- 2 tablespoons meringue powder
- 1/2 teaspoon vanilla extract
- 6 to 8 teaspoons warm water
That’s it! Four things stand between you and beautifully decorated cookies. Keep everything measured out and ready to go right near your mixing bowl. This keeps the process moving smoothly, especially when you get to the coloring step.
Ingredient Notes and Substitutions for Meringue Powder Royal Icing
When I teach others how to make royal icing, I always push for the meringue powder. Why? Because it offers incredible stability without the food safety hassle you get with raw egg whites. It’s shelf-stable, and it gives you that consistent, strong structure so your icing dries hard and glossy every time. It’s the magic behind that professional look!
Now, I know some folks just don’t keep meringue powder on hand. If you absolutely must substitute, you can use pasteurized liquid egg whites instead—use about 4 tablespoons for this batch. But listen to Mia: if you use fresh egg whites, you MUST use pasteurized ones, or bake your cookies slightly longer just to be safe. For reliability in my busy home, the powder wins every time for this meringue powder royal icing.
How to Make Royal Icing: A Step by Step Royal Icing Guide
Okay, here is the simple path to getting this perfect royal icing recipe mixed up. Don’t rush the mixing process, because this is where we build stability! First things first, put your sifted sugar and the meringue powder into the bowl. Give them a quick whisk just to make sure everything is friendly and mixed before you add any liquid.
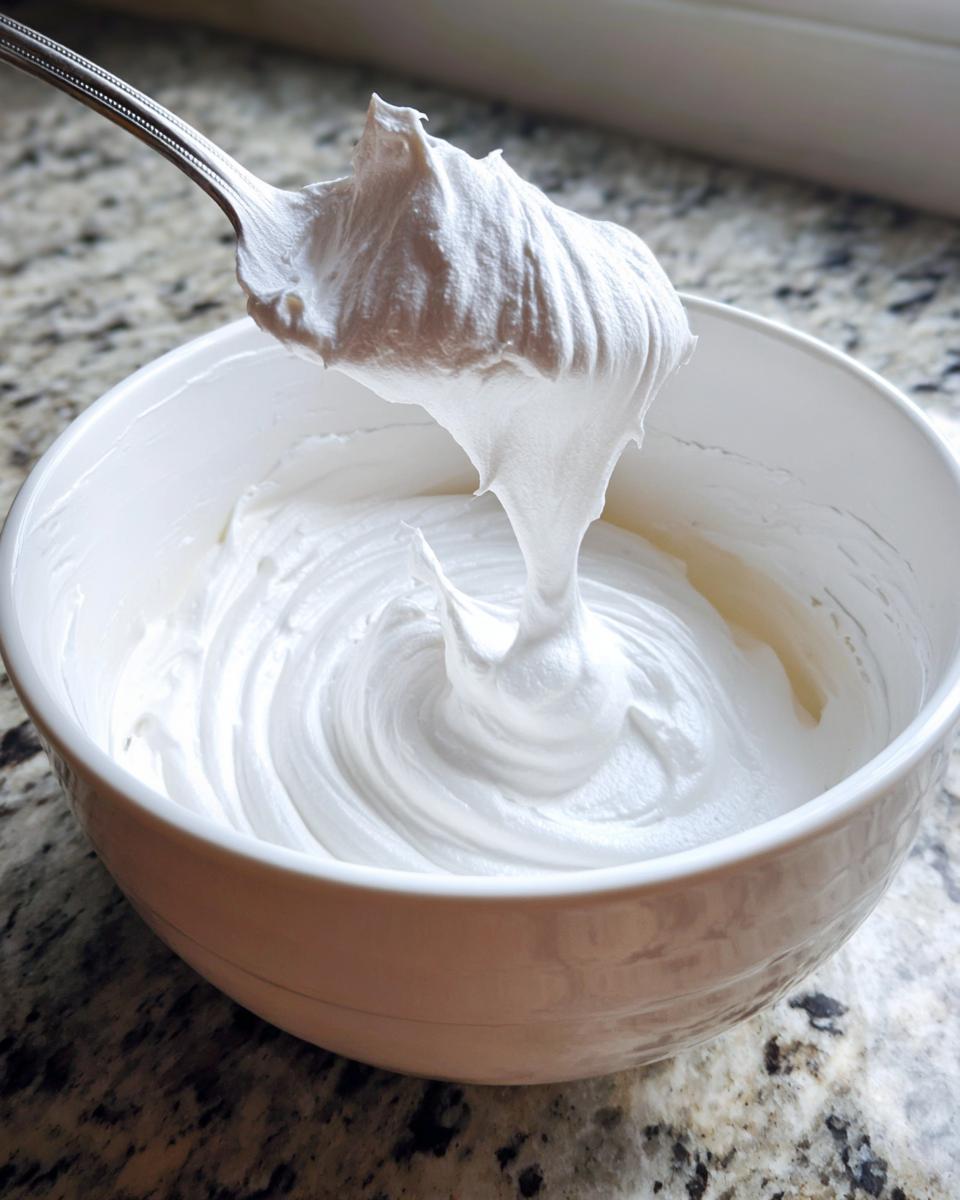
Next, pour in your vanilla and start with exactly 6 teaspoons of warm water. Start your mixer on low speed—we don’t want a sugar explosion all over the kitchen, right? Once things look wet, crank that speed up to medium-high. Now, this is critical: you have to beat this mixture for a full 5 to 7 minutes. Seriously, set a timer! This isn’t just about mixing; this whipping process incorporates the air needed to give you that beautiful, stiff icing that dries hard. If you cut this short, your icing might stay tacky, and that drives me bananas! You can learn more about perfect companion recipes like my lemon scones while this is whipping.
After that time is up, check how it looks. It should be super smooth and holding some soft peaks. If it seems too thick to pipe, you can add the remaining water one teaspoon at a time until it feels just right.
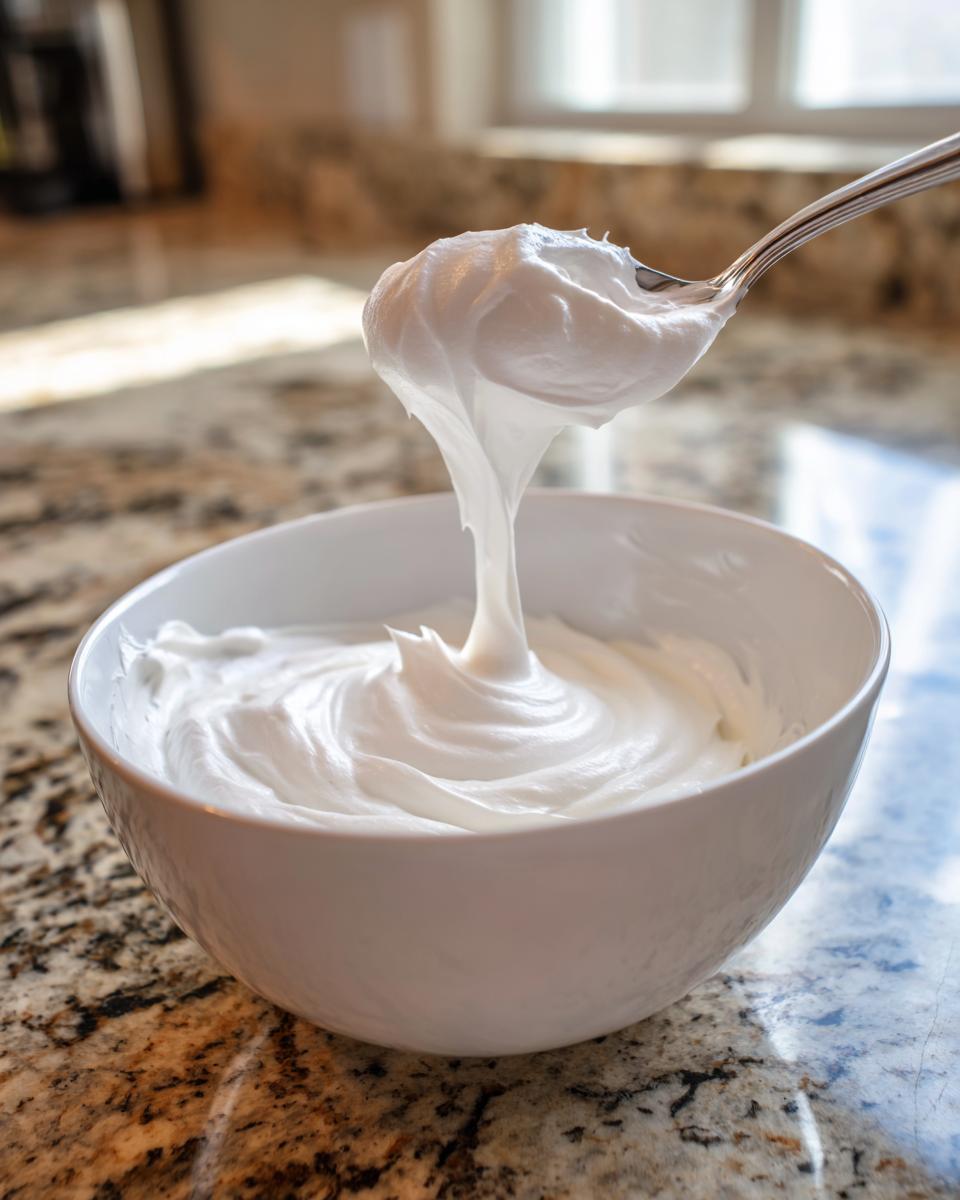
Whipping Time for Glossy Royal Icing
I can’t stress this enough—that 5 to 7 minutes of whipping is non-negotiable for true success! That extended whipping time is exactly what incorporates the air bubbles needed for the icing structure. Think of it like this: those tiny air pockets stiffen up as the icing cures, leading to that desired hard shell and that beautiful, almost shiny look. If you want truly glossy royal icing that stacks up perfectly, don’t skimp on the mixer time!
Adjusting Your Royal Icing Consistency Guide for Cookies
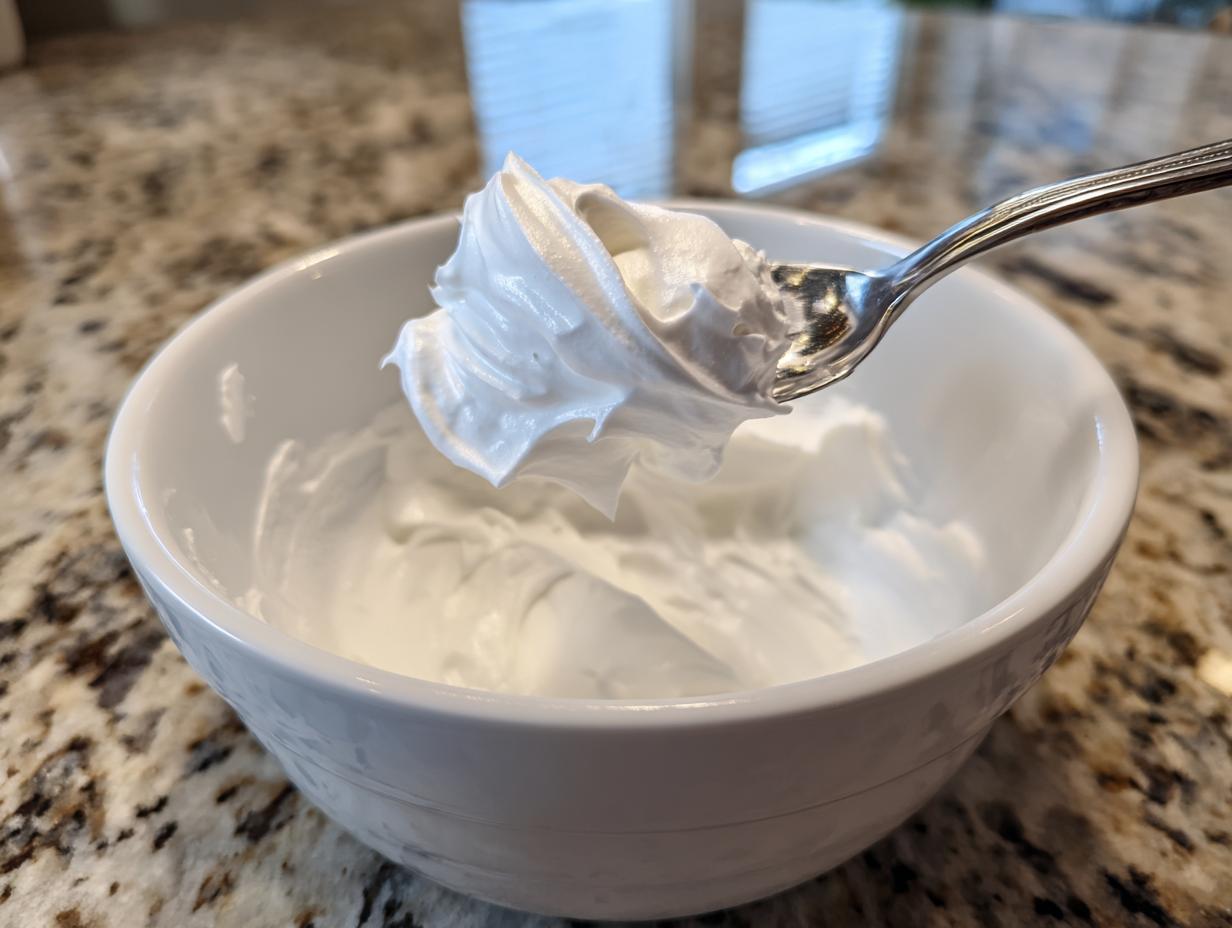
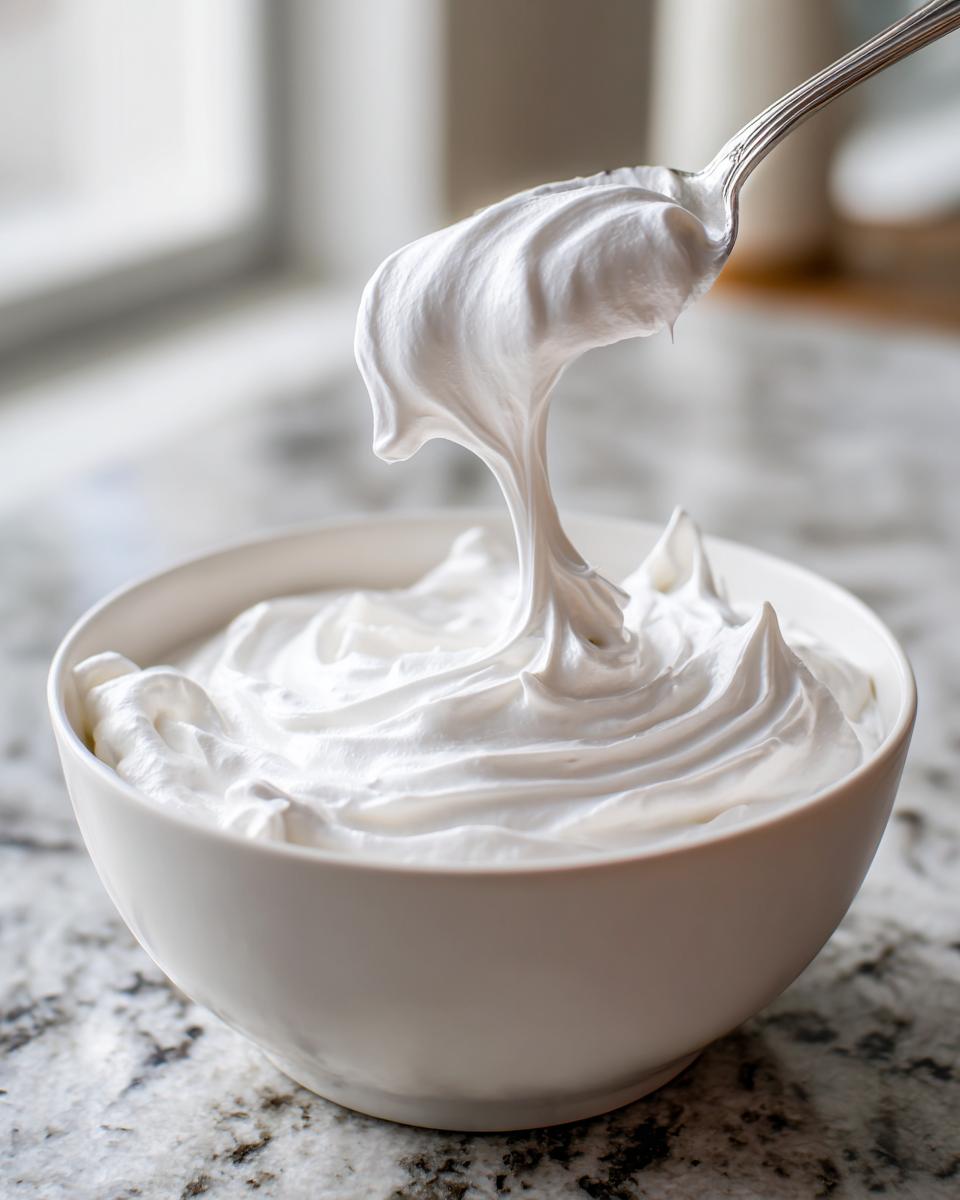
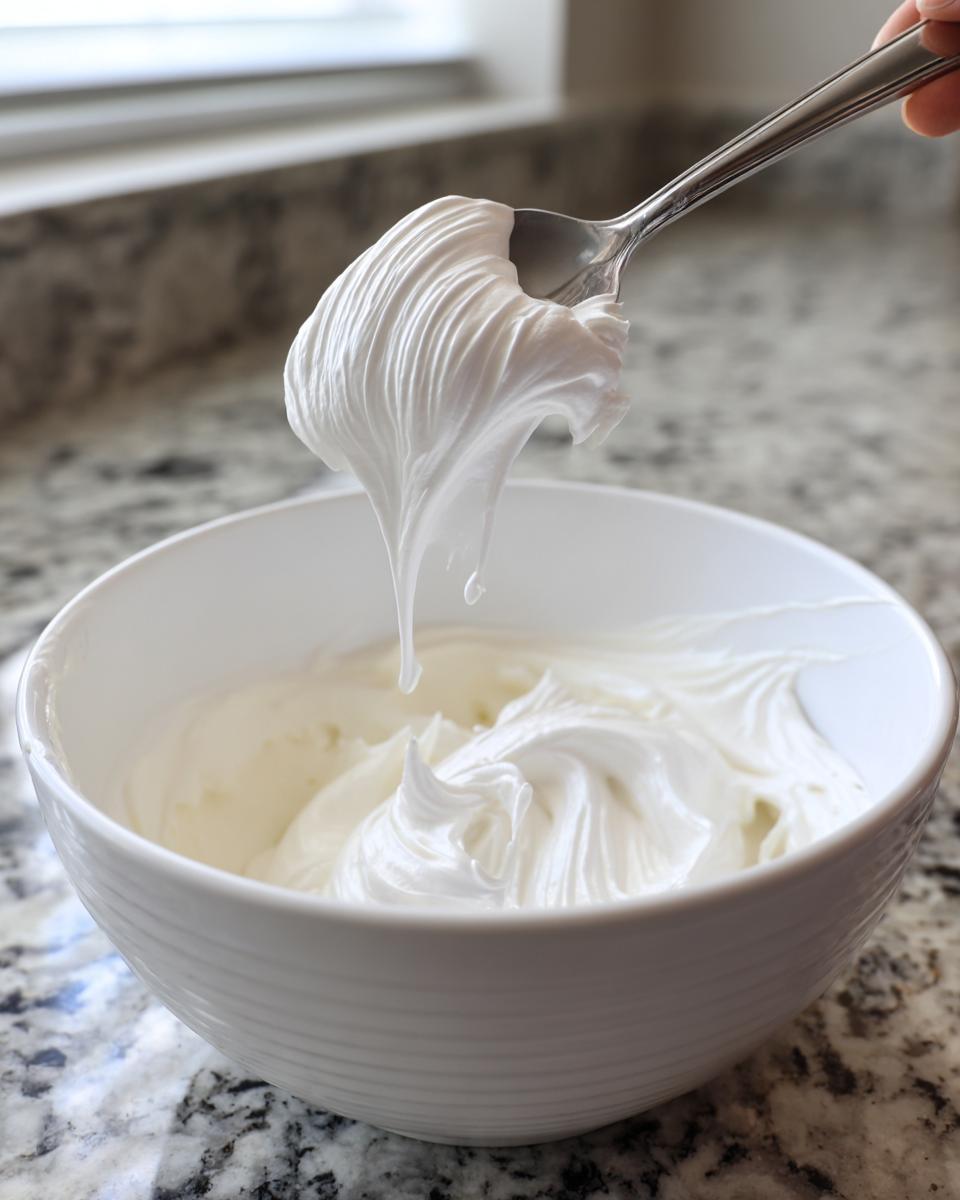
If you’ve followed my mixing steps, you should have a beautiful stiff icing right now—perfect for basic piping or thick outlines! But when it comes to getting that even, smooth coating on your cookies, you need a slightly thinner texture. This is the secret to a great flood icing recipe. For simple outlines, you want that very stiff icing that holds a sharp shape. If you squeeze some out, the line should stay put!
To thin it out for flooding, you add water, one teaspoon at a time. Remember, it’s much easier to add water than it is to thicken it back up! My personal trick for checking the flood consistency is the drop test. Lift your whisk right out of the bowl and let the trailing icing fall back into the main batch. If that line you just made disappears completely into the surface after about 10 to 12 seconds, you’ve hit perfection. That’s the sweet spot for that smooth cookie icing recipe that flows beautifully and gives you professional results!
Tips for Success with Your Royal Icing Recipe
Now that you have your perfect batch, let’s make sure it acts like the winner it is! When you are working on intricate designs or trying to get that flat, bakery style icing look, a few little tricks go a long way. My biggest piece of advice—and one I learned the hard way—is about coloring. Please do not try to use standard liquid food coloring!
Liquid coloring is mostly water, and adding too much will instantly thin out your carefully balanced icing. You’ll end up with beautiful color but a runny mess that won’t hold its shape. Instead, always grab gel food coloring. You only need the tiniest dab on the end of a toothpick, and it mixes into these vibrant, deep colors without messing up the consistency. See how rich the colors are in my recent Christmas cookie bars? That’s the power of gel!
The other huge thing is keeping it covered. Royal icing hates air exposure, even more than I hate having to clean up sugar dust! As soon as you mix up your colors or if you pause decorating for more than five minutes, you need to cover that bowl. I use plastic wrap, and I press it directly onto the surface of the icing where it sits in the bowl. This keeps a crust from forming. If you find you do need a little touch-up later, you can always check out the famous methods detailed over at this resource for quick adjustments!
Storage and Reheating Instructions for Leftover Royal Icing for Cookies
One of the best things about this recipe for royal icing for cookies is that it’s great for making ahead! If you’ve finished decorating for the day but still have some icing left—maybe you made a huge batch for a holiday bake sale—don’t throw it away! You actually have a couple of options, but airtight storage is absolutely the name of the game here.
For short-term storage, just put the remaining icing into an airtight container. The most important thing, just like when you were working with it, is to press a piece of plastic wrap directly onto the surface of the icing before you put the lid on. This stops a crust from forming, and you can keep it on the counter at room temperature for up to two days. Seriously, room temperature works fine for this recipe since we aren’t using raw egg whites!
If you need to store it longer, you can definitely freeze it! Transfer the icing into freezer-safe plastic bags—squeeze out as much air as you can—and pop it in the freezer for up to a month. When you’re ready to use it again, just pull it out and let it thaw slowly in the fridge overnight.
When you bring it back to life, it might look a little stiff or separated, but don’t panic! That’s normal. Just give it a gentle stir with a spatula first. If it seems too thick for piping or flooding, you can thin it back out by adding just a *tiny* splash of warm water—maybe half a teaspoon at a time—until you get the consistency perfect again. Homemade royal icing is so forgiving if you know the trick!
Troubleshooting Common Issues with Your No Fail Royal Icing
I call this my no fail royal icing, but let’s face it, sometimes things just don’t cooperate when you’re in the zone decorating cookies! Even with the best recipe, baker habits or humidity can throw things off. Don’t toss that bowl immediately! Nine times out of ten, the issue is just a simple fix we can handle right here at the counter.
The biggest complaint I hear is that the icing won’t dry hard, leaving you with smudges the next day. If this happens, I immediately look at two things: water content and whipping time. If you added too much water in the thinning stage, or if you rushed the initial 5-minute whip, the structure won’t set properly. If you suspect this, you might need to carefully beat it longer on high speed, or, if it’s really wet, quickly mix in another half cup of sifted confectioners’ sugar to boost the dry ingredients back up.
Now, let’s talk about the opposite problem: your icing is too runny right out of the bowl, even at stiff consistency. This usually means you added too much water initially, or maybe your vanilla extract was heavier than mine! If it’s too loose for outlining, just slowly start incorporating more sifted confectioners’ sugar, maybe a quarter cup at a time, until it firms up enough to hold a peak. Remember, you can reference other great tips over at Owl Baking if you run into trouble, but usually, a little patience and an extra scoop of sugar saves the day!
Frequently Asked Questions About This Easy Royal Icing Recipe
I get so many great questions about this icing process, especially from folks just starting out with decorating. It’s totally normal to have a few questions floating around before you start mixing! I tried to make this the go-to, easy royal icing recipe that answers most of your worries right upfront, but here are a few of the common ones I see pop up again and again.
Can I use regular granulated sugar instead of confectioners’ sugar?
Oh, please don’t! This is a big one for getting that professional look. You absolutely must use confectioners’ sugar, which is also called powdered sugar. If you try to use granulated sugar, the crystals won’t dissolve properly, and instead of getting that beautiful, smooth cookie icing recipe texture, you’ll end up with gritty icing that dries rough and crackly. It won’t look glossy or professional at all. Stick to sifted confectioners’ sugar for the best results.
How long does this royal icing take to dry completely?
That’s the million-dollar question when you are wrapping up a huge batch of holiday cookies! Because we whip this batch well, it speeds things up, but it still needs time. After you apply it to your sugar cookies, you should let them sit out uncovered at room temperature—not near a window or heat vent, just neutral air. For basic flooding, I usually tell people to wait about 4 to 6 hours before carefully handling them. If you need them to be truly hard for stacking or packaging, leave them overnight! That’s how you guarantee a finish that holds up, making it great for detailed cookies.
Can I make this royal icing ahead of time?
Yes, you can, and I often do! Since we use meringue powder, this is much safer and easier than using egg whites. As I mentioned above in the storage section, if you keep it airtight with the plastic wrap touching the surface, it’s good on the counter for a couple of days. If you’re prepping for a big event, you can even freeze it! If you’ve made a batch ahead of time and it seems a little stiff when you pull it out, just add a tiny splash of warm water and gently stir until it reaches the right texture again. Honestly, it’s so durable, you can even use the leftovers when making my easy homemade cranberry sauce—just kidding! But seriously, it keeps well for toppings!
Can I use this icing for piping detailed work and for flooding?
That’s the beauty of this recipe! Because we add the water slowly, you can customize it perfectly. Right out of the mixer, it’s stiff enough to be a fantastic piping icing tutorial consistency—it holds sharp edges for outlines, stars, and writing. Once you adjust it slightly (as detailed in the consistency guide section), it becomes a perfect flood icing recipe that smooths itself out. It really is the best all-in-one solution for all your cookie decorating needs!
Serving Suggestions for Decorated Cookies Using This Royal Icing Recipe
Now that you have this gorgeous, sturdy royal icing recipe mastered, you’ve got to put it to work! This icing is truly the star when decorating classic sugar cookies—it holds those fine details beautifully. But honestly, don’t forget about gingerbread houses during the holidays or even topping classic shortbread! The hard, glossy finish makes these treats perfect for gifting or packing up without fear of smudging.
Have you made a batch of my favorite maple brown sugar cookies? This icing takes them to the next level! I want to see what you create! Tag me on social media when you finish your brightly decorated holiday cookies; I love seeing what the Mia’s Meals community is baking up!
PrintThe Best Easy Royal Icing Recipe Using Meringue Powder
Make smooth, glossy royal icing that dries hard for perfect cookie decorating. This beginner-friendly recipe uses meringue powder for reliable results every time you decorate sugar cookies.
- Prep Time: 10 min
- Cook Time: 0 min
- Total Time: 10 min
- Yield: Enough to cover about 2 dozen medium cookies
- Category: Dessert Topping
- Method: Mixing
- Cuisine: American
- Diet: Vegetarian
Ingredients
- 4 cups confectioners’ sugar, sifted
- 2 tablespoons meringue powder
- 1/2 teaspoon vanilla extract
- 6 to 8 teaspoons warm water
Instructions
- In a large bowl, combine the sifted confectioners’ sugar and meringue powder. Mix them briefly with a whisk to distribute the powder evenly.
- Add the vanilla extract and 6 teaspoons of warm water to the dry ingredients.
- Using an electric mixer (handheld or stand mixer with a paddle attachment), start mixing on low speed until the ingredients are just combined.
- Increase the speed to medium-high and beat for 5 to 7 minutes until the icing is very smooth, stiff, and holds soft peaks. This whipping process incorporates air, which helps the icing dry hard and glossy.
- Check the consistency. If the icing seems too stiff for piping or flooding, add the remaining water, one teaspoon at a time, mixing well after each addition until you reach your desired texture.
- Separate the icing into bowls if you plan to color it. Add gel food coloring sparingly and mix until the color is uniform.
- Use immediately for decorating cookies or cover tightly with plastic wrap pressed directly onto the surface to prevent drying.
Notes
- For outlining consistency, use 1 teaspoon of water per cup of sugar. For flooding consistency, use 2 teaspoons of water per cup of sugar. Adjust slowly.
- To test flood consistency, lift the whisk and let the icing fall back into the bowl. If the line disappears in 10 to 12 seconds, the consistency is correct for flooding.
- This icing dries firm and hard when left uncovered at room temperature for several hours, making it ideal for stackable and giftable sugar cookies.
- Store unused, colored icing in airtight containers at room temperature for up to two days, or freeze for longer storage.
Nutrition
- Serving Size: 1/4 cup
- Calories: 450
- Sugar: 110
- Sodium: 5
- Fat: 0
- Saturated Fat: 0
- Unsaturated Fat: 0
- Trans Fat: 0
- Carbohydrates: 112
- Fiber: 0
- Protein: 1
- Cholesterol: 0