
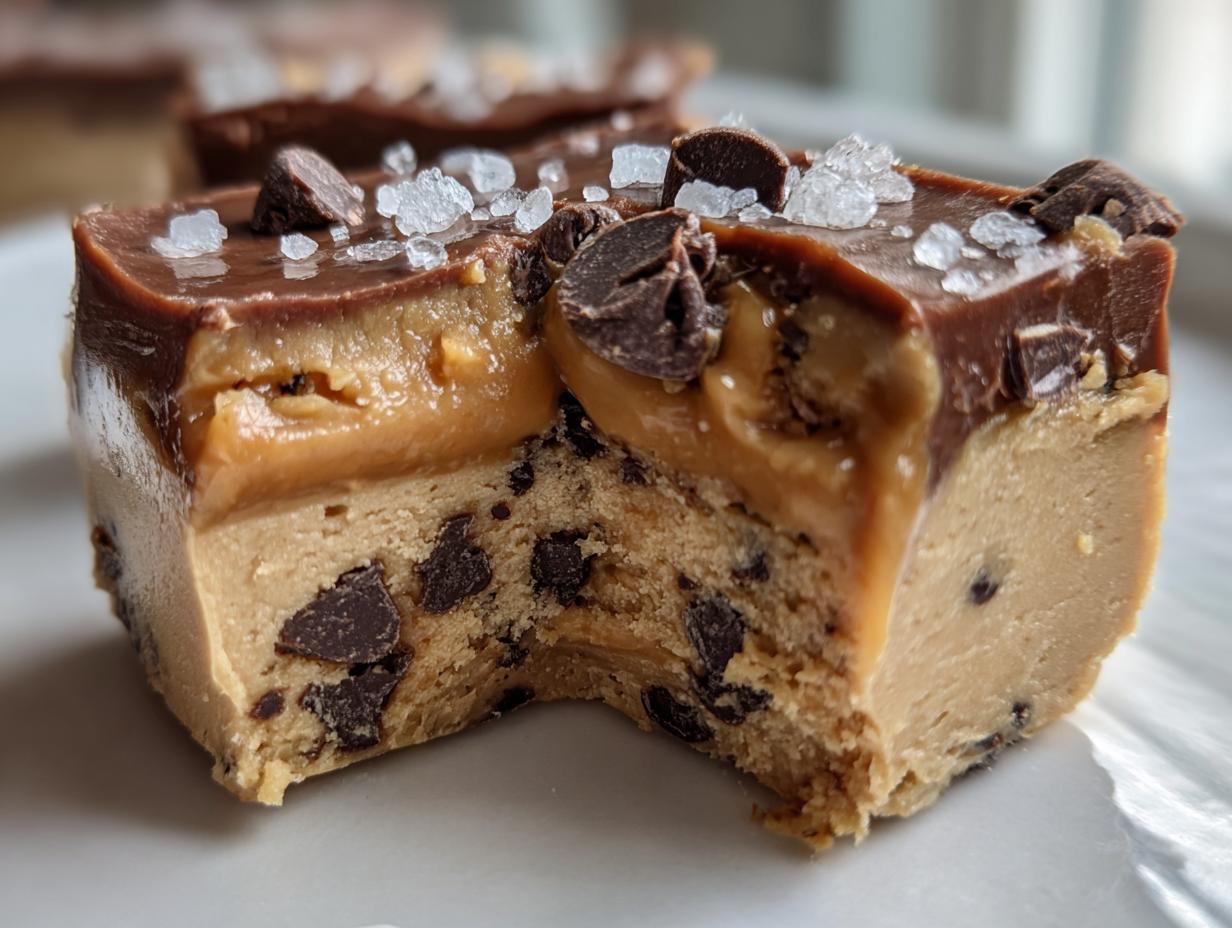
Is there anything more satisfying than biting into homemade candy? Honestly, I don’t think so! When I was growing up, sweets felt like a special luxury, but now, with the beautiful chaos of family life, I need recipes that deliver maximum flavor without hours of fuss. That’s why I’ve worked hard to perfect my recipe for decadent, melt-in-your-mouth salted caramel fudge. Trust me, this is the simplest, most dependable way I know to guarantee that perfect, creamy texture every single time. It’s pure connection, made easy.
- Why This Is the Best Easy Caramel Fudge Recipe (E-E-A-T Focused)
- Gathering Ingredients for Perfect Salted Caramel Fudge
- Simple Fudge Instructions for Homemade Salted Caramel Fudge
- Making Salted Caramel Fudge Ideal for Holiday Fudge Gifts
- Storage and Keeping Your Salted Caramel Fudge Fresh
- Troubleshooting Common Issues with Salted Caramel Fudge
- Frequently Asked Questions About This Easy Caramel Fudge Recipe
- Estimated Nutritional Data for Salted Caramel Fudge
- Share Your Decadent Homemade Sweets Experience
Why This Is the Best Easy Caramel Fudge Recipe (E-E-A-T Focused)
I know you’ve probably seen a million fudge recipes promising magic, but I stand by this one as the absolute best easy caramel fudge recipe out there. What makes it special? The texture! We aren’t messing around with grainy results; we’re aiming for that pure, best chewy fudge experience that just melts in your mouth.
The secret to that perfect, rich and creamy dessert feel is simple: a candy thermometer. I’ve tested this stovetop method with and without one, and honestly, skipping the heat check is how you end up with soft blobs instead of beautiful squares. Hitting exactly 240 degrees Fahrenheit gets us that divine chewiness every time. It’s foolproof once you trust the process. If you want to see other caramel twists, check out my caramel crunch cake!
This recipe manages the true art of the sweet and salty candy balance without being difficult. See how other folks manage their perfect batch here: Making Perfect Salted Caramel Fudge Is So Rewarding. It truly is a worthy endeavor for your holiday table.
Gathering Ingredients for Perfect Salted Caramel Fudge
Okay, let’s get our mise en place ready! Because this is a short cooking process, having everything measured and waiting is essential. I always insist on using high-quality ingredients here, especially your butter and chocolate. When you are making such a simple dessert, those flavors really shine through. You’ll see the list calls for specific amounts, like that crucial 1 (14 ounce) can of sweetened condensed milk.
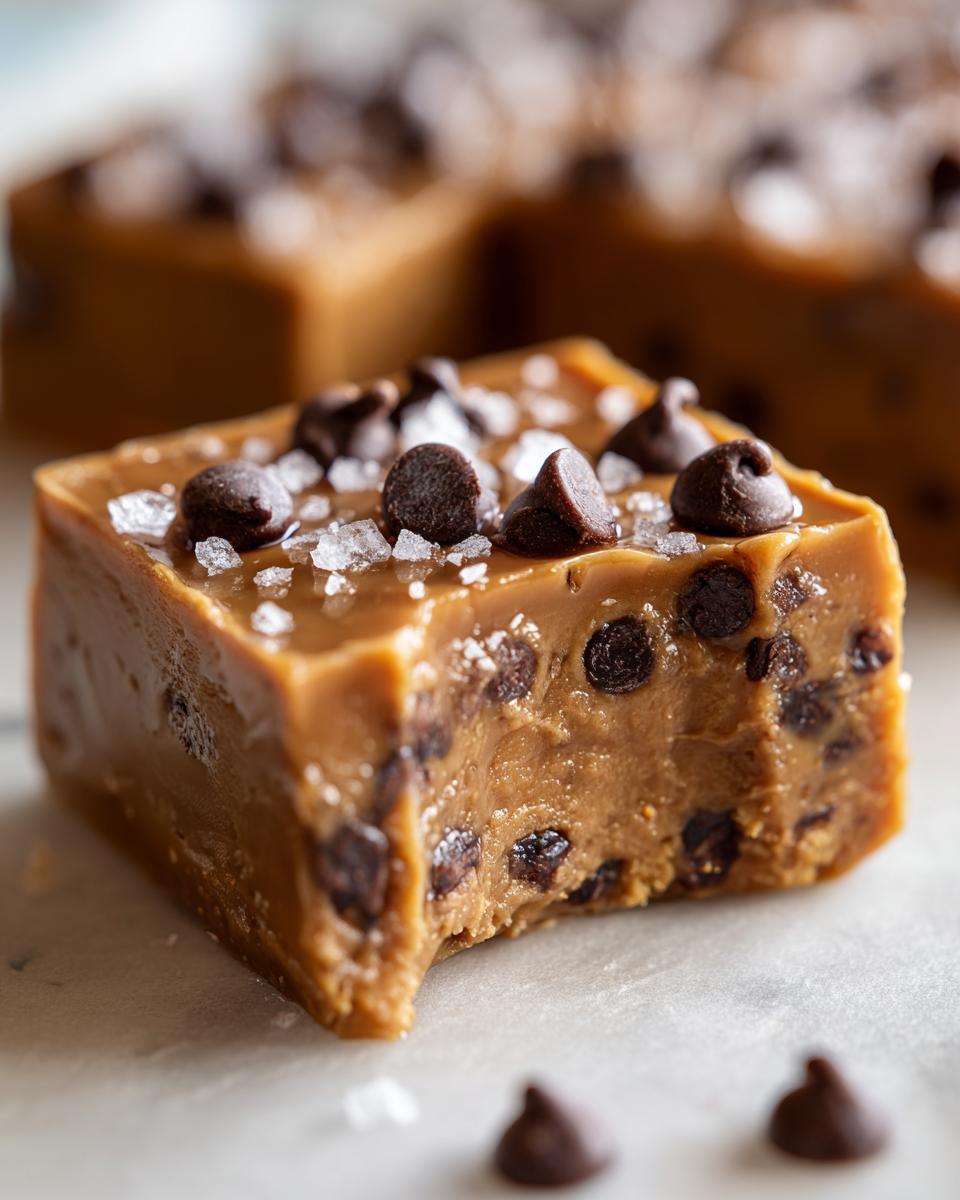
Don’t forget to have your extra salt ready—we need 1/2 teaspoon mixed in, plus extra coarse sea salt specifically for sprinkling right on top. Finishing with that good sea salt elevates the whole dish into that perfect sweet and salty candy zone.
Ingredient Notes and Substitutions for Your Salted Caramel Fudge
Listen, I know some recipes balk at using a thermometer, but if you want that perfect fudge texture tips success, you must use one. We have to hit that 240°F mark or the fudge won’t set quite right. It’s the best insurance you have for that chewy, glorious texture!
If you’re in a real rush and don’t want to handle the sugar and syrup cooking part, I have a little secret for you. You can substitute all that cooking! Just use two 14-ounce cans of pre-made dulce de leche instead of the sugar, corn syrup, and condensed milk steps. It speeds things up tremendously, though I still find the stovetop version gives a slightly superior flavor profile. You can check out one way people handle similar batches here: Make Copycat Salted Caramel Fudge That Tastes Amazing. It’s good to know your options!
Simple Fudge Instructions for Homemade Salted Caramel Fudge
Now for the fun part—turning these ingredients into that gorgeous, rich and creamy dessert! These simple fudge instructions will walk you through making your from scratch salted caramel base. First things first, get that 8×8 inch pan lined with parchment paper, making sure you leave plenty hanging over the sides. That overhang is your best friend when it’s time to lift this gorgeous candy out later!
In a heavy pot, combine your condensed milk, sugar, butter, and corn syrup. Set the heat to medium and just stir it constantly at first until everything looks melted and smooth. Now, attach that candy thermometer! Make sure the tip isn’t actually touching the bottom of the pan, or you’ll get a false reading. Keep stirring gently—we don’t want any scorching on the bottom—until that magic thermometer hits exactly 240 degrees Fahrenheit. This is the core step for success!
Once it hits 240°F, pull it *right* off the heat immediately. Stir in your vanilla and that initial 1/2 teaspoon of salt. Next, we move fast! Pour that beautiful hot caramel right over your chocolate chips in a separate bowl. Do not touch it for a full five minutes. That resting time is crucial; it lets the heat do the work of softening the chocolate perfectly. After five minutes, *gently* stir until it’s silky smooth. See my guide on soft, chewy caramels for more on gentle stirring!
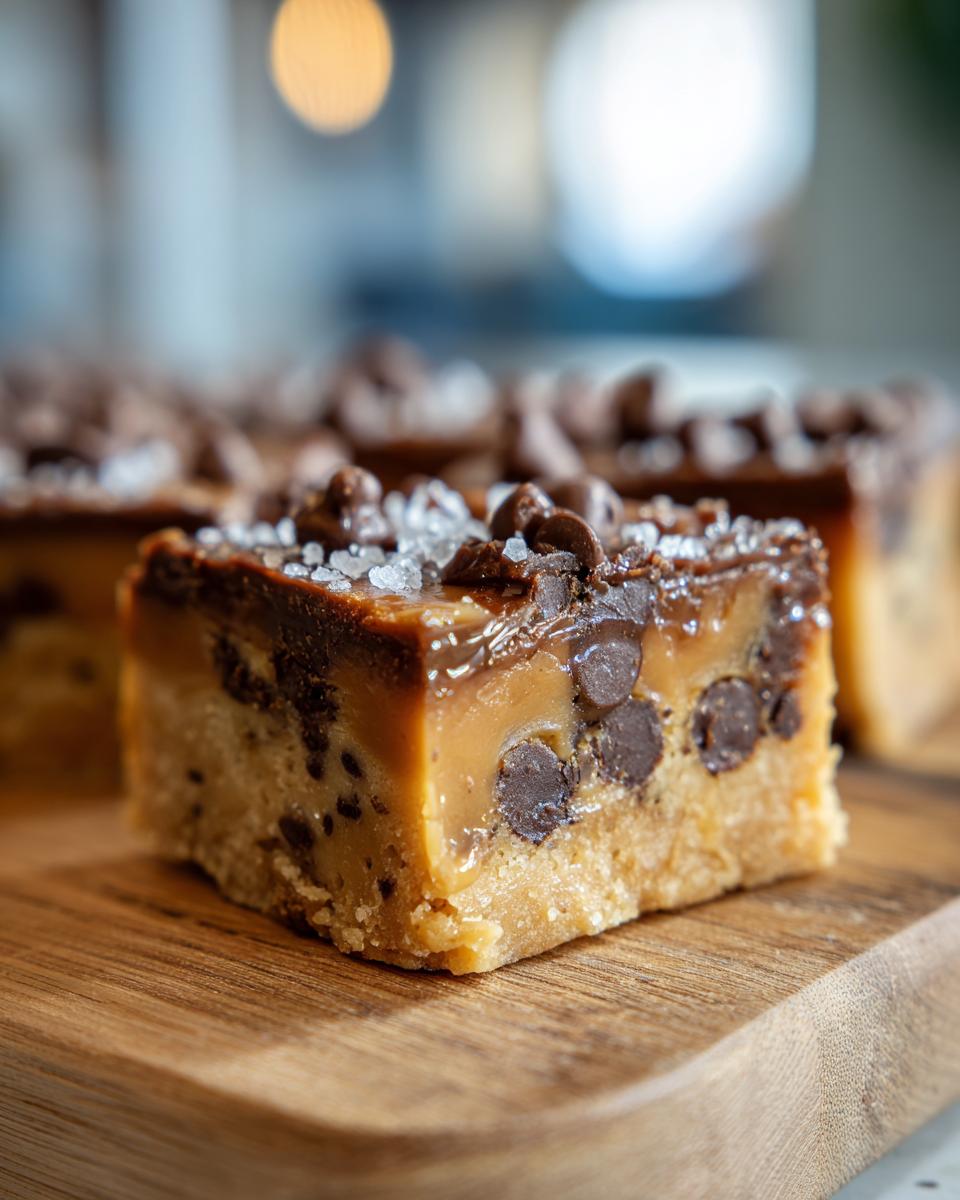
When it’s all mixed in—and I mean *just* mixed in—pour it into your pan. Sprinkle that coarse sea salt over the top while it’s still wet. Don’t worry about making it perfect; those little piles of salt are what give you that wonderful salty pop later. Then, we let it be! Resist the urge to chill it. It needs about four hours at room temperature to set up correctly for the best results. This fudge is a holiday superstar; check out some beautiful ways to wrap it up for Christmas fudge gifts!
Achieving the Melt in Your Mouth Fudge Texture
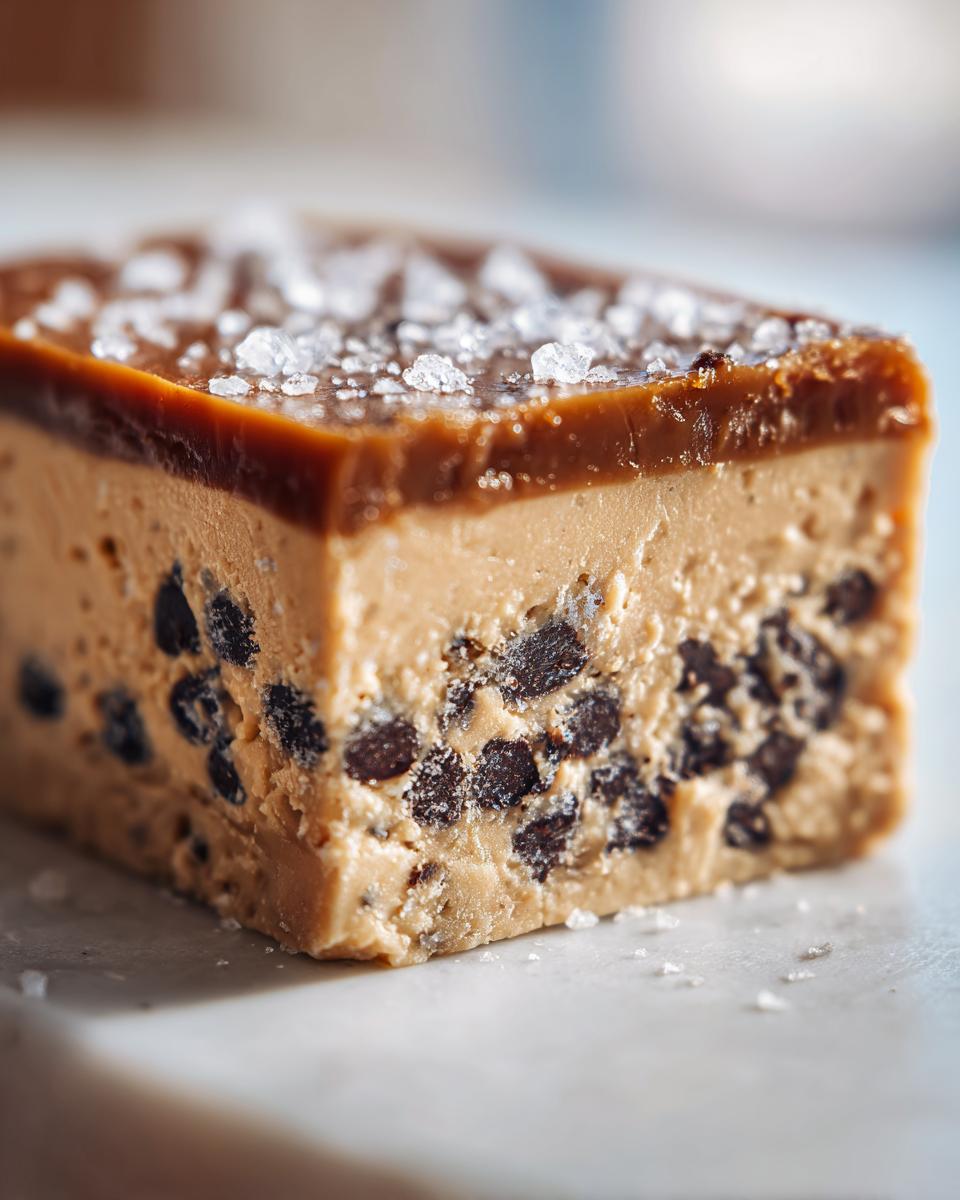
Let’s talk texture again because it matters so much. When that thermometer hits 240°F (step 5), you’ve created the perfect sugar structure. If you stop shy of that, your salted caramel fudge will be too soft, almost like thick caramel sauce. If you go way over, it gets hard and brittle. Two-forty is the sweet spot for that melt in your mouth fudge chew!
Then, pay close attention in step 8. After you pour the hot caramel over the chocolate, only stir until it’s *just* combined and smooth. If you beat this mixture up trying to make it look glossy or extra fluffy, you’re actually incorporating air bubbles. Air bubbles are the enemy of smooth fudge! Overmixing causes aeration, and that’s how your beautiful confection turns grainy instead of luscious and smooth. Treat that chocolate gently, and it will reward you tenfold.
Making Salted Caramel Fudge Ideal for Holiday Fudge Gifts
You know how much I love making things for family, and this salted caramel fudge is practically famous at our house around Christmas time. It’s the perfect centerpiece for any platter of Christmas candy recipes you put together.
Once the fudge has set firmly—and remember, no cheating by putting it in the fridge!—use those parchment paper slings to lift the whole slab out. I like to slice mine into small, neat squares; a little bit goes a long way because it is such a rich and creamy dessert. Then, here’s the trick for presentation: wrap each square individually in pretty squares of wax paper. It keeps them from sticking together and makes them look like little homemade treats ready to go!
I always make a double batch just for gifting. Last year, I tucked mine into little cellophane bags with a sprig of rosemary, and they disappeared instantly! It’s such a lovely way to share this wonderful sweet and salty candy with neighbors and teachers. Check out my ideas for other fun holiday bakes here: Christmas cookie bars, and see how others package theirs for gifting at Irresistible Christmas Salted Caramel Fudge: 6 Variations to Try.
Storage and Keeping Your Salted Caramel Fudge Fresh
This is where so many homemade candy makers go wrong! They pop their beautiful batch of **salted caramel fudge** right into the fridge because that’s where they keep everything else. But listen to me: we absolutely do not want to refrigerate this fudge if we can help it.
Why? Because cold temperatures can make this already firm candy much harder, and you lose that gorgeous, smooth, melt in your mouth fudge quality we worked so hard to achieve back on the stovetop. We want it yielding, not rock solid!
The best place for this delicious, rich and creamy dessert is actually right on the counter at room temperature. Just make sure it’s stored in an airtight container, of course, so it stays clean and doesn’t absorb any weird pantry smells. If you wrap those squares individually like I mentioned before, stacking them neatly in a sturdy tin works perfectly. Kept this way, they easily stay fresh for a solid week, maybe even ten days, if you can keep your hands off them!
Now, if your kitchen gets really hot and humid—like climbing into the nineties—then a quick chill might be necessary only to prevent it from getting greasy. If you must refrigerate, let the fudge sit on the counter for at least an hour before you plan to serve it. That hour is vital for letting it soften back up to that perfect, chewy state. Patience pays off, even when storing candy!
Troubleshooting Common Issues with Salted Caramel Fudge
Even when following the **simple fudge instructions** exactly, sometimes candy surprises us! That’s normal, my friend. Making any kind of **from scratch salted caramel** confection takes a little bit of teaching yourself how to read the situation. Don’t panic if your batch isn’t absolutely perfect right away; these little hiccups are how we learn the secrets to the perfect fudge texture tips!
Let’s talk about the three biggest potential failures when making this salted caramel fudge. If you know what might happen, you can fix it before it even settles into the pan. This is how we ensure you get that reliably rich and creamy dessert result every single time.
Here are the issues I see most often:
- Grainy Texture: This is the number one complaint! It almost always happens because the sugar crystals didn’t fully dissolve before you hit that 240°F mark, or you stirred too vigorously once the chocolate was added. If you feel any grit on your tongue, that’s undissolved sugar. For the next batch, make sure you stir patiently until the mixture feels perfectly smooth before the temperature starts climbing past 230°F.
- Too Soft or Gooey: If your fudge won’t set up after six hours at room temperature, you definitely pulled it off the heat too soon—you were probably under 240°F. It’s basically thick caramel that hasn’t quite set. If it’s still warm, you can toss it back into the heavy saucepan, add your thermometer, and bring it back up to 240°F. If it’s completely cold, you’ll have to start over, sadly.
- Too Hard or Crumbly: This means you cooked it too long! If you passed 240°F, especially up toward 245°F, you’ve made a toffee-like substance instead of melt in your mouth fudge. The only fix here is to remelt it very slowly over low heat with a tablespoon or two of fresh cream or milk to introduce moisture, but honestly, it usually alters the final texture quite a bit. Better to just be super vigilant with the thermometer next time!
Remember, achieving that perfect chewiness versus making brittle candy is all about that one temperature checkpoint. Don’t be discouraged if test batch number one isn’t spot-on; every candy maker, even the pros you see online like those at Amazing Salted Caramel Fudge, has to learn these timing tricks!
Frequently Asked Questions About This Easy Caramel Fudge Recipe
I’ve pulled together some of the questions I get most often about making this wonderful batch of homemade candy. It’s always good to pause before diving in and make sure you have all the little details sorted out. Knowing these things upfront prevents headaches later, which is exactly what my philosophy here at Mia’s Meals is all about—simplicity and success!
Can I use the microwave instead of the stovetop for this specific recipe?
That’s a really common question, especially when people are looking for an microwave fudge recipe! While this specific recipe relies on that slow, careful heating to reach exactly 240 degrees F for the perfect texture, you *can* adapt it. However, I highly recommend sticking to the stovetop method for this particular salted caramel fudge to lock in that chewy, gooey outcome. Microwaving is much harder to control, making it easy to overshoot the temperature and turn your fudge grainy or hard. If you absolutely must use the microwave, you’ll want to use small bursts and stir frequently, but honestly, grab a dedicated microwave candy recipe if you go that route. You can check out a friend’s great microwave version here: Microwave Caramel Fudge.
How do I know if I reached the right temperature for the best chewy fudge?
If you want the best chewy fudge—that satisfying resistance when you bite down—the candy thermometer is your absolute best friend here. You are aiming for exactly 240 degrees Fahrenheit, which is called the firm-ball stage. If you are below 240°F, your candy won’t set up properly and will remain soft. If you go way over, you’re heading toward peanut brittle territory! Make sure you’re using a reliable thermometer and that the tip isn’t touching the bottom of the pan. That temperature check is what makes this an absolutely reliable recipe, not just a random try!
Can I make this a no bake caramel fudge by skipping the cooking step?
Technically, this recipe is very fast cooking, under 20 minutes, so it’s already pretty close to a no bake caramel fudge category compared to things that need hours of stirring! But no, you cannot skip the cooking step entirely and still get this amazing texture. The cooking process transforms the sugar mixture into the structure that supports the chocolate and ensures that wonderful density. The flavor development from heating the sugar is also key to that deep caramel flavor.
What makes this salted caramel fudge recipe so rich and creamy dessert?
It all comes down to the quality fats and the balancing act! We use a full cup of unsalted butter, which gives it that incredible richness right away. Then, the combination of sweetened condensed milk and that perfect cooking temperature creates an unbelievably smooth emulsion with the chocolate. It’s that marriage of high fat content and perfect sugar structure that results in a true rich and creamy dessert that just melts beautifully on the tongue, especially when contrasted with that final pinch of sea salt. It’s truly decadent homemade sweets heaven!
If you’re looking for other quick flavor pairings, you might want to look at my recipe for easy homemade cranberry sauce—it’s not fudge, but it hits that sweet/tart balance so well!
Estimated Nutritional Data for Salted Caramel Fudge
Okay, let’s talk fuel for a moment. I always want to be upfront about what we’re whipping up here because we all deserve to know what we’re enjoying! Since this **salted caramel fudge** is truly decadent—we’re using real butter and plenty of sugar—it does fall into the *indulgent treat* category, which is perfectly fine by me!
These numbers are just estimates, mind you, calculated based on the ingredients listed in the recipe and divided across 36 small squares. Think of these as a good guideline rather than gospel truth, because how much corn syrup actually sticks to the spoon during transfer can change things slightly!
When you look at the data below, you can see why these are best enjoyed as a special **sweet and salty candy** moment, maybe wrapped up as one of those lovely **holiday fudge gifts**.
- Serving Size: 1 square
- Calories: 180
- Total Fat: 9g
- Protein: 2g
- Total Carbohydrates: 25g
- Total Sugar: 25g
- Sodium: 75mg
See? Lots of sugar, which is what makes it taste like heaven, but also a good bit of fat from the butter and chocolate, which gives us that incredible mouthfeel. That’s the trade-off for a truly perfect, **melt in your mouth fudge** experience. Enjoy every single bite, because you absolutely earned it!
Share Your Decadent Homemade Sweets Experience
Now that you’ve made your own batch of this amazing salted caramel fudge, I just have to know how it turned out! Seriously, knowing that I’ve helped you bring that warm, comforting magic of homemade candy into your kitchen makes my whole day. Cooking is all about sharing, right?
I put my heart into getting these simple fudge instructions just right so you could achieve that beautiful texture. So please, drop down to the comments section below and leave me a rating. Five stars if it was the most melt in your mouth fudge you’ve ever made! Tell me about that texture—did you nail the chewy factor? Did the coarse sea salt give you that perfect sweet and salty pop?
If you ended up wrapping these beauties up as some of those wonderful holiday fudge gifts I mentioned, I would absolutely love to see them! Snap a picture and tag Mia’s Meals on social media. Seeing my recipes out in the wild, connecting people over food, is exactly why I started this whole journey. You can learn more about my mission over on my about page!
Thank you so much for baking with me today. I hope this decadent homemade sweets recipe becomes a beloved tradition in your own home, just like it is in mine. Happy cooking!
PrintDecadent & Easy Salted Caramel Fudge (Perfect Creamy Texture Guaranteed)

Follow these simple steps to make rich, chewy, melt-in-your-mouth salted caramel fudge. This easy recipe guarantees a perfect sweet and salty flavor balance, ideal for holiday gifting or gatherings.
- Prep Time: 15 min
- Cook Time: 20 min
- Total Time: 4 hours 35 min
- Yield: 36 small squares 1x
- Category: Dessert
- Method: Stovetop Cooking
- Cuisine: American
- Diet: Vegetarian
Ingredients
- 1 (14 ounce) can sweetened condensed milk
- 2 cups granulated sugar
- 1 cup (2 sticks) unsalted butter
- 1 cup light corn syrup
- 1 teaspoon vanilla extract
- 1/2 teaspoon salt, plus extra coarse sea salt for topping
- 1 (12 ounce) package semi-sweet chocolate chips
Instructions
- Line an 8×8 inch baking pan with parchment paper, leaving an overhang on the sides for easy removal. Lightly grease the paper.
- In a large, heavy-bottomed saucepan, combine the sweetened condensed milk, sugar, butter, and corn syrup.
- Stir the mixture constantly over medium heat until the butter melts and the sugar dissolves.
- Attach a candy thermometer to the side of the pan, making sure the tip does not touch the bottom.
- Continue to cook, stirring occasionally to prevent scorching, until the mixture reaches 240 degrees Fahrenheit (firm-ball stage). This is key for the best chewy fudge texture.
- Immediately remove the pan from the heat. Stir in the vanilla extract and 1/2 teaspoon of salt.
- Pour the hot caramel mixture over the chocolate chips in a separate, heat-safe bowl. Let it sit undisturbed for 5 minutes to allow the chocolate to soften.
- Stir the chocolate and caramel mixture gently until completely smooth and creamy. Do not overmix, as this can cause the fudge to become grainy.
- Pour the fudge mixture into the prepared baking pan. Sprinkle the top evenly with coarse sea salt.
- Let the fudge cool completely at room temperature for at least 4 hours, or until firm. Do not refrigerate to achieve the best melt-in-your-mouth fudge texture.
- Use the parchment overhang to lift the fudge from the pan. Cut into small squares for serving or holiday fudge gifts.
Notes
- For a truly rich and creamy dessert, use high-quality butter and chocolate.
- If you want to skip making caramel from scratch, you can substitute the sugar, corn syrup, and condensed milk with 2 (14-ounce) cans of pre-made dulce de leche, reducing the cook time significantly.
- This recipe makes a fantastic Christmas candy recipe; wrap cooled squares individually in wax paper for gifting.
- To ensure a smooth texture, make sure your sugar is fully dissolved before the thermometer starts climbing past 230 degrees F.
Nutrition
- Serving Size: 1 square
- Calories: 180
- Sugar: 25
- Sodium: 75
- Fat: 9
- Saturated Fat: 5
- Unsaturated Fat: 4
- Trans Fat: 0
- Carbohydrates: 25
- Fiber: 0
- Protein: 2
- Cholesterol: 20